Technology is every changing. Just think back when you were growing up: what you used as the newest and greatest “thing” back then. How much of what you had is still used today?
As teachers, we want our students to succeed in a world that will look completely different than now. If we help students develop skills such as collaboration, problem solving, communication, critical thinking, perseverance, inquisitiveness, they will have the tools to make it in areas of work that we can’t even imagine!
I love this video by John Spencer about changes over time:
More than you think! I drew a squiggle in the Book Creator app, added an “About the Illustrator” page and airdropped the book template to each student iPad. When finished with their creations, the children airdropped their books back to me so that I could combine them into class books.
The directions were simple: Look at your squiggle. What could it become? You can rotate it and copy it if you want. Make something recognizable from your squiggle.
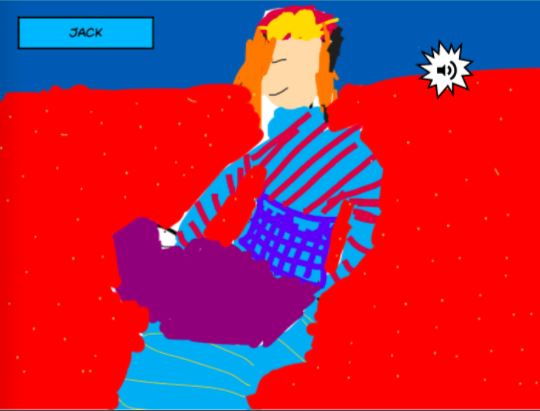
The students provided so many interesting and creative interpretations of their squiggle! I love this one from Jack, a 4th grader, who used what he had learned in art to create an illustration based on an artist named Mary Casssett from the 1800s who painted mothers and children. (To hear his narration, listen to Mrs. Wright’s class book.)
For the 4th graders, I told them they could resize and rotate their squiggle. A few children made the squiggle so tiny that it is barely recognizable! I made the mistake of not telling students to make sure the original squiggle could be seen. In several of the 4th grade illustrations, it’s very hard to tell what and/or where the squiggle was.
As a result, I changed the directions for the 3rd graders. They could rotate the design but they couldn’t resize. I also told students to make sure the squiggle could be identified.
Some of the designs were created from making copies of the squiggle. Those turned out really well!
I asked that the squiggle be seen in the picture. Some did that but others covered it up with another color.
It’s helpful to lock the squiggle once it’s decided where it will be on the page.
I used to do this all the time when I was little (on paper, of course!). It’s fun to watch the students create digitally!
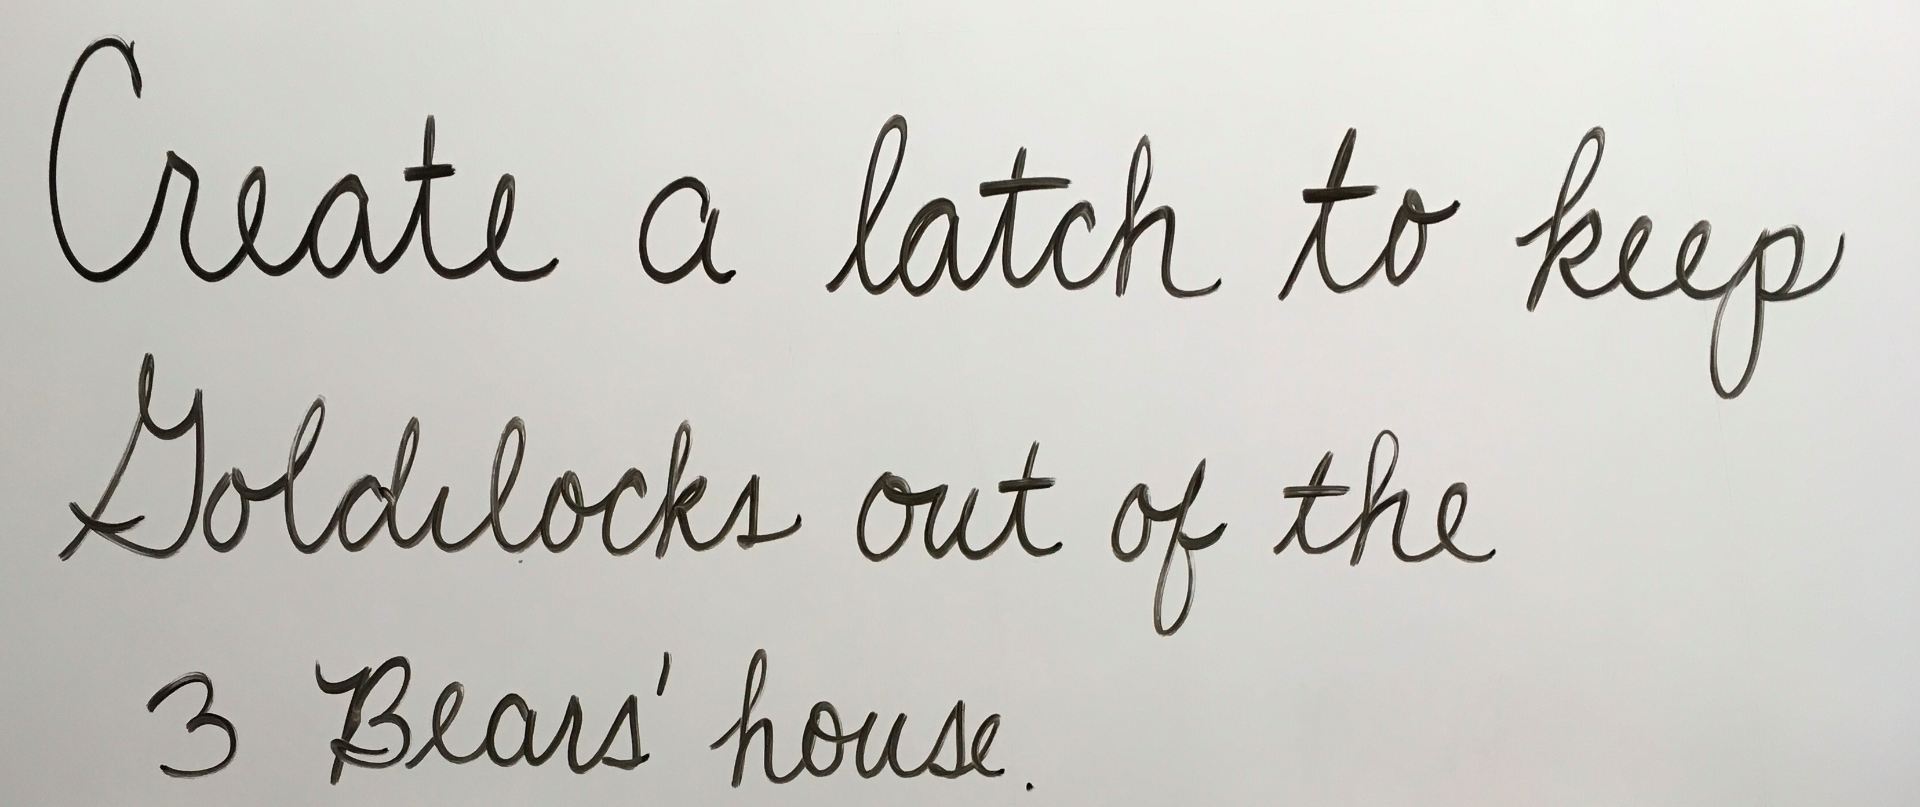
Mrs. Garcia’s class has done an in-depth study of Fairy Tales. They have created a latch to keep Goldilocks out of the 3 Bears’ House, written blog posts, compared and contrasted numerous fairy tales, and learned the elements of these fun stories.
Taking what they have learned, the students worked in groups to write and illustrate a spin-off of a well-known fairy tale. To better share these, we decided on using the Book Creator app. The students used paper and crayons for the illustrations, took photos of each, then added them to the app. Because our school year finishes Thursday, instead of typing their stories into the app, the students recorded narration to match the illustrations.
Individual books were combined into one class book. Enjoy their stories!
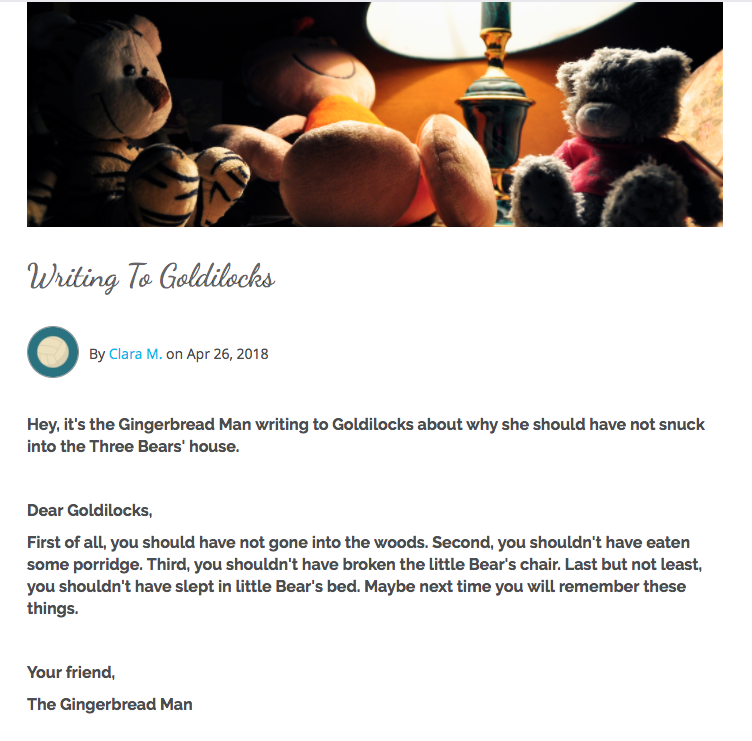
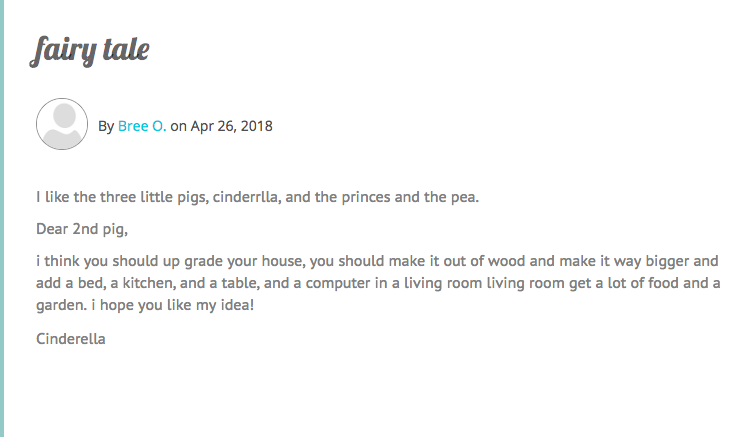
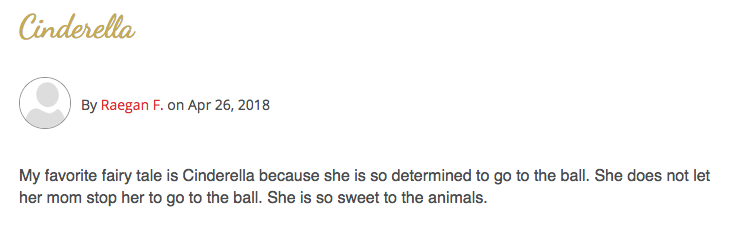
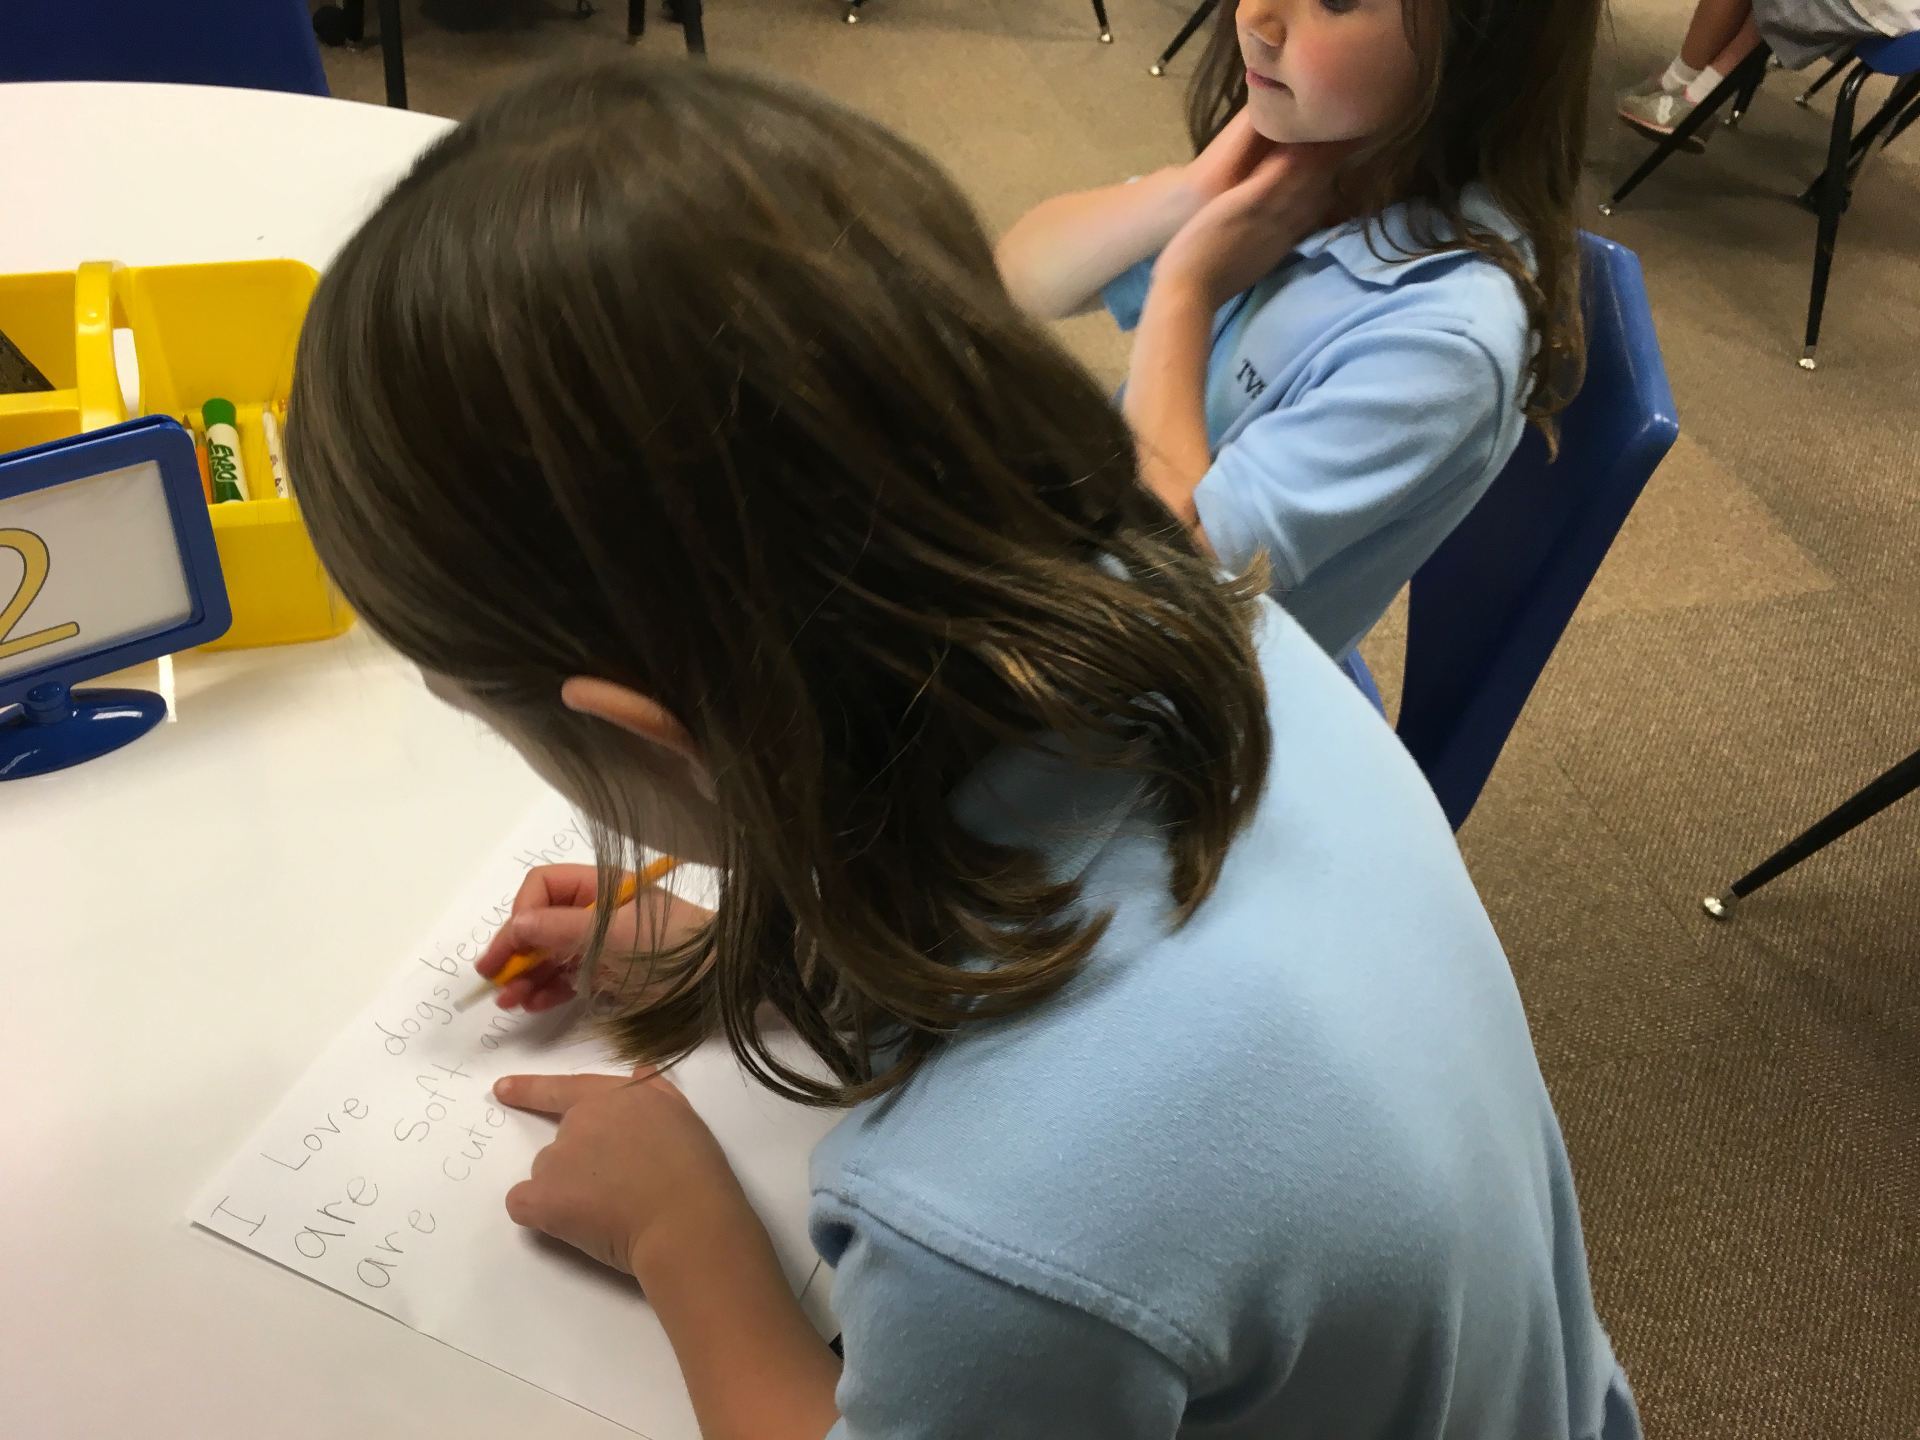
As a culmination to the second grade fairy tale unit, I asked the students to blog. With the following choices, the children came up with some rather humorous posts!
Tell about your favorite fairy tale story. Why did you choose this?
Which fairy tale character would you like to be and why?
Choose 2 fairy tale characters and write an advice letter from one to another.
After a couple of weeks learning all kinds of fantastic animal information, I asked the little ones to illustrate and tell about their favorite animal. Since they had learned about classifications, I also asked that they tell what the animal was and whether it was a mammal, fish, bird, etc and why.
We used the Book Creator app for this project. It’s the perfect app for students to illustrate, write, and record – all in one place. To show how intuitive this app is, this was the first time the kindergarteners had used Book Creator. In a 30 minute session, they were able to learn the basics, draw their picture, record, AND airdrop their book to me! Pretty amazing!
After deciding that dinosaurs and unicorns weren’t the best choice for this particular book, the students began their illustrations. They did such a fabulous job filling up the page with their animal and adding details that showed its habitat.
As students finished drawing, they scattered to find a quiet place to record. Some even wrote a script before recording!
The final step was to airdrop to me so that I could combine all individual books into one class book.
As I listened to the pages, I couldn’t help but chuckle at some of the recordings. Did you know that, “A pig is the most rare animal in the world?” and “Humpback whales can weigh over 300 million pounds?” One boy remarked, “My cow looks orange and they are supposed to be brown and actually black. I know that but I couldn’t find the brown. I’m sorry. So let’s just deal with it as a cow! Okay?” So, not all the facts are quite correct but they really had LOTS of information in their heads and shared it the best they could! 🙂
Tony Vincent, when he visited our school in April, shared how to sketch over a photo in Keynote. Click here for his directions.
Not knowing at all how this would turn out, I decided to have the 2nd graders try sketching their self-portraits. We did discuss that this was just a time to practice and that it would most likely be rather challenging.
The students started out with taking a selfie. They were encouraged to take a fairly tight shot which would make it easier for the drawing. Then we went through the steps in Tony’s excellent “how-to” sheet. The students did a fantastic job following the instructions and I’m not sure I’ve ever seen such concentration!
This was HARD! But, NO ONE complained, which made me super proud of these wonderful second graders. They really stuck with it!
What we discovered:
It is SO much easier to use a pointed stylus than one of the cheap ones we have in the lab. I have an Apple Pencil and it was perfect for this activity. Sadly, it’s really too expensive to purchase class sets of good styluses.
A selfie is probably NOT the best choice for attempting a sketch for the very first time. Perhaps a cup or an apple . . .
One of the teachers told me later that she sat next to a student who talked herself through the drawing, saying, “Come on. You can do it. Yes, it’s hard, but we’re not giving up. It’s looking good. Keep trying!”
Don’t you love that? What a valuable tool to have!
None of the classes finished the drawings. Surprisingly, no one even complained about that. When asked what they thought of the activity, the students reported that it was fun.
“Even if it was hard?” I asked. A resounding YES was the answer! We’ll be doing more sketching in the days to come.
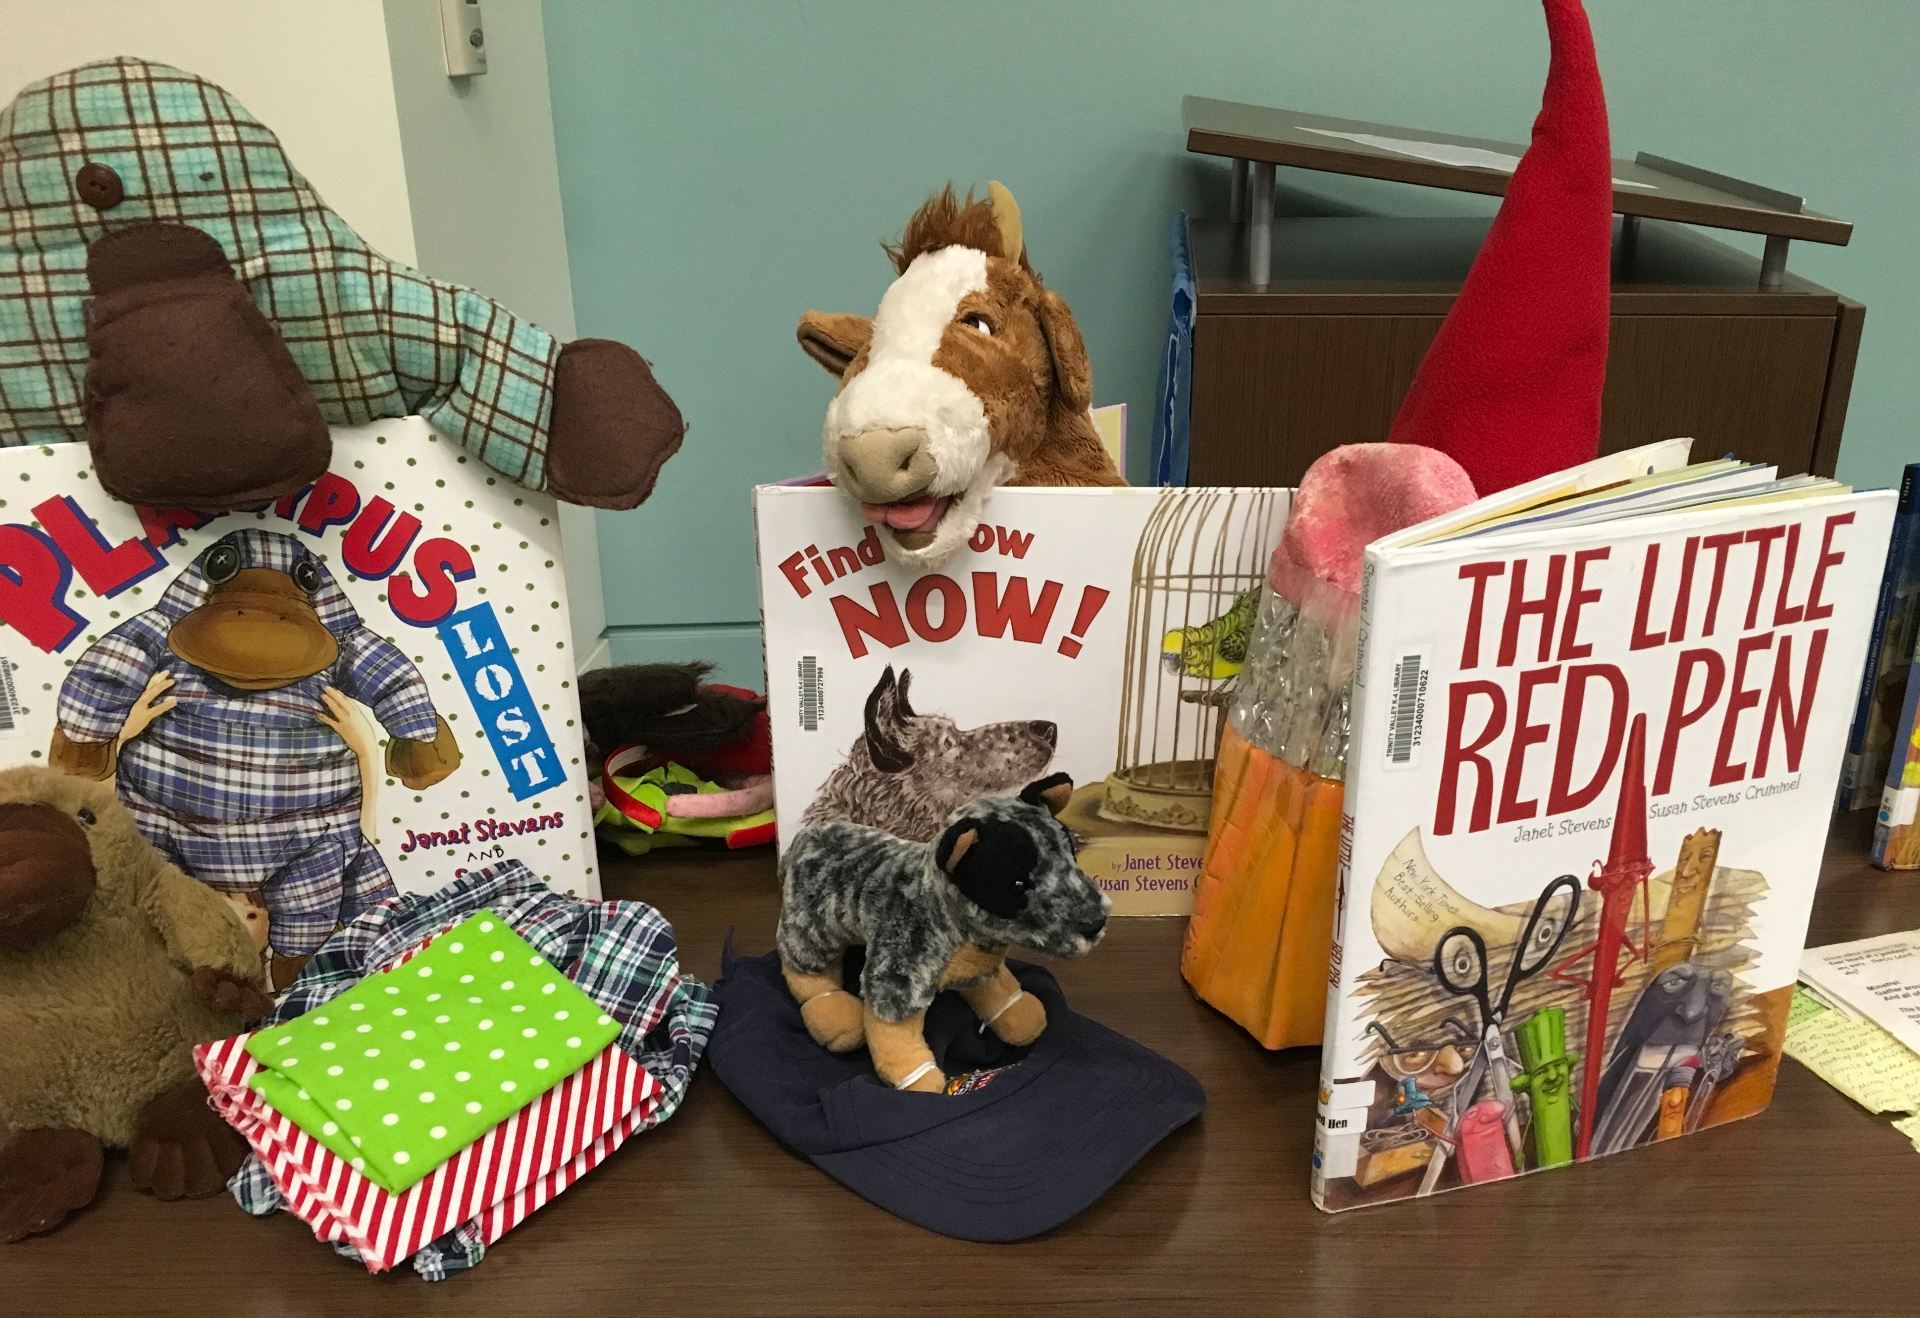
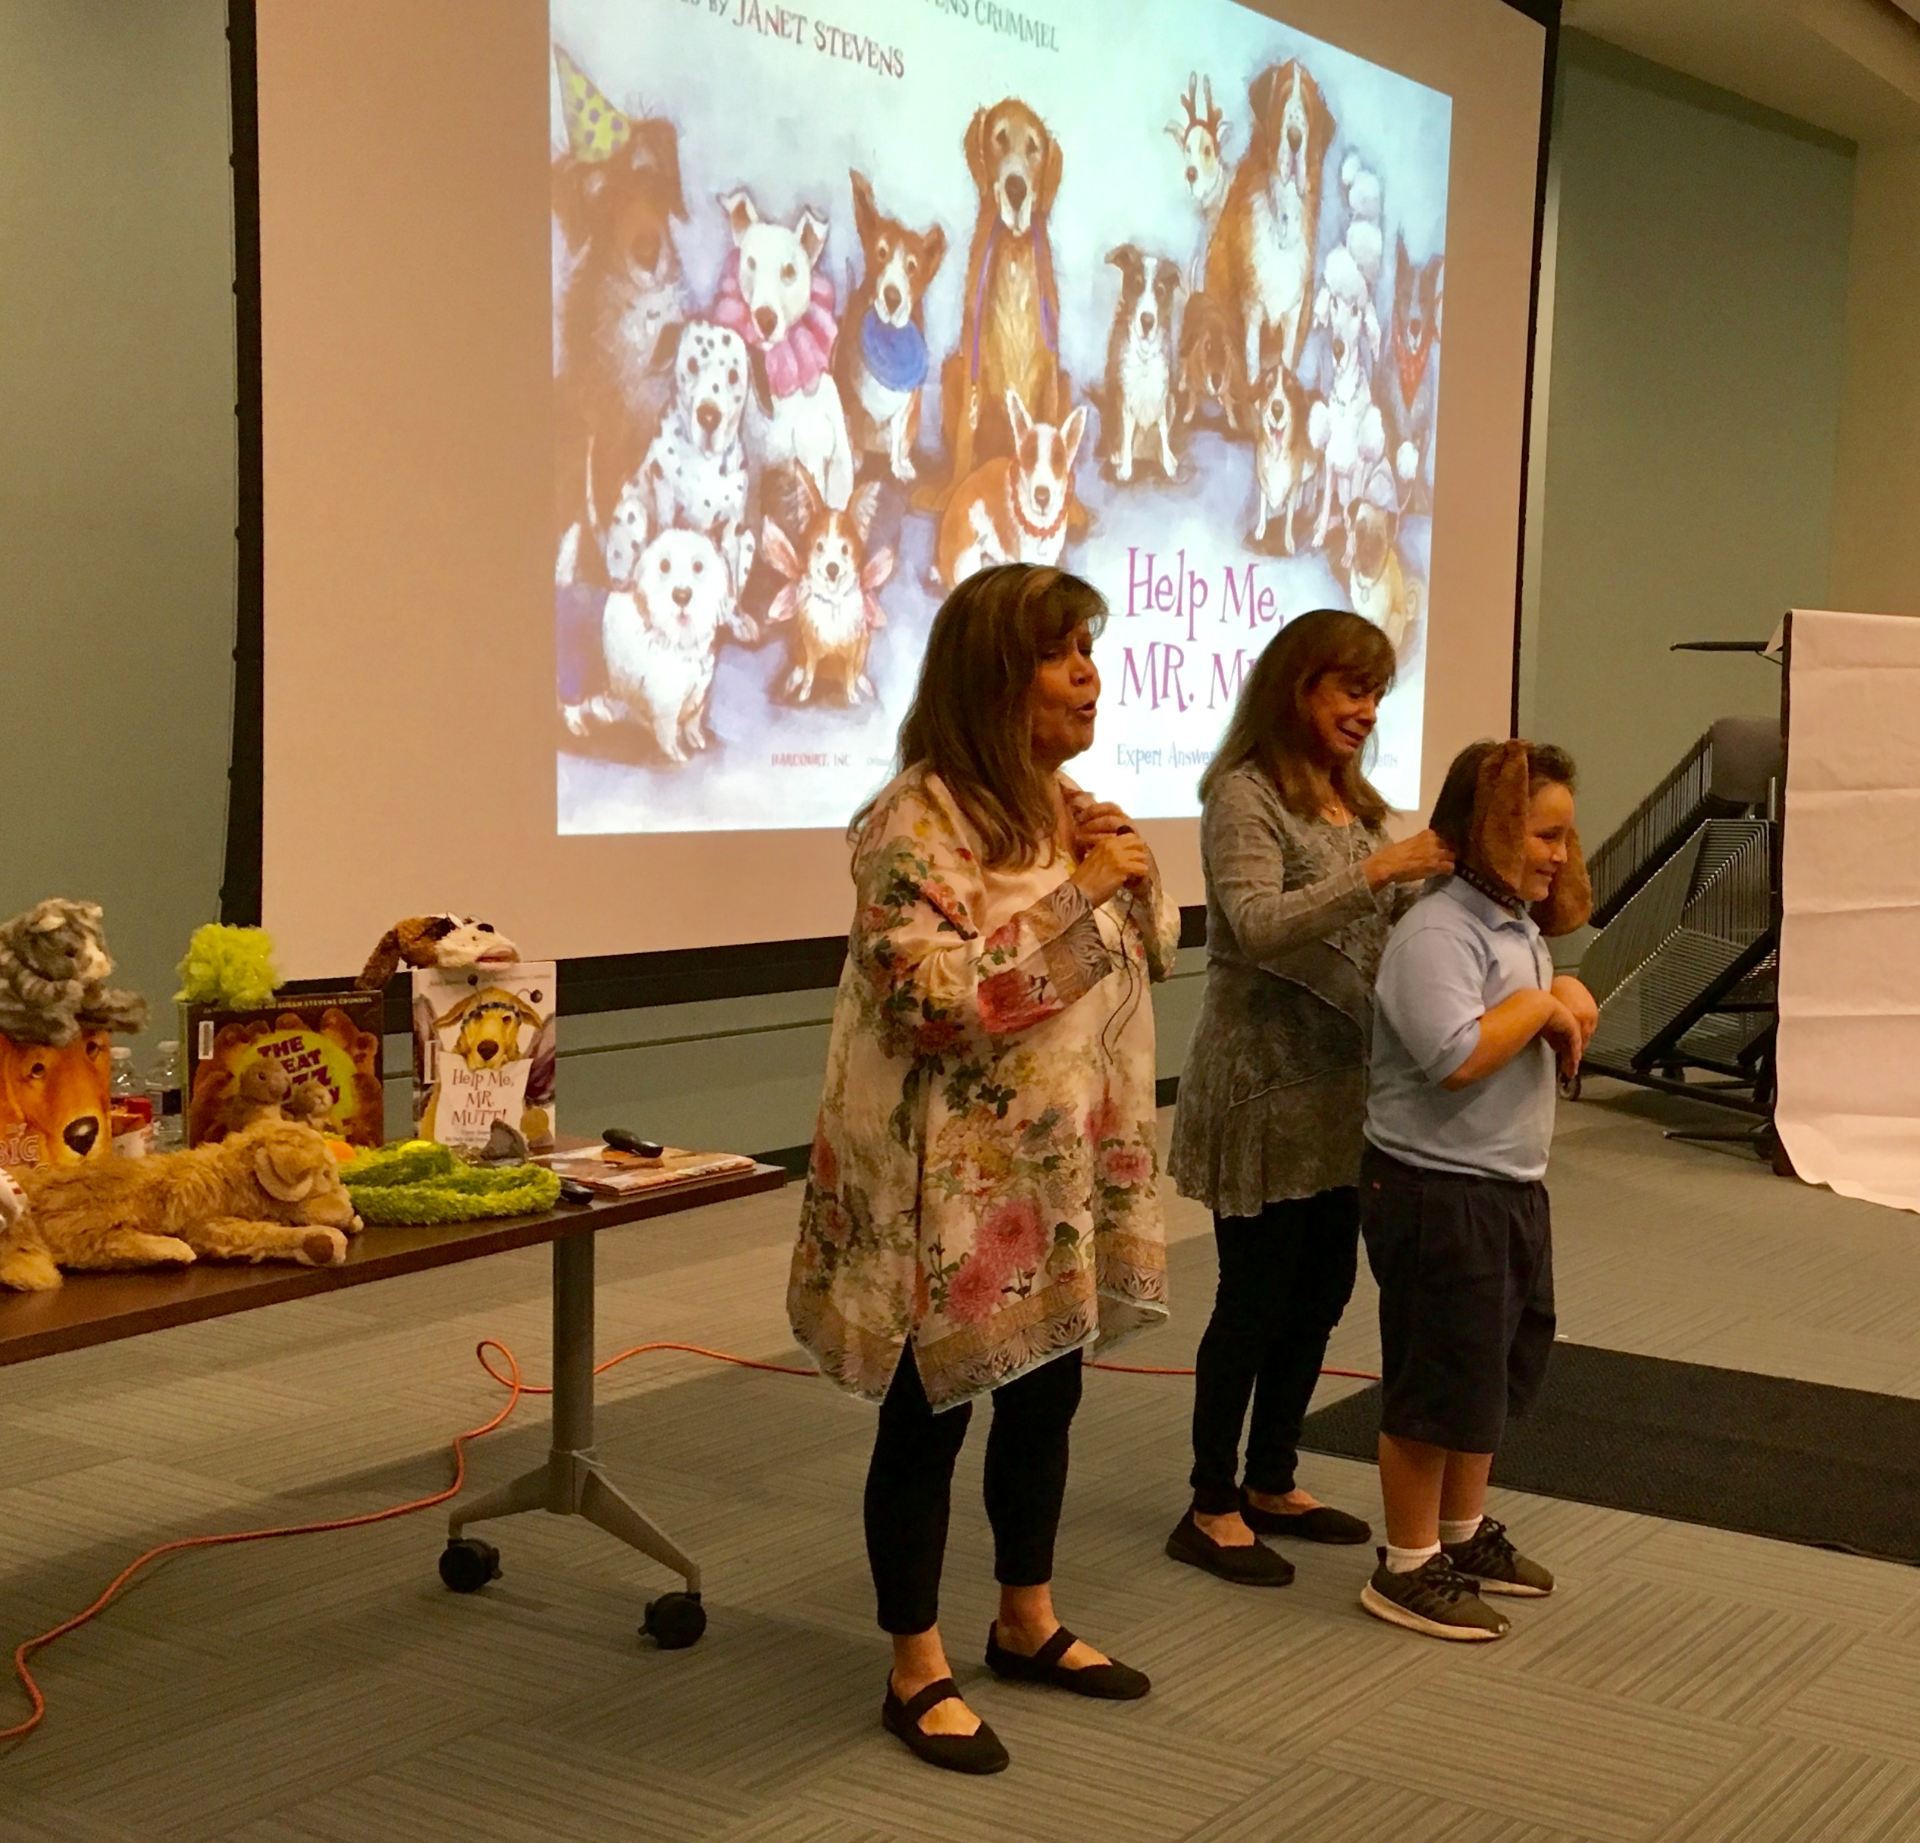
Today is the day! Susan Stevens Crummel and Janet Stevens are here for their author and illustrator visit. And, what a fun visit it was!
To prepare for the visit, our students have been learning all about these two wonderful ladies as well as exploring the many books they have authored and illustrated.
To bring in a technology aspect, I checked out the “Crummel/Stevens” cart of books and asked our first graders to choose one for a book talk using the ChatterPix Kids app. This is a fun (and favorite) app where a picture is added then a mouth is drawn and students record.
After tips on taking a great photo of the book cover (fill the screen!), the students went off to read their books and then scattered to find a quiet place to record.
ChatterPix allows only 30 seconds to record which is usually enough time, as long as you know what to say! For younger students, 30 seconds can be a challenge. And, we did talk about this! What I discovered as I listened to the recordings was that few students re-recorded if they were cut off – not sure why they didn’t try again. Oh, well . . .
After students added their name and saved the video, they airdropped to me so that I could compile them on a Thinglink image. Here’s the work from Mrs. Crumley’s class.
Collaboration with teachers is SO much fun! Our kinder students just started learning about animals and their teachers wanted to have the students share their learning by creating videos.
A few weeks ago, Tony Vincent visited our school and taught a first grade lesson using the website, Unite for Literacy. Although the book choice isn’t huge on this site, there are several animal books. The nice thing is that students can choose to listen to the book as they read so they don’t get bogged down with harder vocabulary.
We decided to split the lesson into two 30 minute parts since there was quite a bit involved. Students needed to read their story. Then, they were to use ChatterPix Kids (free) to tell about their animal.
For the first session, we started with practicing how to take a screen shot since we wanted a photo of a favorite picture from the book to upload to ChatterPix. Next, the students were given an animal card with a QR code that took them directly to the book they were to read. Once scanned, we went on a picture walk through the book – we didn’t take time to read or listen to the story. The goal was to find a favorite image and screen shot it. Then, we asked the children to listen to the story two times. Each child received a piece of paper where they could write the name of their animal and jot down facts they wanted to share. You should have seen the little ones taking notes!
The next day the students returned to the iLab. Armed with their notes and iPads, we walked through the ChatterPix for Kids app, getting everyone to the point where their photo from the previous day was uploaded and ready to record.
For this project, we only allowed students to add their name. Kids can get carried away with the stickers available in ChatterKid. Since those served no purpose, they were off-limits for the day!
After all the videos had been airdropped to me, I pulled them into Thinglink, onto a map where I tried to place the link where the animal lived. Thinglink is a fabulous way to add links, annotations, videos, etc to an image.
Here are links to the Thinglinks for the other two classes:
Our two sessions were super busy but the students were amazing in how they approached the task – listening intently to learn about their animal and then sharing what they learned. I was able to take several photos from Mrs. Rea’s class to show the process of what the children did.
After a successful bridge building experience with second graders, I decided to give it a try with the third graders. The idea (from Playground Park Bench blog) is based on the book, 21 Elephants and Still Standing, a true story about the building of the Brooklyn Bridge. Click here to read the last post for information on the process.
This time I added pool noodles to the supplies. By the second class, it was apparent that those made the building process too easy. As a result, the last class didn’t get that option!
Notice how close the supports are in this video. The students forgot they needed room for boats to go under the bridge!
What surprised me was that the second graders actually had more detailed drawings in their design process. But, the older students had the vocabulary with much talk about supports, beams, etc.
Here’s a look at the process.
It’s interesting to see how each age approaches the challenge. Listening to their planning processes is amazing! I absolutely LOVED how respectful the students were to each other as they planned, built, and made changes. I’m eager to try this with first graders!
To go along with the second grader’s Fairy Tale unit, Mrs. Garcia’s class came to the iLab to design a latch for the three bears. The idea came from a STEM Fairy Tale Unit called, A Latch for the Three Bears, by Sarah Wiggins. Click here to find it on the TeachersPayTeachers site.
The Challenge:
Of course, Goldilocks should NEVER have gone into the Bears’ house without asking. However, shouldn’t the Bears have locked their door?
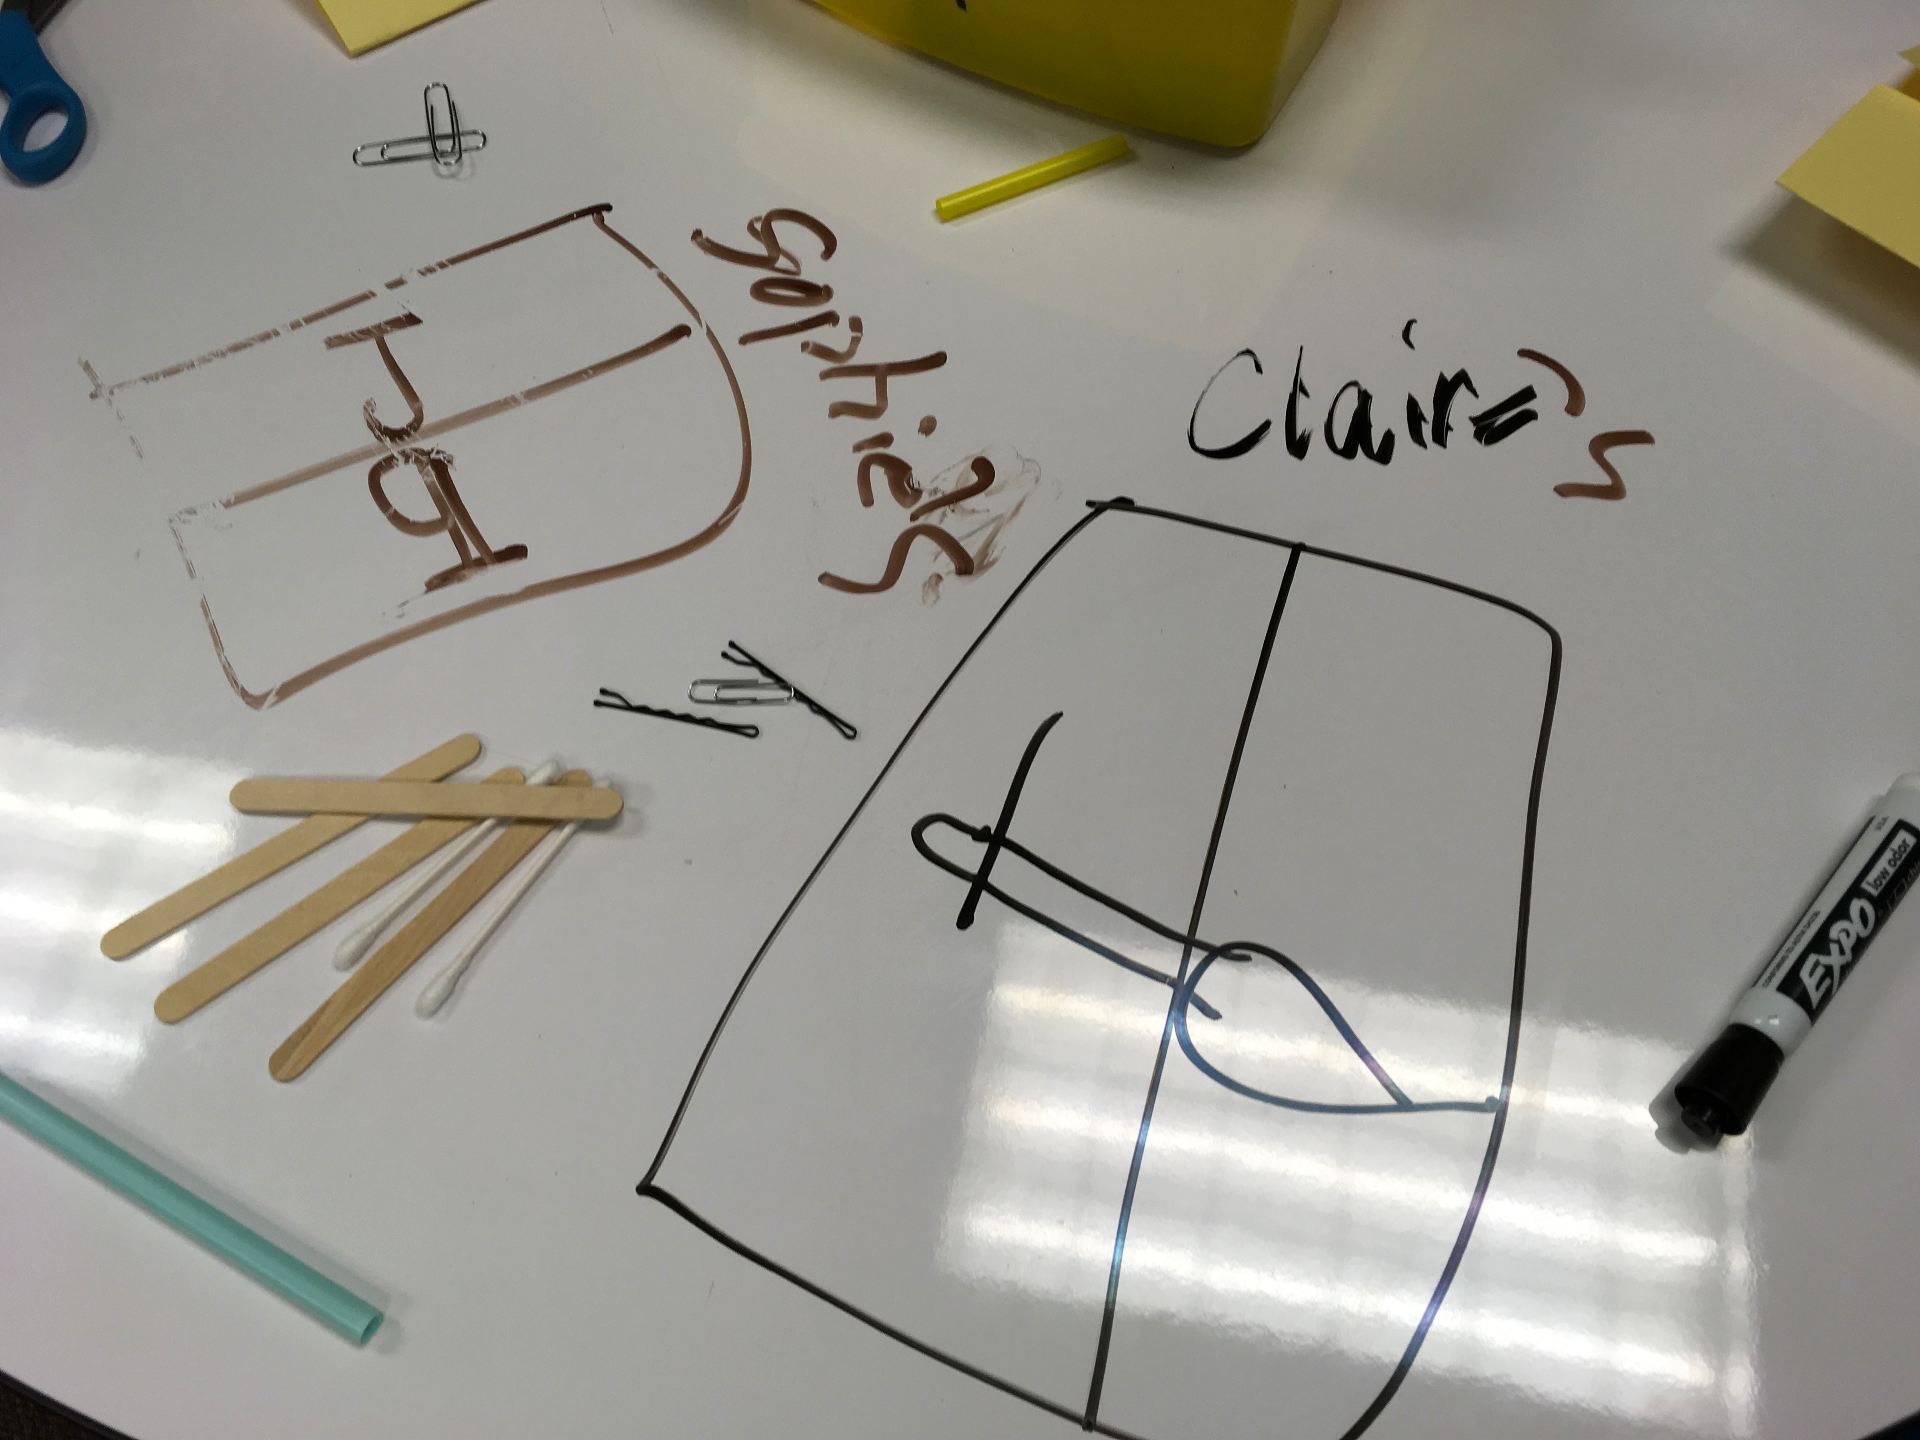
A latch had to be attached to the cardstock door so that students could demonstrate how it worked.
The Materials:
Cardstock paper folded into 3 sections to create the “door” to the cottage, Bobby pins, straws, q-tips, bottle caps, masking tape, craft sticks, glue
The Process:
The students were introduced to the task as well as the materials available to them.We did have to explain what a latch was – that’s not exactly a common word anymore! Before sending them to their tables, I asked the children to individually think how they might combine the materials to create a latch. The next step was to brainstorm with their partner and start sketching ideas. The students then drew designs on the tables and discussed with their partners which to try.
As the students built, they often revised their plans. A couple groups had enough time to test both designs they had drawn. We did have a few students who focused more on drawing the inside of the bears’ house rather than designing the latch first. Another group felt like the house needed a fence first so they built that which meant that they ran out of time to make the latch.
After completing the task, the students were asked to upload their design to Seesaw where they were to explain how their latch worked.
Here are some samples:
Here’s a look at the students hard at work!
Mrs. Garcia’s Class
Mrs. Shapard’s Class
Next time I’ll be sure to tell students the latch is the most important thing to design and build – nothing else! IF there is time, then they can go back to add additional details (drawing the bears inside the house, adding outside elements like fences).
The best part of this (or any) design challenge is listening to the students share ideas as they brainstorm, construct, and make changes to the design. You really learn a LOT! What I’ve found is that the quieter students that might not speak out in a whole-group setting, truly shine with activities like this.