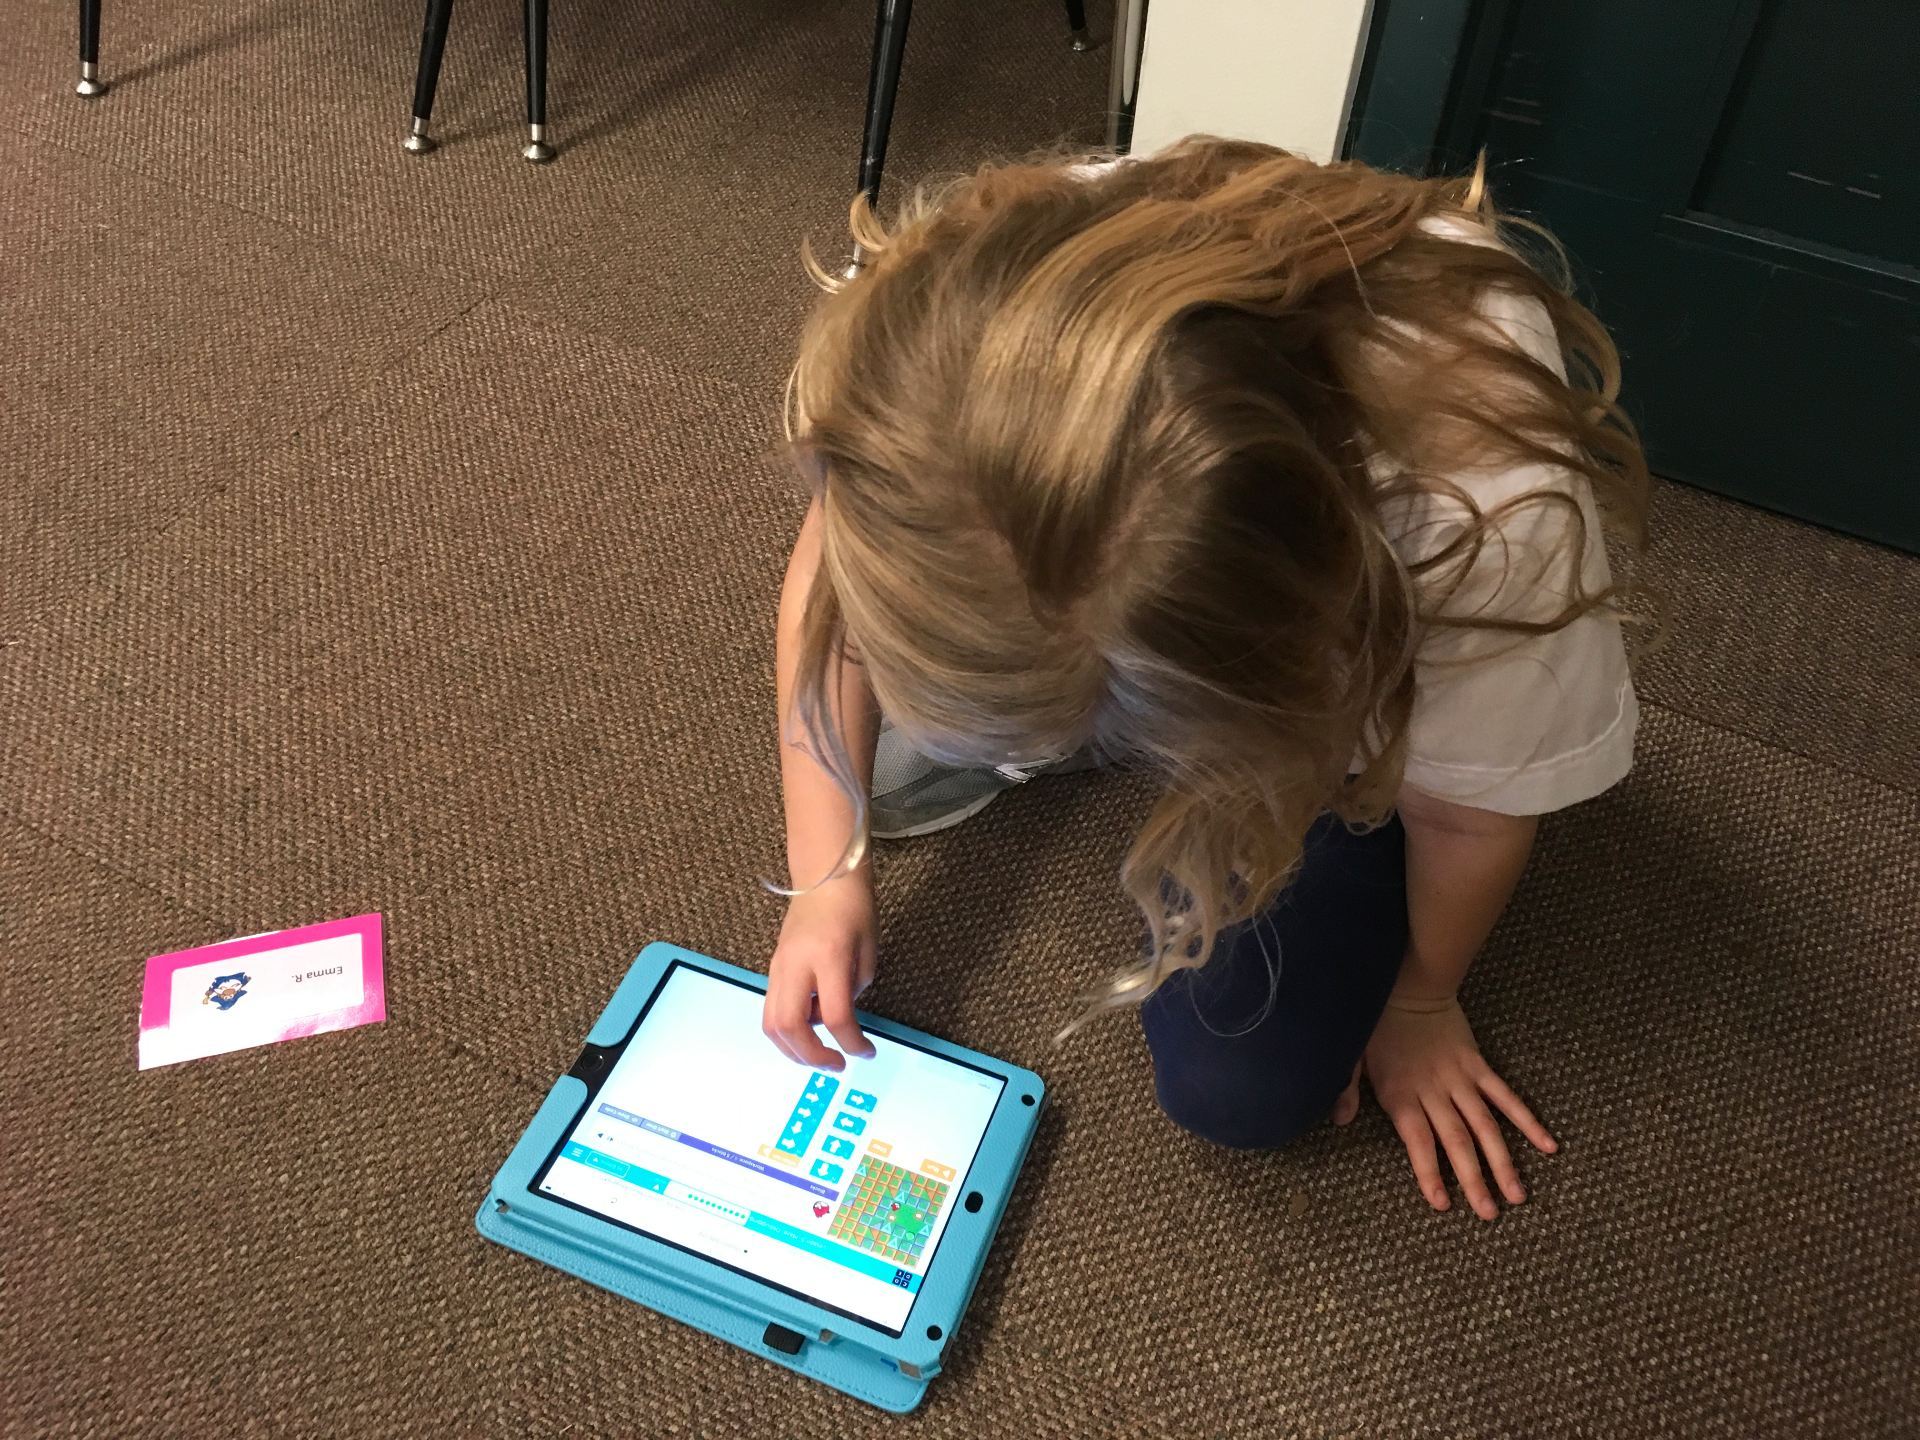
The new Kodable updates are a definite WIN! This week the first graders were introduced to the program. WOW! Were they excited!! Kodable is extremely engaging (it’s the one app kids don’t want to close when it’s time to leave). More than that, though, it is an excellent tool for learning computational thinking.
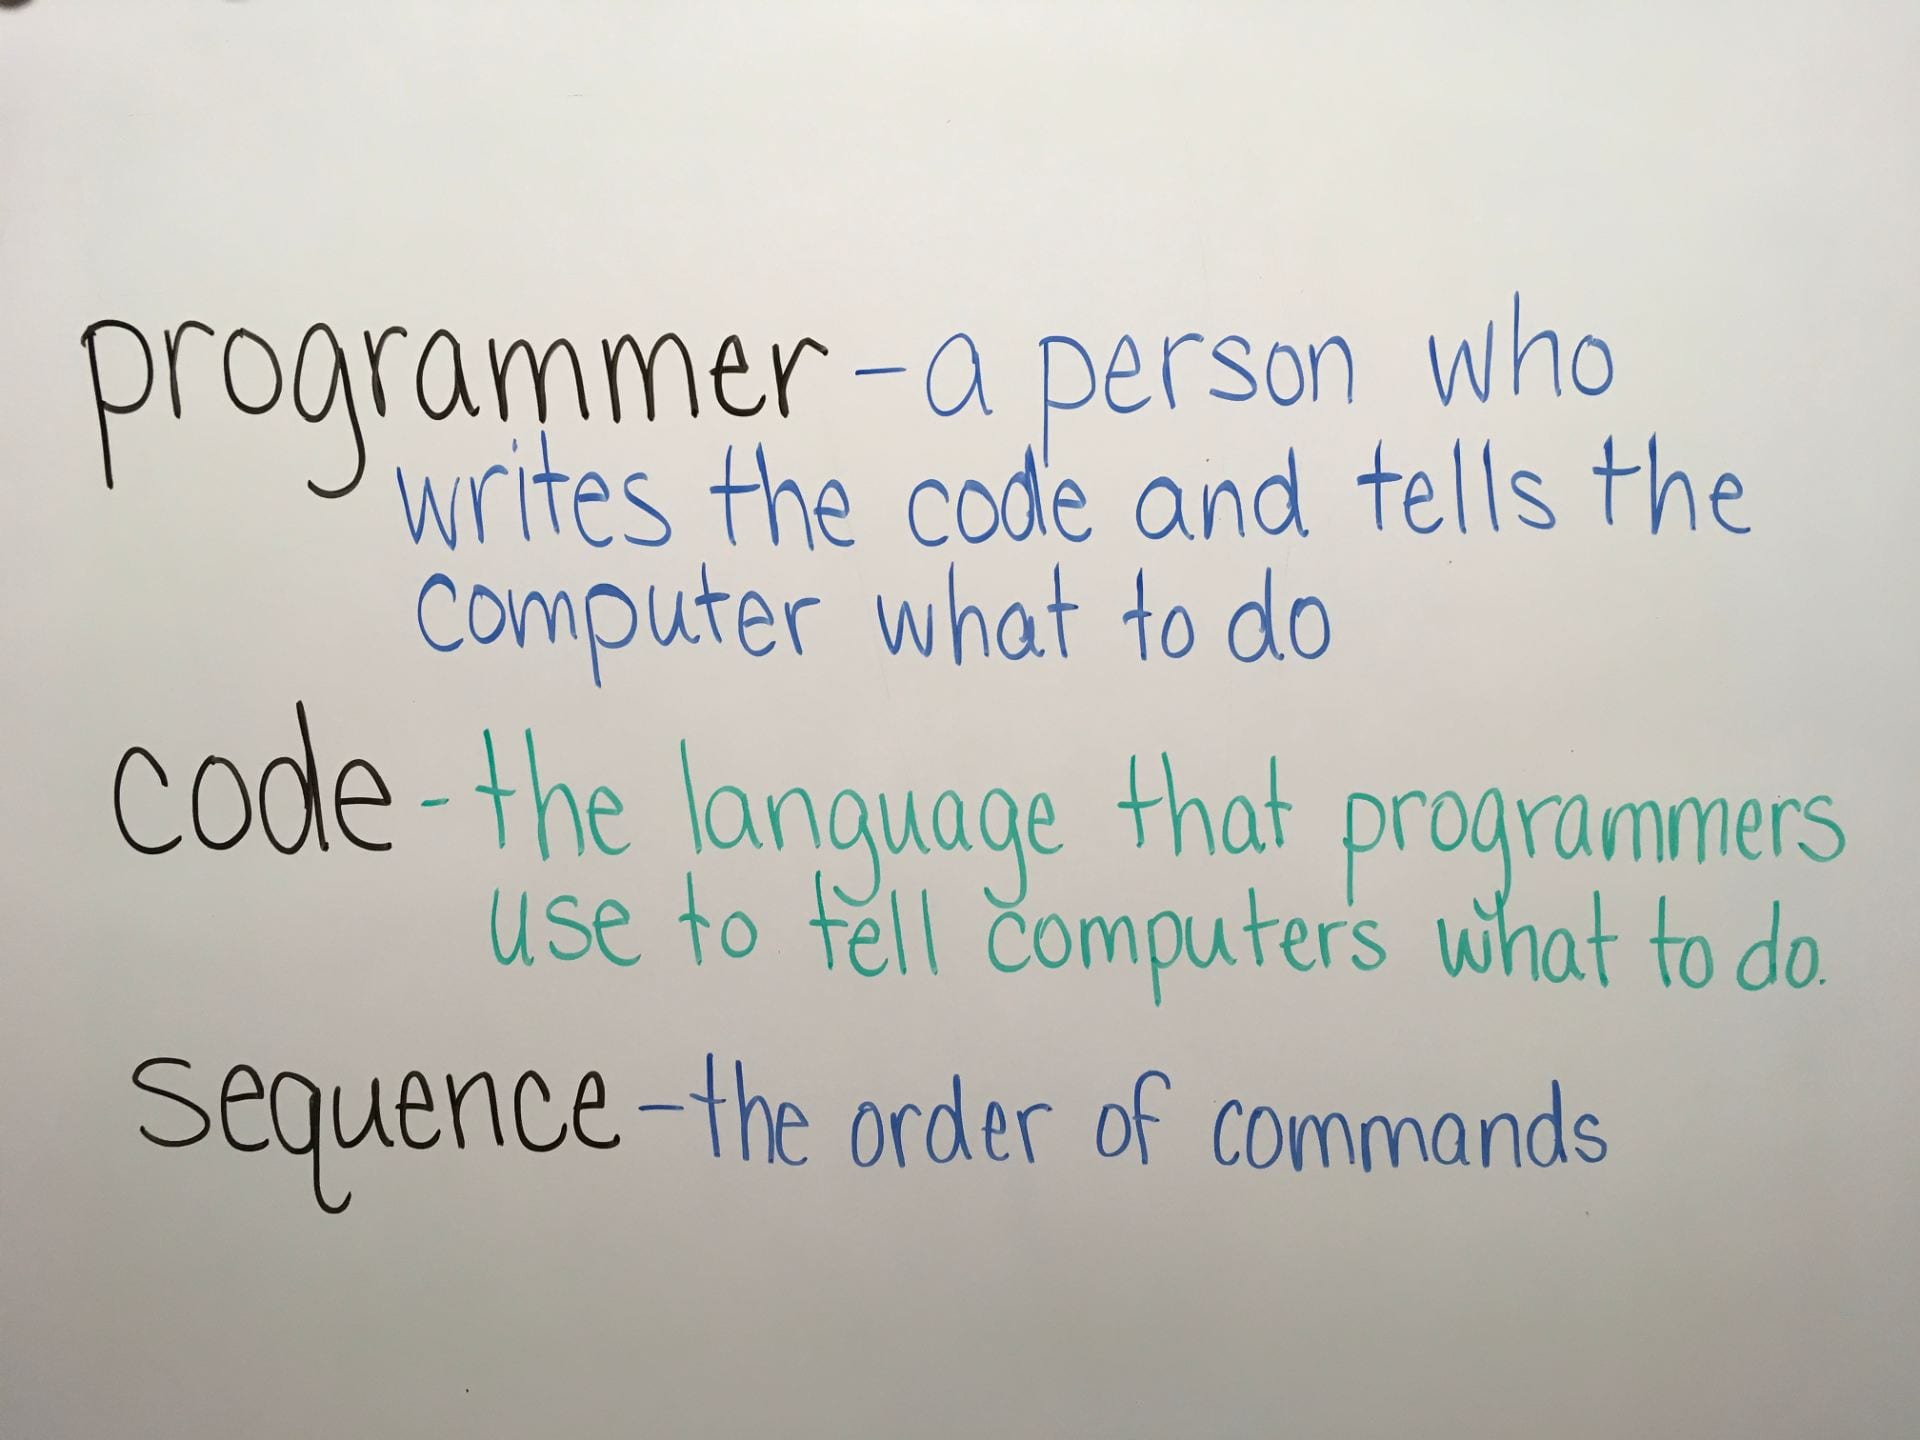
Using the great lessons offered by Kodable, we began with a vocabulary discussion:
Next, we practiced following commands written as symbols.
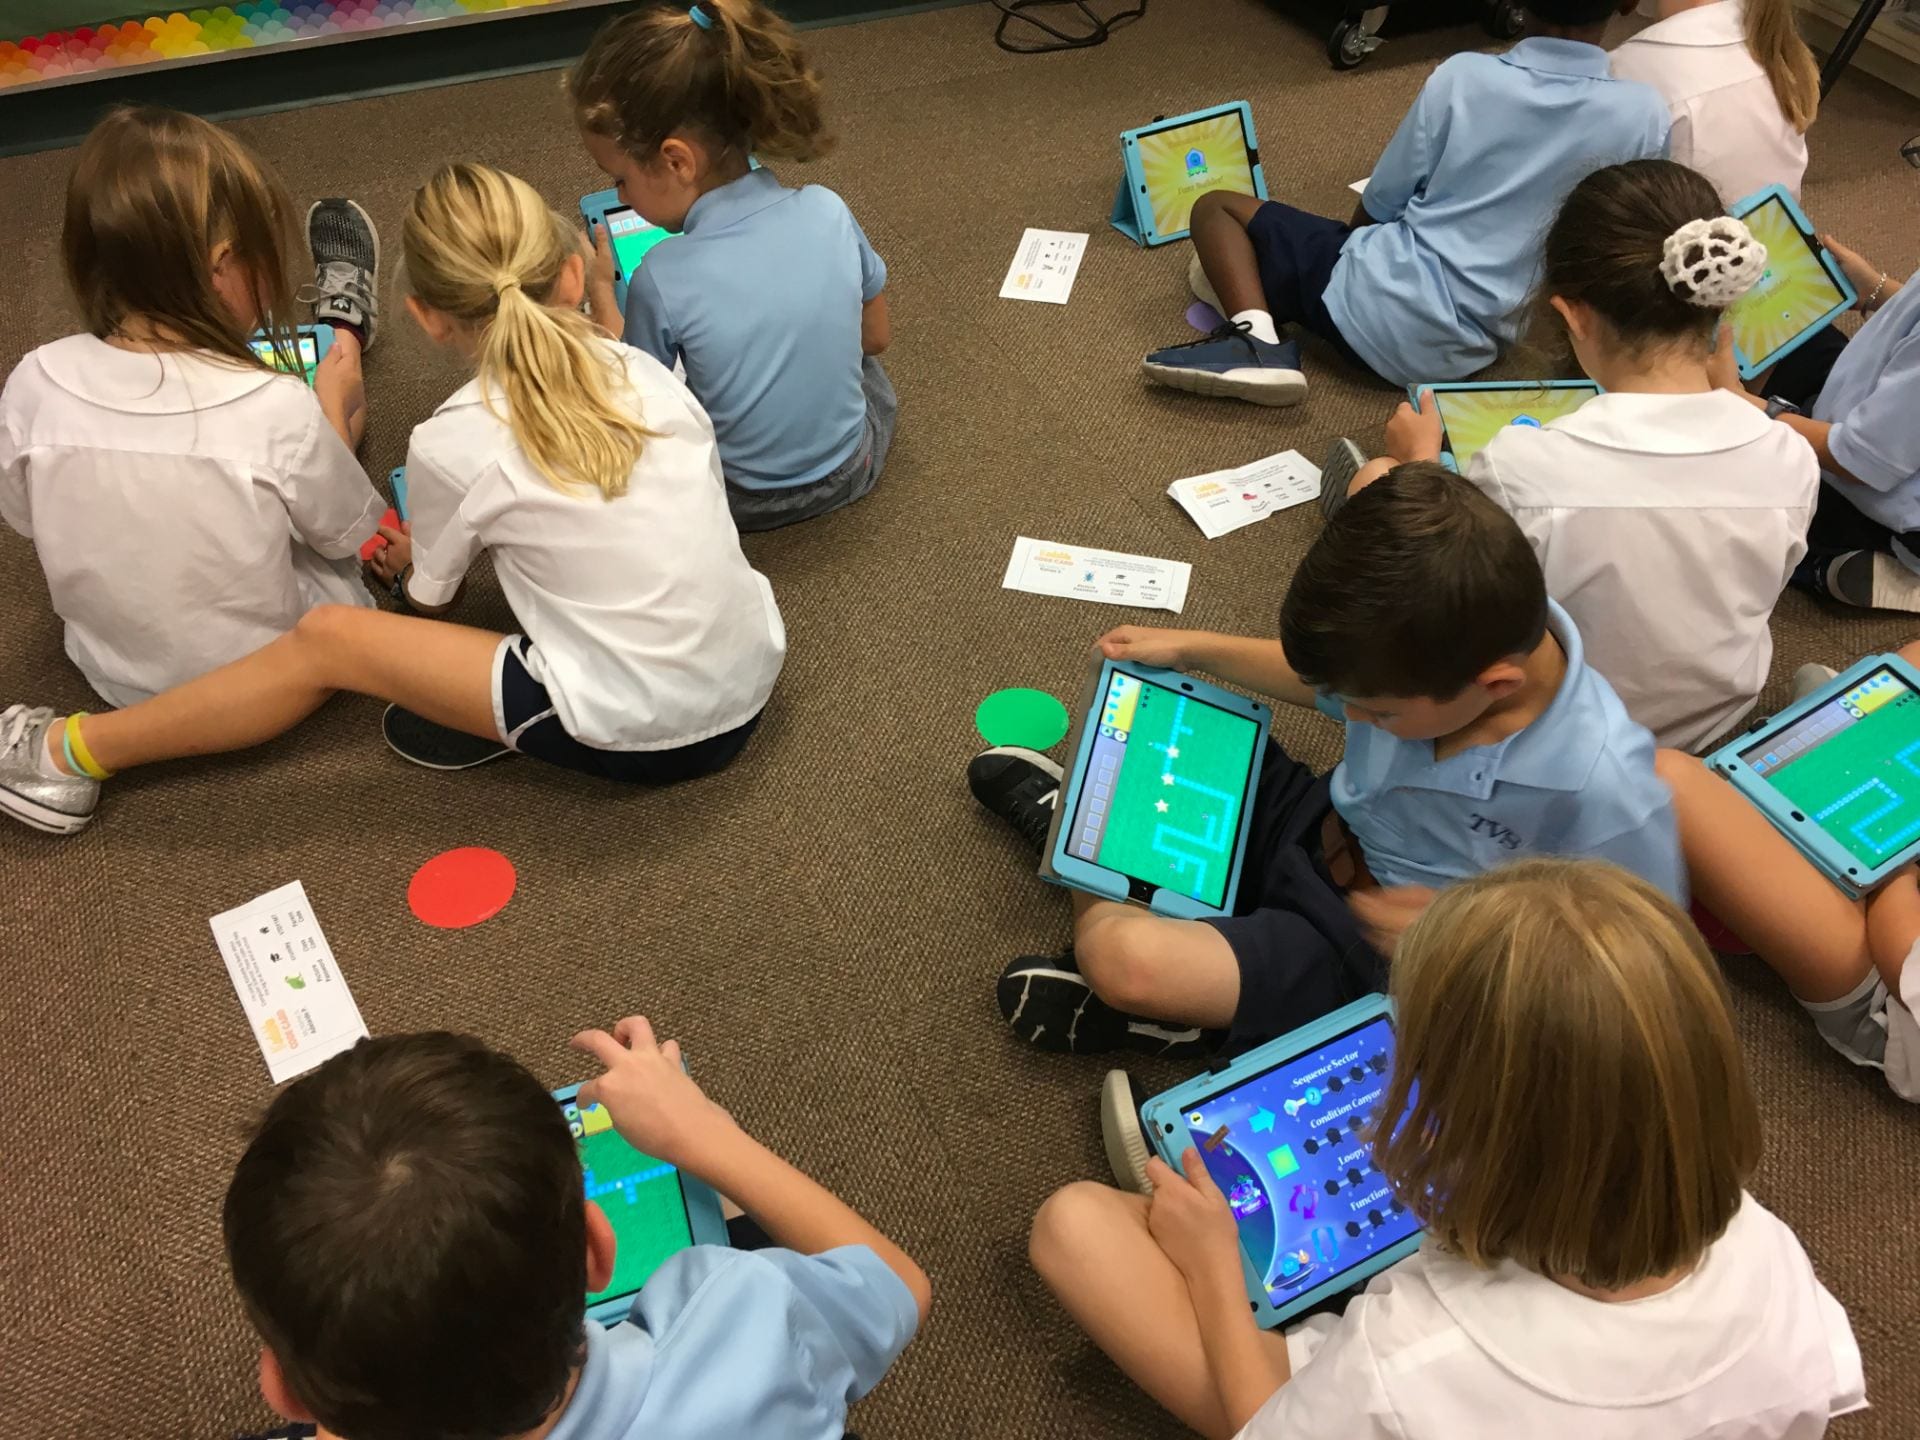
After a couple of practices where I pointed to the symbol code as students performed it, I challenged them to follow a string of symbols on their own. They worked at their own pace with eyes glued to the whiteboard. They were EXTREMELY focused and it was really cute to watch.
After that, we went into Kodable and worked through the first puzzle together and then they were off! I loved watching them work through each level, talking it out, helping each other.
When class was over, NO ONE wanted to close Kodable. Thankfully, Kodable now has the ability to link school and home accounts. Click here for instructions.
Thank you, Kodable, for an engaging way to learn computational thinking and the basics of programming!
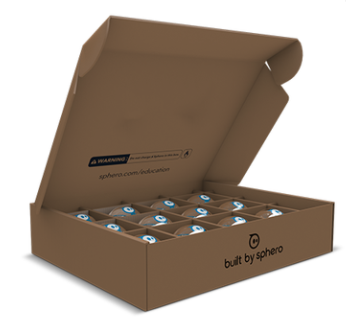
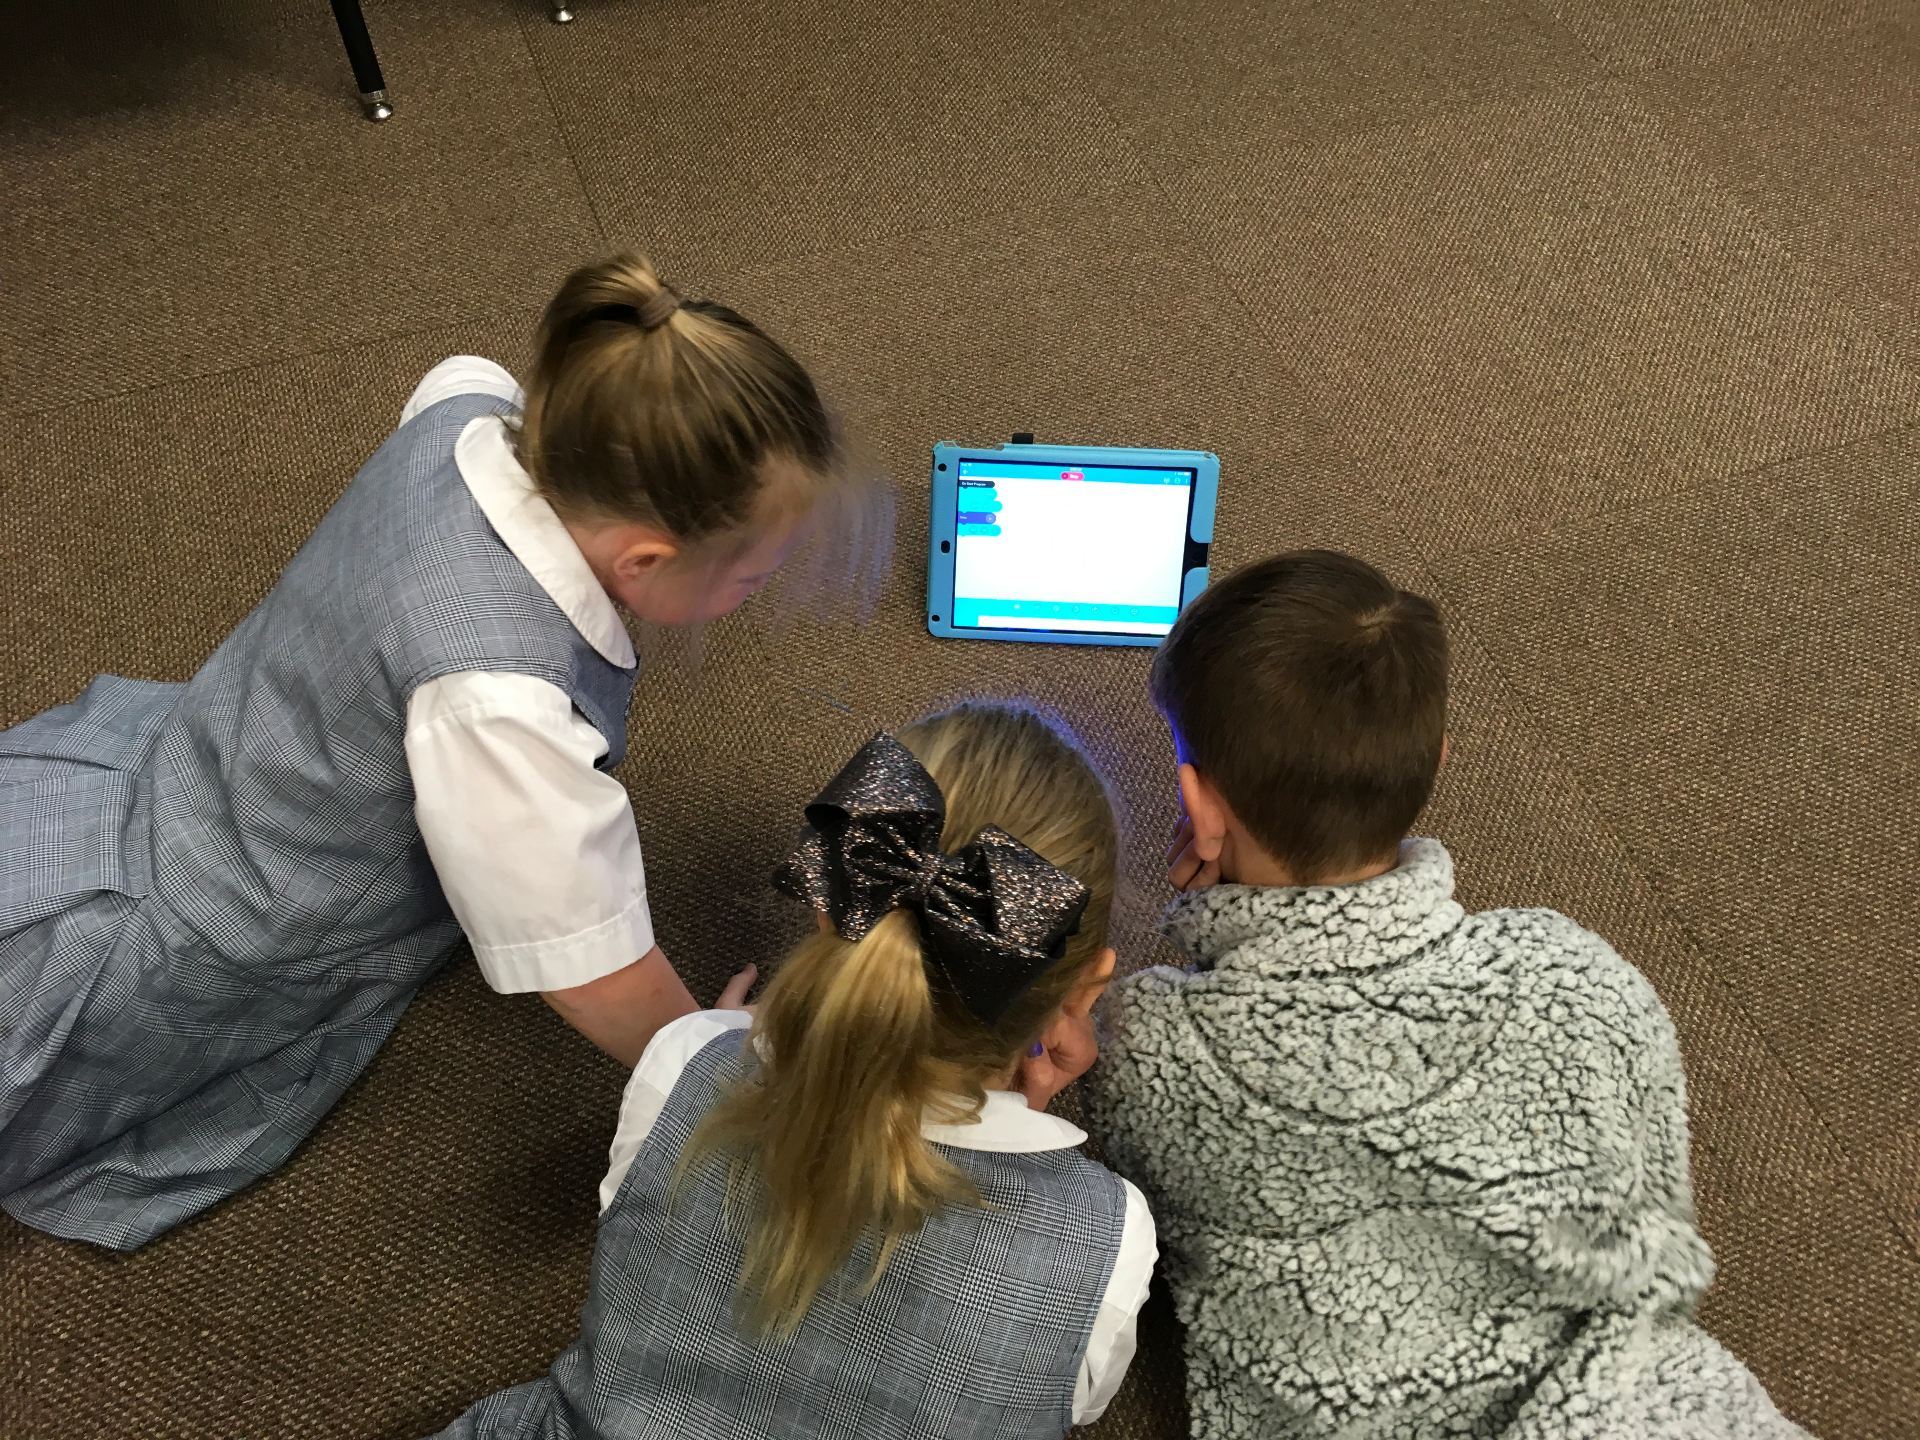
We have a fantastic Parents’ Club at our school. Each year we are given the opportunity to apply for Grants for Greatness. My request this year was a class set of the Sphero SPRK+ robots.
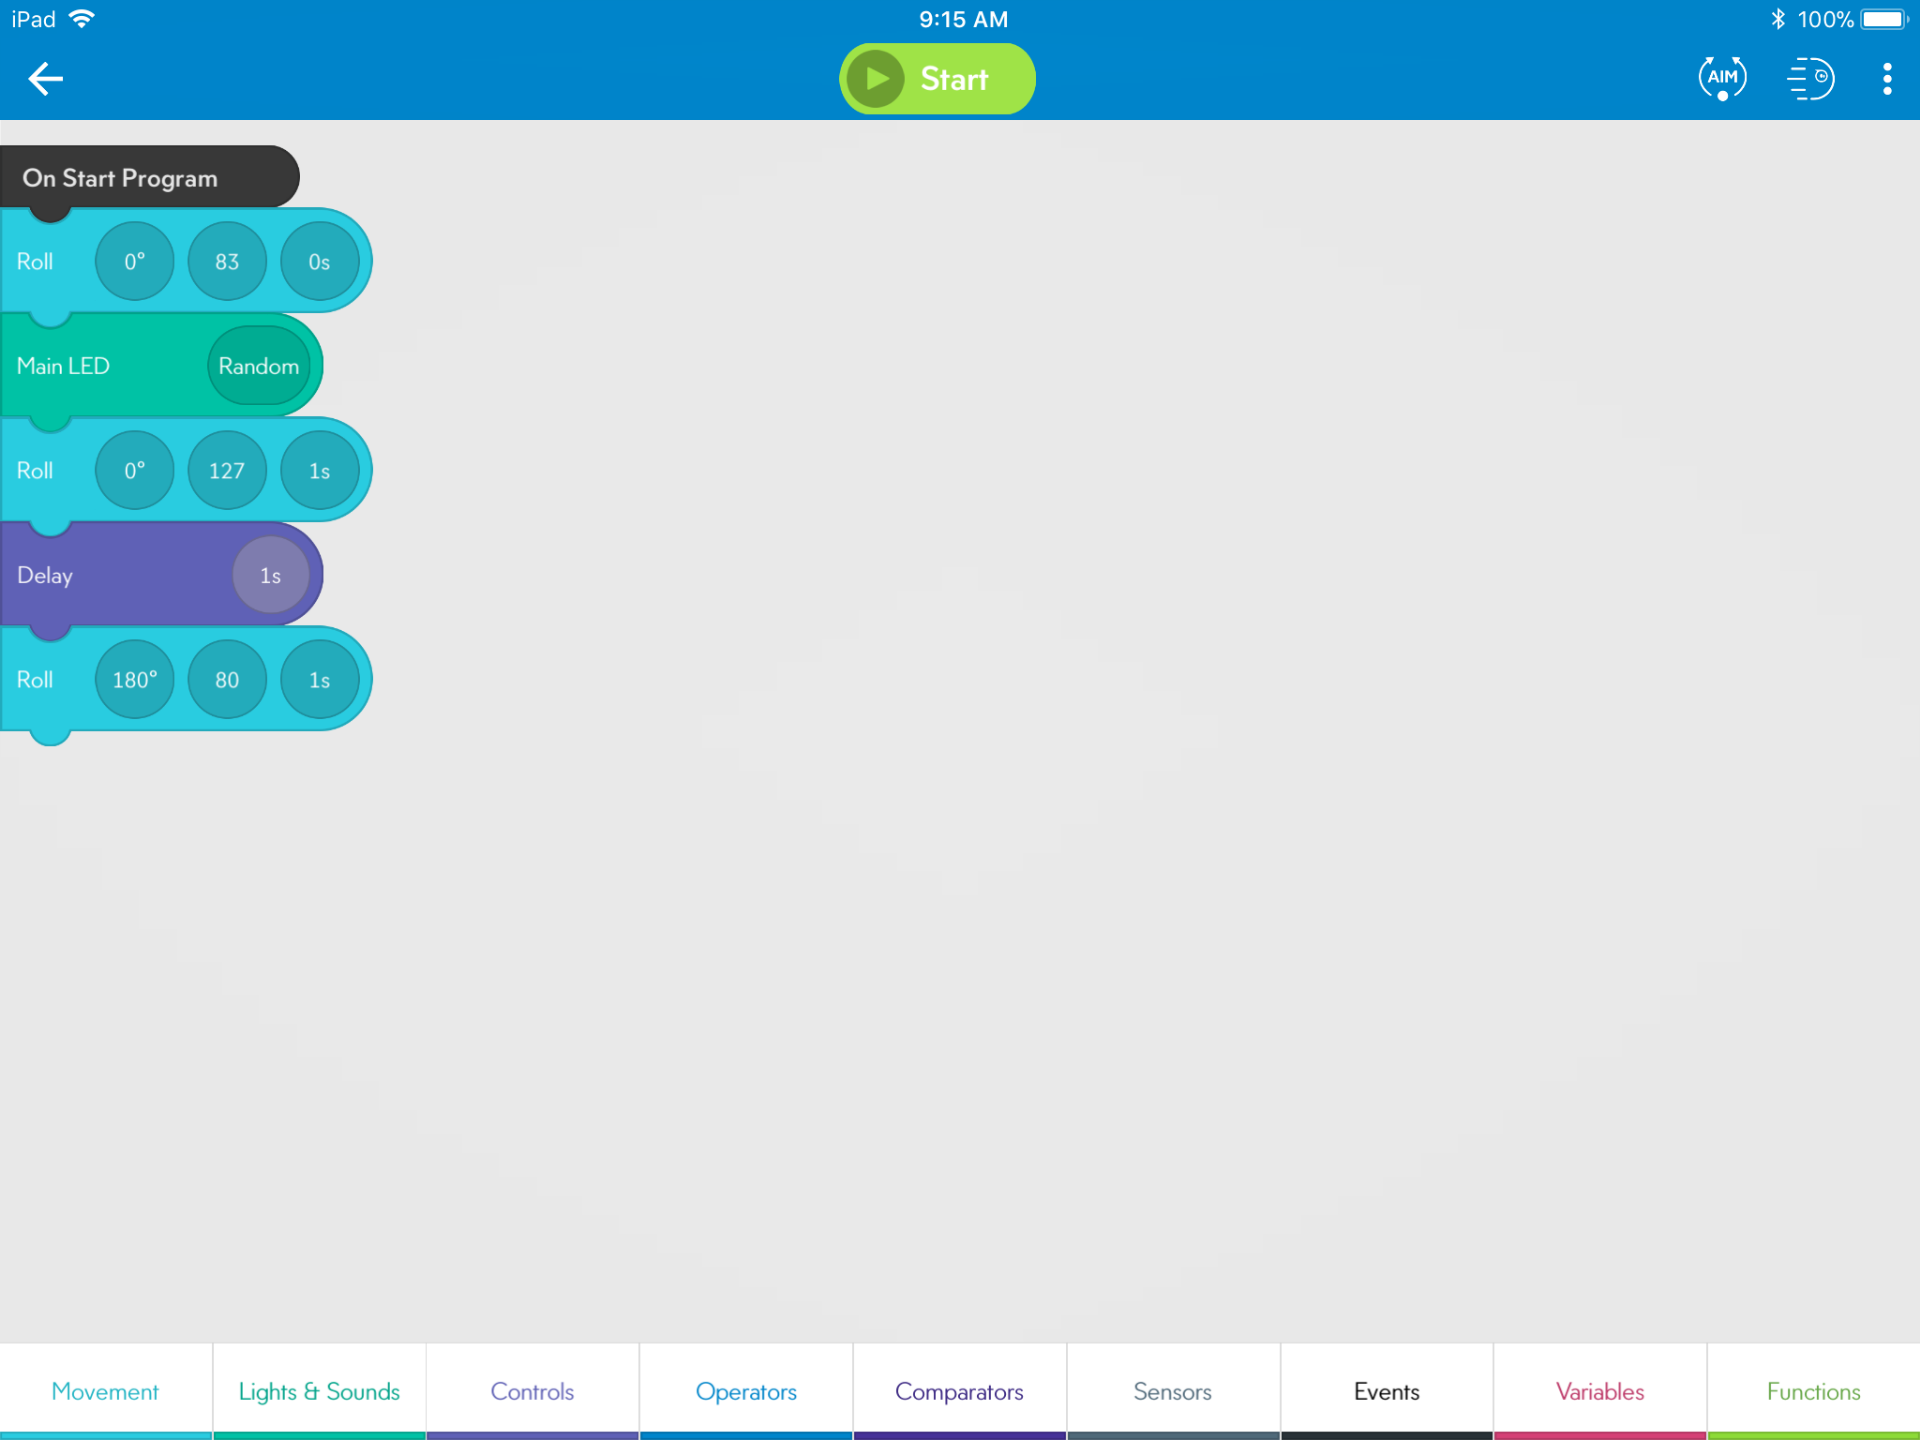
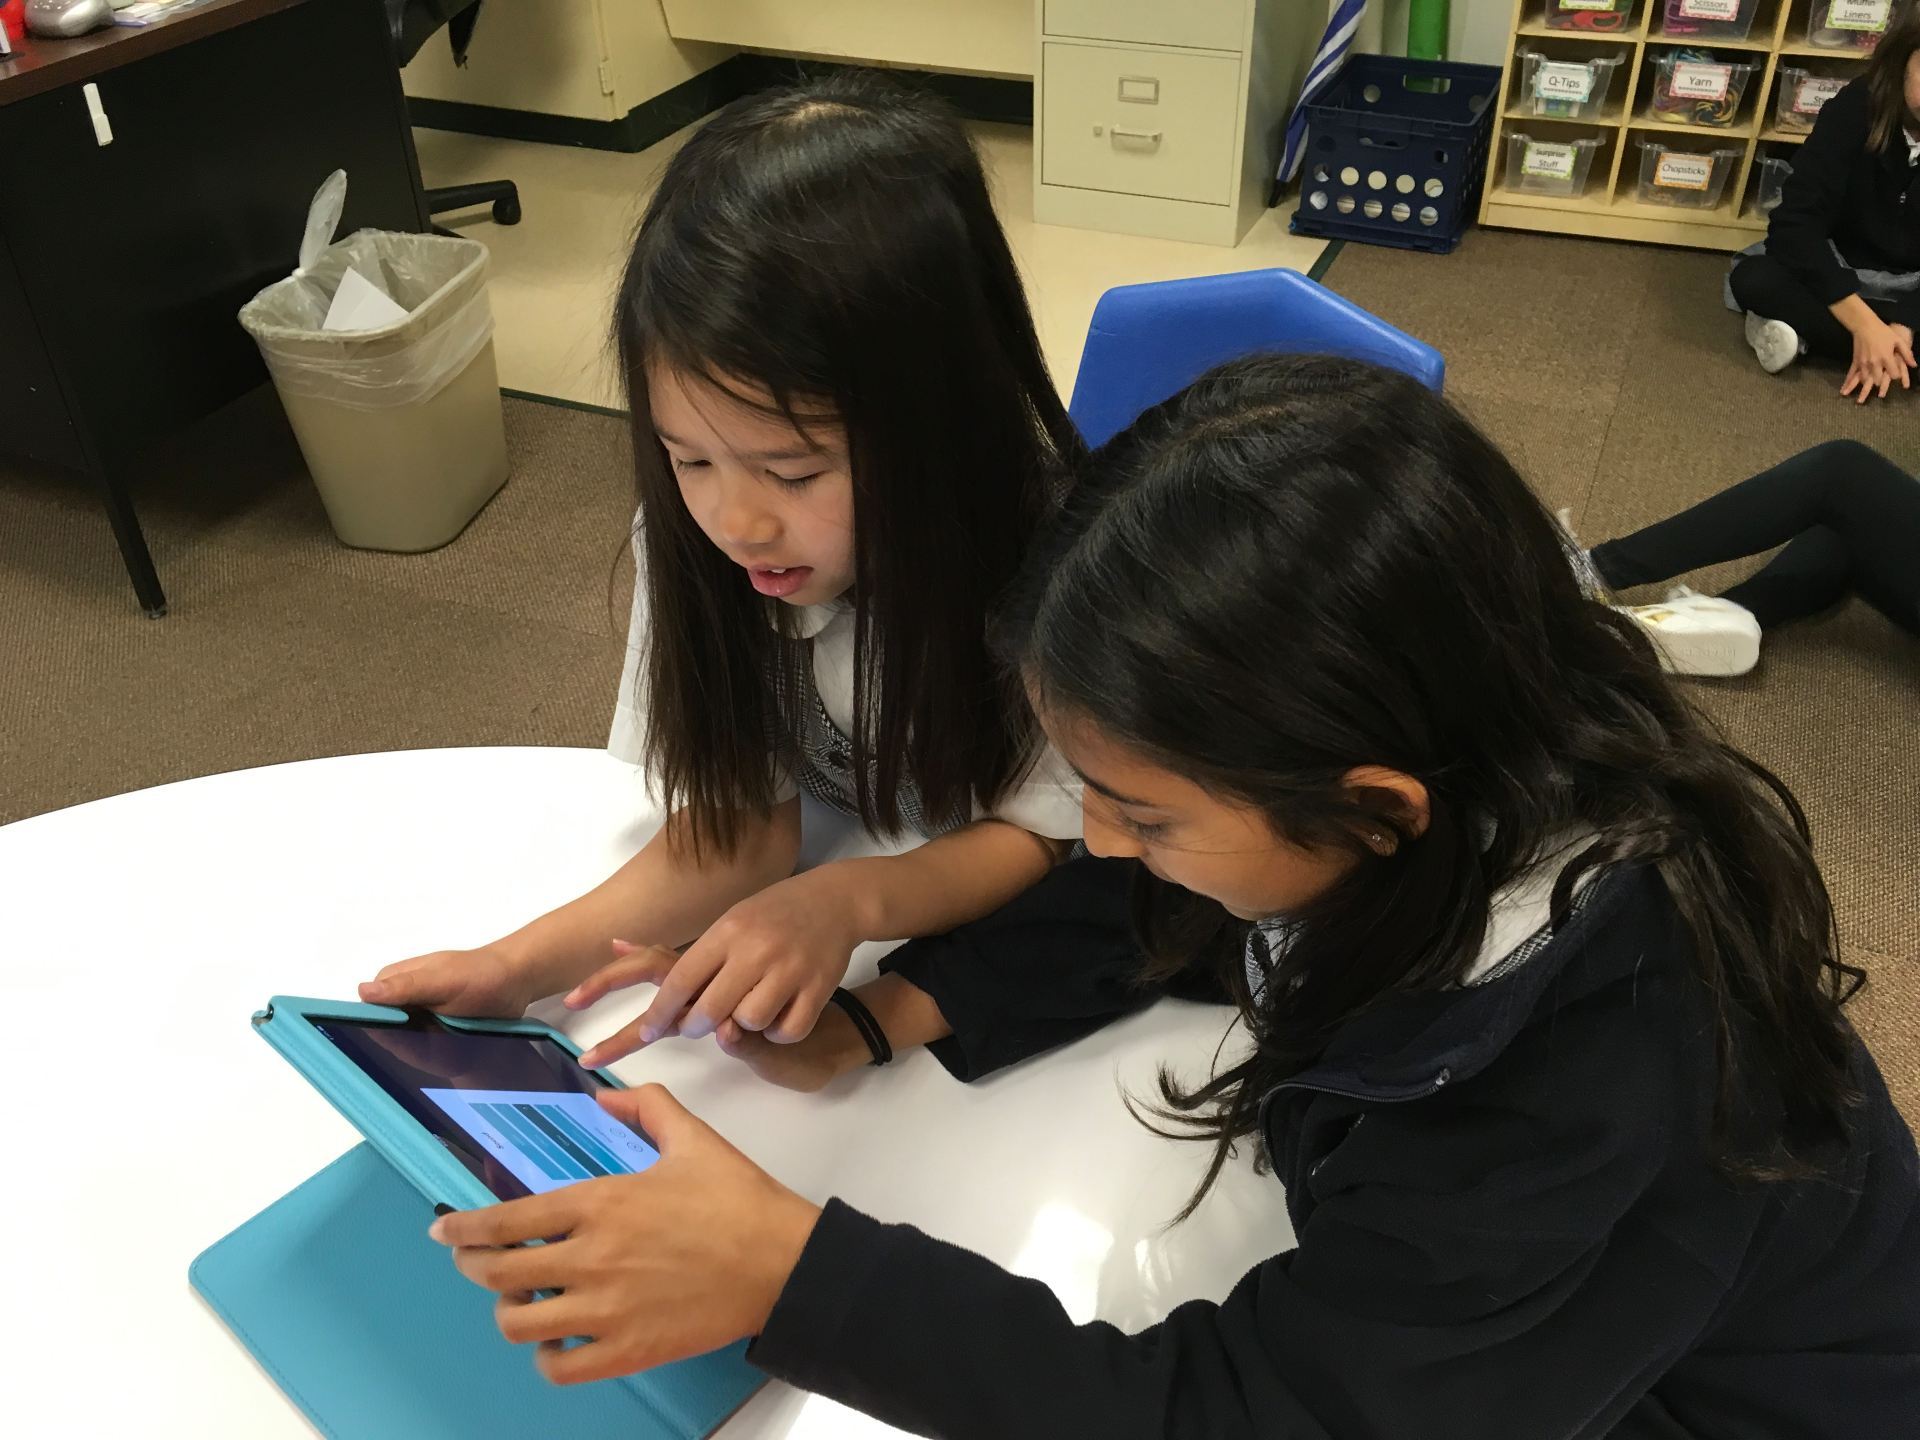
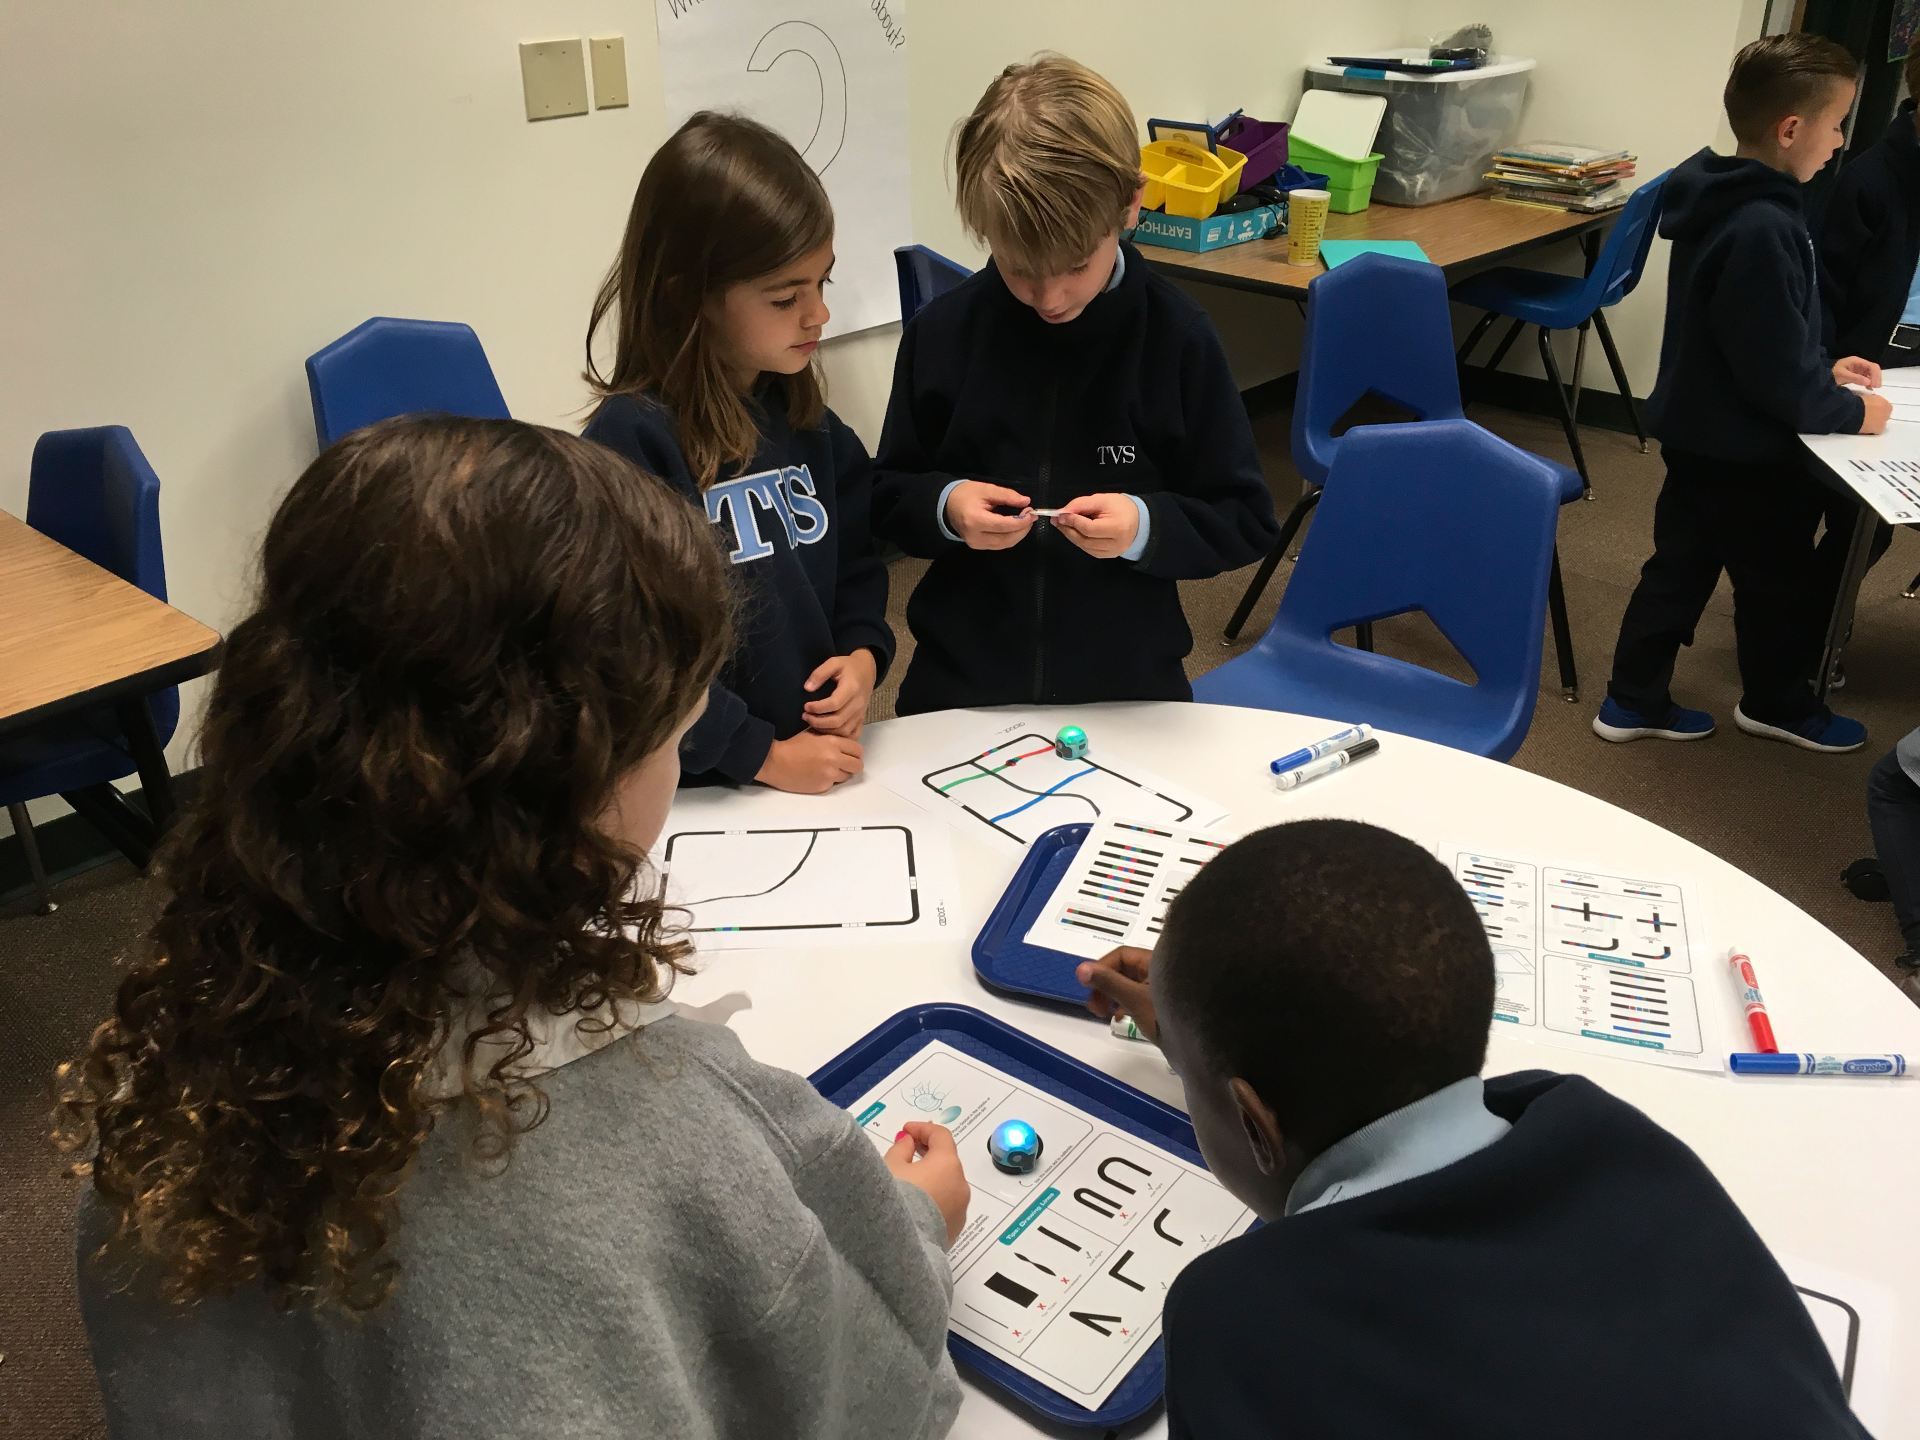
Our third graders were the first to experience the Spheros using the Sphero EDU app. The app is block-based programming with all kinds of blocks available to challenge students. There were a few students who had their own Spheros at home so they were eager to provide help to those trying them out for the first time.
To begin, I introduced the app to the students and told them some helpful tips. For example, it’s really important to aim the Sphero. If you don’t, Sphero won’t do what you expect! We went over the tabs at the bottom of the screen. For the first session, I suggested that they focus on movement, lights & sounds, and controls only.
Then, I gave them the challenges:
Make Sphero roll in a straight line away from you.
Have Sphero roll back to you.
Add lights as Sphero rolls.
Add sound.
Program Sphero to roll around the perimeter of a carpet square. (We had a great discussion about right angles for this one!)
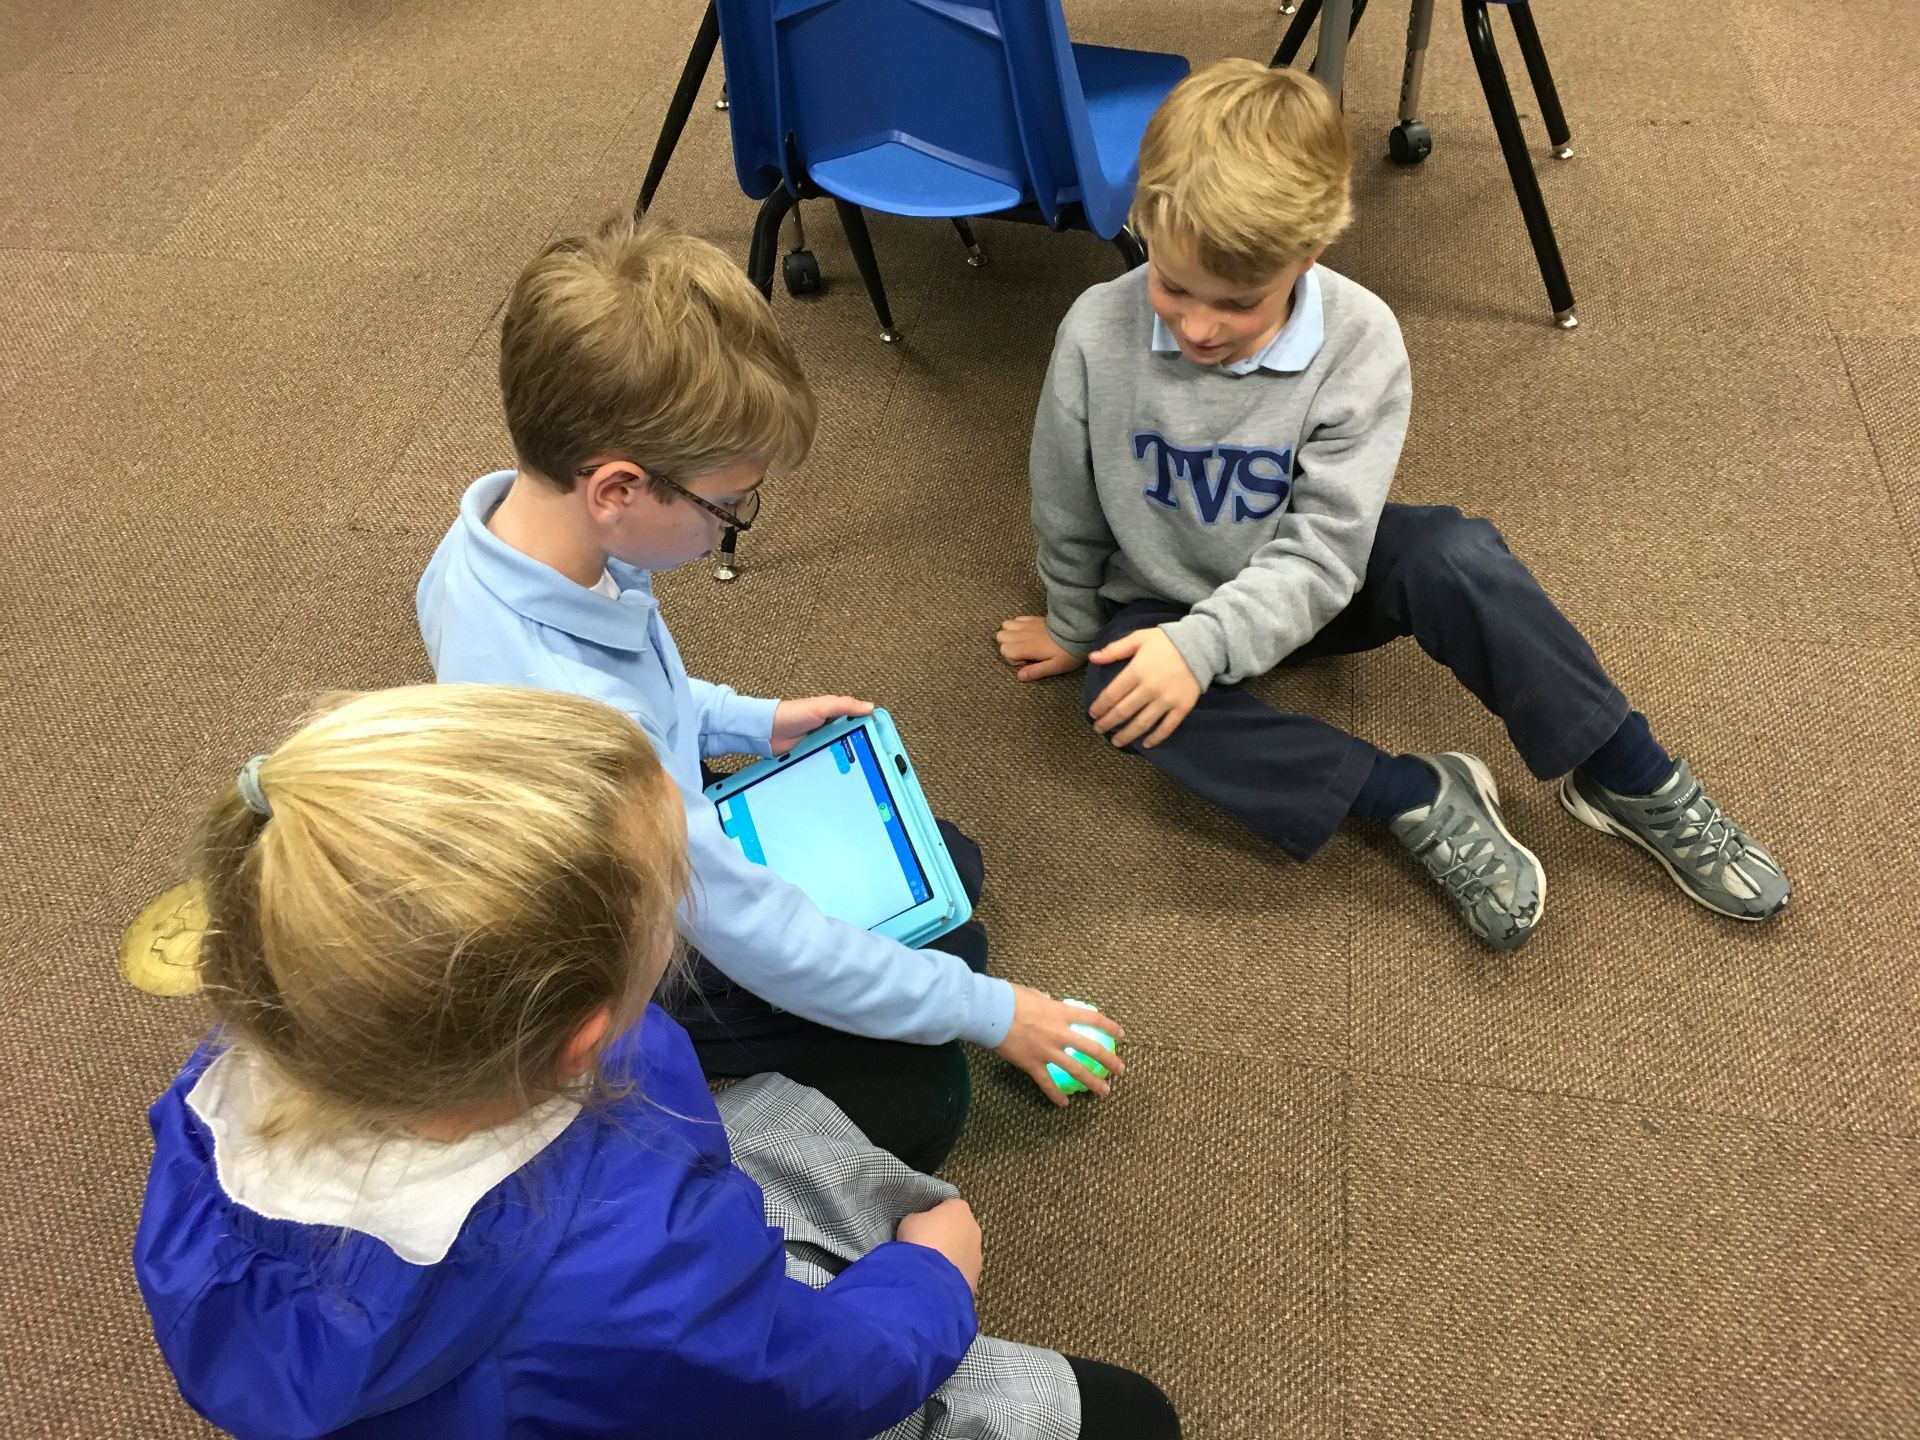
Spreading out, the challenges began. Students experimented with speed and timing as the little balls went speeding past legs. Every once in a while, we’d hear, “Watch out for my Sphero!” Getting the robots to roll back was often figured out as they rolled behind desks and the printer!
There were questions such as, “Why didn’t the lights show up as it rolled?” That led to discussions on order of blocks – it does make a difference!
No one accomplished the last challenge of driving around the carpet square but some came really close!
As we wrapped up the lesson, several of the Sphero owners said they didn’t know about the app we used; there’s another app that just drives the robot – no programming involved. They were eager to go home to download Sphero EDU.
Cubetto, a robot created by Primo Toys, is a cube-shaped robot that is programmed by adding shapes to a control board. This description is from their web site: “Meet Cubetto: the friendly wooden robot toy for kids aged 3-7, chosen by 20000 parents & teachers to guide kids on coding adventures without screens.“
Having discovered Cubetto from another educator on Twitter, I started researching it and decided this would be an excellent tool for teaching the basics of coding to our younger students. I shared the information with our Chief Technology Officer and our Middle and Upper School programming instructors who were equally excited. Our CTO even found some extra funds to purchase one!
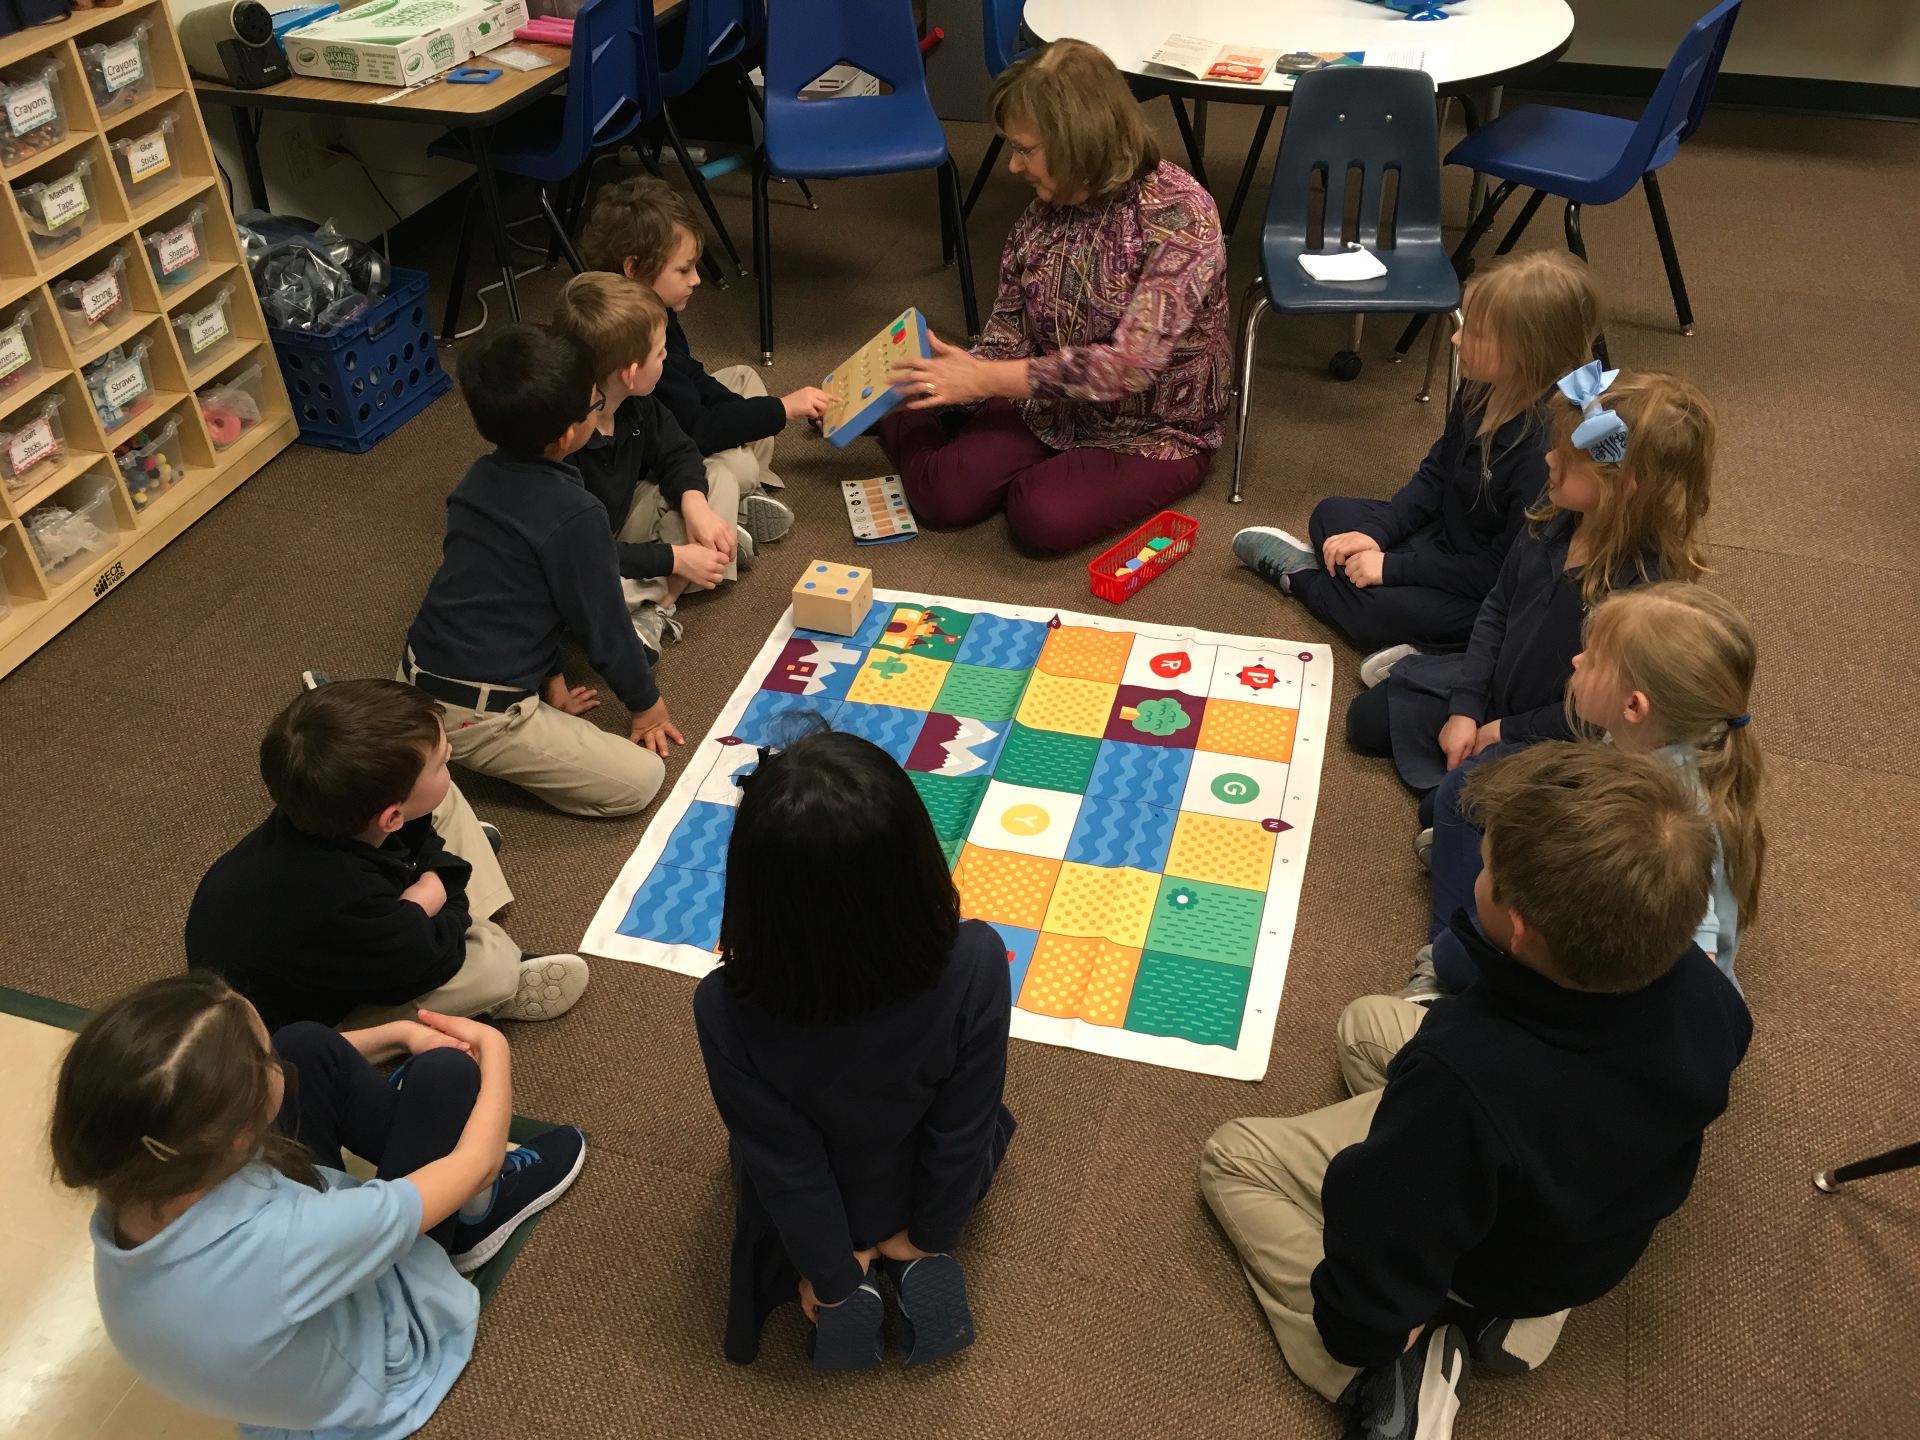
A couple days later, Cubetto was introduced to our Kinder students. As you can see, the mats are small. There is no way you can fit an entire class around one so I asked the teachers to split their class into two groups each. One group worked on the Lego Wall while the other explored Cubetto. We switched after about 15 minutes.
We started by discussing the mat – geographical features, compass rose. It turned out that the students had spent the week learning about maps so this fit perfectly into their curriculum. The blocks were introduced by letting the students try them one a time to see how the robot responded. The function block brought puzzled expressions! By itself, of course, it does nothing. To a young child, the first reaction is that it doesn’t work! Later, they were able to see its benefits.
Then I gave a challenge – “Cubetto wants to travel to the mountains. How do we program it to get there?” As the control board was passed around to each child, we talked through blocks to choose. Then, we pointed to each block as Cubetto followed the commands. Of course, there were some “bugs” to work out which produces great problem-solving. Using the function blocks is necessary because there aren’t enough “go straight” blocks. That’s a hard concept for little ones but it will come with practice. You can see in the picture below that we were using the function blocks to represent 4 go straight blocks.
Everyone worked together quite well. A couple of the students really caught on quickly; you could practically see their analytical minds working! Some children were hesitant to make a decision about the type of block to insert but classmates were eager to offer advice and encouragement.
During the last group, it seemed to be taking longer than any other group to go around the circle so that everyone had a turn to add a block. Turned out, this group was actually larger than the first – one little boy apparently enjoyed Cubetto so much that, instead of going to the Lego wall, he just joined the new group to work with the robot again!
Judging from the reactions of the students, the Cubetto robot was a HUGE hit!
What I Like about Cubetto:
A lot of thought went into the making of Cubetto which means all types of learning is going on – directions, map skills, basic coding skills including function, geography, math.
Easy to use and perfect for small hands.
The hands-on nature of Cubetto provides excellent visual learning for students as they explore computational thinking.
What I Wish:
The basic kit comes with only one map and limited coding blocks (directions and 2 function). It would have been nice to have more blocks, including the logic ones.
The kits are expensive! You can buy extra mats and blocks, but at $29 each, that adds up.
For a classroom you will need at least 2 kits because only 6 or 7 students can comfortably around the mats. Three or four is even better but that gets expensive!
Cubetto is a very slow-moving robot compared to others I have. A bit faster would have been nice but we can certainly handle the slowness!
Would I Buy it Again?
YES!! This is an excellent tool for helping young children understand the concepts of coding!
I met Beth a few years ago while attending an EdTechTeacher conference and she is one of the most creative and knowledgeable persons I know. I ALWAYS learn so much in her sessions! Her focus is on pedagogy first; using technology ONLY if it is the correct tool to help meet the objective. So, I knew whatever she had to say would be well-worth reading!
Since Book Creator is my go-to app and coding is an area I feel is important for all ages, the title certainly caught my eye!
As it turned out, I focused on a variety of coding activities using Ozobots (to the delight of all the students) and ran out of time for other options. This month, I revisited Beth’s post and incorporated it into the fourth grade lessons.
Take a look at Beth’s video, Teach Coding as a Language with Book Creator.
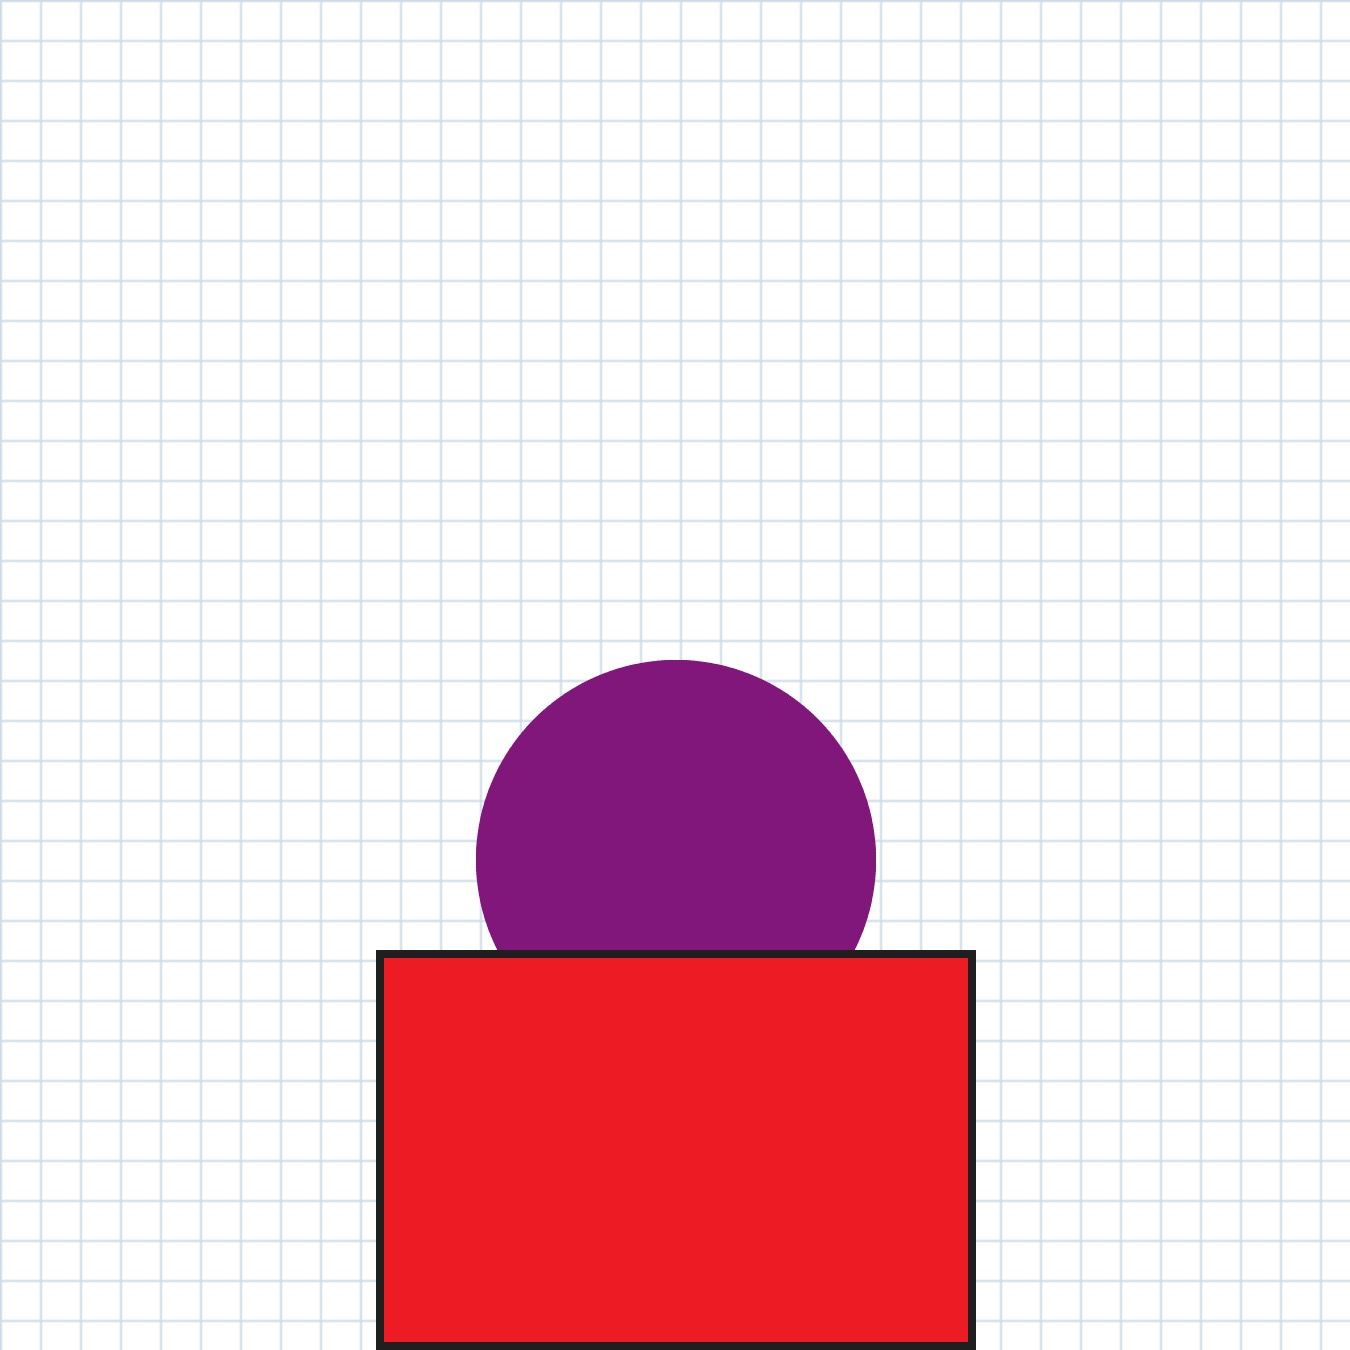
Following Beth’s ideas, I started with these instructions, telling students I could only speak in concise sentences:
Add > Shape > Rectangle
“i” > Color > Red
“i” > Border On > Color > Black
Add > Shape > Circle
“i” > Color > Purple
Move Circle > x=238; y=338
“i” > Move to Back
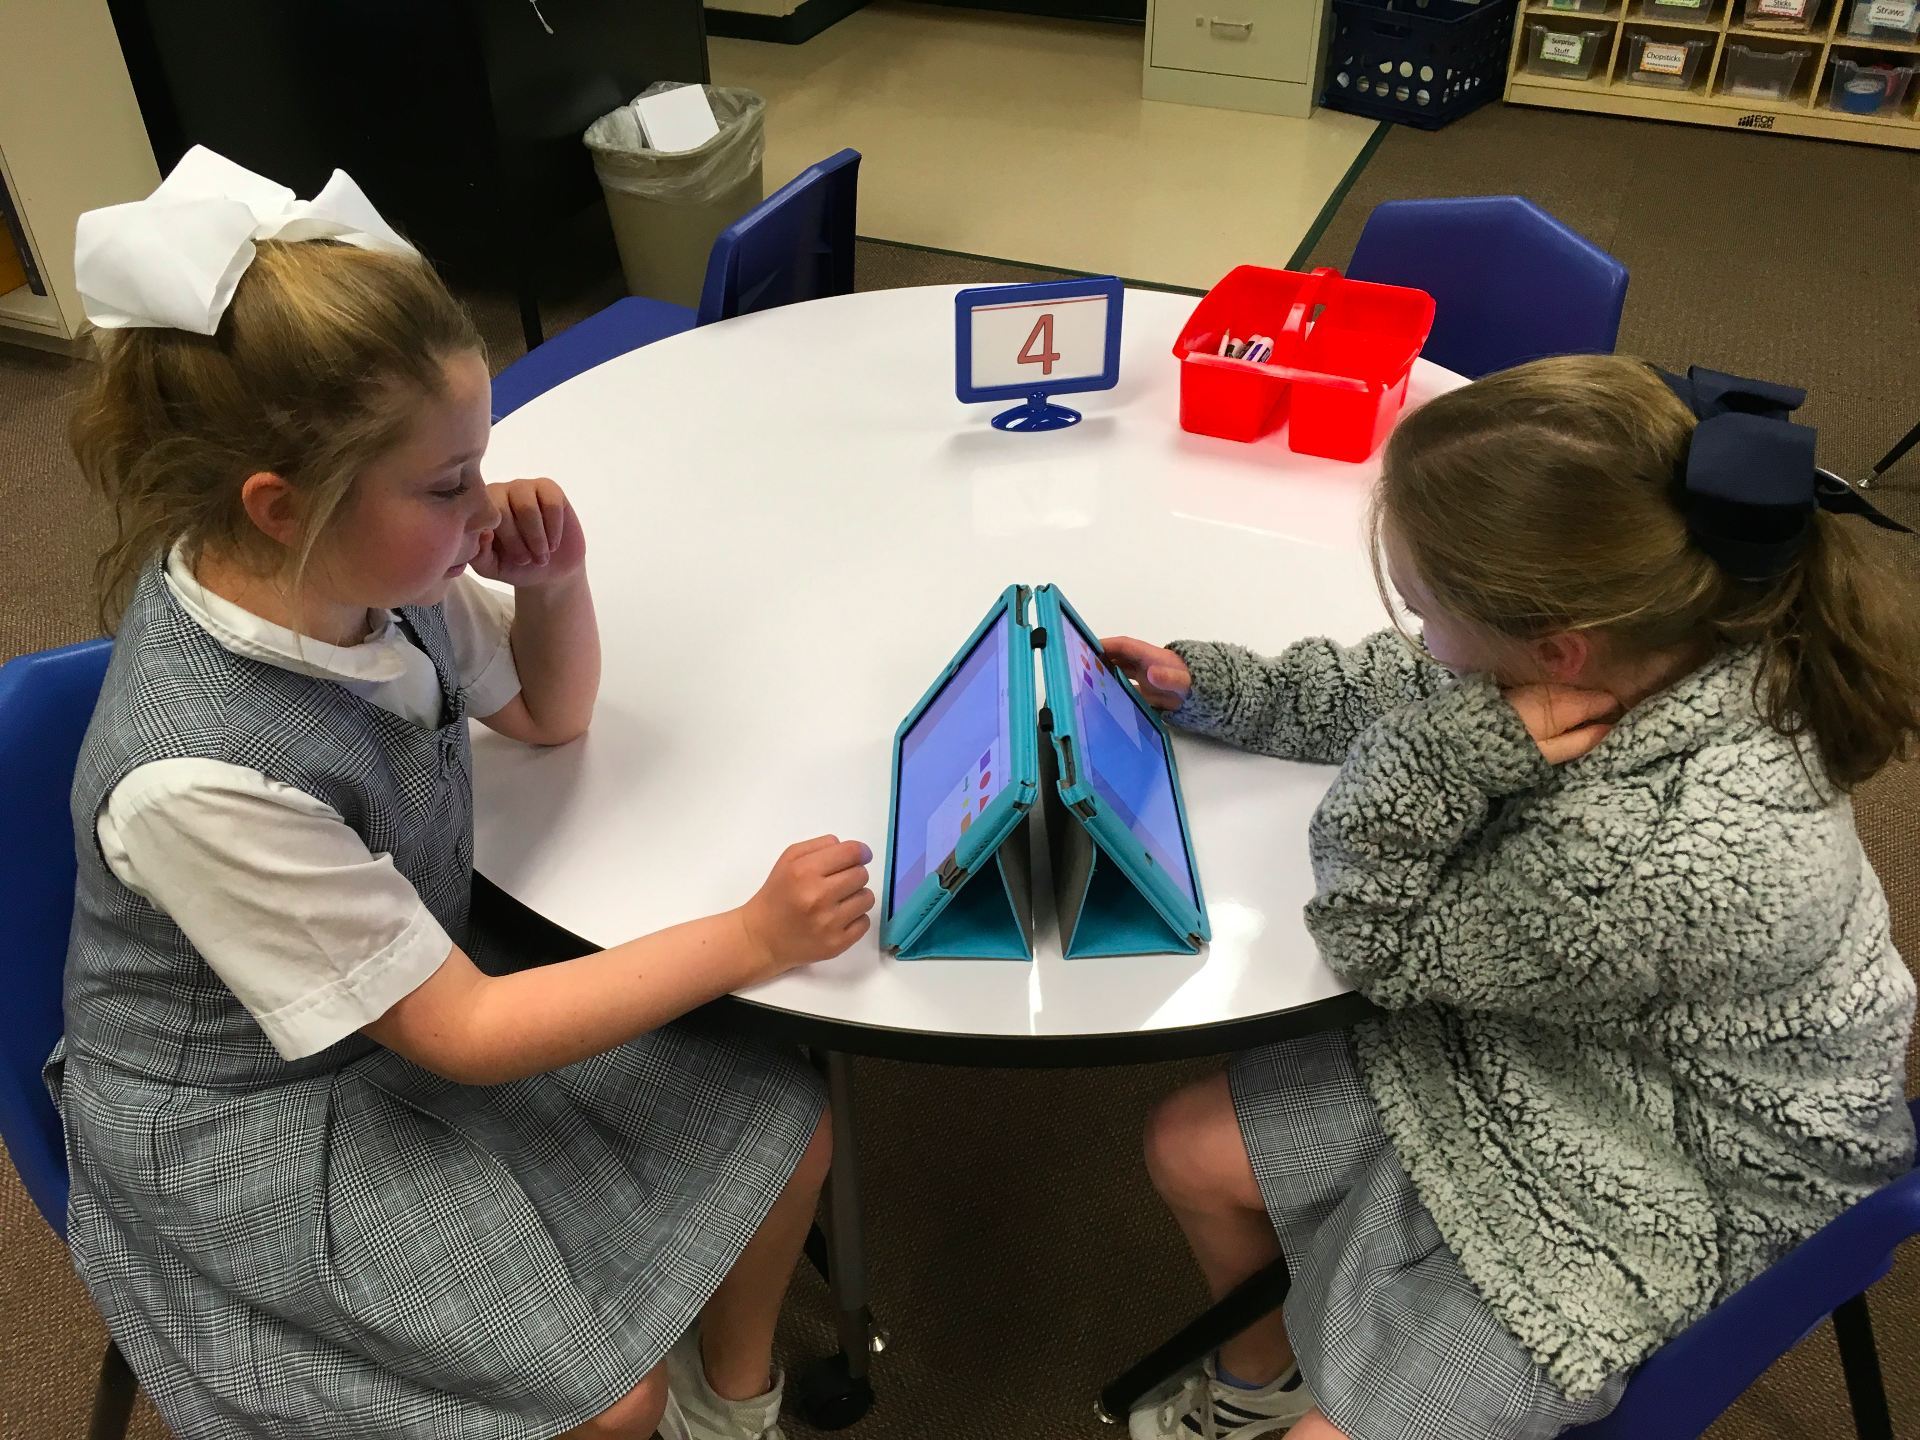
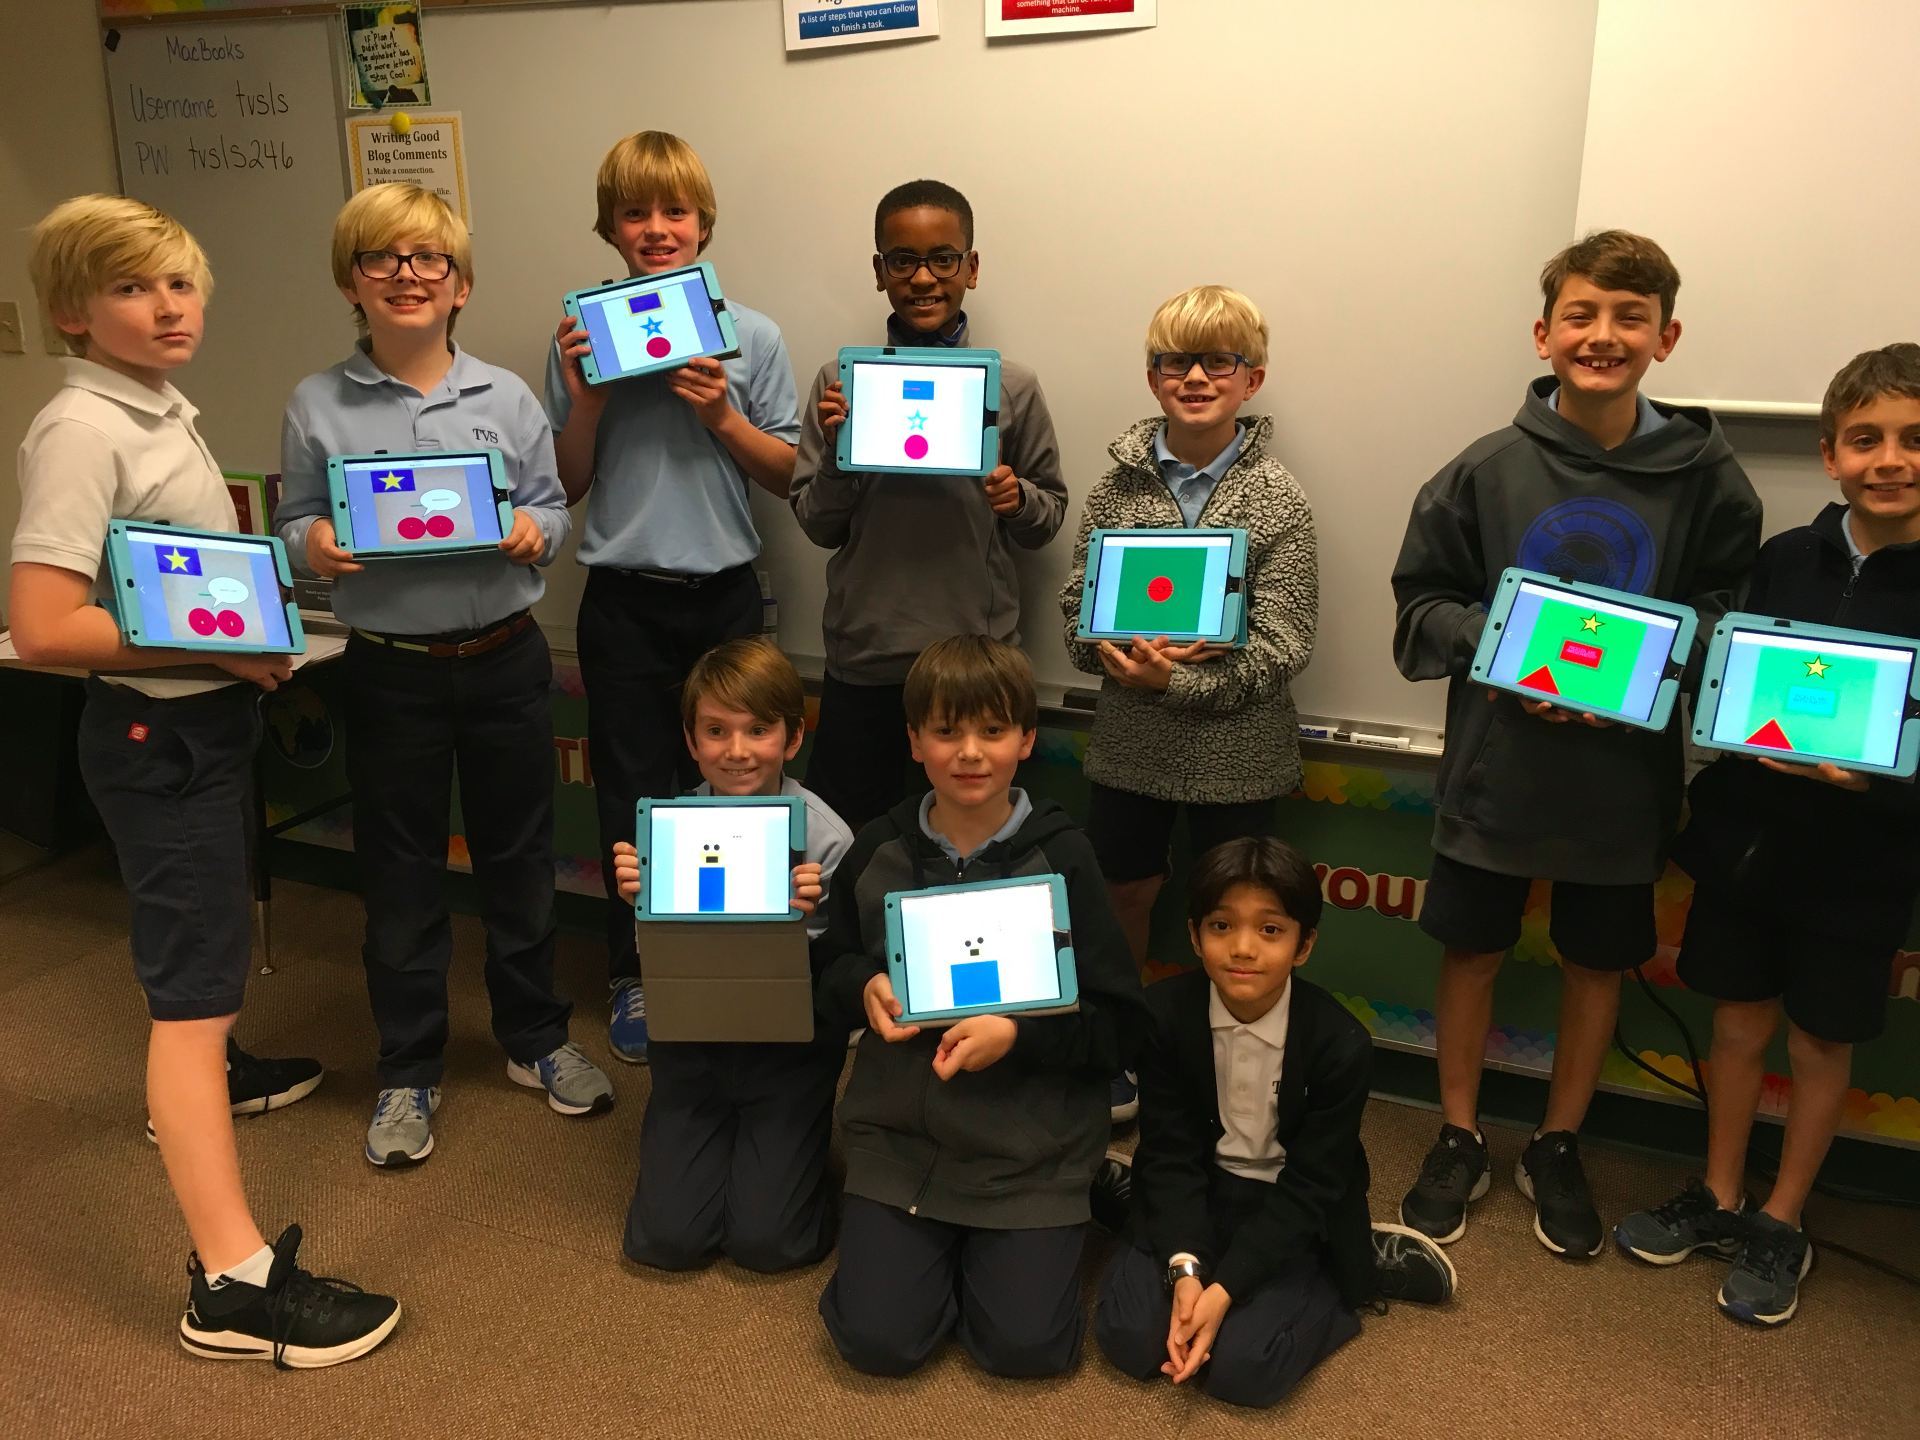
The next step was to ask the students to pair up and set up their iPads so that they couldn’t see the partner’s drawings. They were to alternate directions, giving one line only for each turn. They could create whatever they wanted.
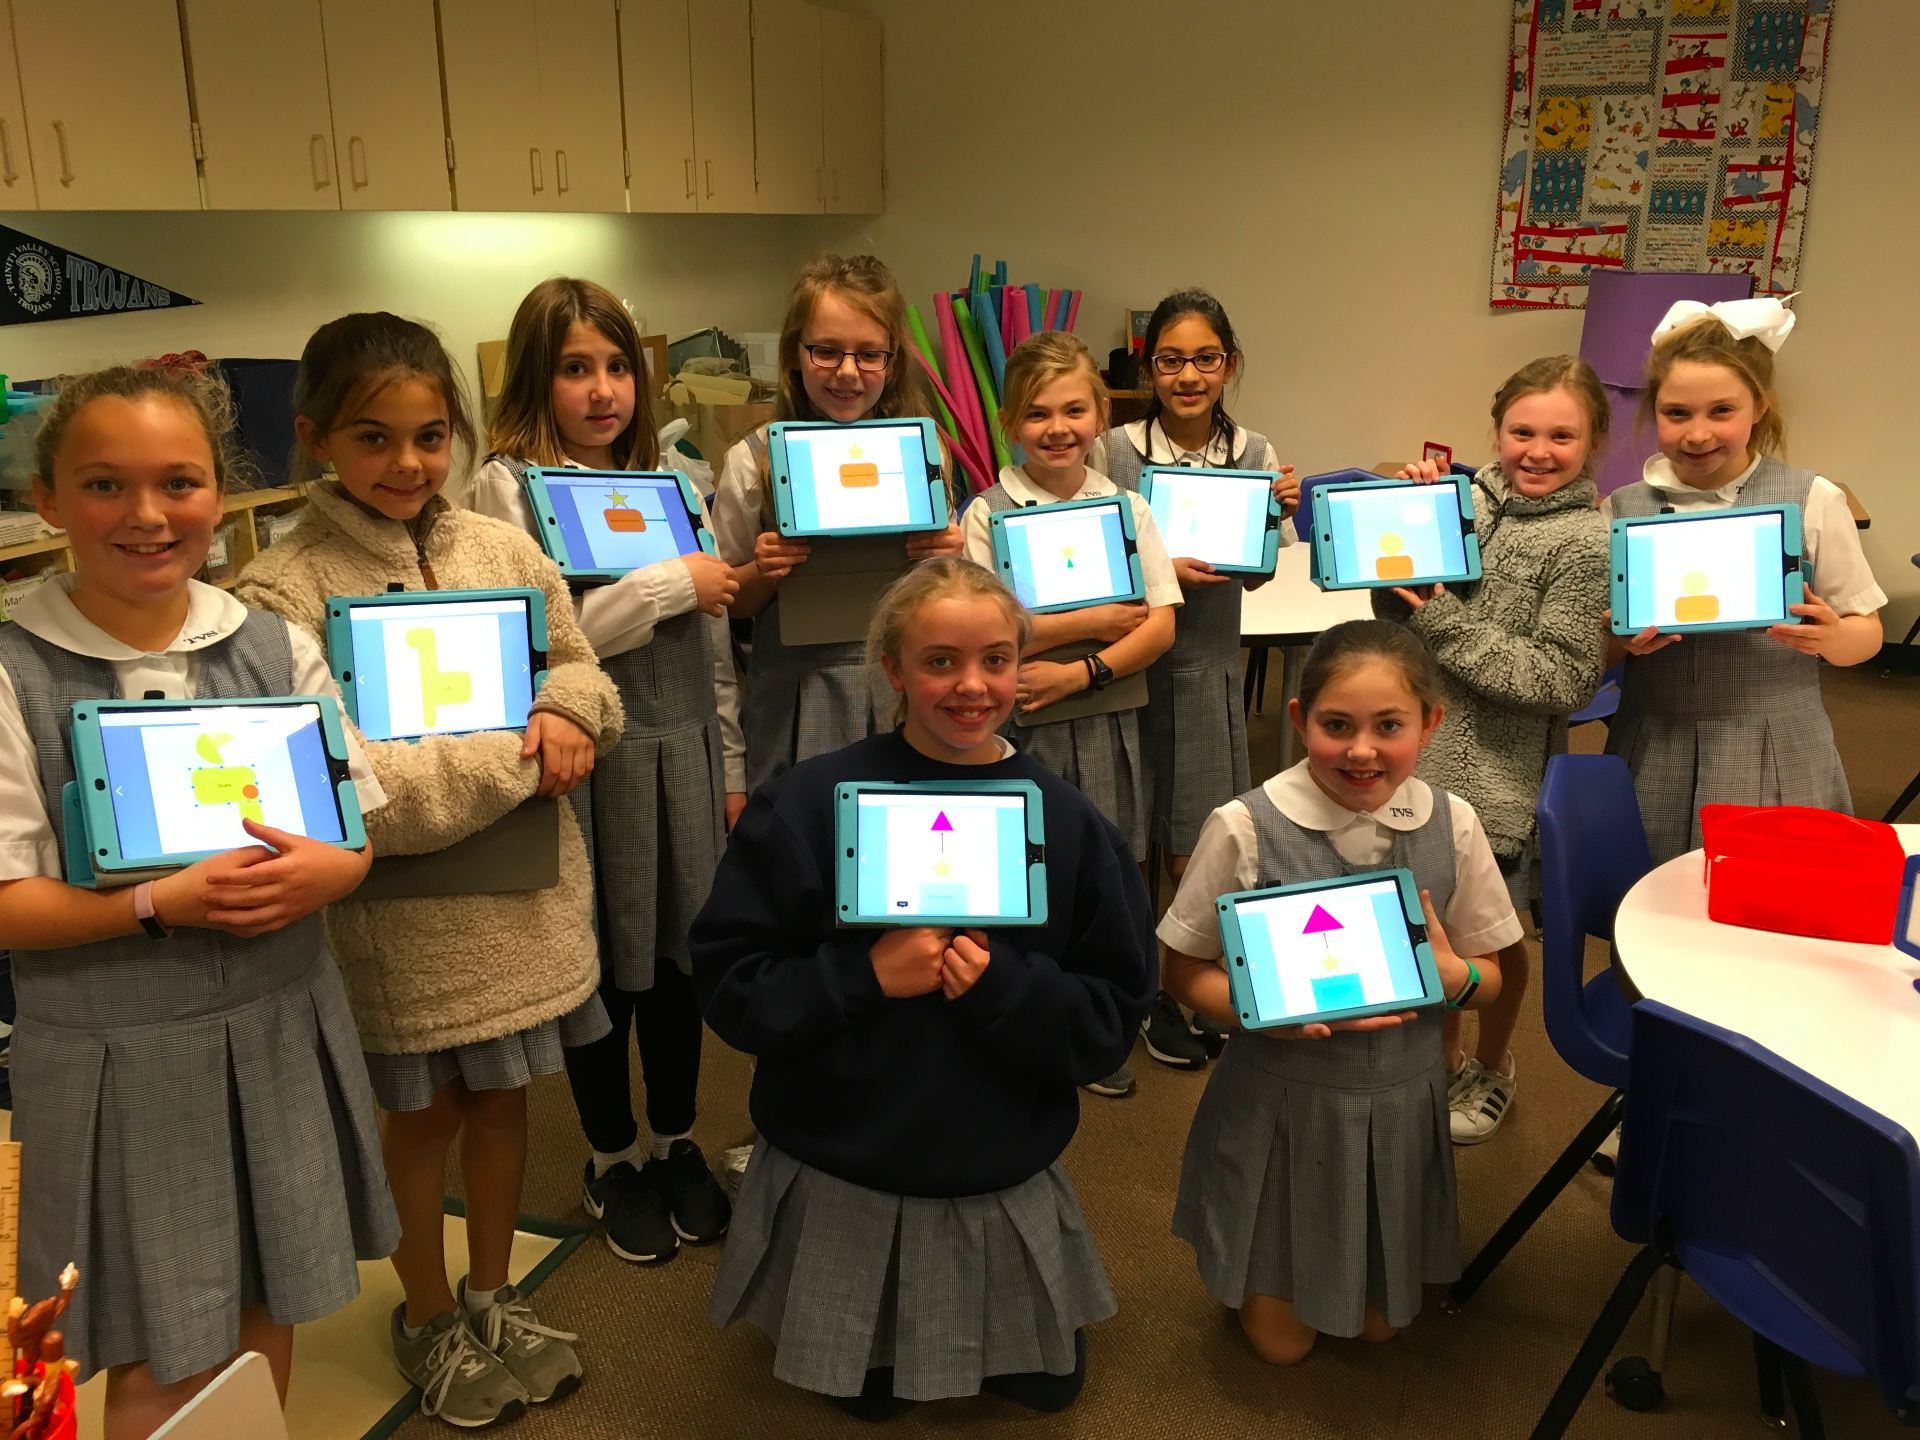
Oh, my goodness! I honestly don’t think I’ve ever had EVERY SINGLE student on task for the entire class period! Talk about fully engaged!! The only complaining heard was when the bell went off for the end of class – no one wanted to stop!
Here are photos of the partners with their drawings. They did a pretty good job giving and following instructions!
Of course, the “coding” we do in the lower grades is not the same as what programmers do for a living. However, it is an excellent way to teach problem solving, perseverance, computational thinking, communication skills, and so much more.
Beth Holland says this quite well in the second paragraph of her post, “However, after speaking with computer science educator, Douglas Kiang, I learned that the real power lies in teaching computational thinking and creative problem solving – not any specific type of code.”
I was amazed at how well this activity went and how quickly the students picked up the concise “coding” language as they directed their partner what to draw.
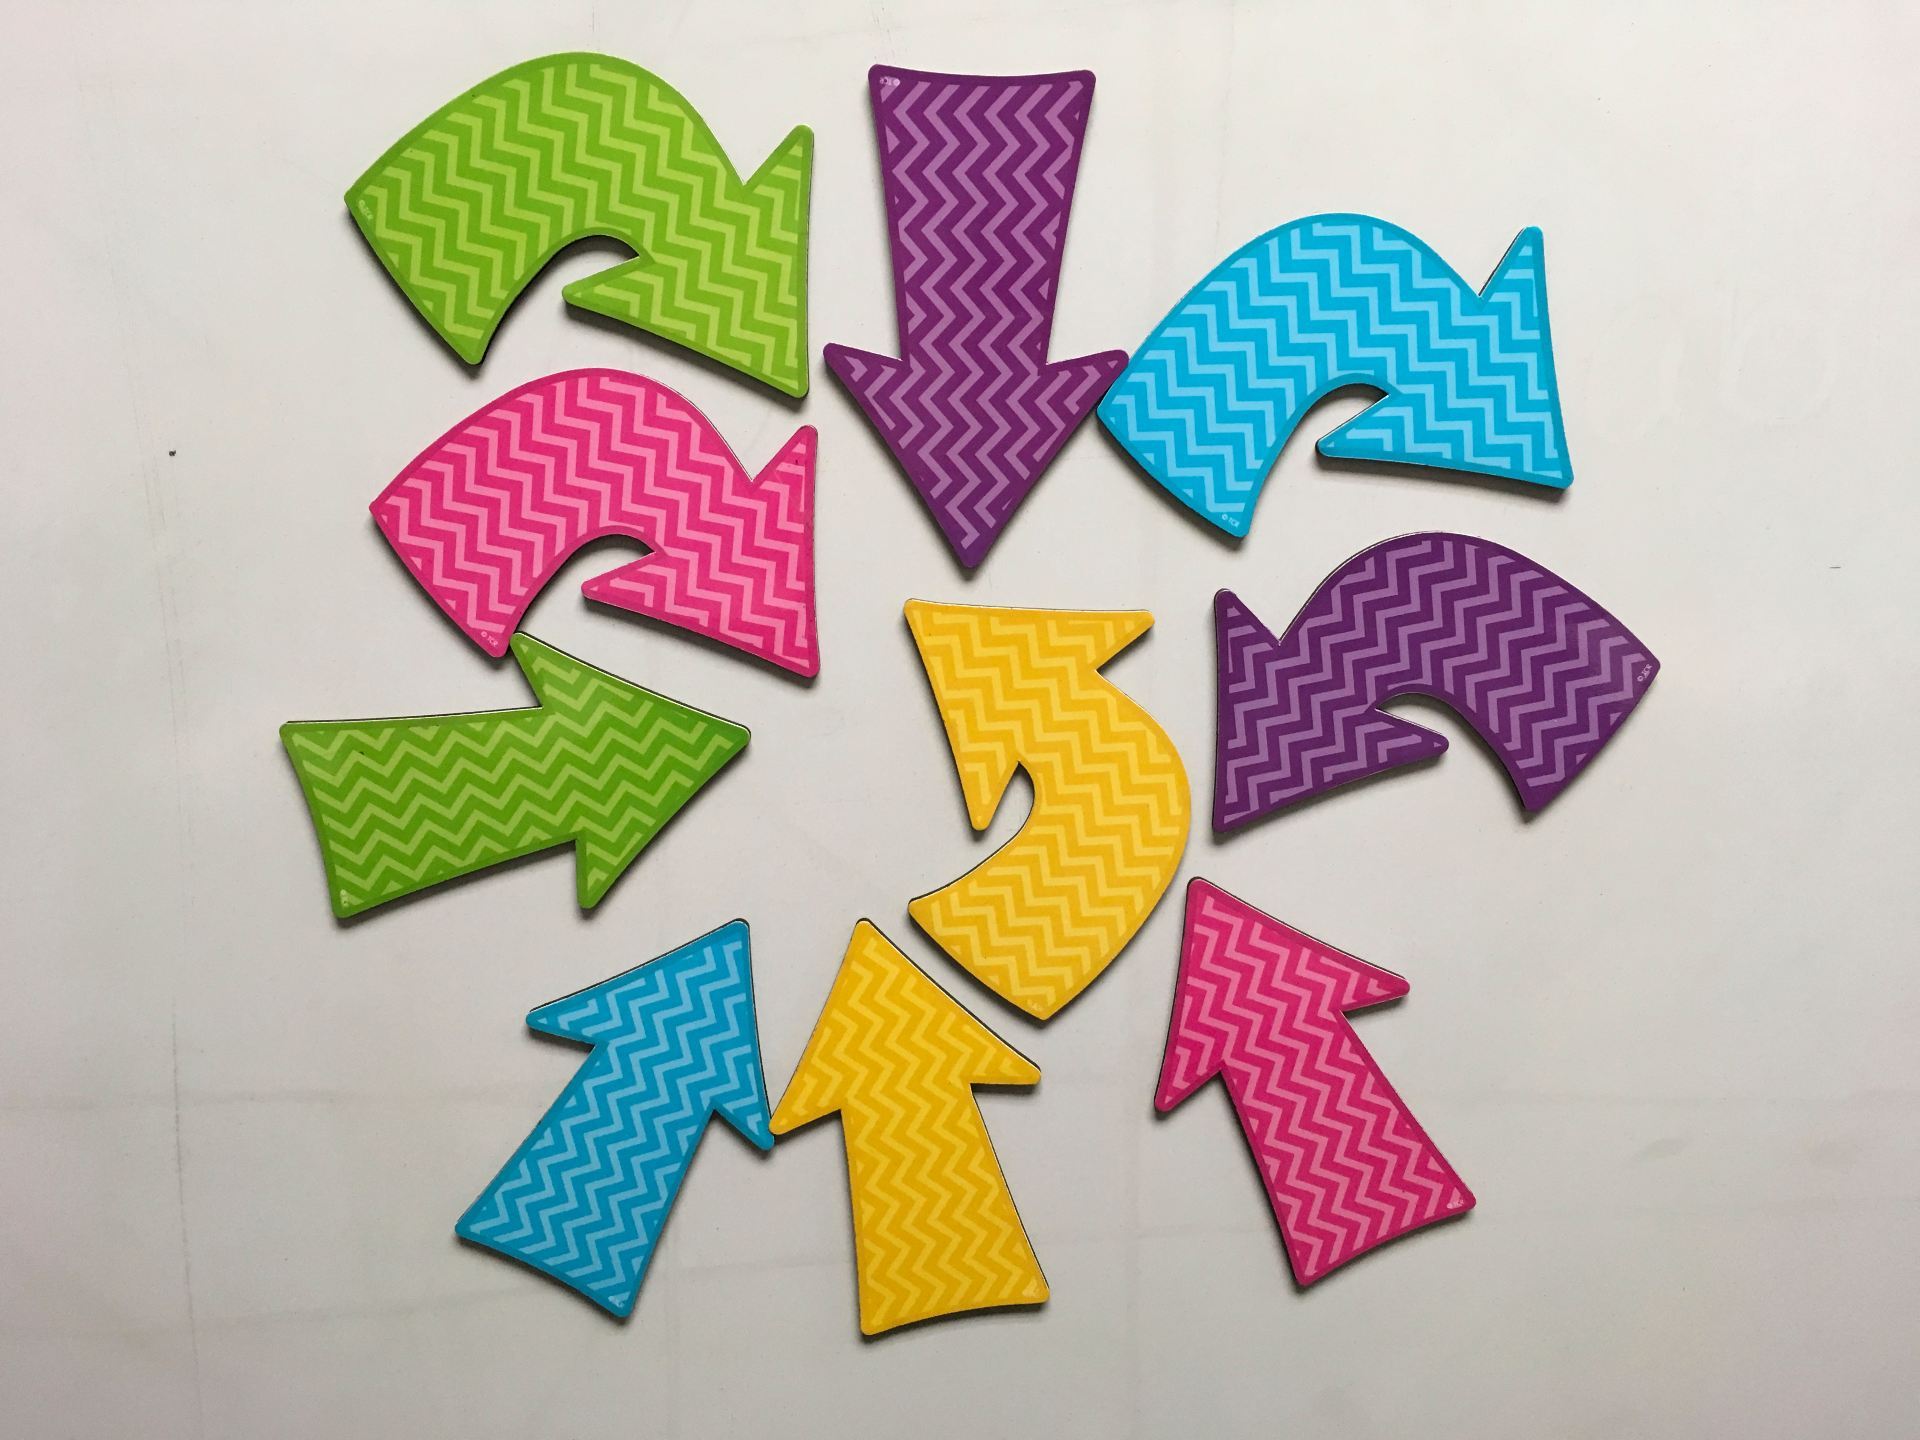
I found the best tool at a teacher supply store last summer – magnetic arrows!
I’m not sure what the maker had in mind for these, but they are absolutely PERFECT for practicing coding movements on the board!
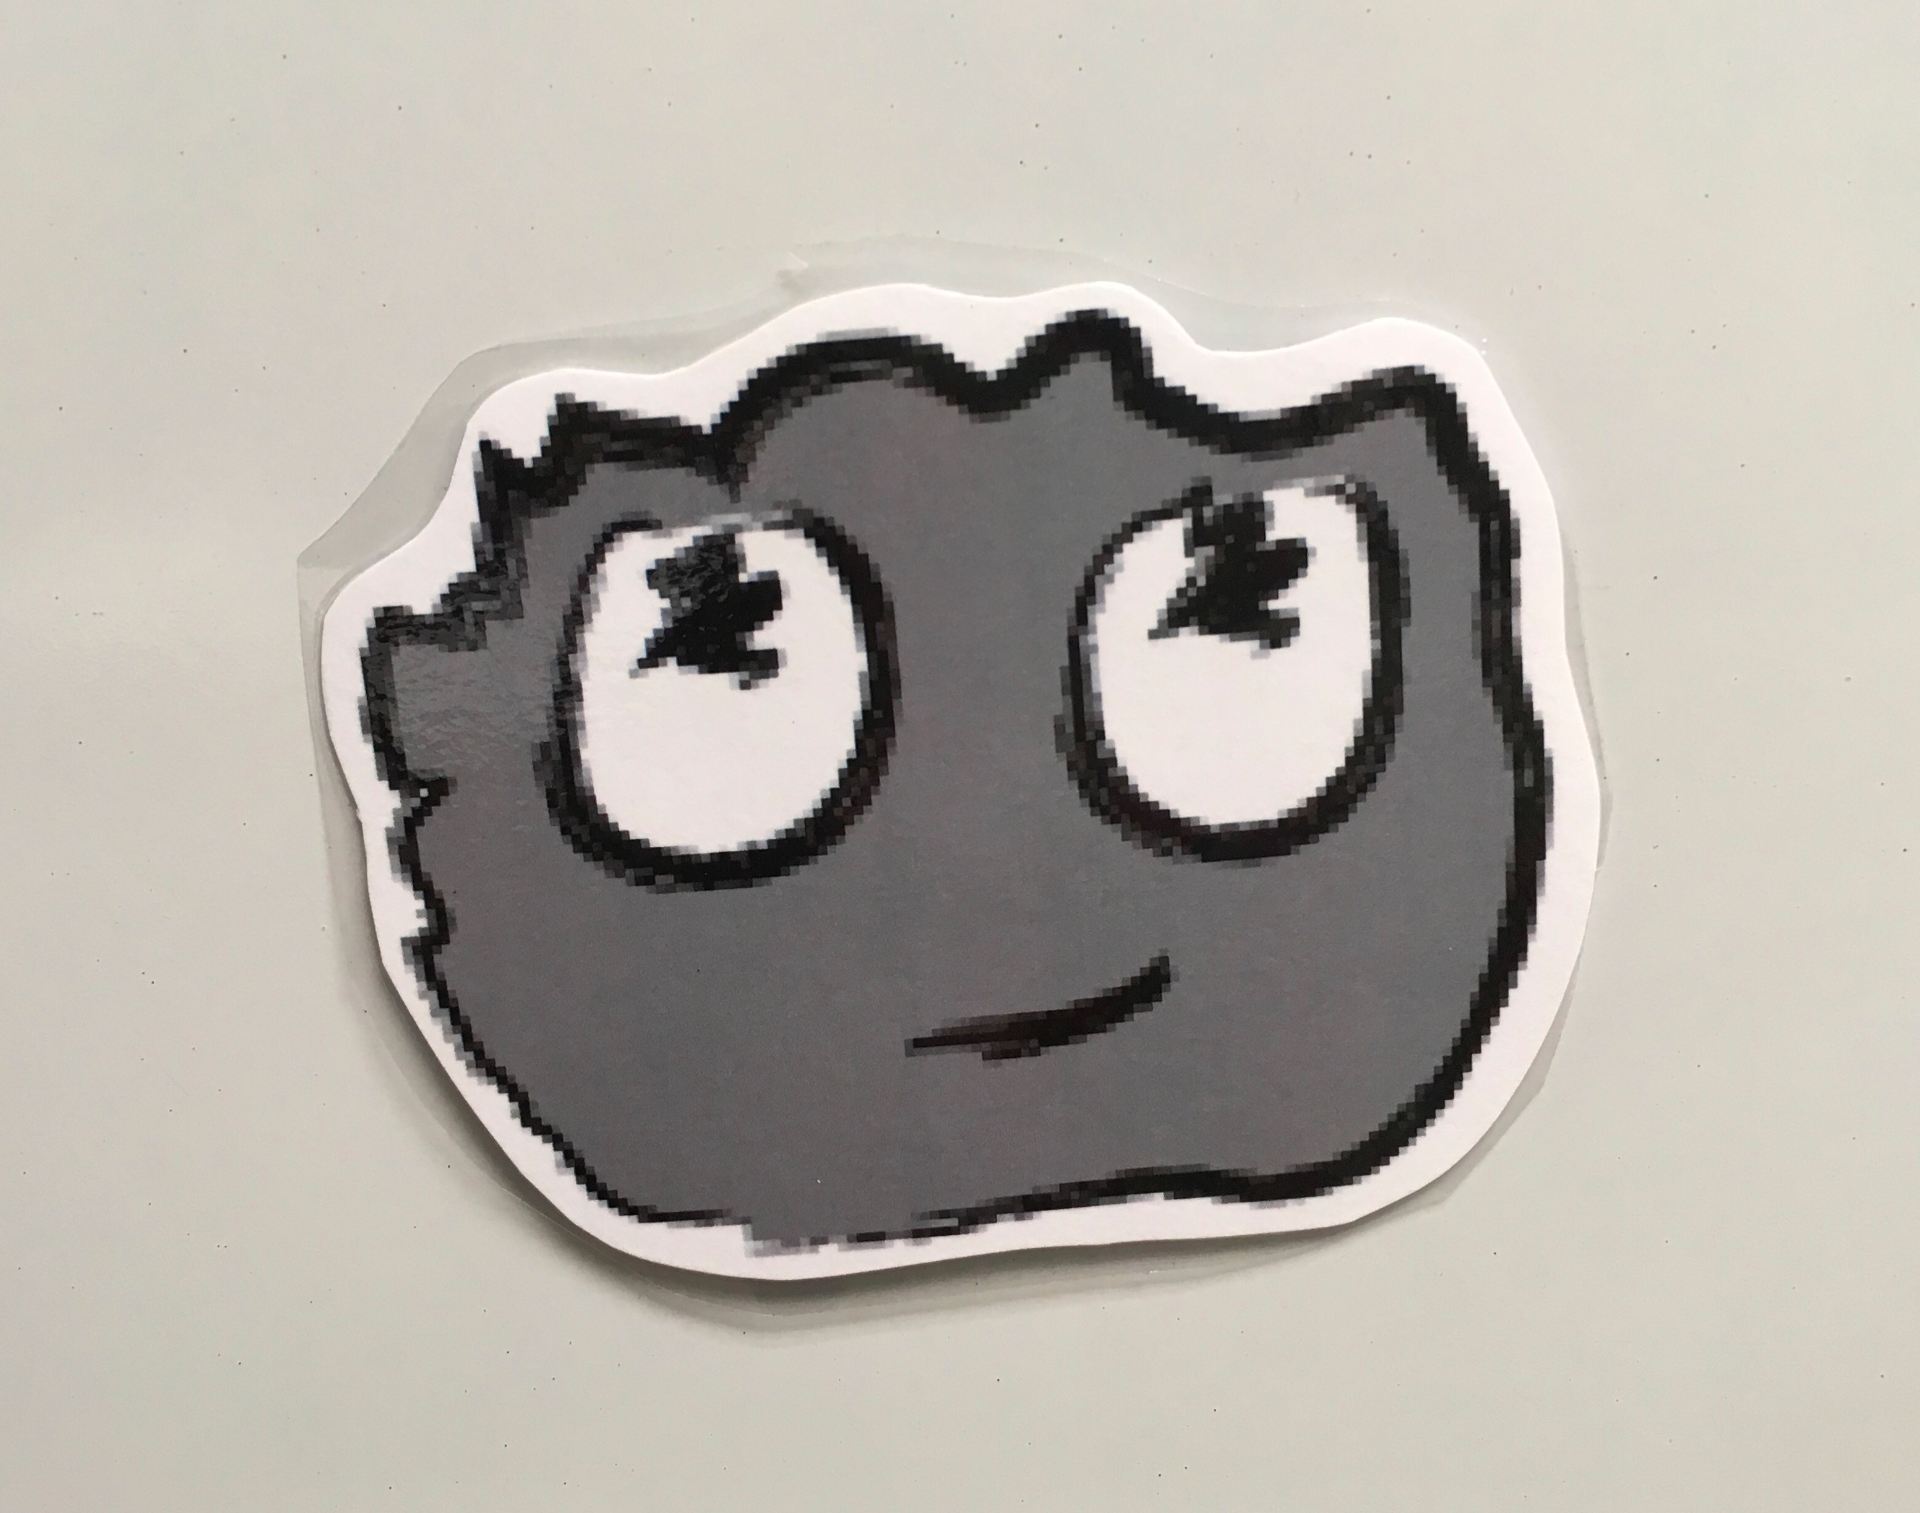
One of the best and most comprehensive (and free) coding curriculum is from code.org. There are many excellent programs and apps available but I highly recommend this be a integral part of a coding program, especially for elementary ages. Besides the student activities, there are numerous resources available for teachers. One such resource is called “Happy Maps” where students tell Flurb (see below) which way to go to get the fruit.
Meet Flurb!
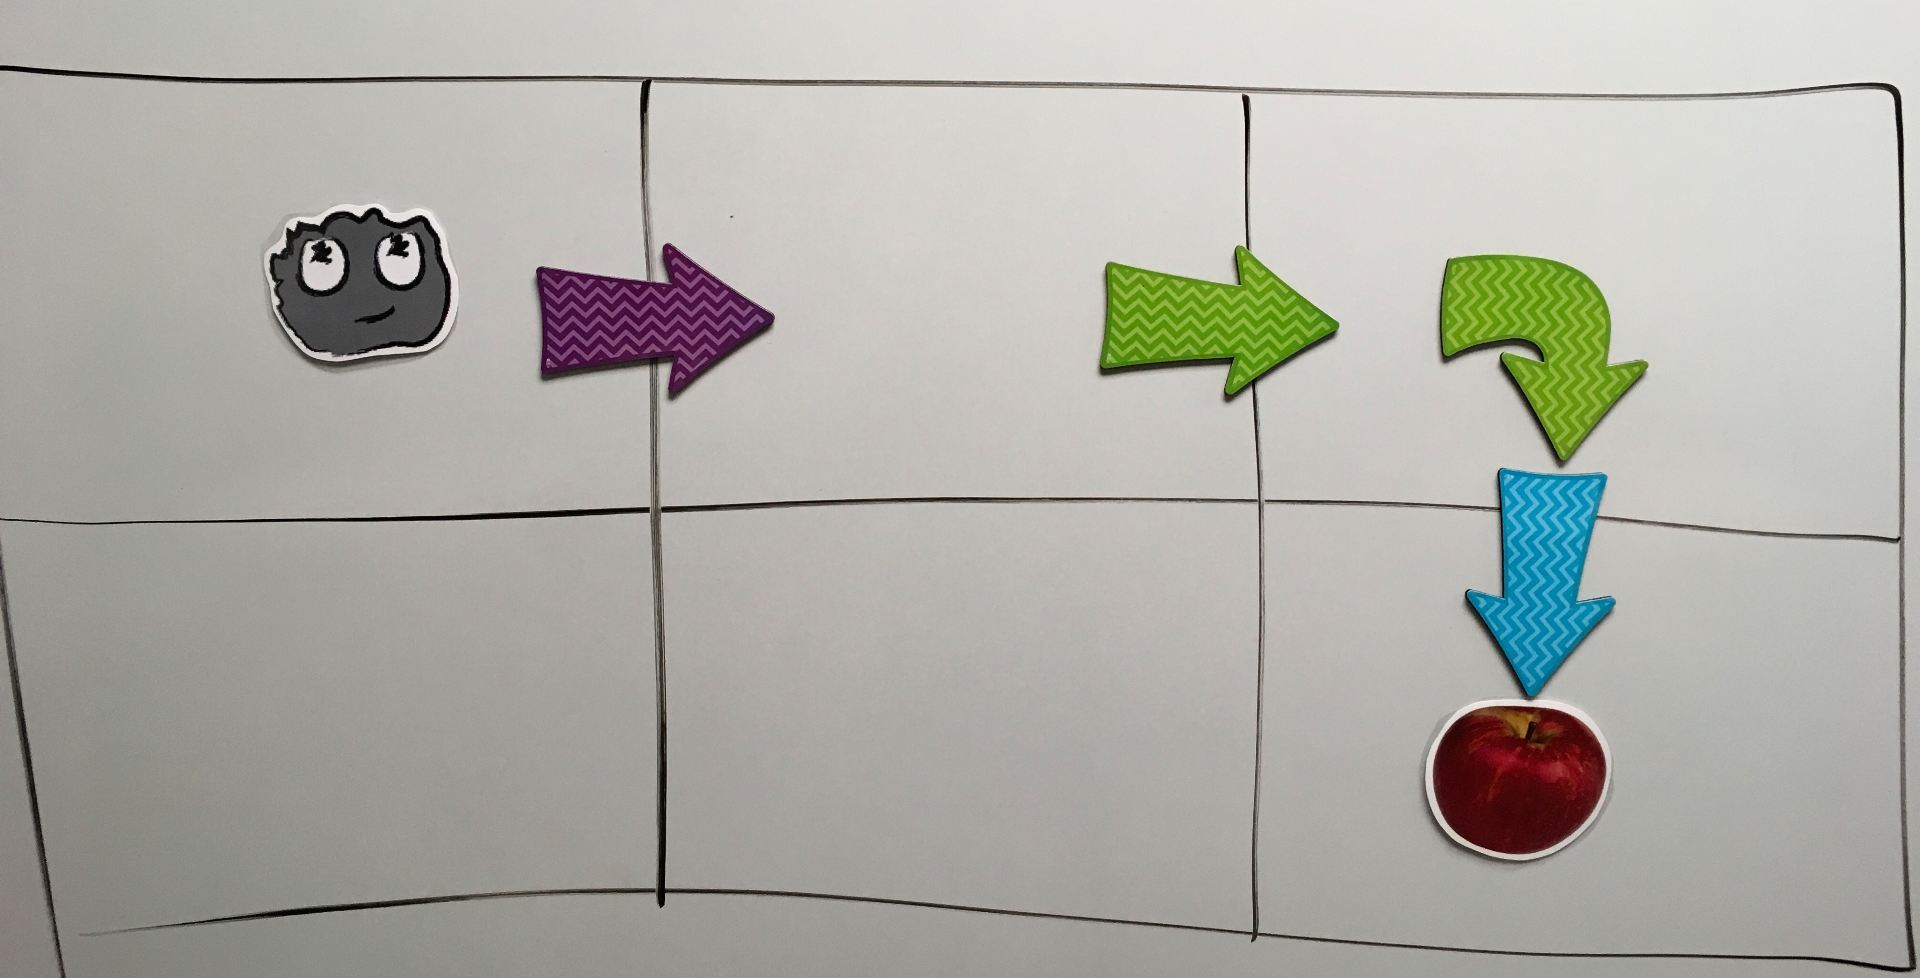
Last year, we used arrows to point the directions to move. The magnets I purchased have a turn arrow which is great for truly showing the sequence of steps necessary to reach the fruit.
After reviewing the vocabulary:
algorithm – a list of steps that you can follow to finish a task
program – an algorithm that has been coded into something that can be run by a machine
I ask how Flurb can get to the apple. With all the volunteers, we could spend the entire time moving arrows!
After one child has placed arrows and moved Flurb, I ask if there is another way to reach the apple. We spend a lot of time talking about being able to have several solutions to get to the same result. Of course, fixing and trying again (debugging) are extremely important parts of the computational thinking process.
After a few students have tried progressively harder puzzles, we move to the iPads and code.org. I encourage students to “walk out” the solution when they get stuck. We’ll hold the iPad together and walk in the directions they need to go. Some students (me included!) need that extra kinesthetic approach. I always love watching children do just that – they talk quietly as they walk the steps they should take:
one step forward > turn right > two steps forward
As we wrap up the lesson, I always ask, “Did anyone get stuck?” A few hands slowly go up, as if they are unsure that they want anyone to know. Then I tell the children, “You know what I noticed? When you got stuck, not one person complained and said they couldn’t do it; that it was too hard. You didn’t give up. You kept trying. That’s what coders do!”
Last December, I came across Rosie’s Runtime, an unplugged coding activity created by Project Lead the Way. I was finally able to give it a try last week and, WOW! Was it a hit!? The students absolutely LOVED it!
In Rosie’s Runtime, a large grid is set up on the floor. The teacher starts out as the robotic dog who is trying to get from a fire hydrant back to the doghouse. To make it more of a challenge, there are mud puddle cards that must be avoided and there are bones that need to be collected.
There are two versions:
K-2nd Grades Basic movements such as move forward, turn right/left, pick up bone are in this level’s commands.
3rd – 5th Grades More involved commands have been added to this level. In addition to the above, jump, repeat, and conditional commands are part of this more difficult level.
I worked with 2nd grade, using this as a refresher activity before students moved to code.org. Students were divided into 5 groups, each receiving a set of cards. For this level, the cards were move forward, turn right, turn left, pick up bone, and make a u-turn.
Correct or not, each time I, as Rosie the Robotic Dog, was given a command, I moved. They students were quick to make corrections! Of course, there were cheers when they guided me to the doghouse!
The students absolutely did NOT want to quit! Well, maybe I was a bit excited, too. We debriefed by discussing different routes the students could have had me travel and talking about how we had to debug a few times to get back on track.
We’ll definitely be doing this with other grades. And, I’m eager to try the harder level. I think this would be a good small group activity that students could do on their own once they’ve been introduced to it.
FYI: I thought about using felt squares for the game board but was concerned those might stretch after being stepped on several times. I ended up buying a fabric (don’t remember what kind) that won’t fray (yea! no hemming). The fabric is the same type as what is often used in the recyclable grocery bags you can buy. I cut them into 12″ squares which turned out to be a perfect size!
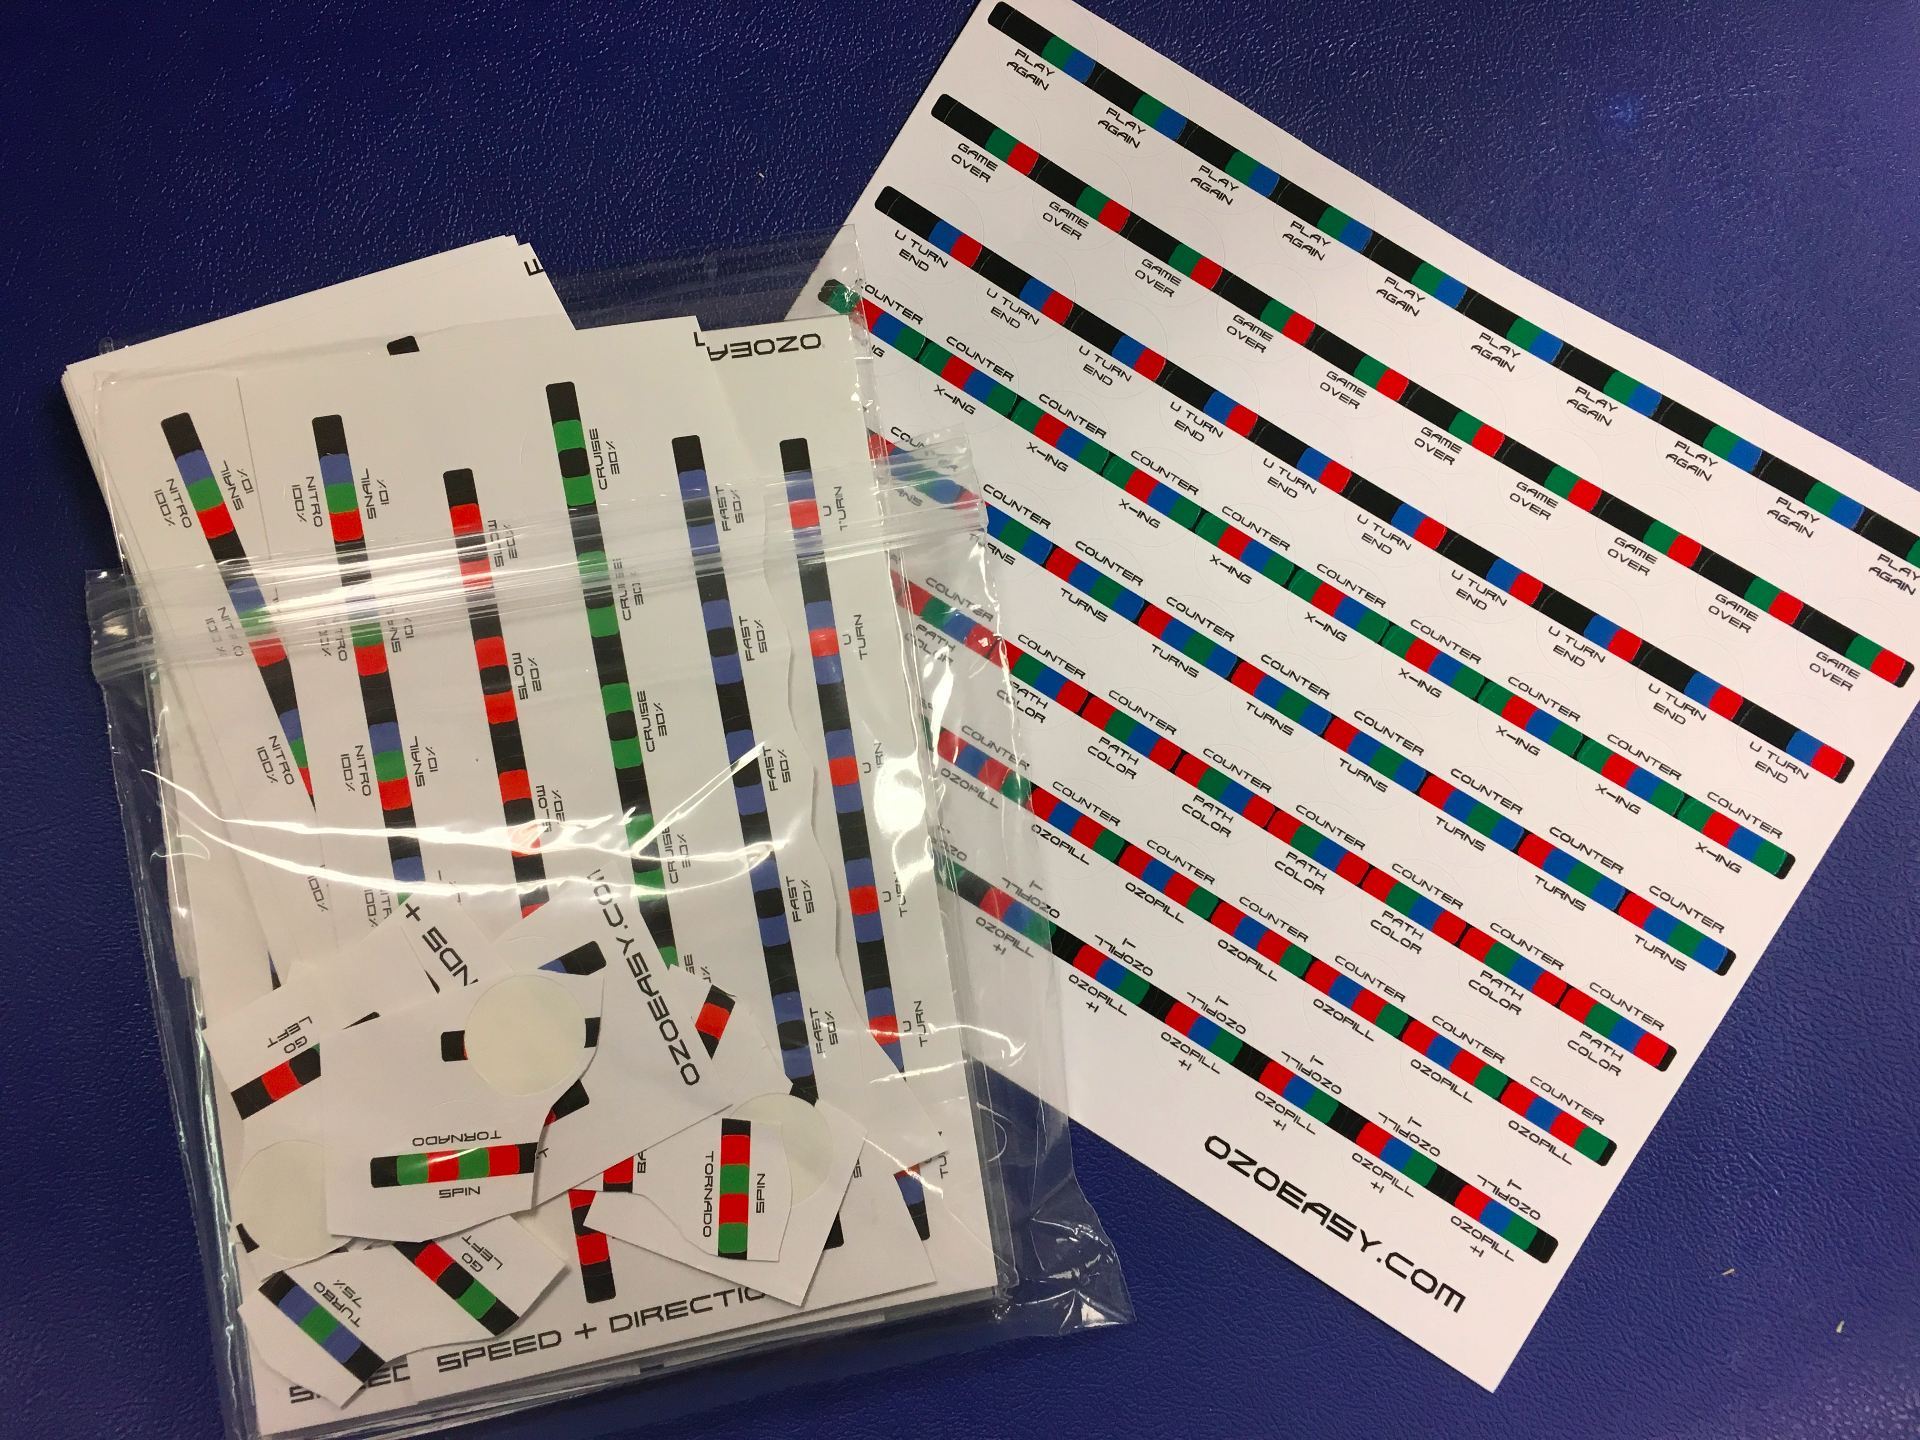
I love bringing out Ozobots for Hour of Code! There are so many things you can do with them – draw paths and codes on paper using markers and predetermined code combinations, make paths and insert codes using the Ozobot Draw app, and drag and drop programming with Ozoblockly. There’s something for all ages!
Until I discovered OzoEasy sticker codes, asking kinder and 1st graders to draw their own codes was just a bit tricky. As I tell the students, Ozobot is like Goldilocks – every code has to be just right! Just as Goldilocks tasted the porridge and determined one was too hot, another was too cold, but one was just right, Ozobot likes those color combinations to be close to perfect! In fact, we even started calling the little robot “Ozolocks” when something didn’t go as expected!
This year I gave each child a sheet printed off the Ozobot Educator’s page (can’t remember which lesson). It had a rectangular path printed with blank squares for coloring in the codes requiring three colors. I added additional lines in the inner part of the rectangle. For the little ones, I created a condensed version of the codes that was easier to read so they could choose a code for coloring each of the groups of squares.
Each child also received 4 stickers. These were the “special moves” like tornado, backwalk, spin. They loved those!
It was SO much fun watching the kindergartners interact with the Ozobots. The look of awe on their sweet faces was priceless! I wonder how many children requested these for Christmas!
Here are short videos from each class of the students enjoying the Ozobots.
What a hit! The students absolutely LOVE programming the tiny Ozobots! These are small robots that are programmable using color codes, the Ozobot app or the online Ozoblockly block-based program. What I love about these is that they can be adapted to several ages.
One first grade class entered the room, immediately noticed the Ozobots on each table, and suddenly I heard, “Oh, Oh, Oh, we get to do Ozobots!” This little boy was practically dancing with excitement; even rushing over to give me a hug.
Some of the second, third, and fourth grade classes were asked to video their paths and codes to upload to Seesaw journals while explaining what Ozobots are and what they do.
Here’s an example:
These fourth grade students did a fantastic job with their explanations. I see a future in sales!
Ozobots are a fun and easy way to introduce computational thinking to children. It’s easy to adapt these robots to any age.
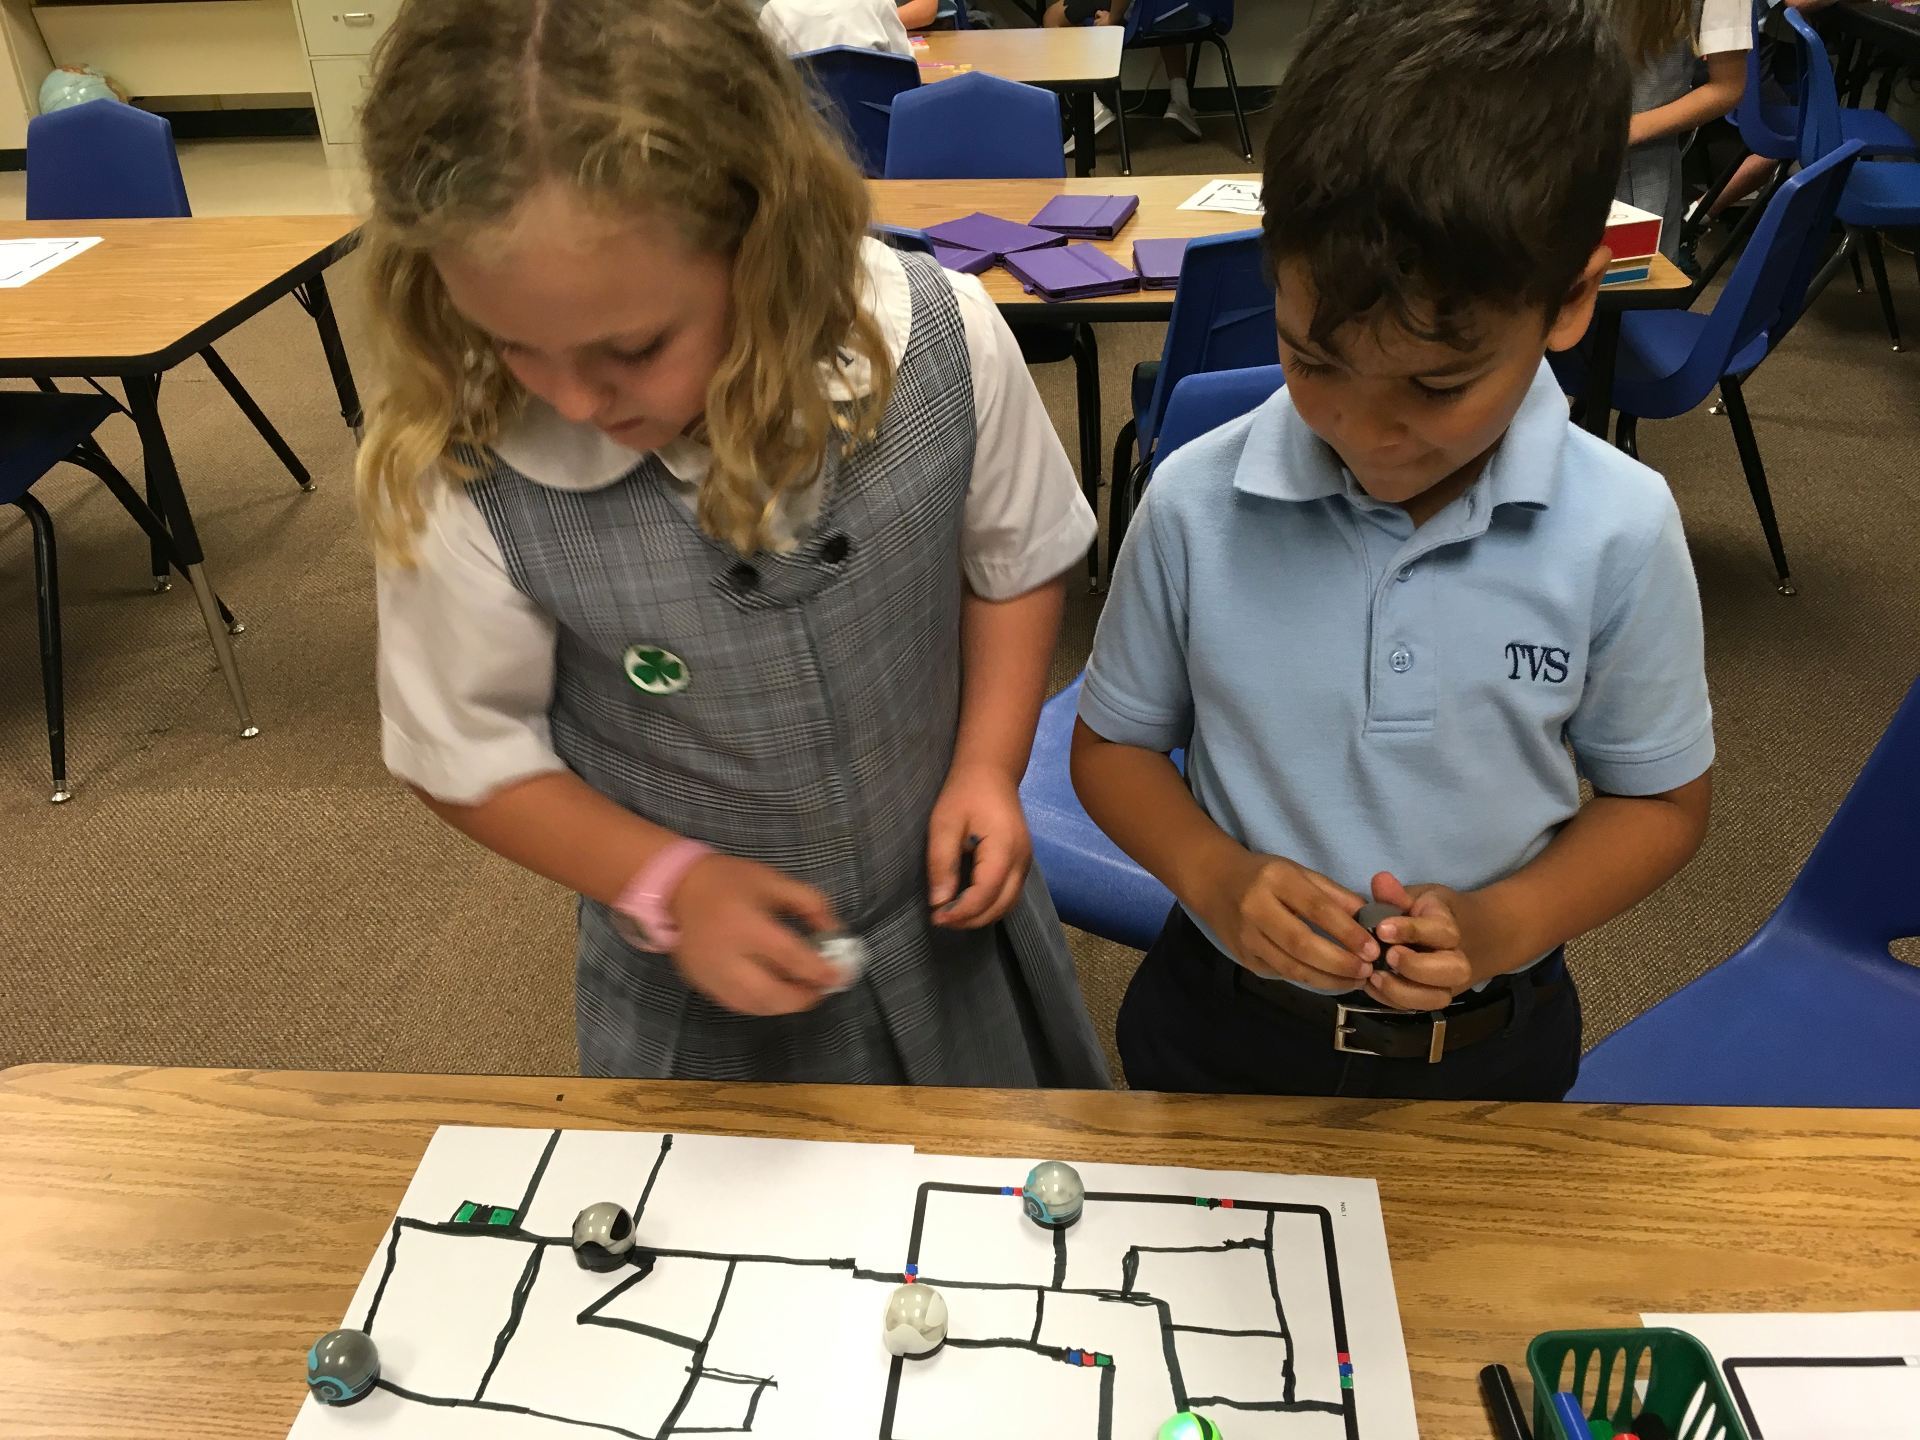
For the last technology lab of the year, I provided the first graders with several options: Ozobots, Osmo Coding, and links on my website (TVS TechnoWizards).
As I walked around the room interacting with the kids, I came upon two students who were working on creating paths for their Ozobots. They were each working on their own paper so I asked, “What do you think might happen if you joined the papers?”
The reaction was great! One of those “wow” moments as they scooted their papers together! Then came the sweet words of children . . .
Child 1: “Wow! You’re really smart!”
Child 2: “Yeah, you are REALLY smart!”
Child 1: “I wish I could have you as my computer teacher in college.”
Every year our Parents’ Club has either an auction or a gallery night to raise money for educational projects. Teachers generally submit an activity for bidding. I’ve been doing a “TechnoWizards Club” for the past few years. Last week, six students joined me as we worked with Ozobots, Ollie robots, and Little Bits magnetic circuits.
We met for an 1 1/2 hours, which is never enough! Regardless, it was loads of fun to watch the children experiment with the different activities.

 The new Kodable updates are a definite WIN! This week the first graders were introduced to the program. WOW! Were they excited!! Kodable is extremely engaging (it’s the one app kids don’t want to close when it’s time to leave). More than that, though, it is an excellent tool for learning computational thinking.