Archive of ‘Collaboration’ category
Collaboration with teachers is SO much fun! Our kinder students just started learning about animals and their teachers wanted to have the students share their learning by creating videos.
A few weeks ago, Tony Vincent visited our school and taught a first grade lesson using the website, Unite for Literacy. Although the book choice isn’t huge on this site, there are several animal books. The nice thing is that students can choose to listen to the book as they read so they don’t get bogged down with harder vocabulary.
We decided to split the lesson into two 30 minute parts since there was quite a bit involved. Students needed to read their story. Then, they were to use ChatterPix Kids (free) to tell about their animal.
 For the first session, we started with practicing how to take a screen shot since we wanted a photo of a favorite picture from the book to upload to ChatterPix. Next, the students were given an animal card with a QR code that took them directly to the book they were to read. Once scanned, we went on a picture walk through the book – we didn’t take time to read or listen to the story. The goal was to find a favorite image and screen shot it. Then, we asked the children to listen to the story two times. Each child received a piece of paper where they could write the name of their animal and jot down facts they wanted to share. You should have seen the little ones taking notes!
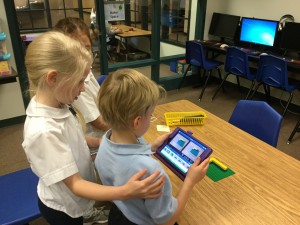
 The next day the students returned to the iLab. Armed with their notes and iPads, we walked through the ChatterPix for Kids app, getting everyone to the point where their photo from the previous day was uploaded and ready to record.

For this project, we only allowed students to add their name. Kids can get carried away with the stickers available in ChatterKid. Since those served no purpose, they were off-limits for the day!
After all the videos had been airdropped to me, I pulled them into Thinglink, onto a map where I tried to place the link where the animal lived. Thinglink is a fabulous way to add links, annotations, videos, etc to an image.

Here are links to the Thinglinks for the other two classes:
Our two sessions were super busy but the students were amazing in how they approached the task – listening intently to learn about their animal and then sharing what they learned. I was able to take several photos from Mrs. Rea’s class to show the process of what the children did.
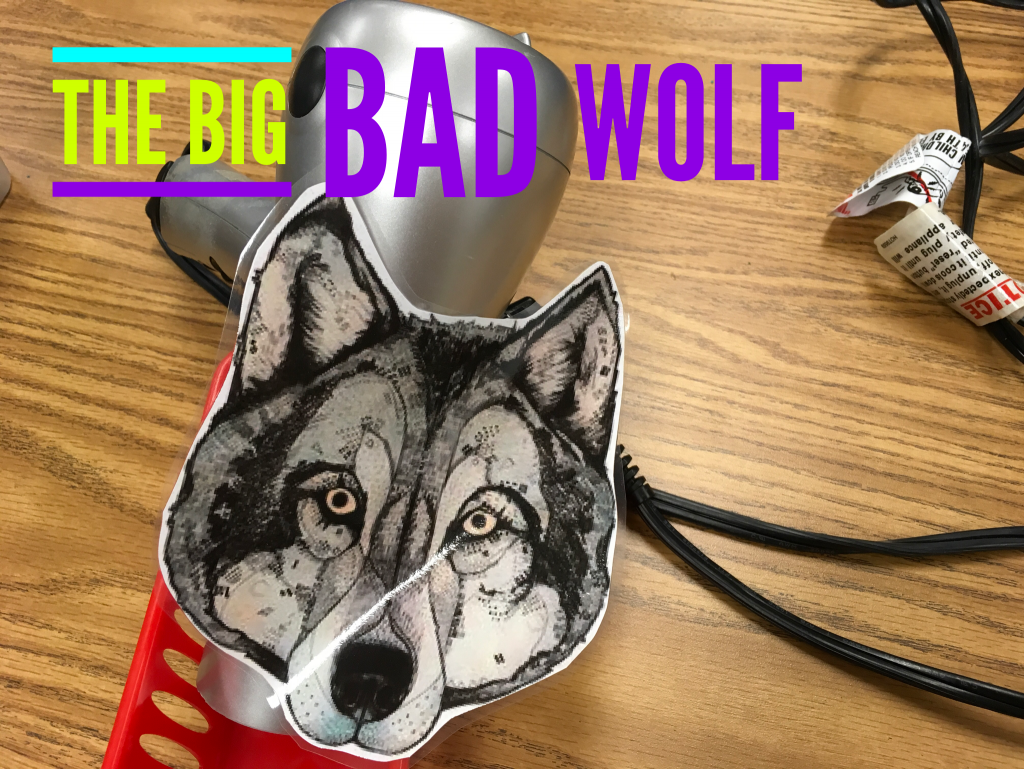
 Continuing with the Fairy Tale theme, Mrs. Garcia and I found an activity from Teachers Pay Teachers called, The Big Bad Wolf STEM Challenge. We adapted it slightly to incorporate design thinking. (I like to use the Launch Cycle model because it’s very easy for elementary children to understand. See the post, Design Thinking + Dot Day = Thoughtful Creation, for a more in-depth description of this model.)
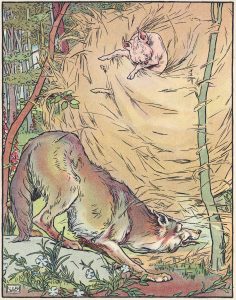
 The challenge: Build a house for the pigs that can’t be blown down by the Big Bad Wolf (aka the hairdryer).
The students chose 20 of one of the following:
- toothpicks
- straws
- popsicle sticks
We started by asking the children to assume the role of the pigs. What would you want for a house? How could it be built so that it was sturdy enough to withstand all the huffing and puffing of the wolf?
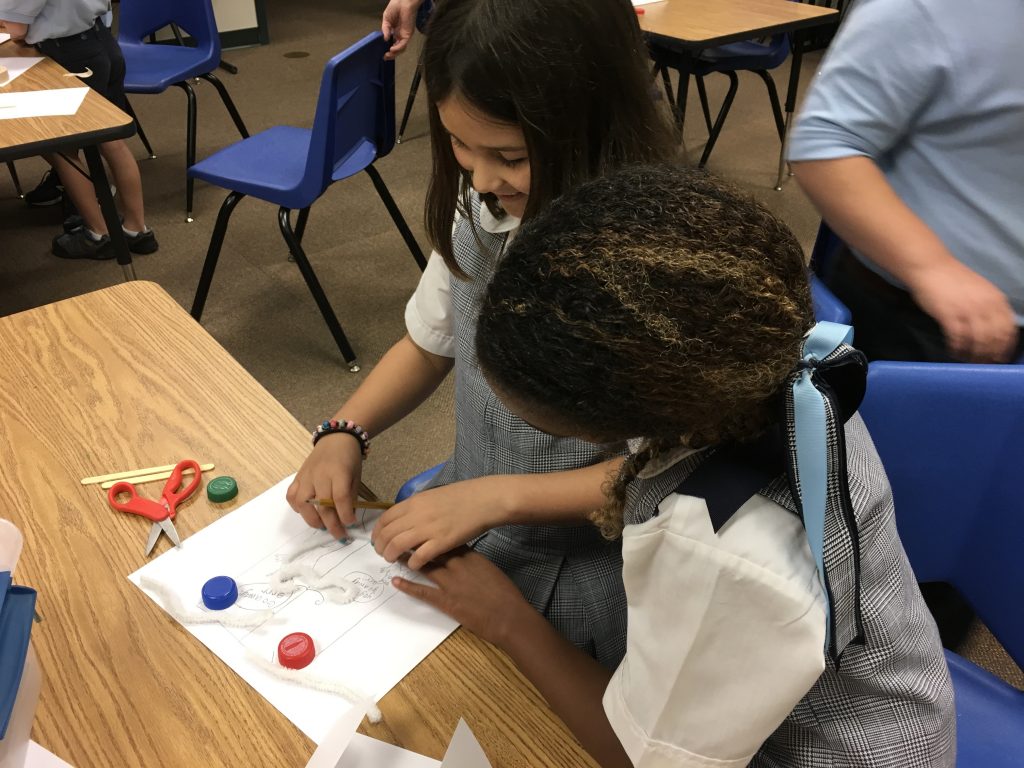
Going through the design thinking process, we had the students discuss ideas with their partner using only verbal descriptions. They had 2 minutes for this (and begged for more)! Then, the children sketched ideas based on the previous discussions. Next, each described their illustrations. The hardest task was to choose the “final” design – the one to be used for building. That step required give and take as well as negotiating skills as they tried to prove that certain designs would withstand the wolf better than others. It was interesting to listen to the conversations as the children combined the best parts of each of the sketches. There was no arguing. Instead, we saw and heard fantastic reasoning skills as students talked through the pros and cons of each design element!

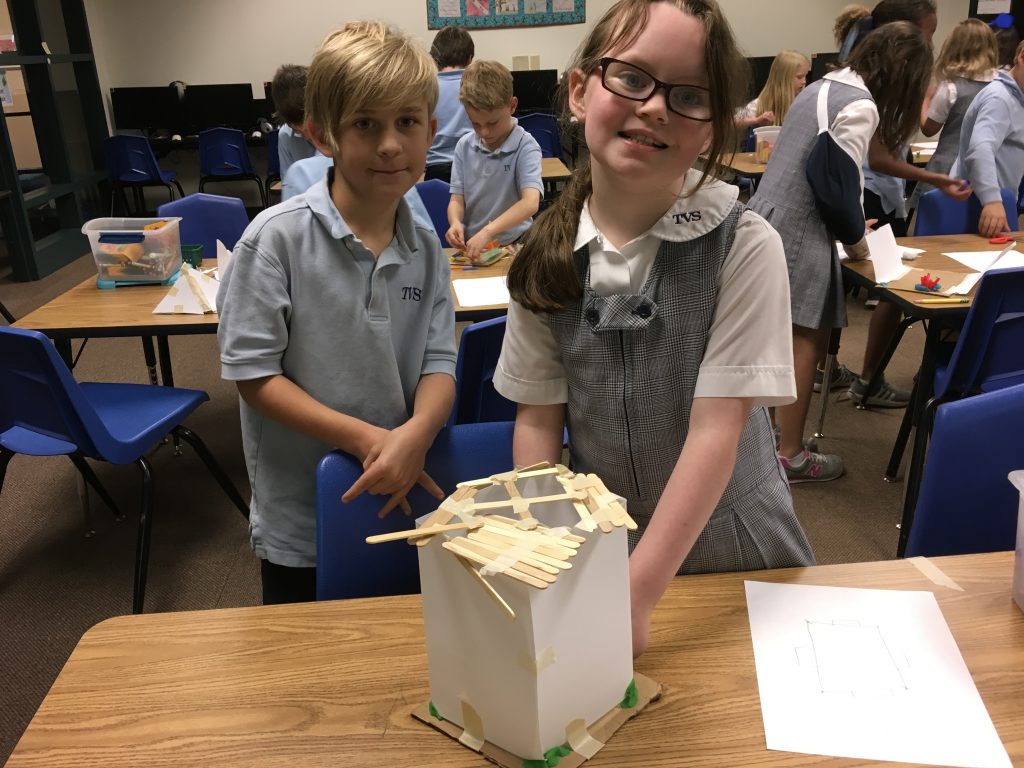
Time for building! Students collected the materials and went to work. No two houses were alike!

The one thing I’d change for the future would be to limit the amount of tape. That would certainly increase the challenge difficulty. These houses were like an armored truck; there was SO much tape wrapped around some of them that I’m not even sure these structures could be crushed!

The reflection time is very important. It’s really easy to skip this step because of lack of time but it’s critical to have the students talk about their challenges; what worked, what didn’t, what they would change doing it again, etc. It also provides the opportunity for the teacher to get a better idea of the students’ thinking.
Here’s a video to give you a glimpse into the Three Pigs challenge.
To the students, this seems like “play” – it’s most definitely fun for children AND teachers! But, there is SO much learning going on. Collaboration, design, planning, learning how to improvise if something doesn’t work – to name just a few of the skills!
I’d love to hear your experiences with design thinking!
Mrs. Garcia, one of our second grade teachers, approached me to ask if we could do a design thinking/STEM activity that related to fairy tales. We brainstormed a list of tales that she wanted to present to her children and decided on 2 or 3 that we would use for the design thinking activities.
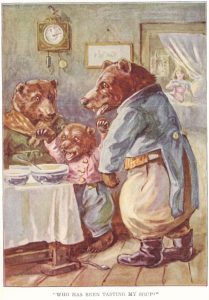 We started with Goldilocks and the Three Bears since it’s such a familiar story. On TeachersPayTeachers, I found a fun STEM activity where students build a latch for the 3 bears. This, combined with the Design Thinking “Launch” cycle, made for a really fun and productive morning!
The challenge: Build a latch for the three bears’ house that will prevent anyone from breaking in.
We discussed how designers, architects, builders, etc. work from written designs or blueprints. What would happen if a builder decided he didn’t need to follow a design; that he could work with just the idea in his head? Of course, the students could picture all kinds of ways that this would be a lousy idea! Then, we talked about what a latch is – not a very common word these days!

Following the Launch acronym, I asked the students to think like one of the three bears (empathy). How would you feel if someone entered your house without permission? Working in pairs, the children were given two minutes to talk about how they envisioned the latch would work. The hardest part of this particular part was not drawing! Only words (and lots of hand motions) were allowed! When the timer went off, there were lots of “Wait! We haven’t finished talking!”
 Next, the students drew designs. Again, a short time was given for sketching 2 or 3 ideas. Then, the hard part . . . deciding which design to use OR deciding how to incorporate elements from a few of the designs.
Only after all these steps were the students ready to construct! Supplies we used:
- craft sticks
- pipe cleaners
- masking tape
- straws
- water bottle caps
Before collecting supplies, the children were to make a list of what they thought they would need. We did let them come back for more if needed.
As they built, we walked around to listen to the conversations and to ask questions. Listening to the students was an eye-opener! We were floored by the depth of their discussions as they built! And, it was amazing to watch them revise when they discovered kinks in their planning.

When all prototypes were completed, we came back together to share – not just describe the latch they built and how it worked. More importantly, we wanted to hear how the children handled ideas that didn’t work. Were you frustrated? Did you feel like giving up? What would you change in your design if you did this again?
Here’s a video of the students creating their latch.
Garcia_A Latch to Keep Goldilocks Out from Trinity Valley School on Vimeo.
This was so much fun! The best part for me was observing – I was absolutely amazed at the conversations and the complexity of the language that was heard!
I know children learn best through exploration, but sometimes it’s easy to forget how much they really can do on their own when we give them a challenge with no right or wrong answer. That’s when students really shine!
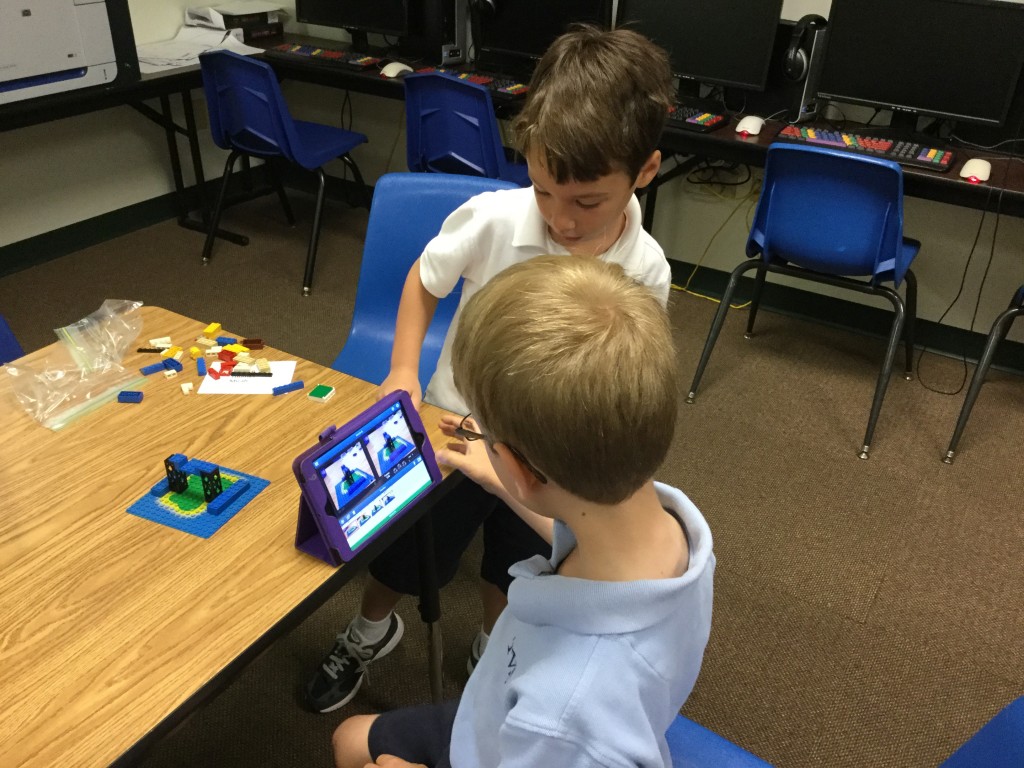
 After one and a half class sessions of Lego building, the first graders were ready to add the final touches to their MyCreate stop-motion videos. (See Who Doesn’t Like Legos for a description of the project.)
The students air-dropped their videos to my iPad which was hooked up to the projector. And, how they LOVED seeing their work shown on the “big” screen! We only had one issue with the MyCreate app – no matter what we tried, we had one iPad that would not save the movie to the camera roll! I checked every setting, turned the iPad off and on . . . but nothing worked. We went to plan B – we just used another iPad to video the video in the MyCreate app!
To share the videos with parents, I decided the best way would be to combine them in iMovie. Here are the classes’ movies.
Mrs. Hutchinson’s Class
Mrs. Crumley’s Class
Mrs. Kee’s Class
For a first attempt at using the MyCreate app, I thought the students did an amazing job. The hardest part, as you’ll see in the videos, is keeping the iPad in one place as the photos are taken. Doing that helps the video “flow” but it does take practice.
What I enjoyed the most was watching the group dynamics; how the children worked together to plan and build.
Here’s a look at the process:
Ever since the fourth graders were “caught” by the first graders working with Legos, the little ones have been asking, “When will it be our turn?”
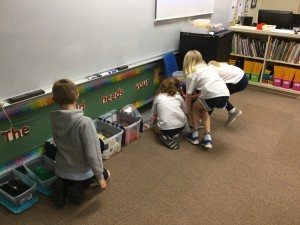
Well, this week their turn finally came. I wish I could have everyone use the Legos at the same time but I just don’t have an unlimited supply! So, the students were divided into groups of three and were given a baggy stuffed with assorted Lego bricks, wheels, doors, and windows.

The directions were: Make a stop-motion video of what your group builds.
 The children were introduced to the MyCreate app ($4.99). This is an easy-to-use stop-motion app for all ages. The camera is built-in so students can easily take a series of photos to show change over time.
The most challenging aspect of using any app like this is convincing the children that the camera and object being photographed should be stationary. It is SO easy for one or the other (or both) to move and that really does disrupt the flow of the video. Fortunately, the app uses onion-skinning to view the previous image which helps line things up for the next photo.
Helping steady the photographer!
My plan was to have students build something from whatever was in the baggie but they were soon begging for more! A quick change in plans resulted and the groups were allowed to send one person to collect additional Legos.
I was amazed at how well the groups worked together to plan their structure and then to build and photograph each step. Of course, Lego building can never be limited to a 40 minute class session! Next week, we’ll finish creating the stop-animation videos and post to the blogs. I can’t wait to see the finished products!

A couple of weeks ago, I purchased 8 Ozobots. Ozobots are small robots that can be “programmed” by using a series of color combinations (OzoCodes) drawn by markers on white paper. These were introduced to a 4th grade class that just happened to have some skilled Ozobot users!
After watching a couple of the students, I decided to ask their teacher if they could share their knowledge with a first grade class who happened to also have some college student observers from TCU.
We got permission and I presented the plan to two students who were absolutely thrilled to be asked! They suggested two others so we ended up with a fabulous group of four! I was a bit concerned that they would be somewhat intimidated by the college students. Didn’t even cross their minds – one boy told me, “No problem! I can teach the college kids.”
The fourth graders arrived before class started. They had spent their weekend drawing Ozobot paths to share with the younger ones!
The first graders were in awe of the older students! One little girl stated, “I just love these 4th graders coming to teach us Ozobots.”
What leaders these older students are! Our four young teachers were amazing! They all walked around providing tips and offering any guidance needed to make sure the little ones (and the college students) were successful at drawing codes for the Ozobots.
At one point, one of the fourth graders pulled me aside to share, “Uh, Mrs. Arrington, that little boy is getting marker on the table. What can I use to clean it up?”
And, as the older students left, I was asked, “Can we come back next week and teach?” We will definitely have to make that happen!
During the first week in the Digital Learning Lab, the 4th graders combined technology and a “maker” challenge to build a structure that would support a large marshmallow. Their only materials used were as follows:
- 1 yard of string
- 1 yard of masking tape
- 20 sticks of spaghetti
The children could use the above materials in any combination they wished. The goal was to build the tallest, free-standing structure that they could create to support the marshmallow.
The technology part included a photographer in each group who used a stop motion app to record the process and then create a short video. Those are added to the end of the animoto video. Not all groups submitted a video – some of the photographers were so involved in the building process that they forgot to snap photos! (Apps used: myCreate or KomaKoma)
The students weren’t completely “successful” in having a free-standing structure (we had a few that needed a steady hand to stay upright!) but, listening to the thinking processes that were going on was absolutely amazing! It was definitely a success in team-building and thinking/designing!
To listen to a fascinating TED talk about the dynamics of teams working on the marshmallow challenge, click here.

 For the first session, we started with practicing how to take a screen shot since we wanted a photo of a favorite picture from the book to upload to ChatterPix. Next, the students were given an animal card with a QR code that took them directly to the book they were to read. Once scanned, we went on a picture walk through the book – we didn’t take time to read or listen to the story. The goal was to find a favorite image and screen shot it. Then, we asked the children to listen to the story two times. Each child received a piece of paper where they could write the name of their animal and jot down facts they wanted to share. You should have seen the little ones taking notes!
 The next day the students returned to the iLab. Armed with their notes and iPads, we walked through the ChatterPix for Kids app, getting everyone to the point where their photo from the previous day was uploaded and ready to record.