Archive of ‘Computer Lab Activities’ category
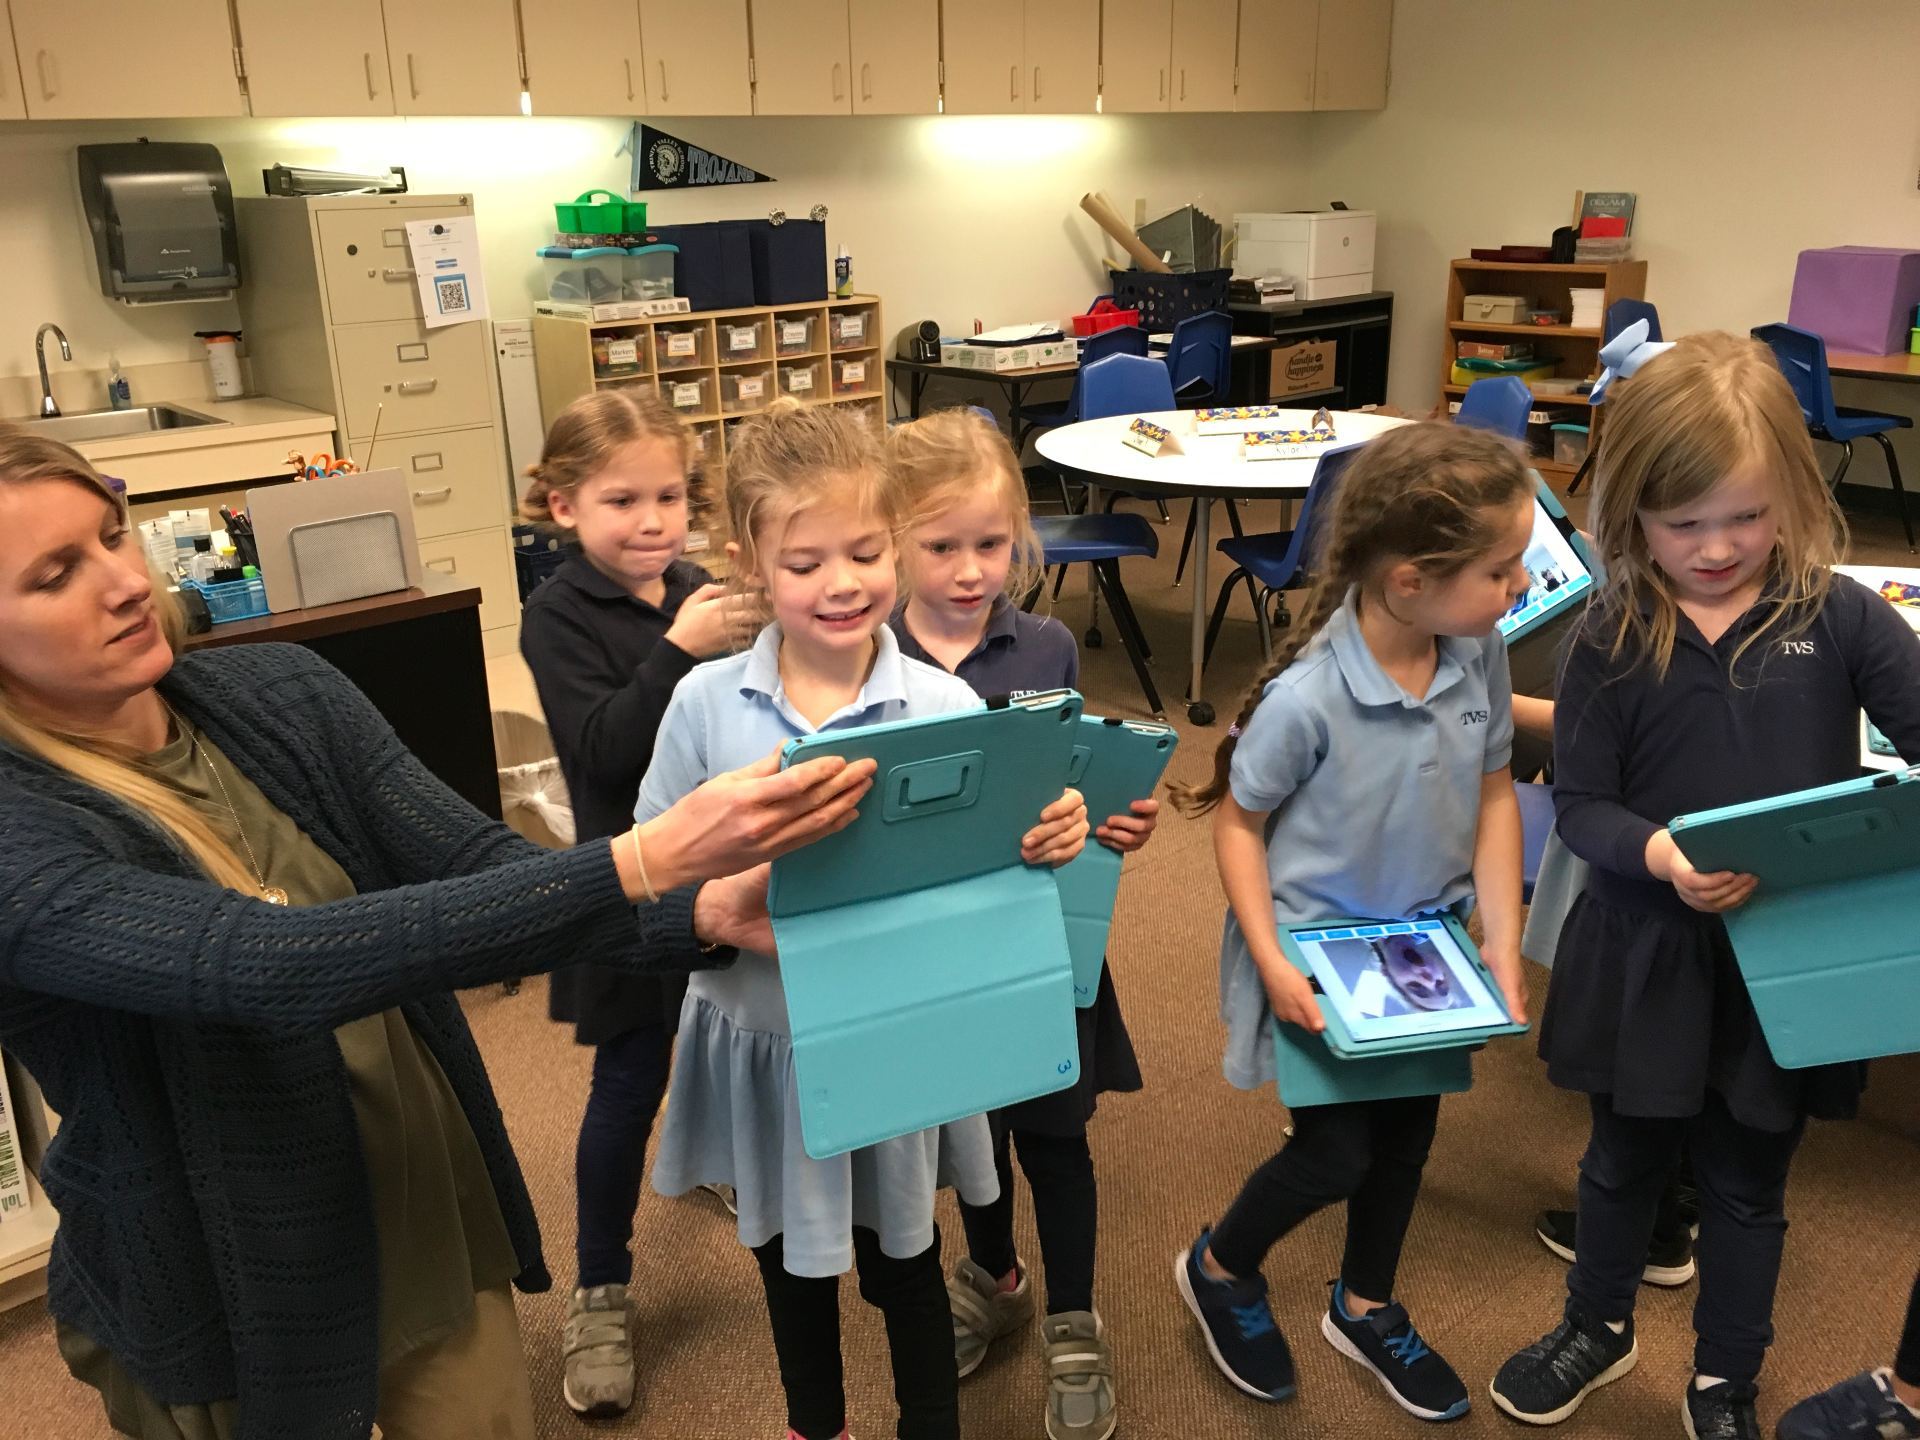
Thirty minutes is not a long time to introduce the Seesaw app (Seesaw Digital Portfolios) for the first time but these little ones did an amazing job!
Since we had a slim chance of snow (flurries if you looked closely enough), I guided the children though the “Snowy Selfie” pre-made activity. Giggling when I asked who had ever taken a selfie, the students scattered to take their own photos. For most, it was the first time they had held an iPad themselves to tap the shutter button themselves. They were cute to watch as they moved their heads back and forth, trying to get it in just the right position on their screens.
 Actually, the selfies were the hardest part! But, they did it! Then, the decorating began.
 Even the teachers had fun making their Snowy Selfies!
 The students were excited to show off their finished pictures.
 What a fun project to introduce the little ones to Seesaw! Western Day is coming us in a couple of weeks. I’m thinking we’ll create Western Selfies then.
How do you introduce Seesaw to your kindergartners?
Today we did Book Talks with one of the 4th grade classes using Flipgrid. I asked the children to choose a picture book, read it, then post a 30 second review on Flipgrid. We’ll share these with our younger children to help them discover new books to read.
Here are some samples:
I LOVE flipgrid! What a quick way for students to share content, books, what they’ve learned, and so much more with others. I purchased the paid version so that I could have different grids. If you discover that you’ll be using this often, that is the way to go!
I’m not really fond of emojis (except for texting) because I think words are much more effective. Does that show my age?? My rule to students when writing online is, “No emojis!”
 Recently, I came across an activity from a teacher using Seesaw and the Note feature where young students wrote an “All About Me” story using words along with emojis. Since we are in the process of implementing Seesaw for Schools, I’m working with all classes to introduce them to the many features of the program. Knowing that ALL children desperately want to use emojis in any kind of work that requires typing on an iPad, I thought this would be the perfect way to incorporate writing using the Note choice.
Oh my! Were they excited! I wrote some sentence starters on the board along with a word bank that we added to as needed and off they went.
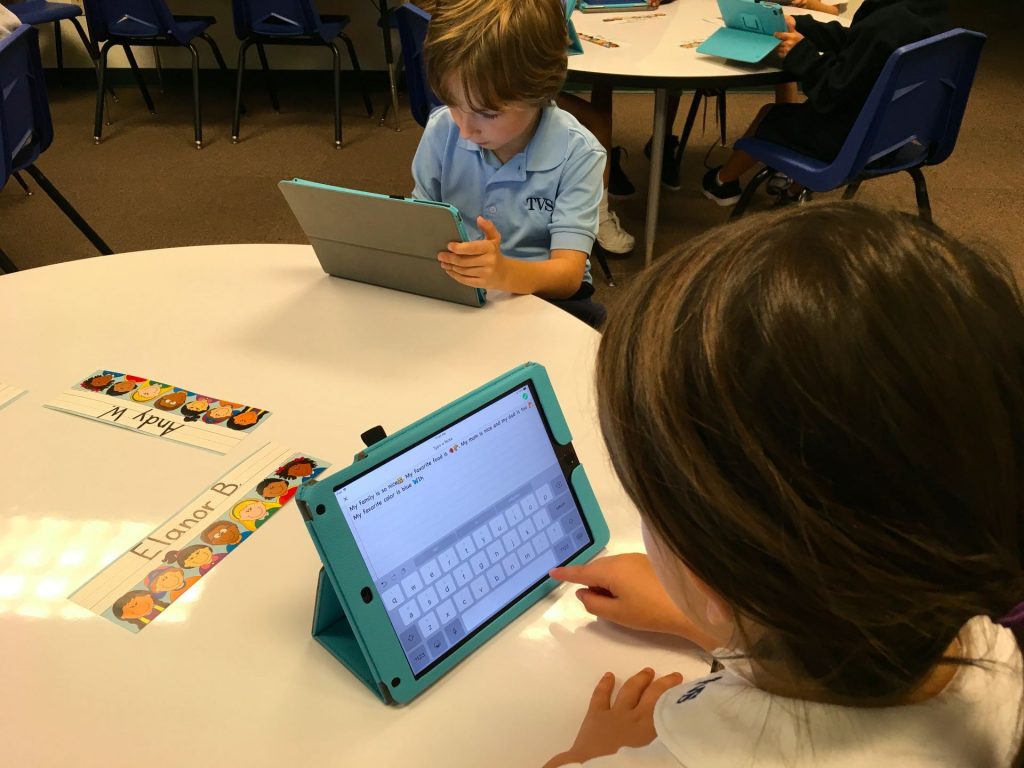
I learned a lot more about the students and their families just by reading their stories.
Was it hard for first graders to find letters on the keyboard? Yes, but because they were going back and forth between the emojis and letters, no one was frustrated.
Could they have used more time than we had? Of course! Kids can always think of more ways to use emojis in their stories.
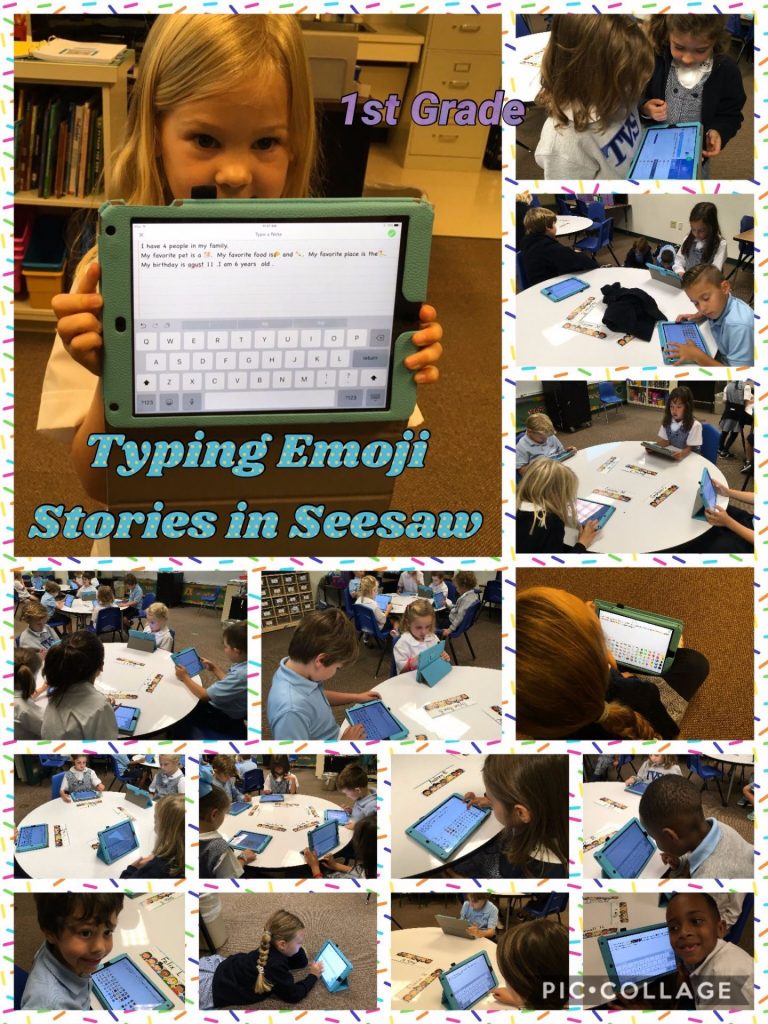
This activity was also done with grades 2, 3, and 4 and was a HUGE success. It’s a great way to get “emoji fever” out of the way as students share more about themselves.
 Who doesn’t like Lego Building? Add in MyCreate app for making a stop-motion video and you’ve got instant creativity!
Our second and third graders were given a challenge to photograph each stage of their Lego building process and create a stop-motion video. If time allowed, they could even add sound effects! All this had to be accomplished in 35 minutes. (Enter groans of “No, that’s not enough time.”) It’s amazing how ideas come together when there’s a deadline!
The MyCreate app is super easy to use. The hardest tip to get across to students is to keep the iPad in the same place. We talked about how the smoothest videos created are when the camera doesn’t move. The app makes it easy to line up the subject if the iPad accidentally shifts. Photos are taken within the app and the frames per second can easily be changed. The more photos you have, the better. The only issue we had was with one iPad that wouldn’t save the video to the camera roll. We tried everything but it never did save for one group. What was strange is that it had just worked for a previous class.
 Some groups decided to build cars, planes, buildings and then start taking the photos. Others started from scratch, constructing garages, houses, and more.

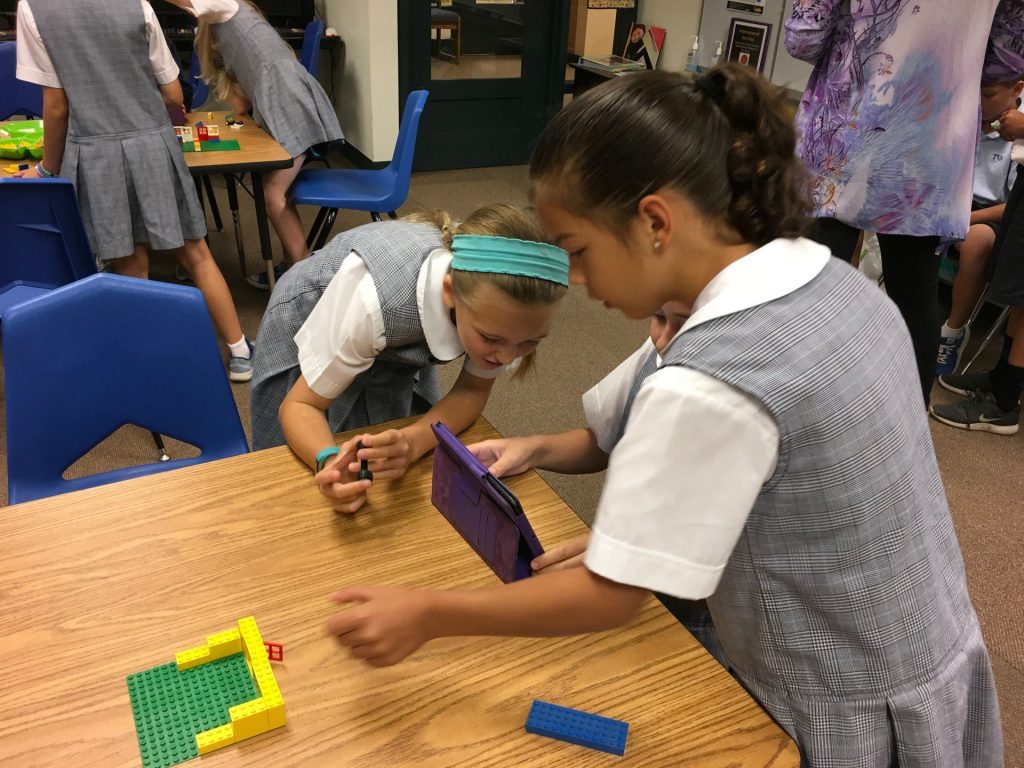 This was a fun activity designed to show the students how to use the app. However, there could be lots of curricular uses.
- Storytelling/Creative Writing
- Math Problem acted out
- A Historical Moment
Here’s a sample from Mrs. Weth’s class of the process and the stop-motion videos:
Click to see other second and third grade videos.
How do you use stop-motion in your classroom?
Save
Save
I’m not sure why but I hadn’t pulled out the Ozobots for the fourth graders this year so when they arrived at the lab and discovered Ozobots set out, they could hardly sit still to get instructions!
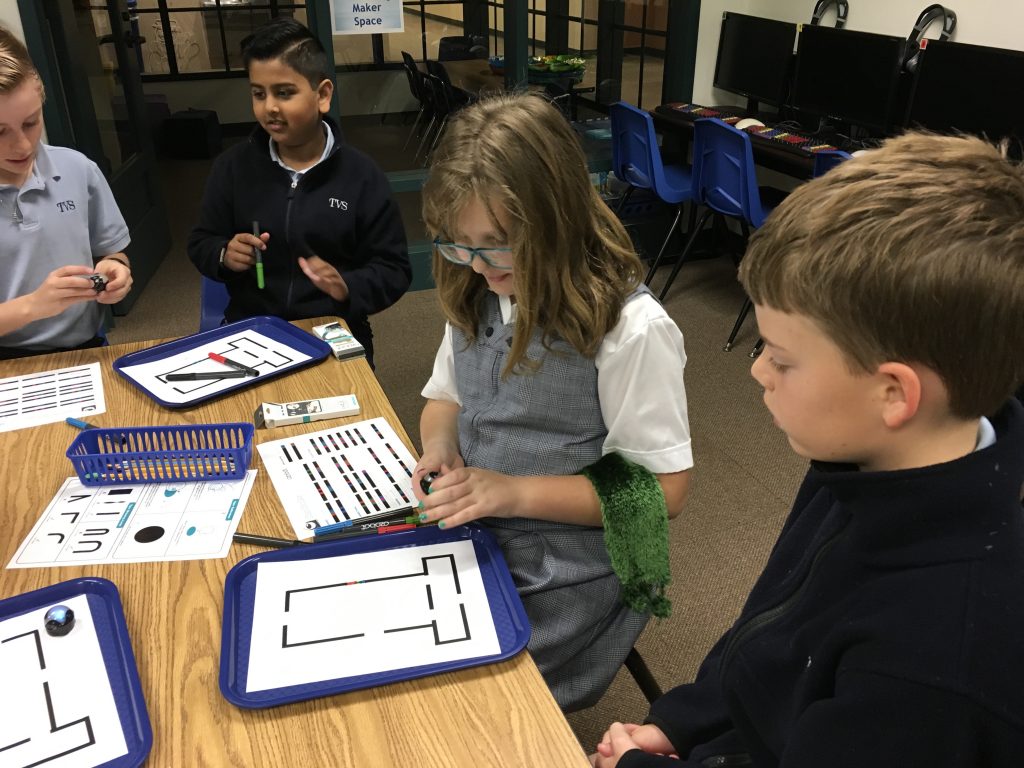 Needless to say, I presented the instructions in record time! Their job – add color codes and paths to the outline of the Cat in the Hat’s hat. iPads were set out so students could video their Ozobots. A few did that and then air dropped video to me so that I could add to what I took. Here’s a glimpse at what happened.
4th, Seuss & Ozobots from Trinity Valley School on Vimeo.
I would hear groans from students who couldn’t get their Ozobot to follow the code they thought they’d drawn. Then, I’d hear from someone else who announced that their code worked and they were more than happy to share tips on how to better draw effective codes.
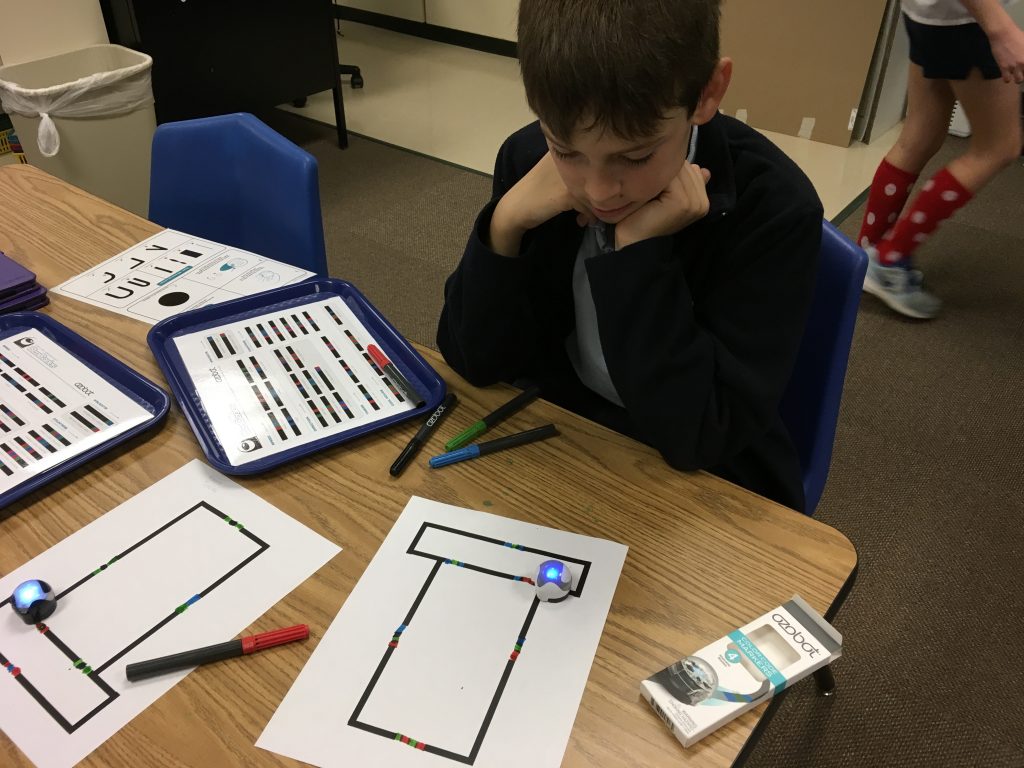 Lesson learned for me – I need to do MUCH more of the exploration time for the students. Yes, there are times when I need to do direct instruction but watching the fourth graders interact reminded me how important it is to allow time for uninterrupted learning to occur.
Save
The Common Sense Media Education website has a wealth of information for teachers (and parents) from digital citizenship to app evaluation and much more.
Our first graders recently discussed Going Places Safely on the Internet. The lesson includes a short video designed for grades K-2 along with a detailed lesson plan.
When the students arrived, I asked what they would do if they wanted to go some place. “We would ask our parents or our teacher!” I next asked what they would do if they wanted to go on the internet. Most said they would need to ask permission to do that.
We watched the video then I told the students we would be taking some “field trips” to visit online places far away from our school.
I chose to make some changes from the suggested sites in the lesson plan. Here are the ones used for this year.
These are linked here on my teaching website.
The children were asked to explore the sites for a few minutes. Then they would need to decide what their favorite “field trip” was so that they could illustrate it. The students enjoyed visiting the faraway places but the takeaway was the importance of always being safe online. This lesson is an excellent way to make connections in that, just as we practice safety in the real world, we also need to do so when we are online.
Safety Rules to Follow When Going Online:
- Always ask your parent or teacher first.
- Only talk to people you know.
- Stick to places that are just right for you!
Here’s a quick look at the students exploring the sites and choosing their favorite place to visit.
The end of school was near and everyone was ready for summer vacation. In other words, it was really important to find something that would challenge the students! I asked the students to produce something that would “teach” something to their peers. I wanted to share one particular project because it certainly showed ingenuity and resilience!
Collin and Tiernan asked if they could use the green screen to teach soccer fundamentals. I mentioned the app, Green Screen by Doink and showed them where the green screen was kept. A bit about our green screen – it was made from a trifold science board (cardboard). No, it wasn’t the sturdiest thing in the world but that didn’t stop these boys! The funniest moment was when the boys brought the green screen back to class in pieces (you can see it split toward the end of the video)!
Is this a “polished” video? No! Would a real green screen have worked better? Yes! What’s important is that the boys worked with what they had on hand to create an informative soccer fundamentals video that will be helpful to other students. Did they learn a lot? You bet! And that is exactly what makes their creation so valuable!
Save
Save
Save
Save
I never cease to be amazed at the creativity of students. Giving students a squiggle to start a drawing is something I’d done with children when I had my own homeroom! Last year, I saw this idea on Pinterest and decided to let the students create using MS Paint.
They started with this: and ended with this!
Amazing!
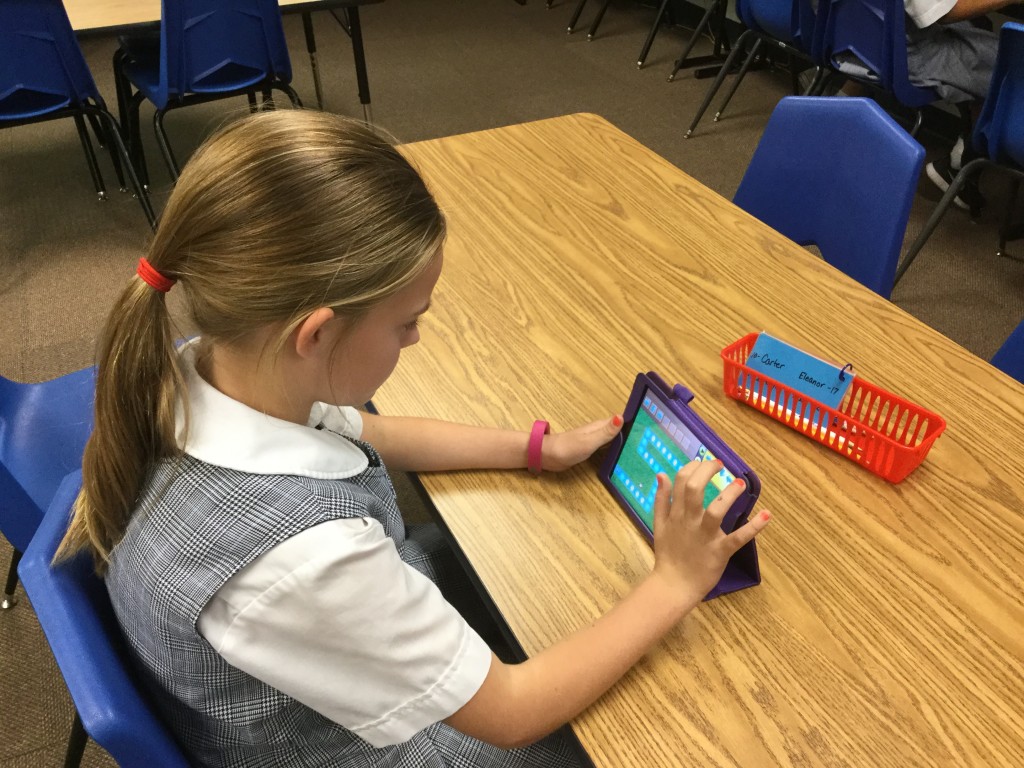
Last week I started something new with the 4th graders – Fantastic Fridays. On the board, I wrote a list of activities. Some were things they’ve done before but never seemed to get tired of it. Others were completely new.
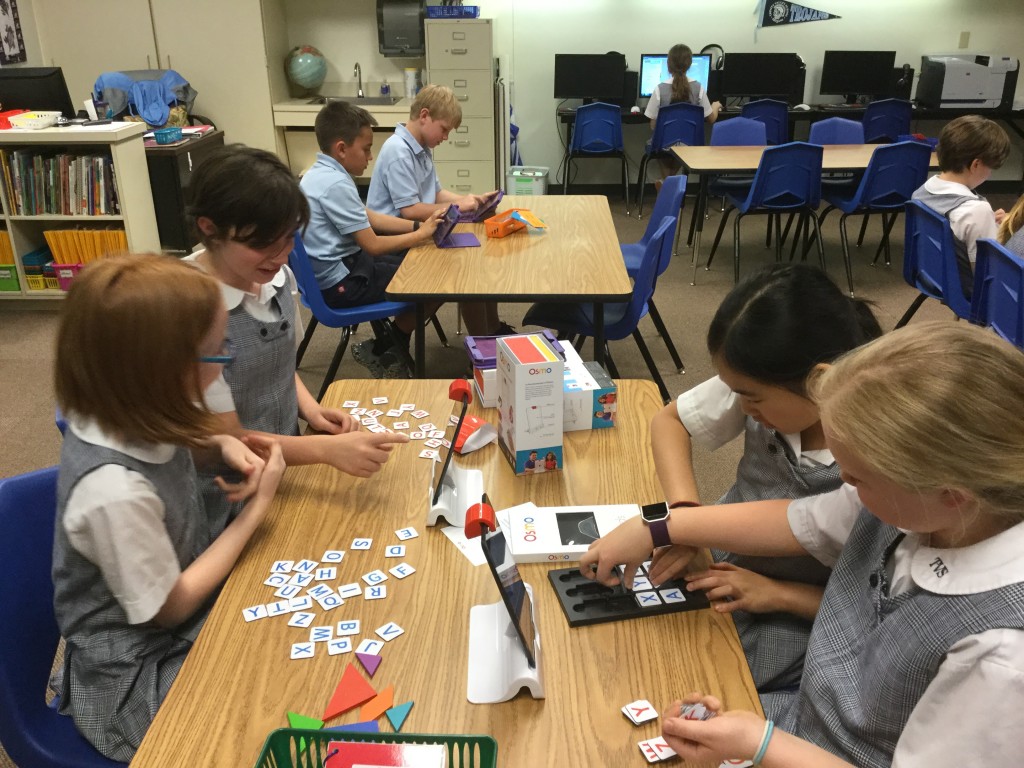
- Osmo – a unique way to physically interact with the iPad
- Ozoblockly – drag and drop programming to use with Ozobots
- Kodable – programming curriculum for elementary students
- Know Your States – an excellent interactive game to learn where the states are located.
- Sugar, Sugar – a fabulous problem-solving activity

The students were SO engaged! Yes, there is a time when you have to teach skills but choosing your learning is critical! We, as teachers, must make time for that as well. Be sure to walk around and listen in on conversations – the dialog, the problem-solving, the planning is amazing!

The girl who was using Ozoblockly even returned after school so that she could show her sister what she’d done in class.
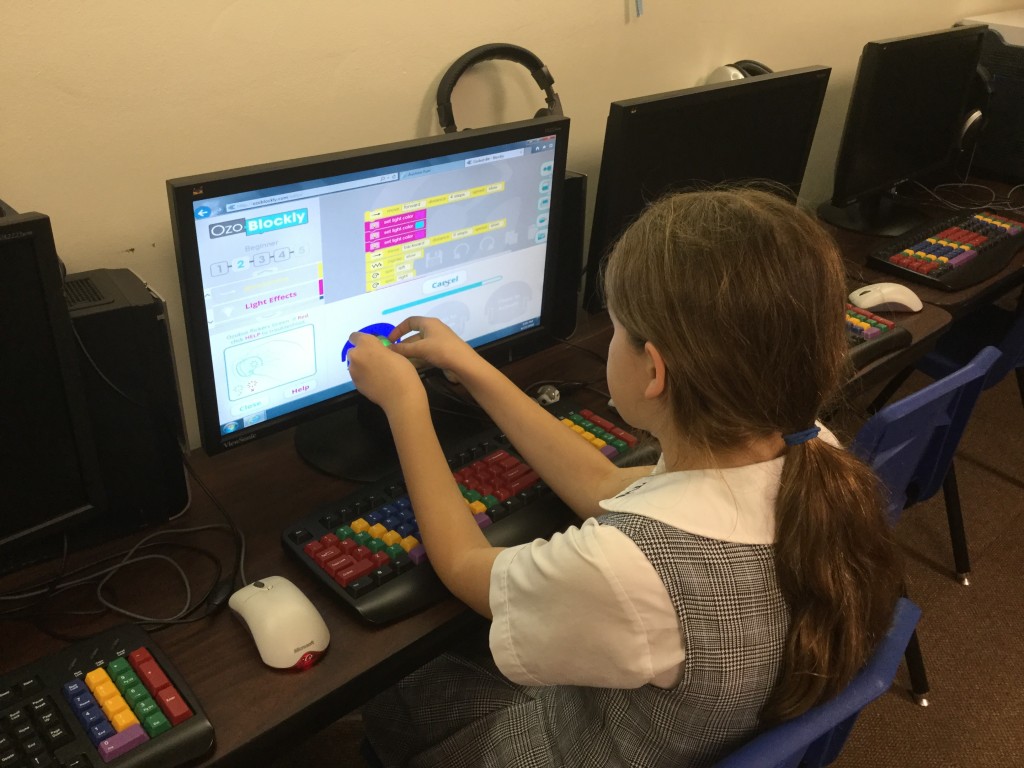
She also wanted me to video her Ozobots dancing in tandem. Here they are:
The last question the students asked as they exited the lab was, “May we please do this again?”
And, yes, we most definitely will!
 After one and a half class sessions of Lego building, the first graders were ready to add the final touches to their MyCreate stop-motion videos. (See Who Doesn’t Like Legos for a description of the project.)
The students air-dropped their videos to my iPad which was hooked up to the projector. And, how they LOVED seeing their work shown on the “big” screen! We only had one issue with the MyCreate app – no matter what we tried, we had one iPad that would not save the movie to the camera roll! I checked every setting, turned the iPad off and on . . . but nothing worked. We went to plan B – we just used another iPad to video the video in the MyCreate app!
To share the videos with parents, I decided the best way would be to combine them in iMovie. Here are the classes’ movies.
Mrs. Hutchinson’s Class
Mrs. Crumley’s Class
Mrs. Kee’s Class
For a first attempt at using the MyCreate app, I thought the students did an amazing job. The hardest part, as you’ll see in the videos, is keeping the iPad in one place as the photos are taken. Doing that helps the video “flow” but it does take practice.
What I enjoyed the most was watching the group dynamics; how the children worked together to plan and build.
Here’s a look at the process:

 Actually, the selfies were the hardest part! But, they did it! Then, the decorating began.
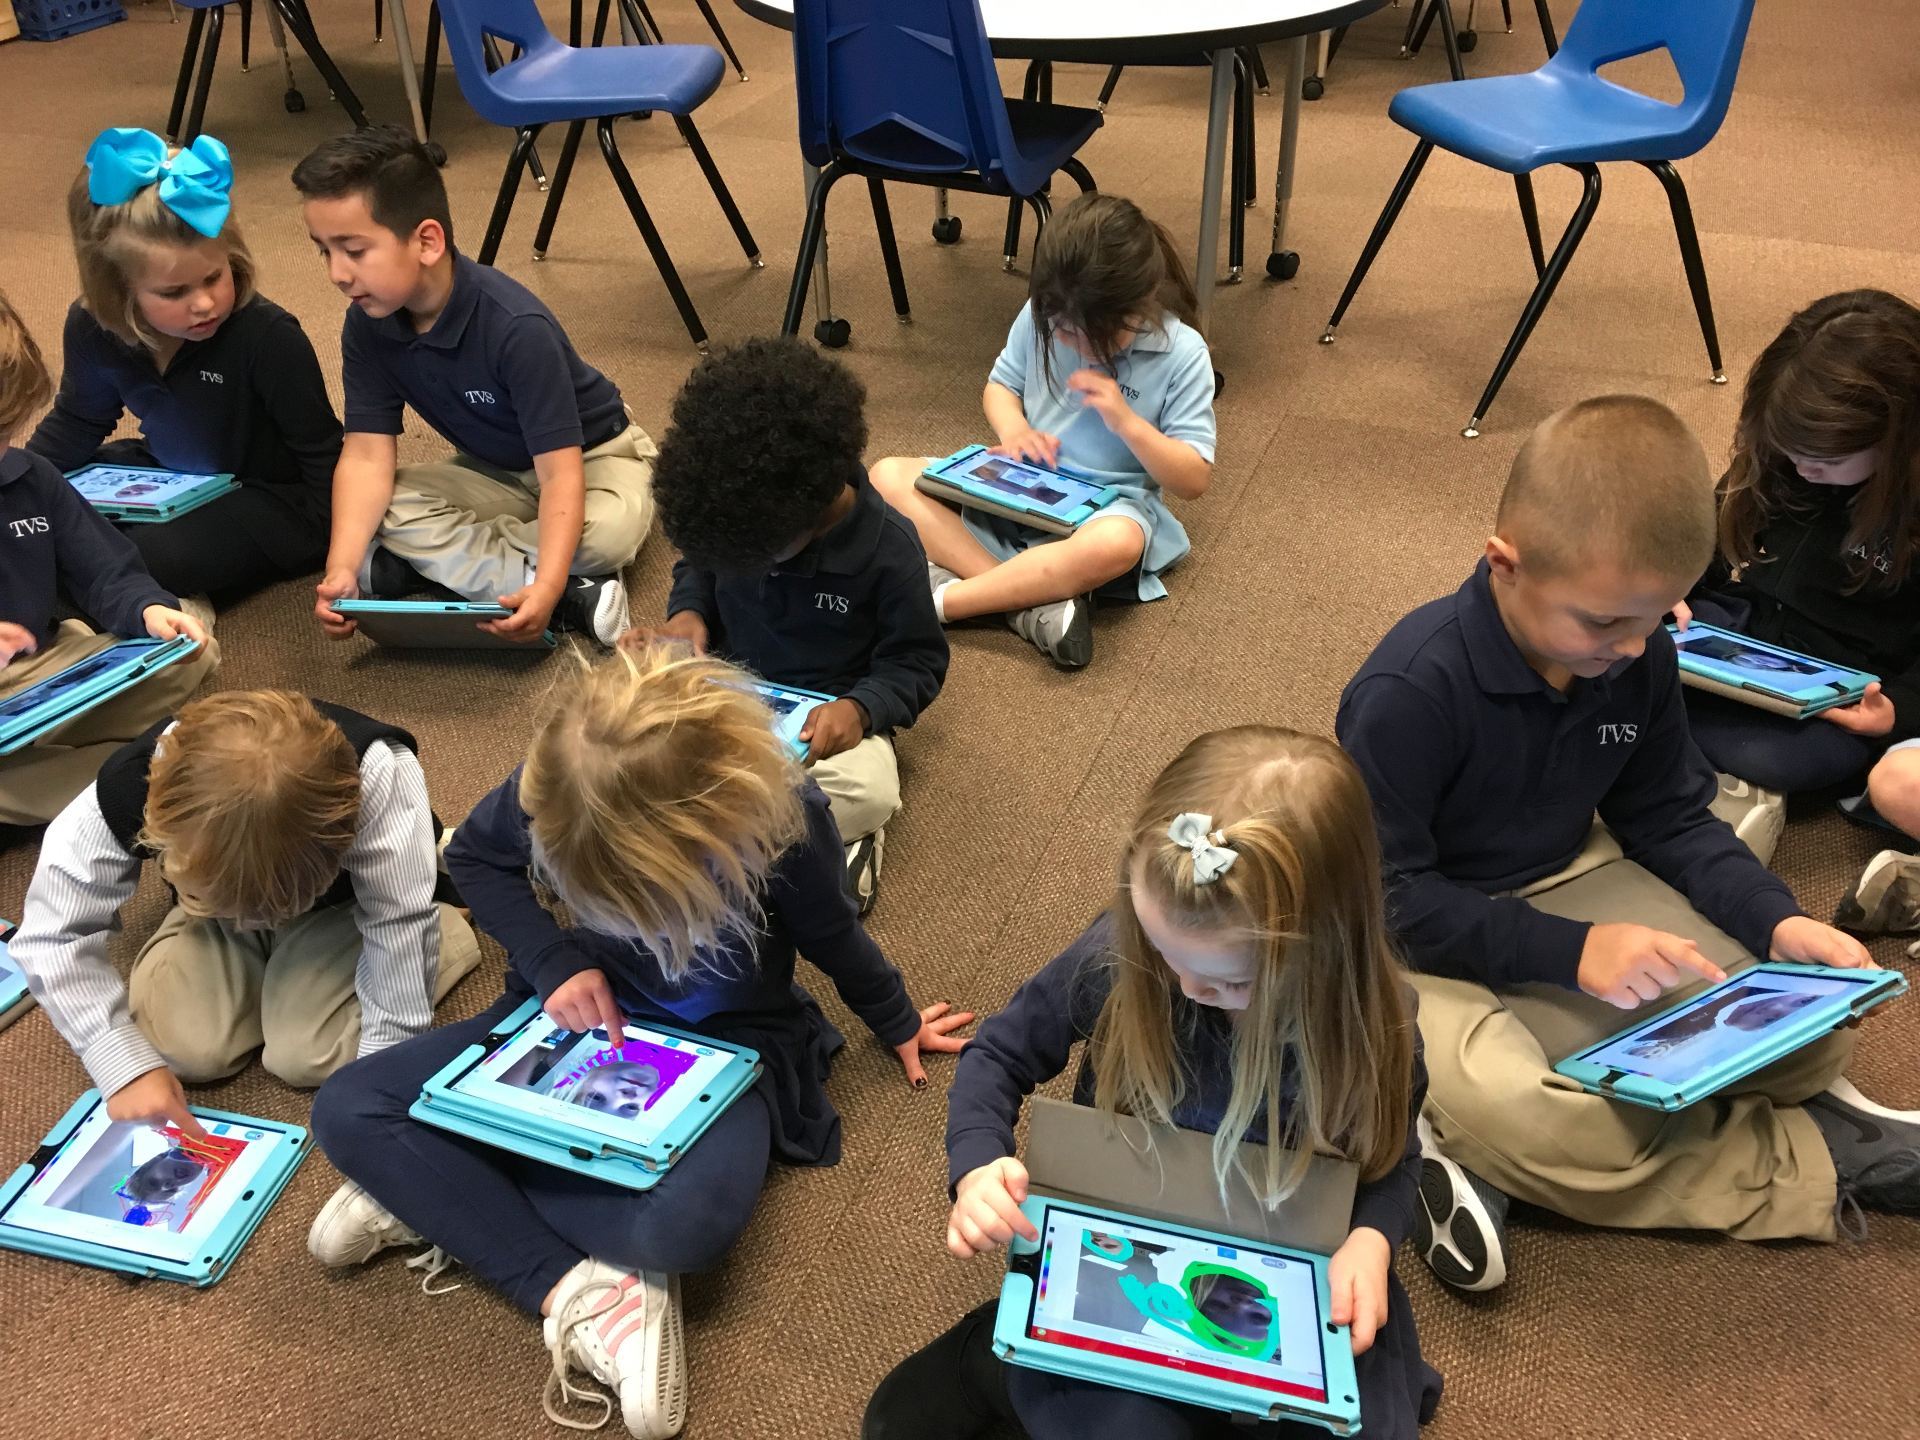 Even the teachers had fun making their Snowy Selfies!
 The students were excited to show off their finished pictures.
 What a fun project to introduce the little ones to Seesaw! Western Day is coming us in a couple of weeks. I’m thinking we’ll create Western Selfies then.