Archive of ‘Design Thinking’ category
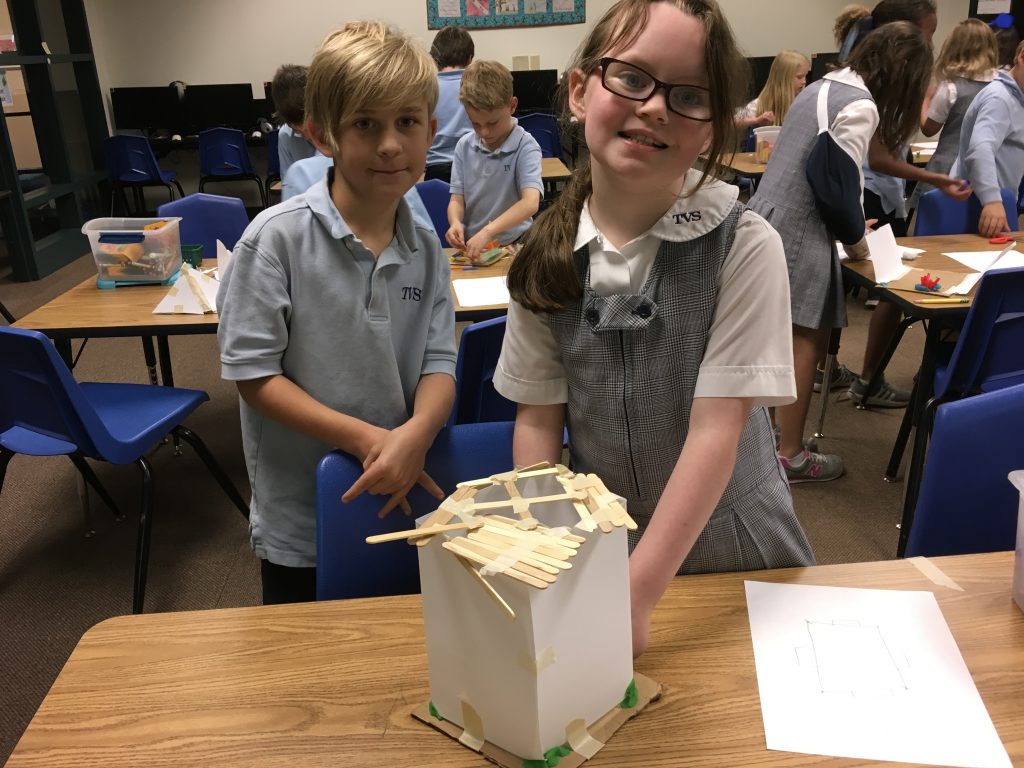
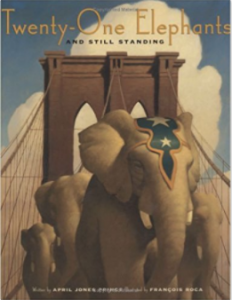 After a successful bridge building experience with second graders, I decided to give it a try with the third graders. The idea (from Playground Park Bench blog) is based on the book, 21 Elephants and Still Standing, a true story about the building of the Brooklyn Bridge. Click here to read the last post for information on the process.
This time I added pool noodles to the supplies. By the second class, it was apparent that those made the building process too easy. As a result, the last class didn’t get that option!
Notice how close the supports are in this video. The students forgot they needed room for boats to go under the bridge!
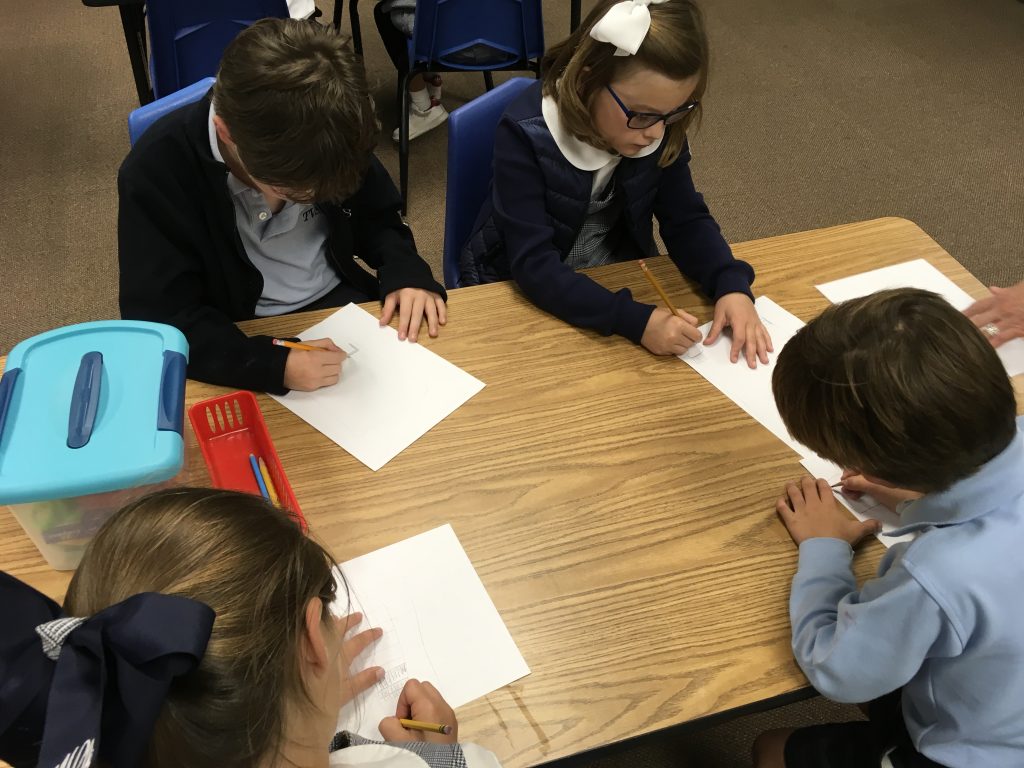
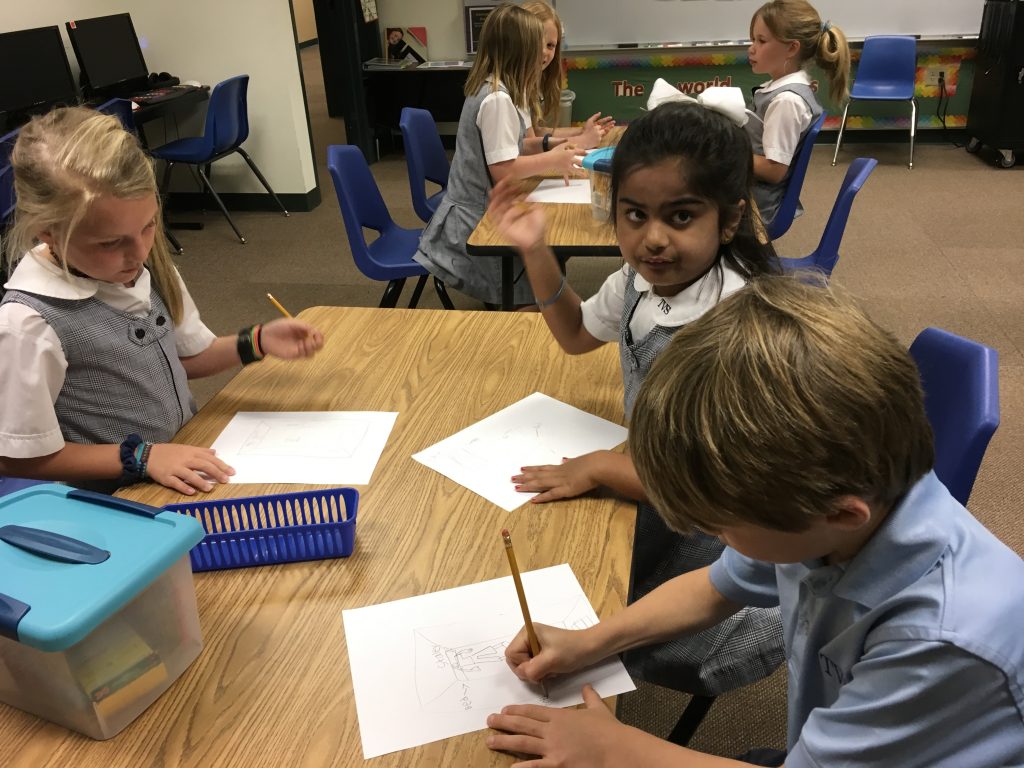
What surprised me was that the second graders actually had more detailed drawings in their design process. But, the older students had the vocabulary with much talk about supports, beams, etc.
Here’s a look at the process.
It’s interesting to see how each age approaches the challenge. Listening to their planning processes is amazing! I absolutely LOVED how respectful the students were to each other as they planned, built, and made changes. I’m eager to try this with first graders!
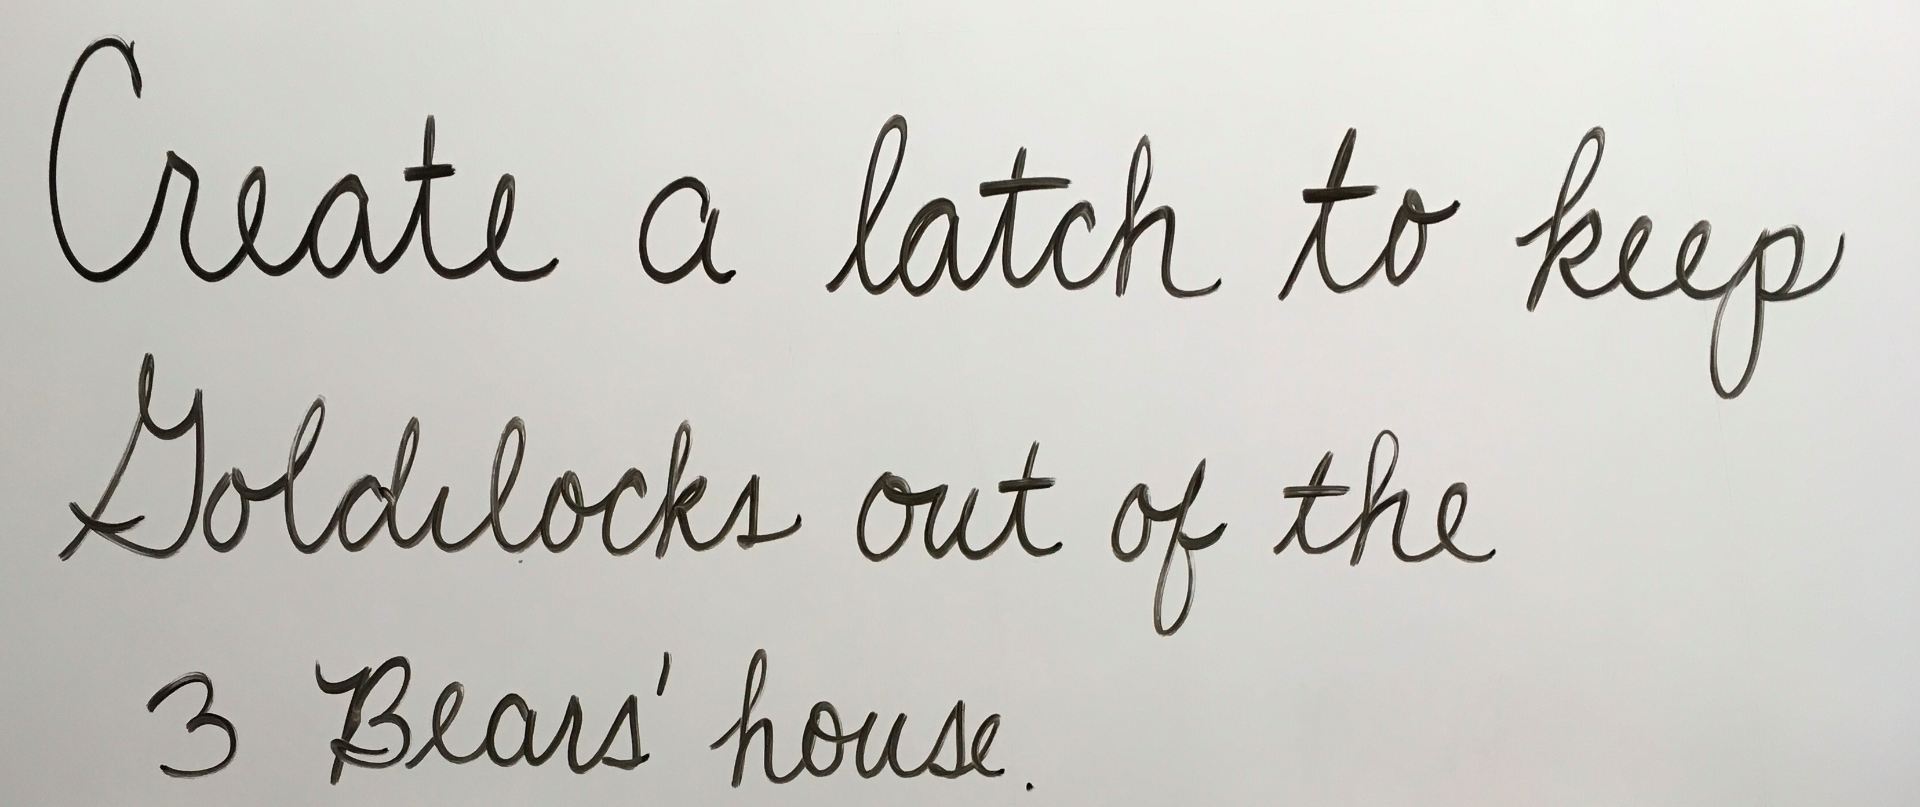
To go along with the second grader’s Fairy Tale unit, Mrs. Garcia’s class came to the iLab to design a latch for the three bears. The idea came from a STEM Fairy Tale Unit called, A Latch for the Three Bears, by Sarah Wiggins. Click here to find it on the TeachersPayTeachers site.
The Challenge:

Of course, Goldilocks should NEVER have gone into the Bears’ house without asking. However, shouldn’t the Bears have locked their door?
A latch had to be attached to the cardstock door so that students could demonstrate how it worked.
The Materials:
 Cardstock paper folded into 3 sections to create the “door” to the cottage, Bobby pins, straws, q-tips, bottle caps, masking tape, craft sticks, glue
The Process:
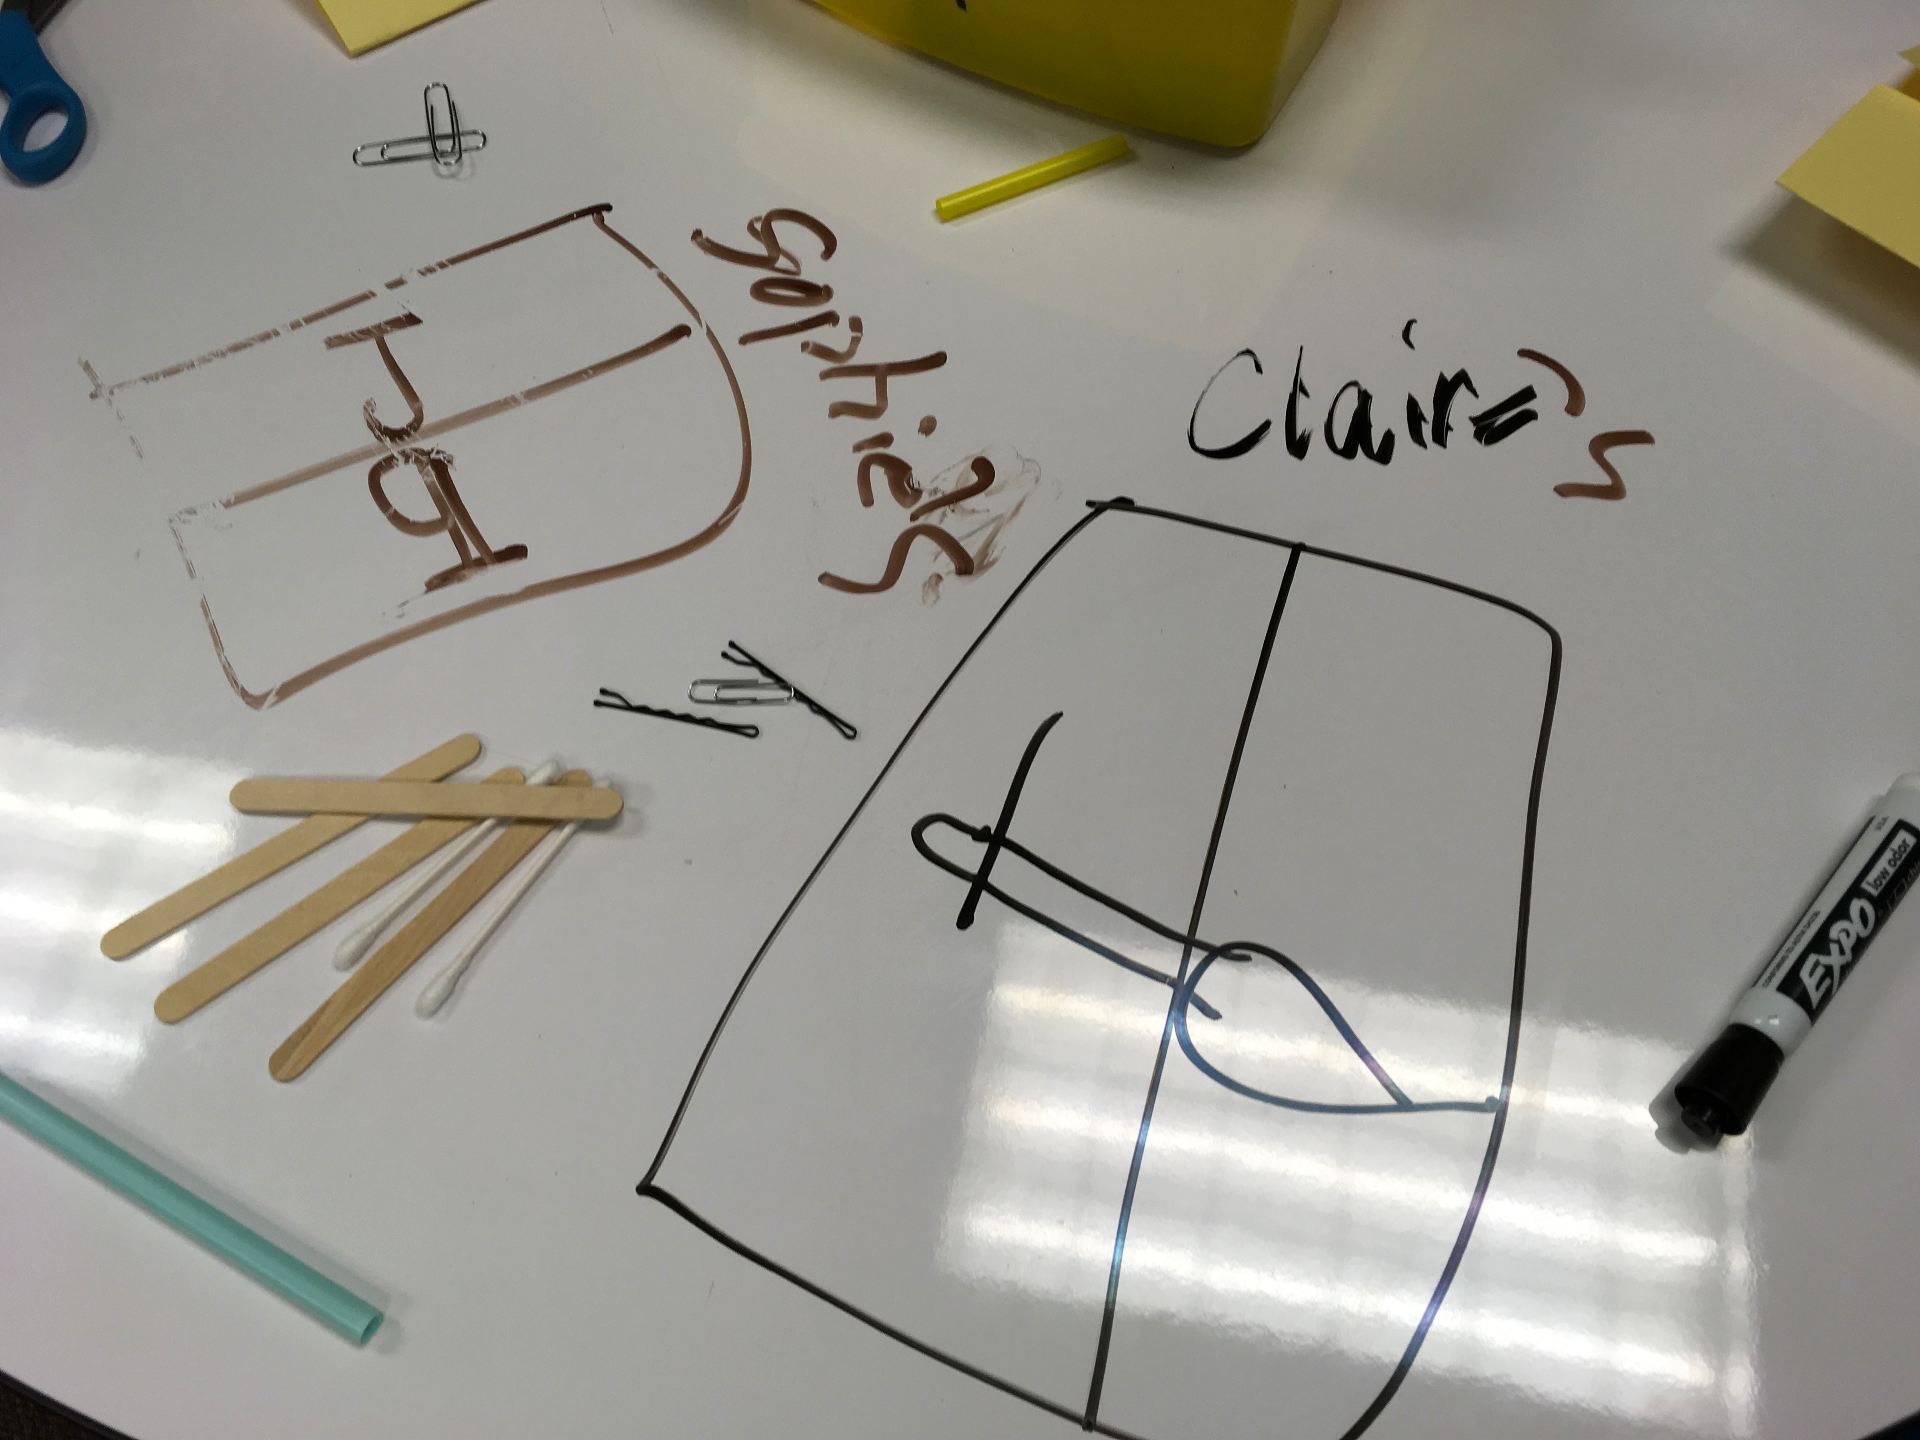
The students were introduced to the task as well as the materials available to them.We did have to explain what a latch was – that’s not exactly a common word anymore! Before sending them to their tables, I asked the children to individually think how they might combine the materials to create a latch. The next step was to brainstorm with their partner and start sketching ideas. The students then drew designs on the tables and discussed with their partners which to try.
 As the students built, they often revised their plans. A couple groups had enough time to test both designs they had drawn. We did have a few students who focused more on drawing the inside of the bears’ house rather than designing the latch first. Another group felt like the house needed a fence first so they built that which meant that they ran out of time to make the latch.
 After completing the task, the students were asked to upload their design to Seesaw where they were to explain how their latch worked.
Here are some samples:
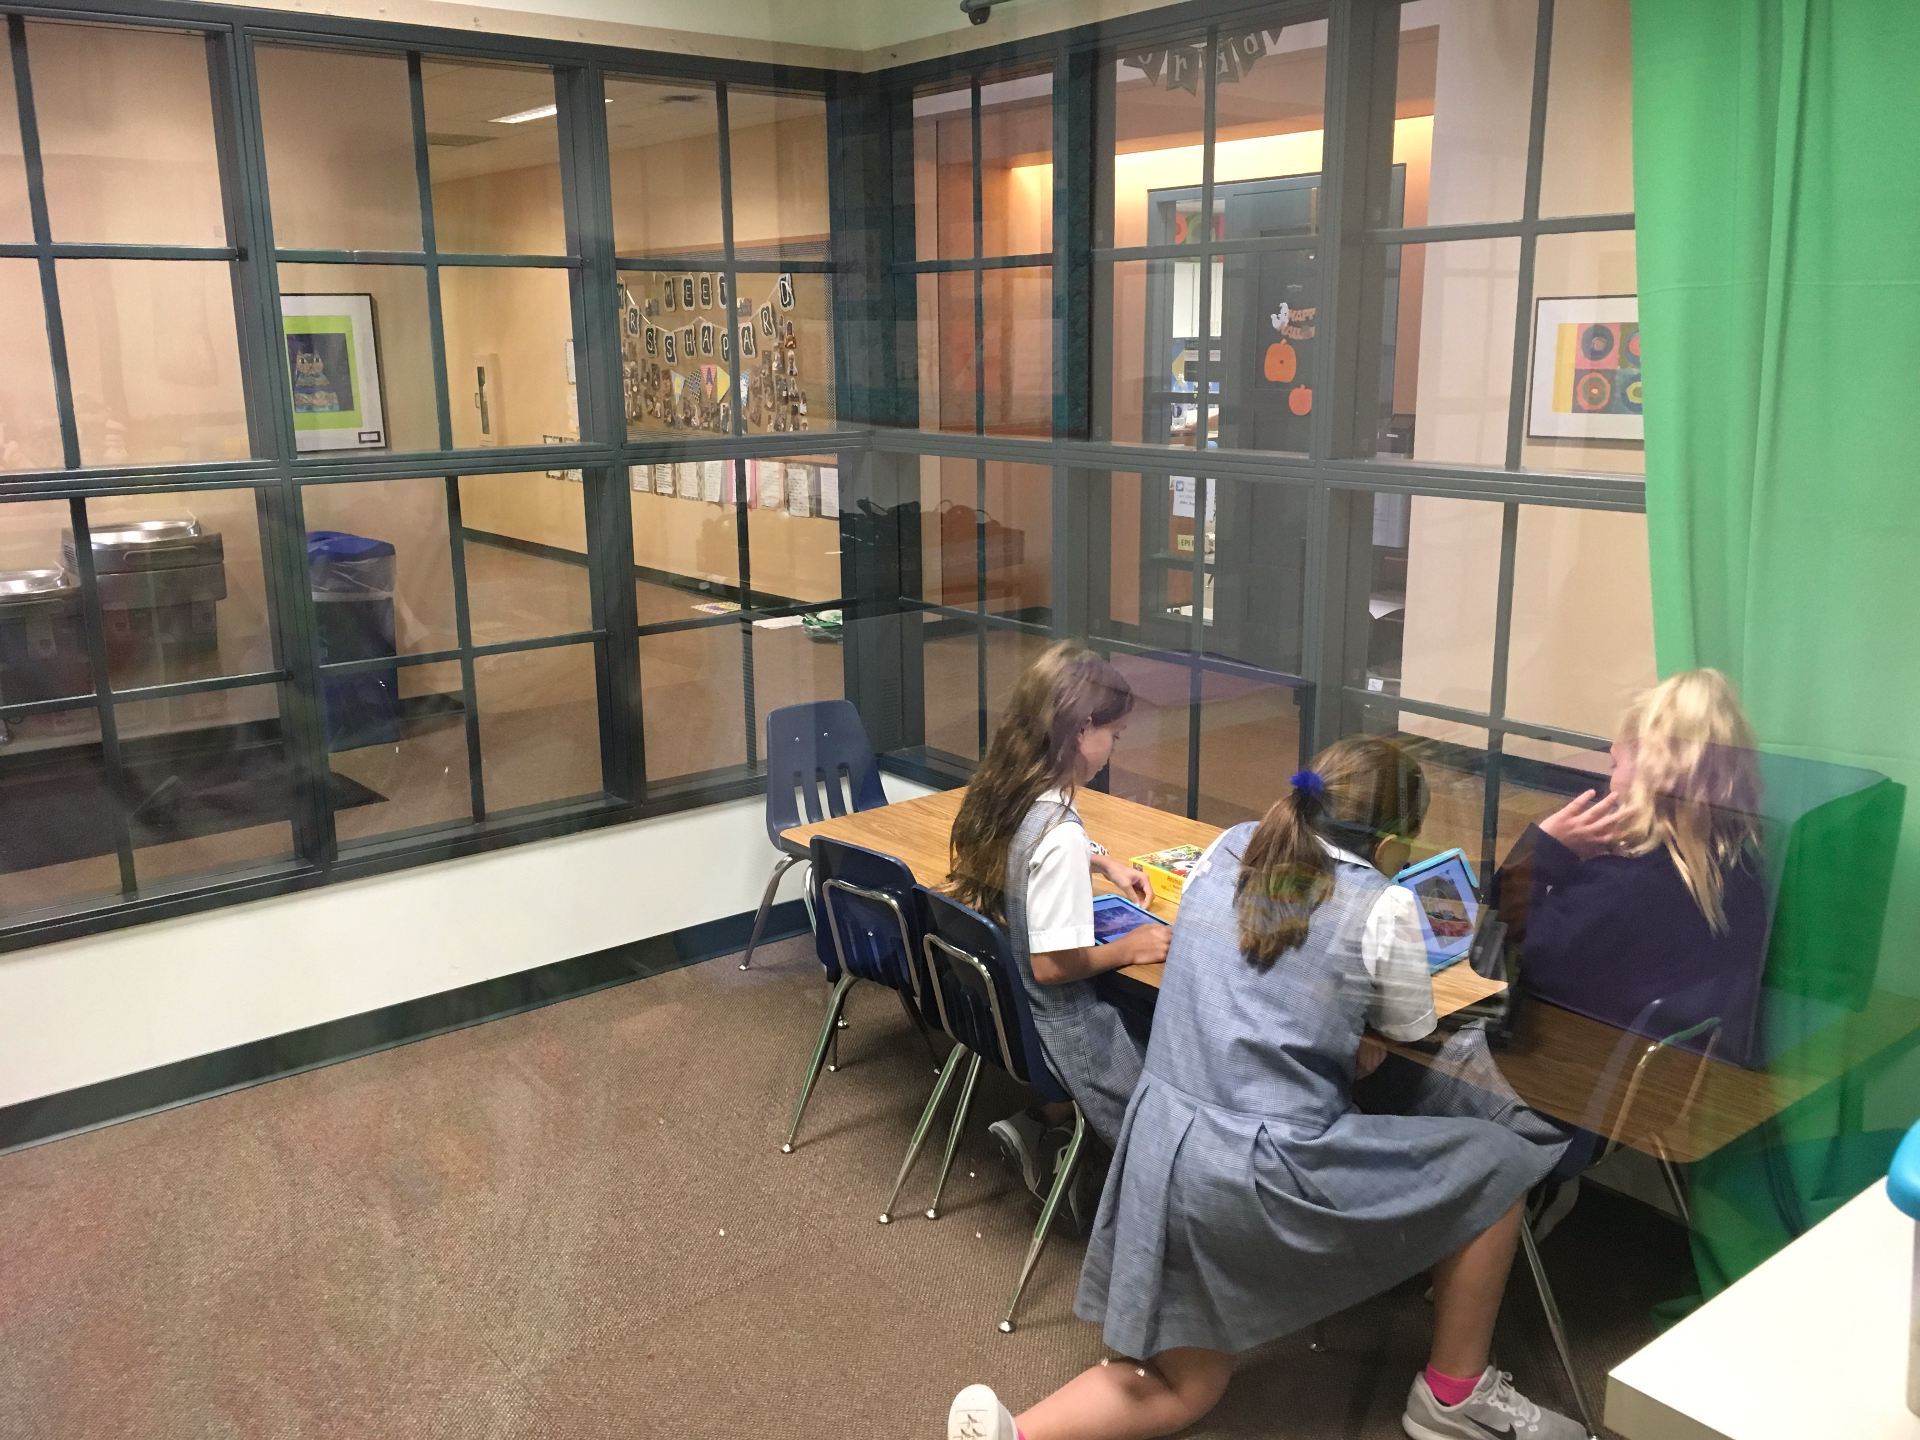
Here’s a look at the students hard at work!
Mrs. Garcia’s Class
Mrs. Shapard’s Class
Next time I’ll be sure to tell students the latch is the most important thing to design and build – nothing else! IF there is time, then they can go back to add additional details (drawing the bears inside the house, adding outside elements like fences).
The best part of this (or any) design challenge is listening to the students share ideas as they brainstorm, construct, and make changes to the design. You really learn a LOT! What I’ve found is that the quieter students that might not speak out in a whole-group setting, truly shine with activities like this.
I love literature and am always looking for ways to incorporate it into my lessons. So, when I came across this bridge building activity, I couldn’t wait to give it a try!
Going through Pinterest, I discovered the activity, “Build a Bridge for 21 Elephants” and knew I HAD to try this! The book is a true story about the 14-year construction of the Brooklyn Bridge. When it was finally completed, the people of New York and Brooklyn were worried that this grand feat wouldn’t be strong enough to withstand people traveling across it. To convince the citizens, P.T. Barnum, (creator of “The Greatest Show on Earth), figured out a way to show everyone just how well-built this bridge was. He took his 21 circus elephants all the way across the Brooklyn Bridge and it was still standing when the last one crossed! Click here to see a reading of the book on YouTube.
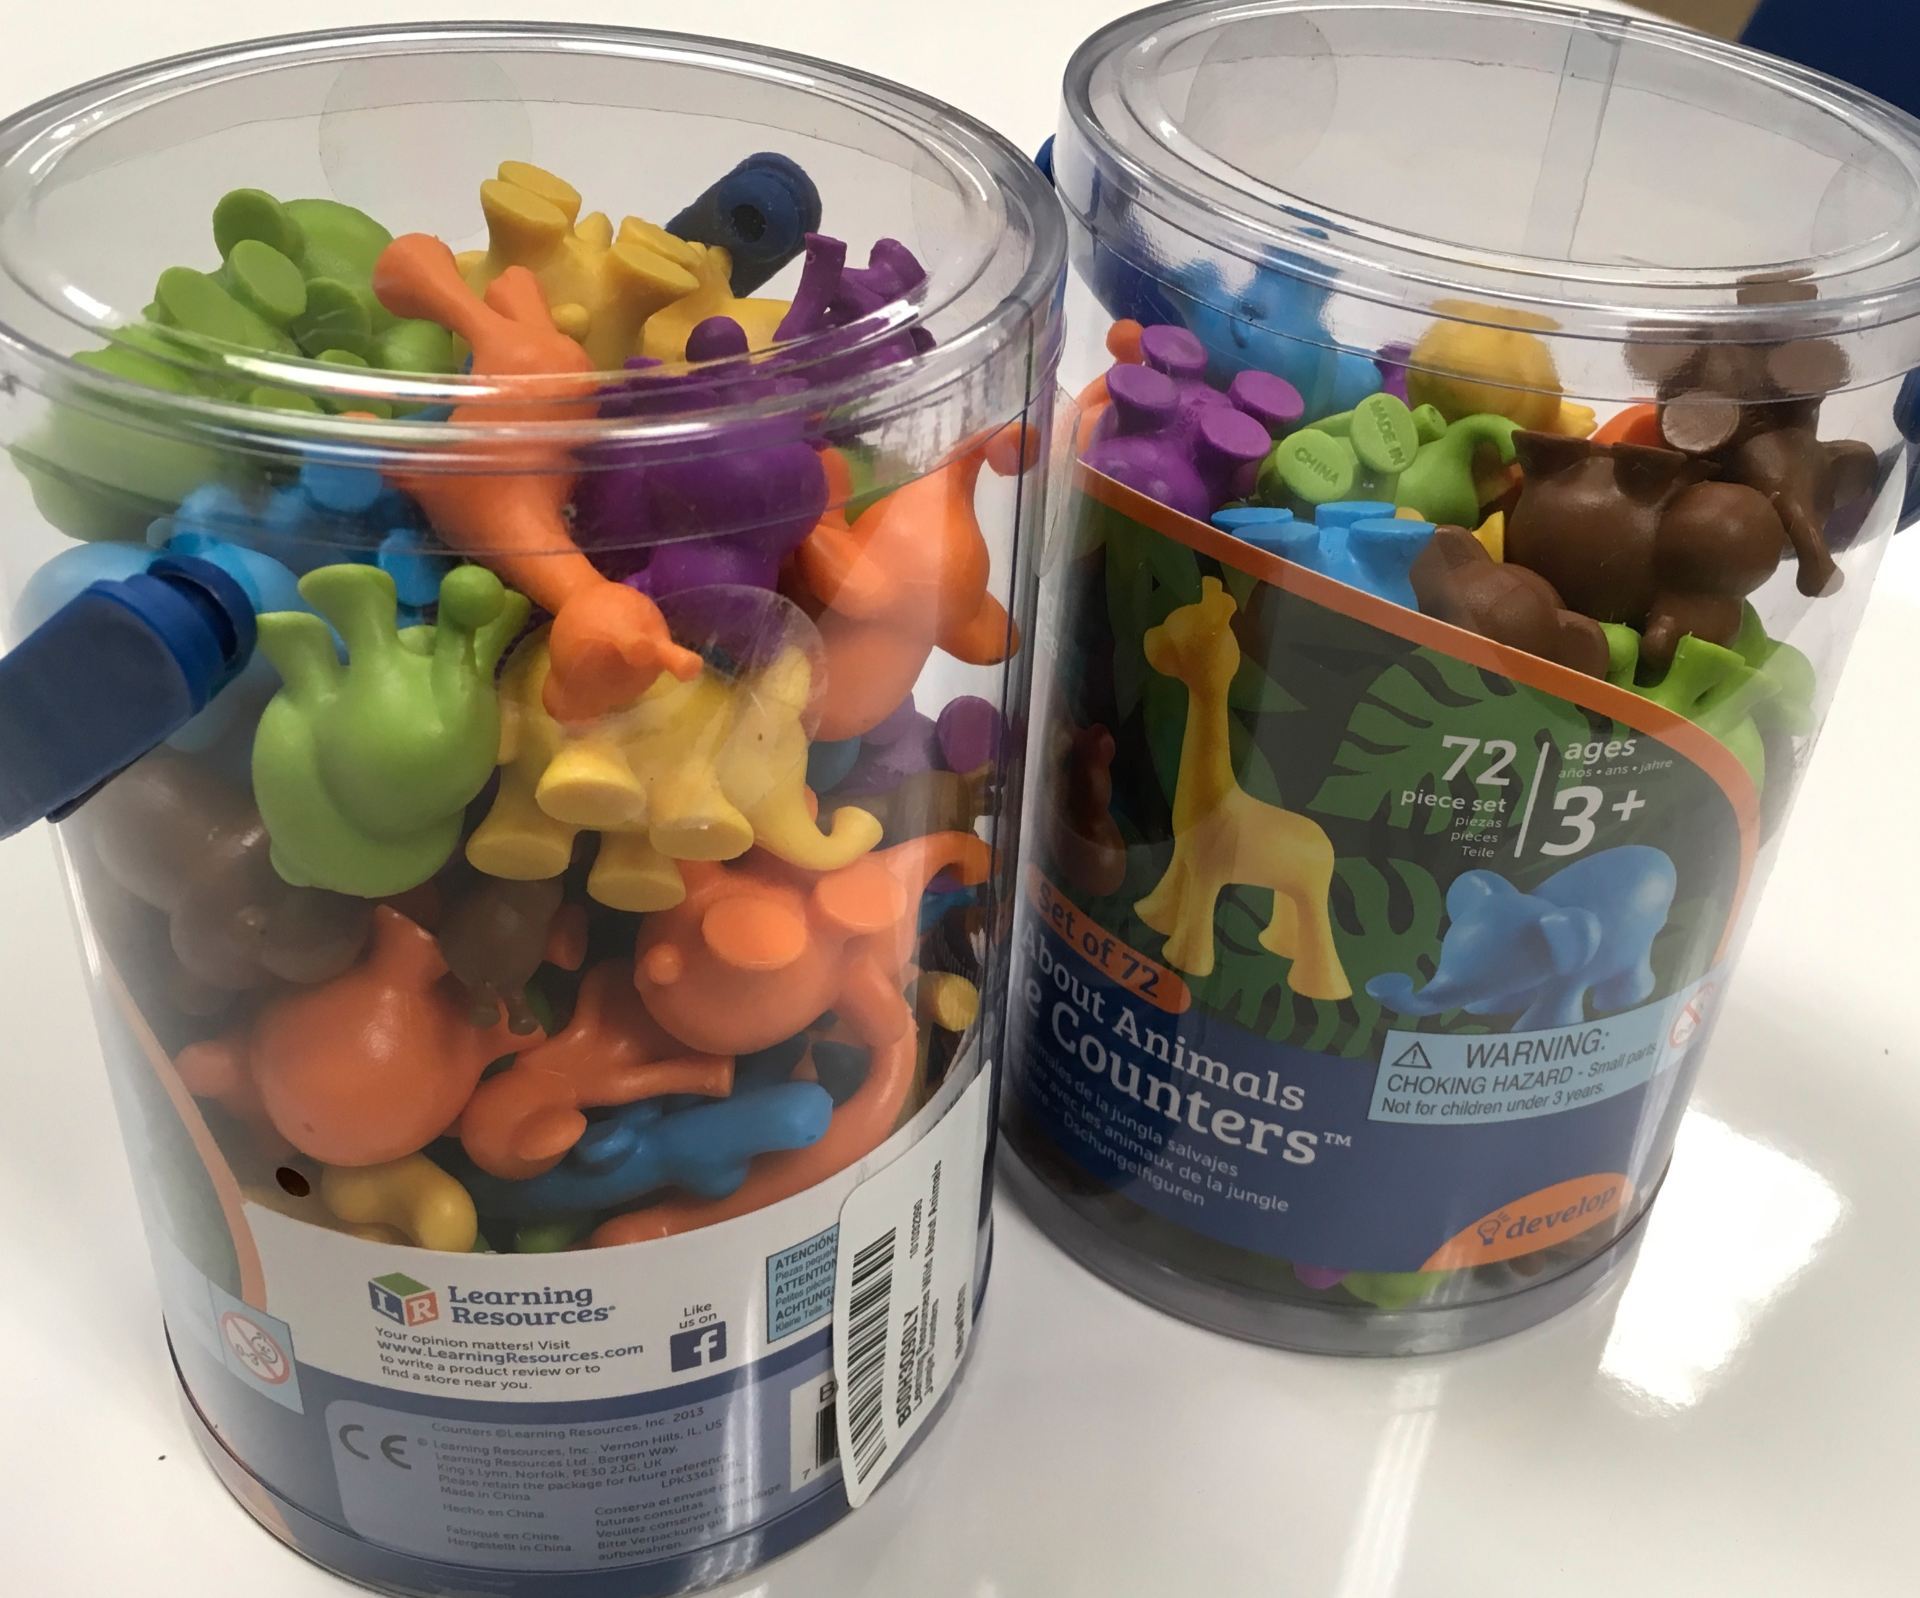
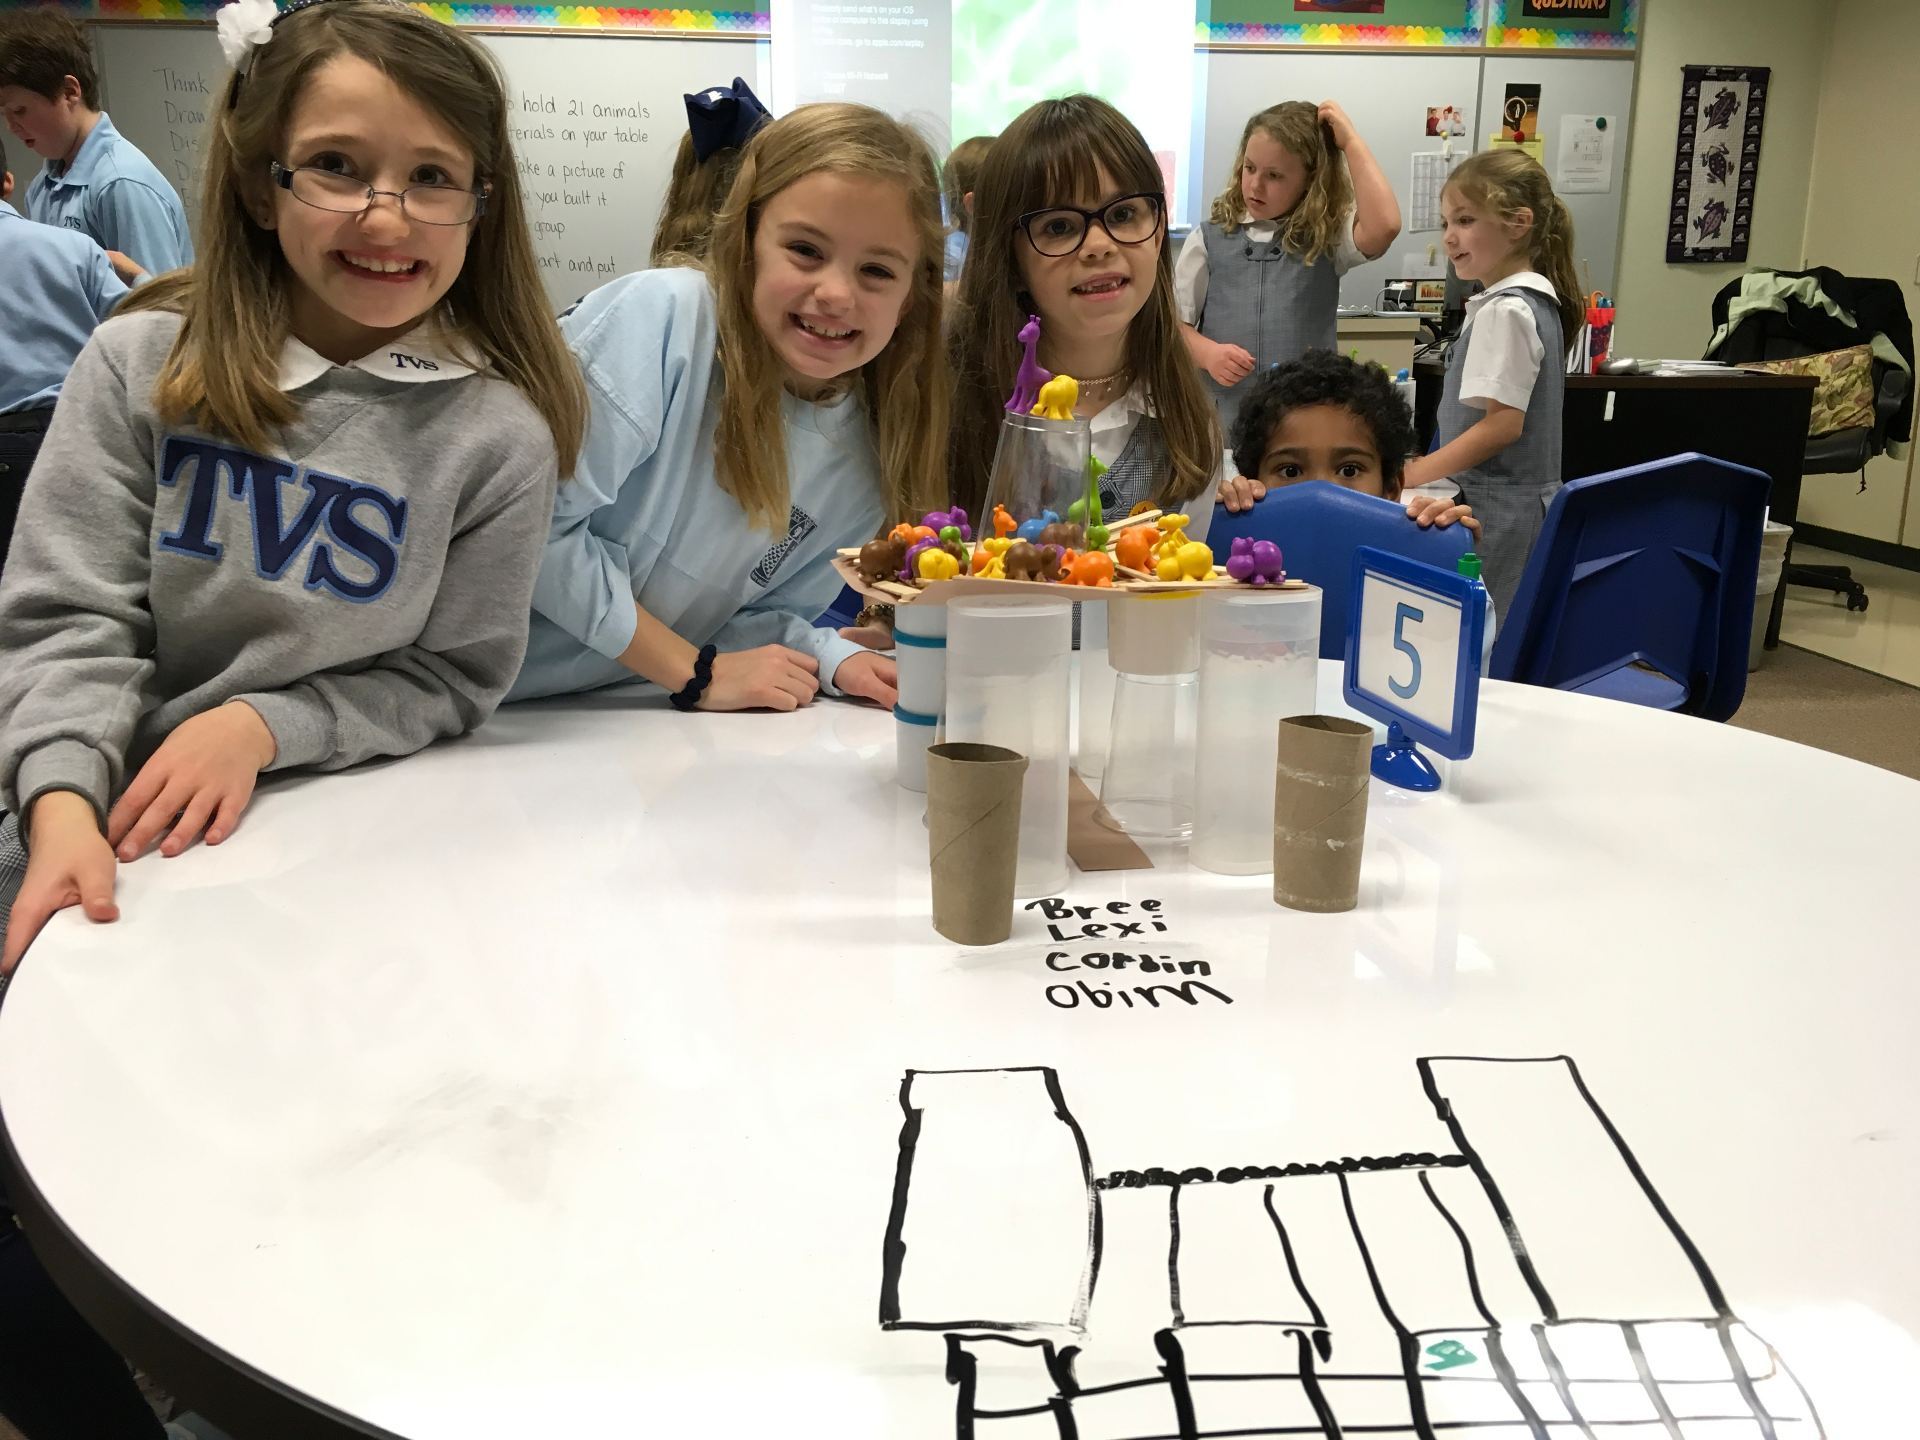
 I purchased the book and the jungle counters (a collection of various animals; couldn’t find just elephants) from Amazon and then used supplies I had on hand. The above post tells about doing the activity with a 4 year old. I decided to try it with 2nd graders even though I was concerned that it might be too easy. It turned out to be a fantastic activity!
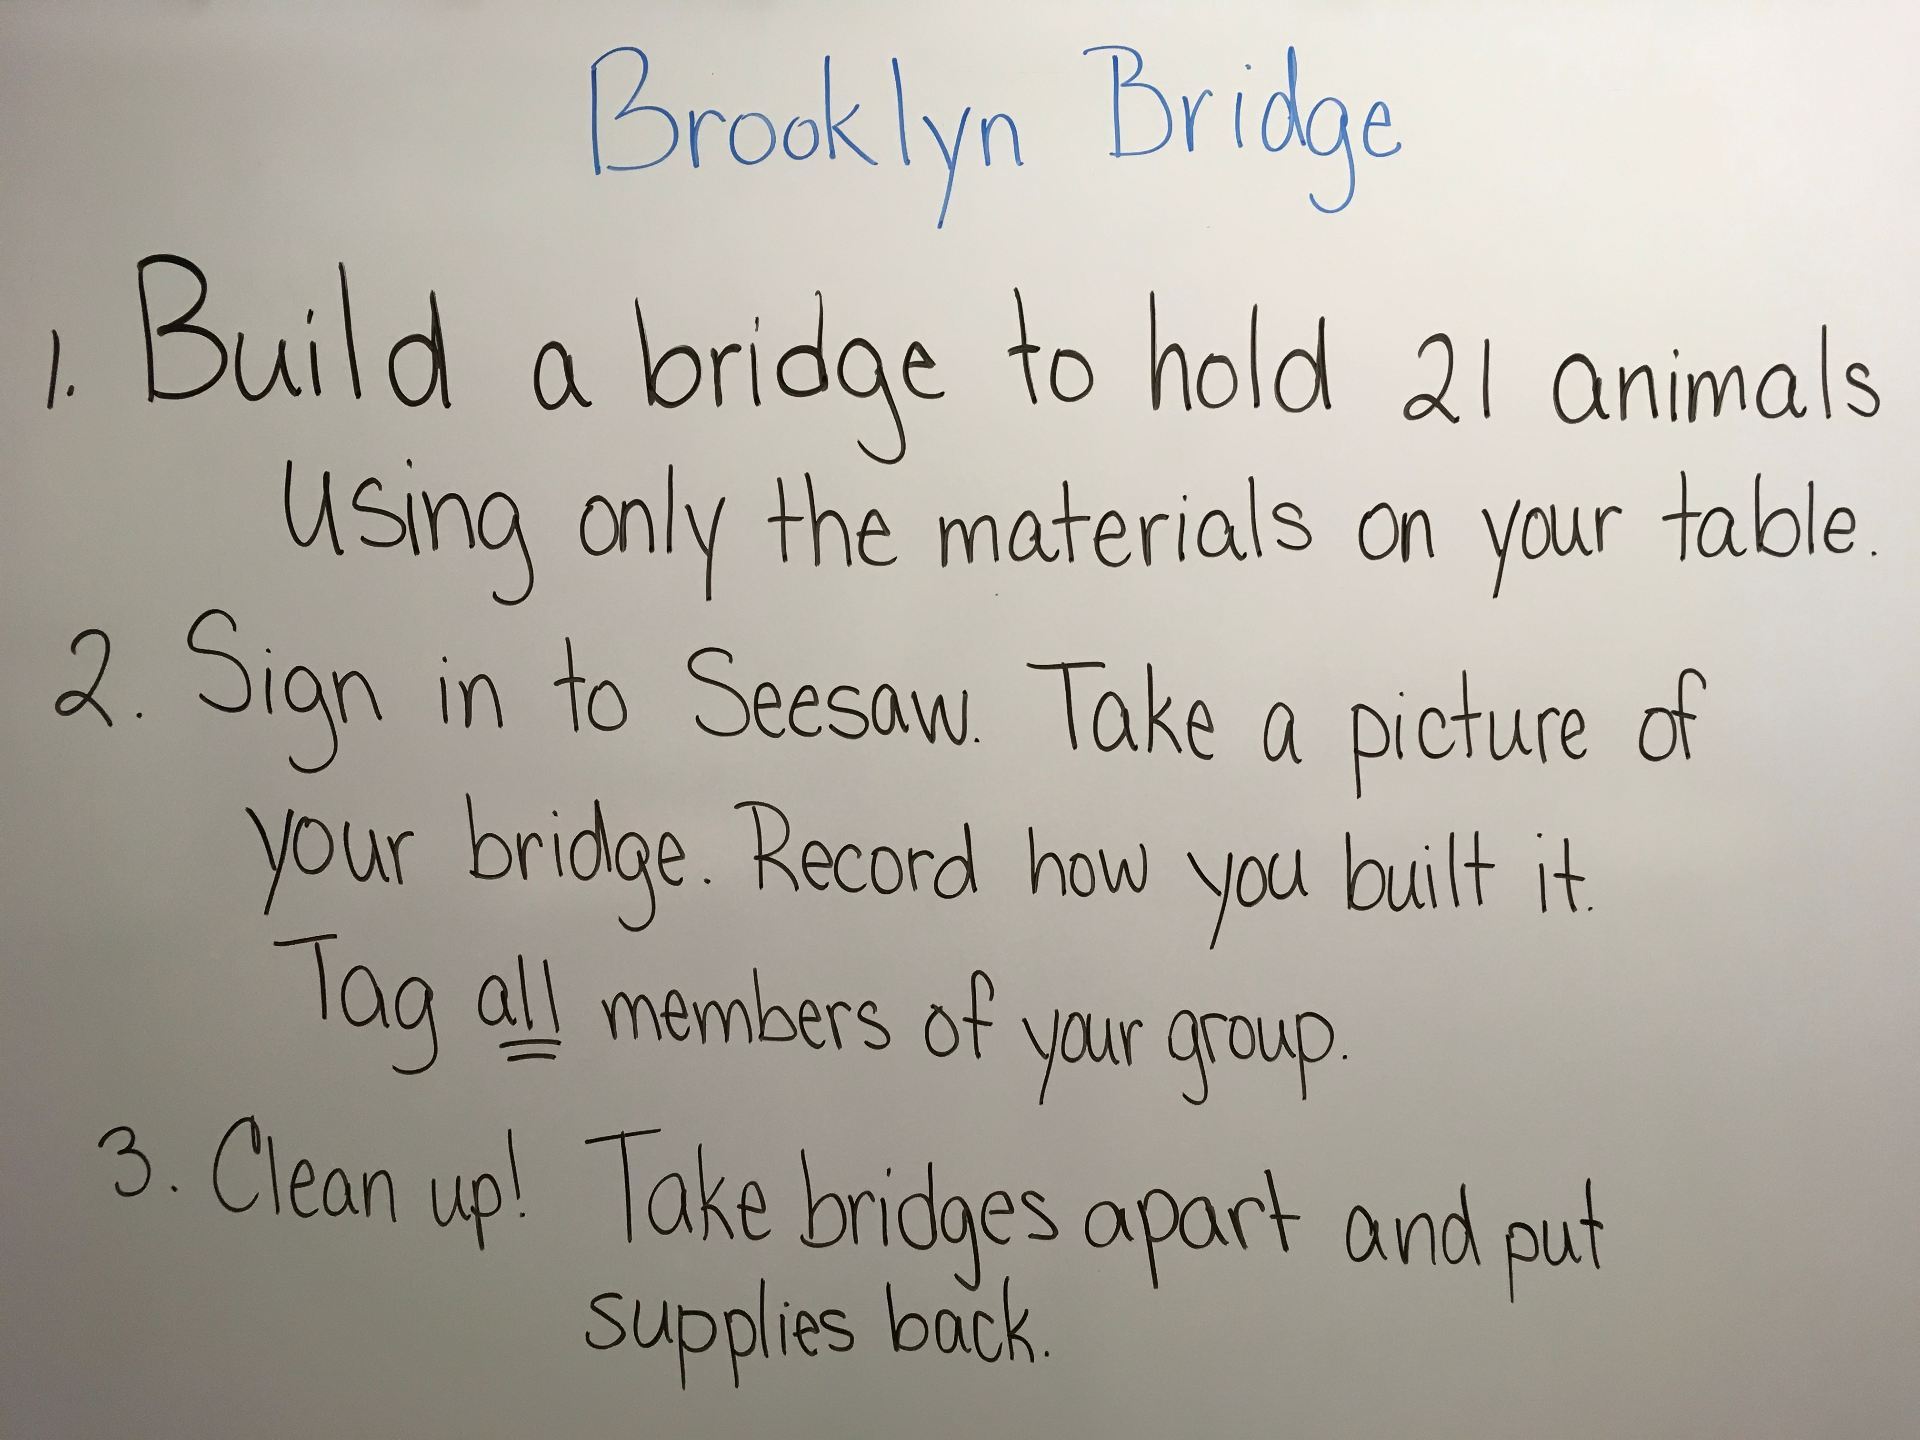
Using a design thinking approach, we began with the story. Learning that it was true thrilled the students, especially due to the popularity of The Greatest Showman movie, released in 2017. I gave the task to the students:


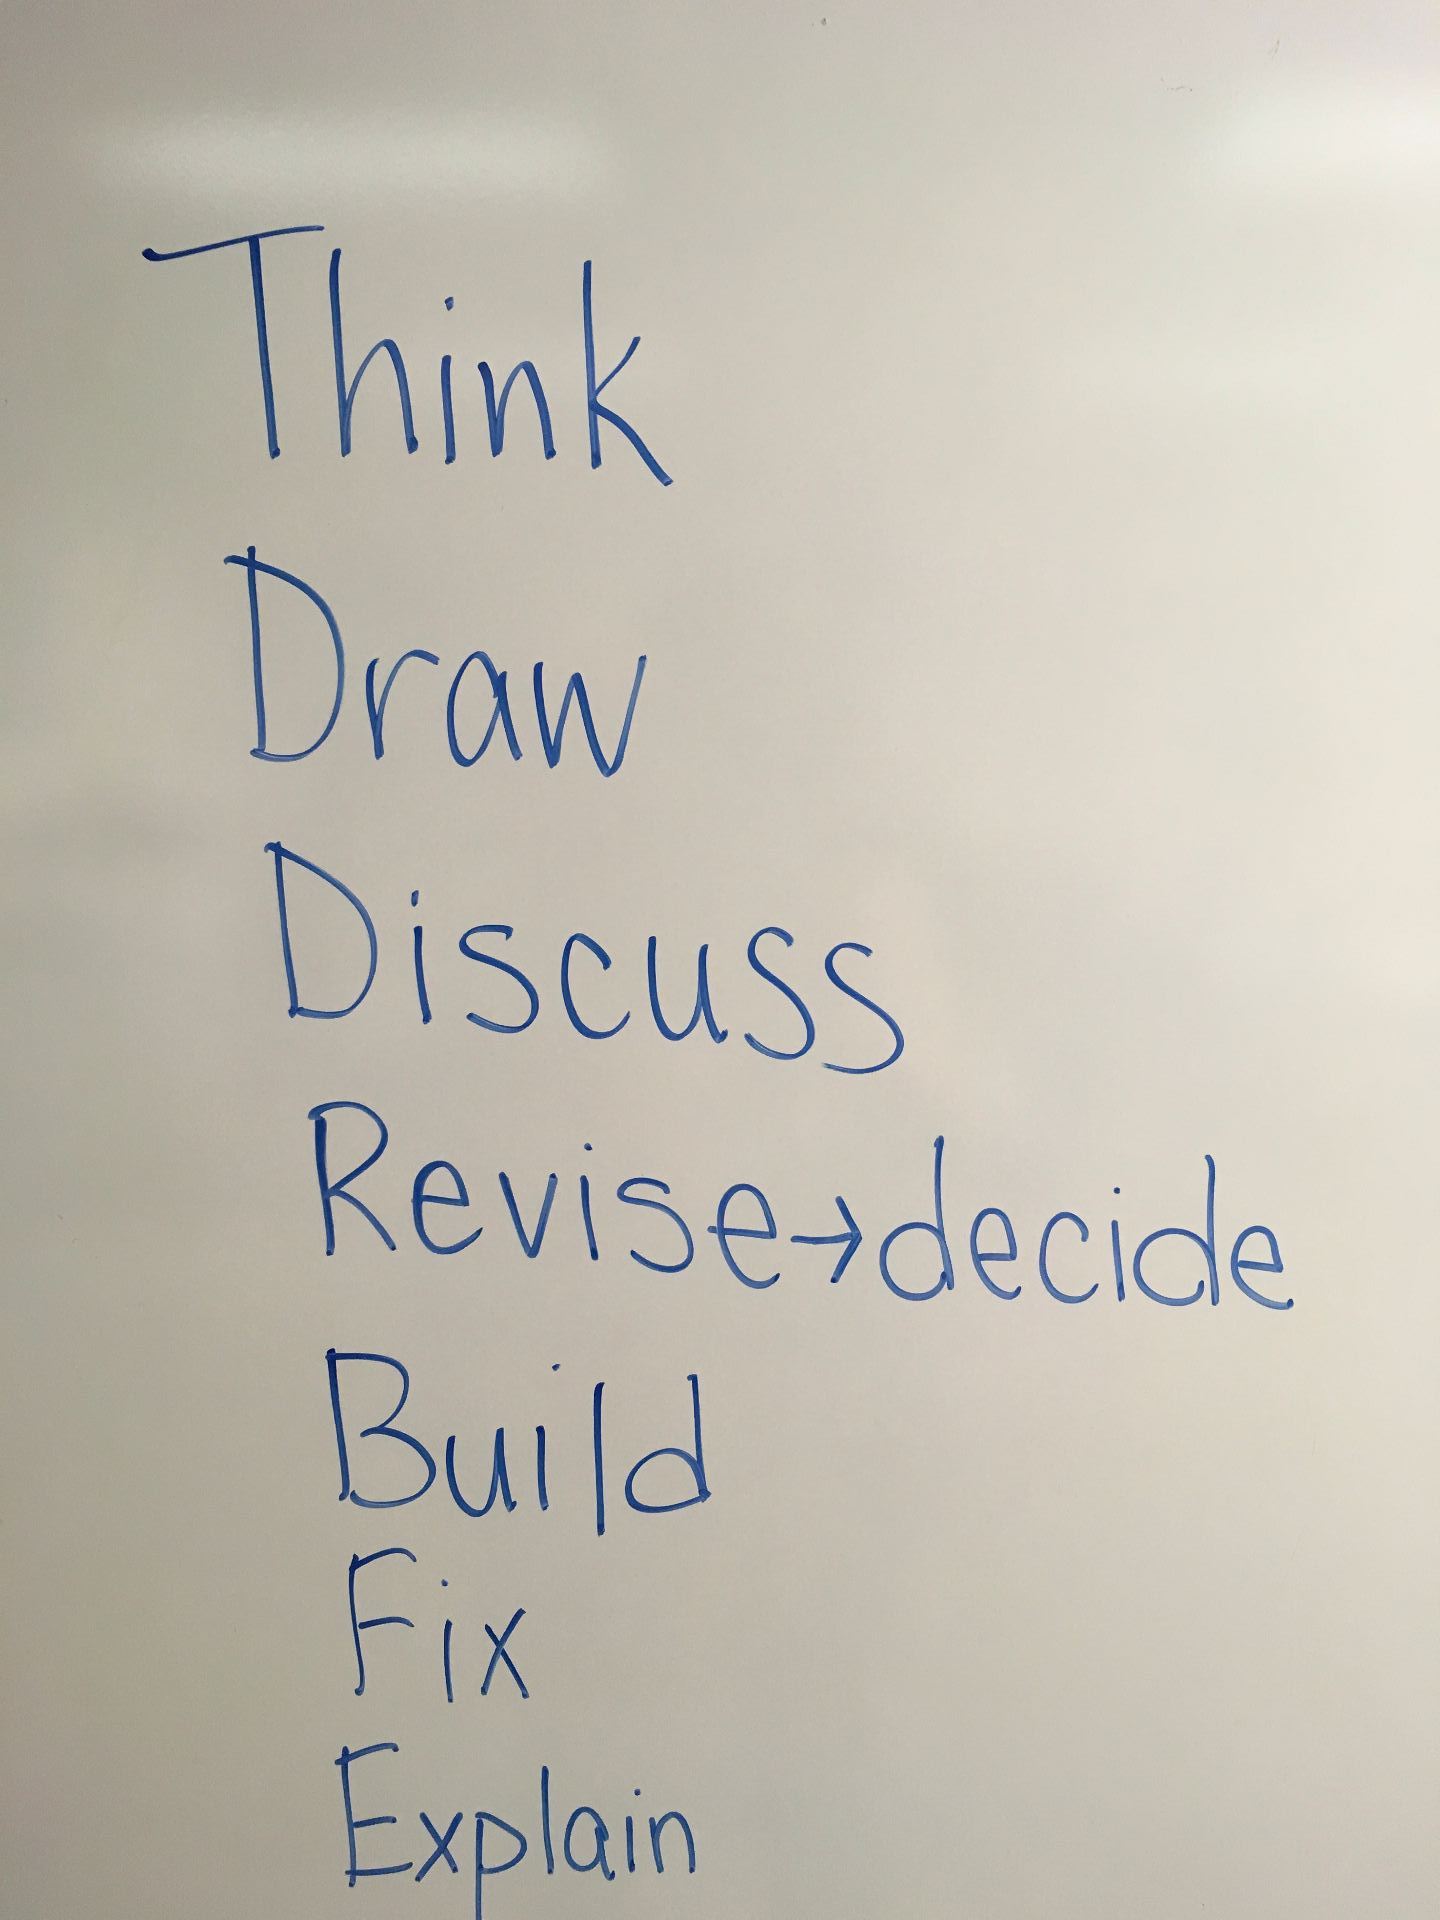
Steps followed in the building process
The students returned to the tables where I had them think (no talking) about a bridge design for about 30 seconds. The next step was to sketch their idea. I was amazed at their drawings – lots of detail!

Working in groups, the hardest task was discussing all the designs and deciding on which to build. Of course, students were always free to reassess, alter, and completely change their design (and some did just that).
Materials provided for building:
- craft sticks
- about a yard of masking tape
- plastic cups
- Crystal Light containers
- construction paper
- small tubs (these used to have modeling dough in them)
Then the building began! Walking around to observe and question students provides tremendous insight into the thought processes that occur throughout the activity. Add in the use of Seesaw, where the children took a photo then reflected on the process and a teacher gains a tremendous amount of information of how the groups worked through the challenge.
Listen to this group calmly announce that “First we messed up.” They weren’t bothered one bit that the bridge didn’t work as expected after the first try. I LOVE this!
I am SO glad I came across this challenge! As mentioned at the beginning of the post, I was seriously concerned that this would be much too easy. After listening to the conversations and seeing the intricate designs the students drew, spending time on this was worth every minute!

Will this work with a younger grade? I can’t wait to give it a try!
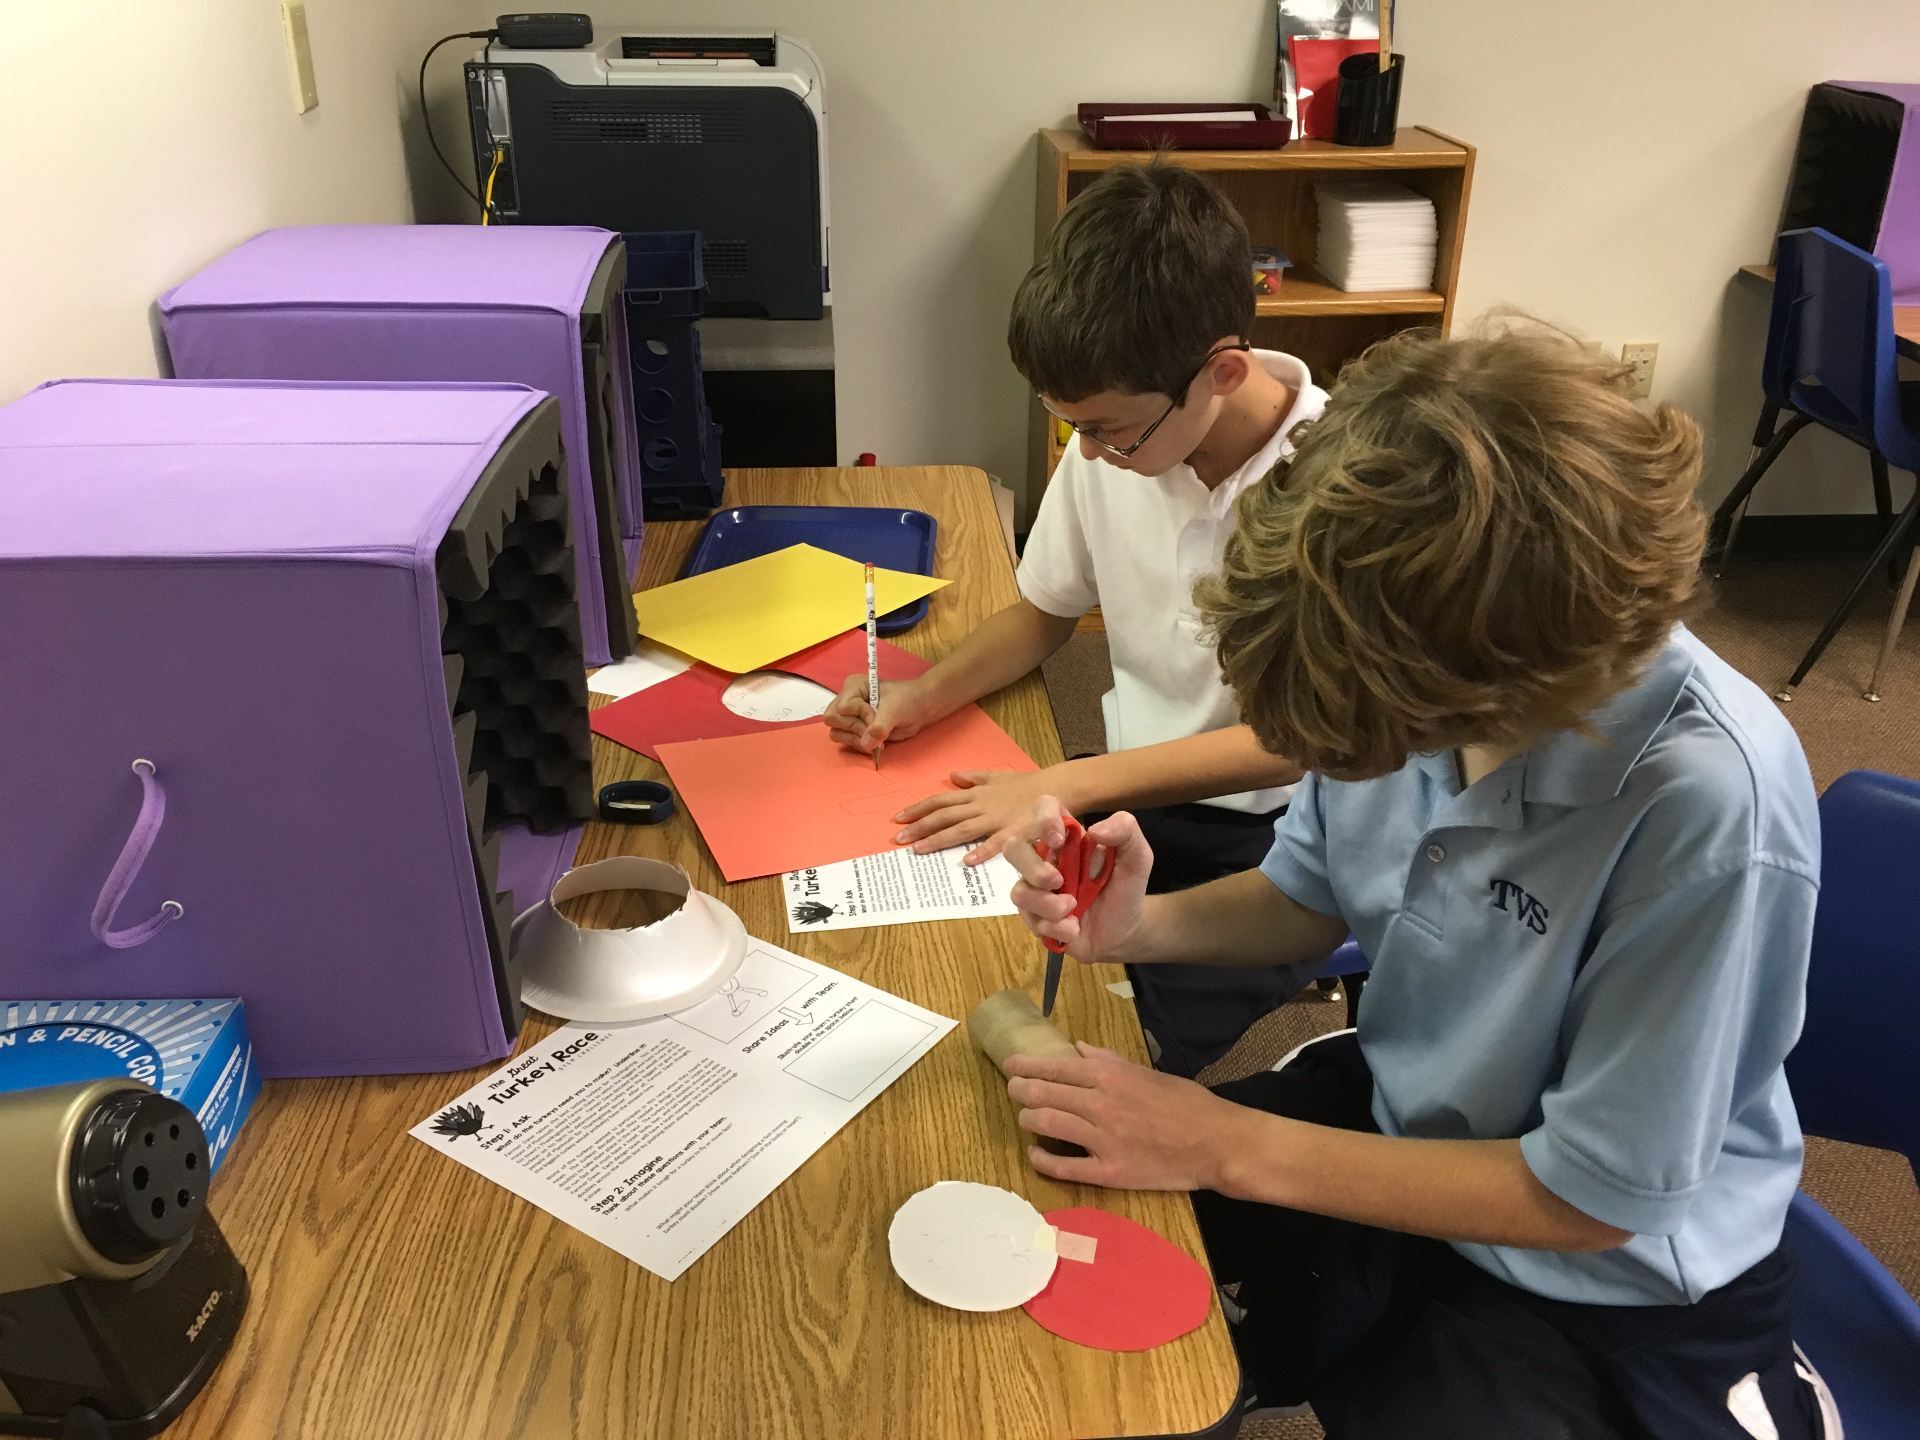
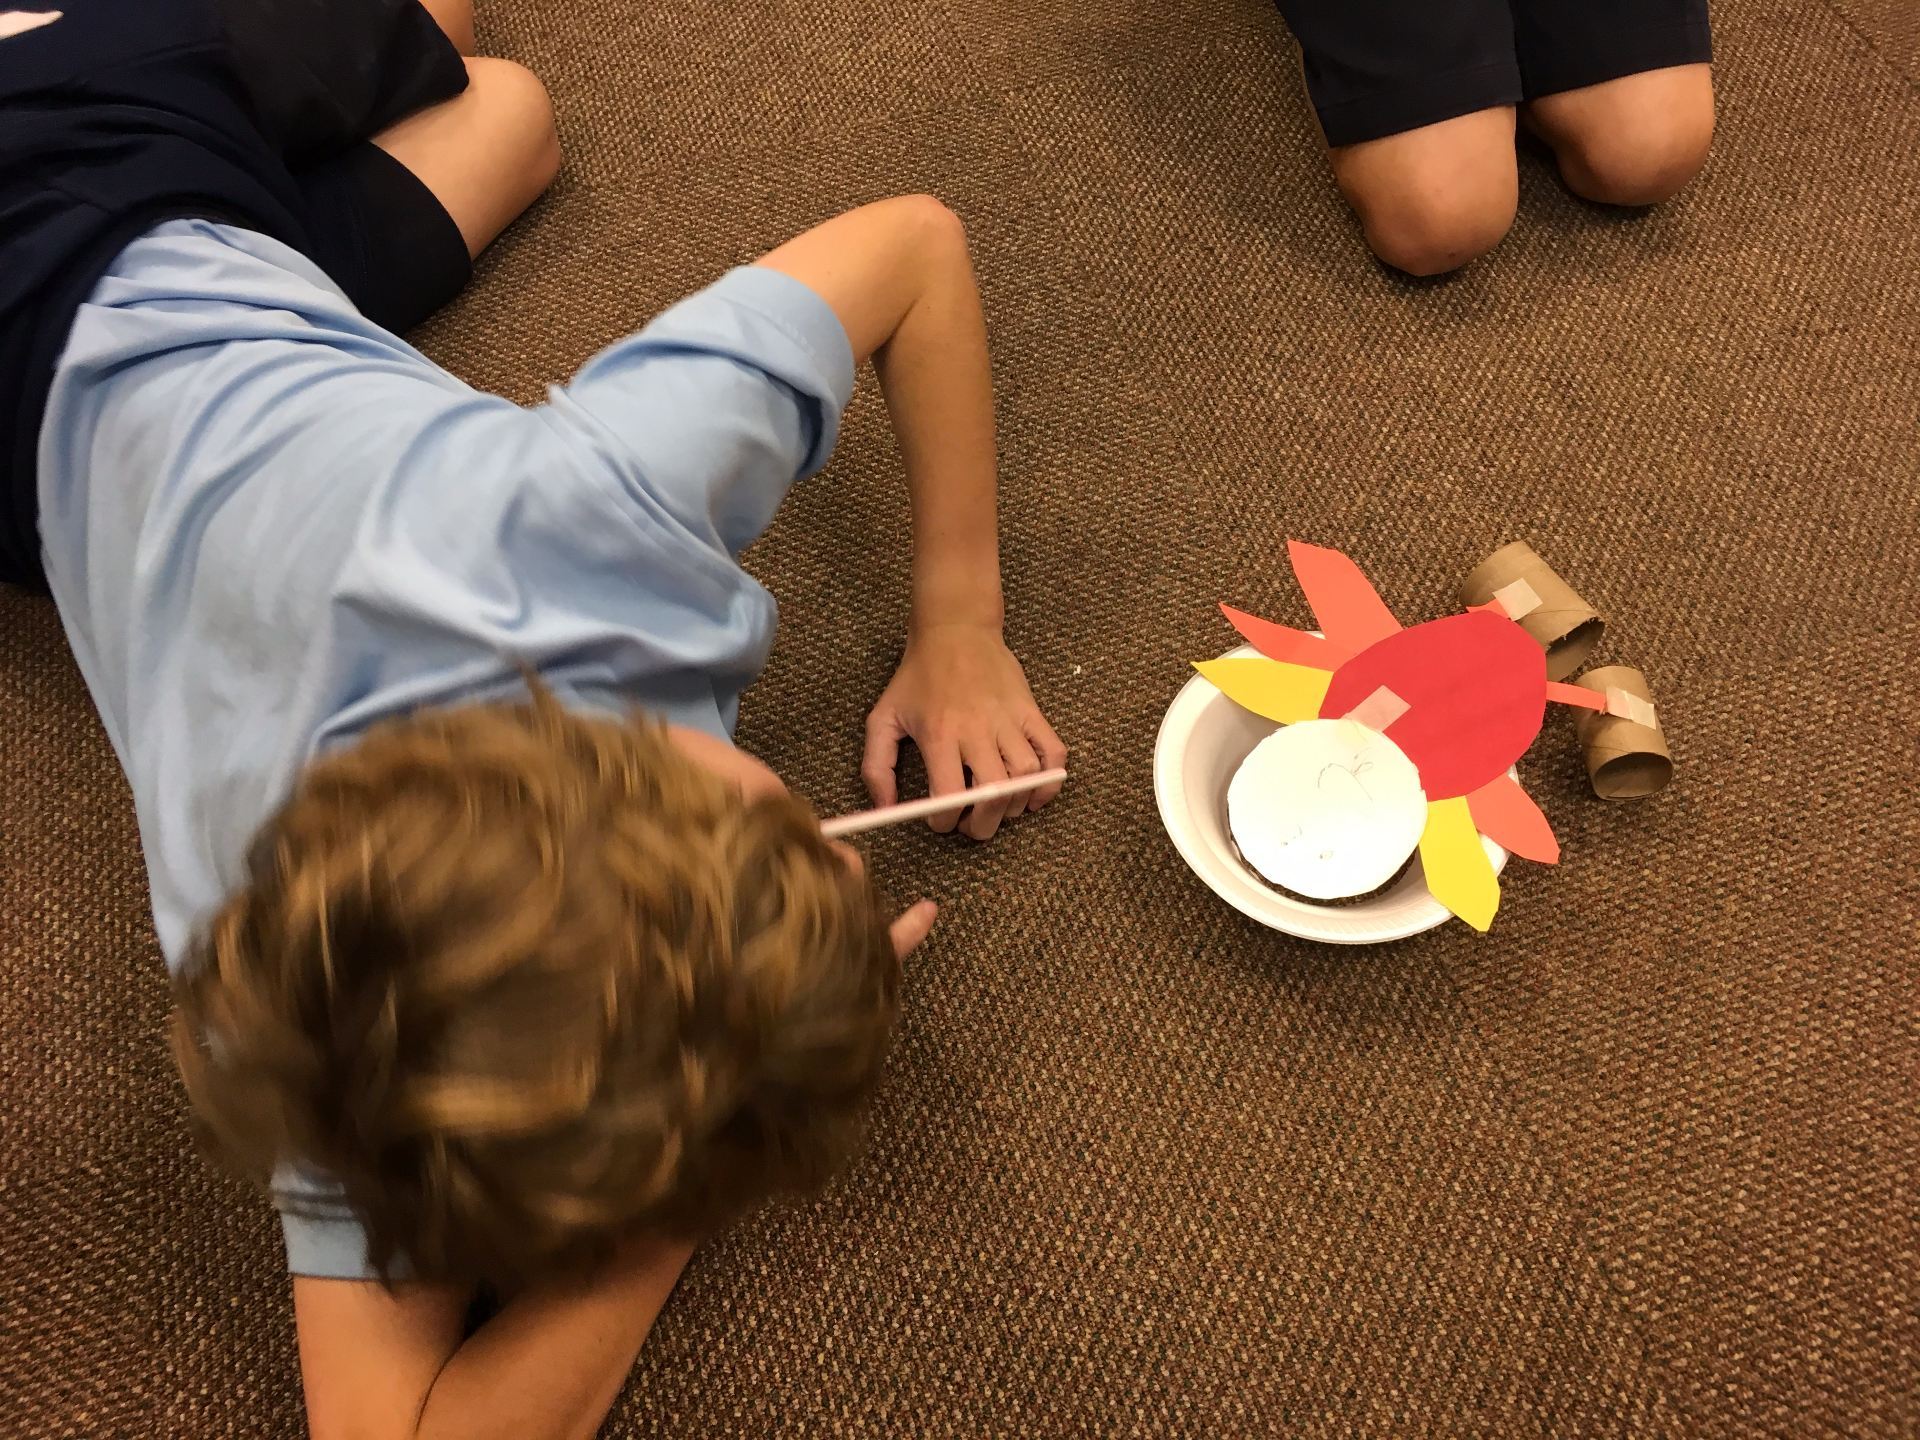
Wanting to do some kind of STEM activity with the 4th graders, I did some research and came across a blog post from Angela Willyerd, titled “The Great Turkey Race.” I did buy her packet and am glad I did – love how the design process is incorporated in the lesson!
The Problem: “Farmer Dave wants to choose the biggest and best turkey for his town’s Thanksgiving Feast. He decides to race them, assuming that the biggest turkey will be the slowest. Well, the turkeys get wind of this and decide to create a double because they don’t want to become Thanksgiving dinner!
The Challenge: The students have to create a turkey “‘double” using some common items such as styrofoam bowls, toilet paper rolls.
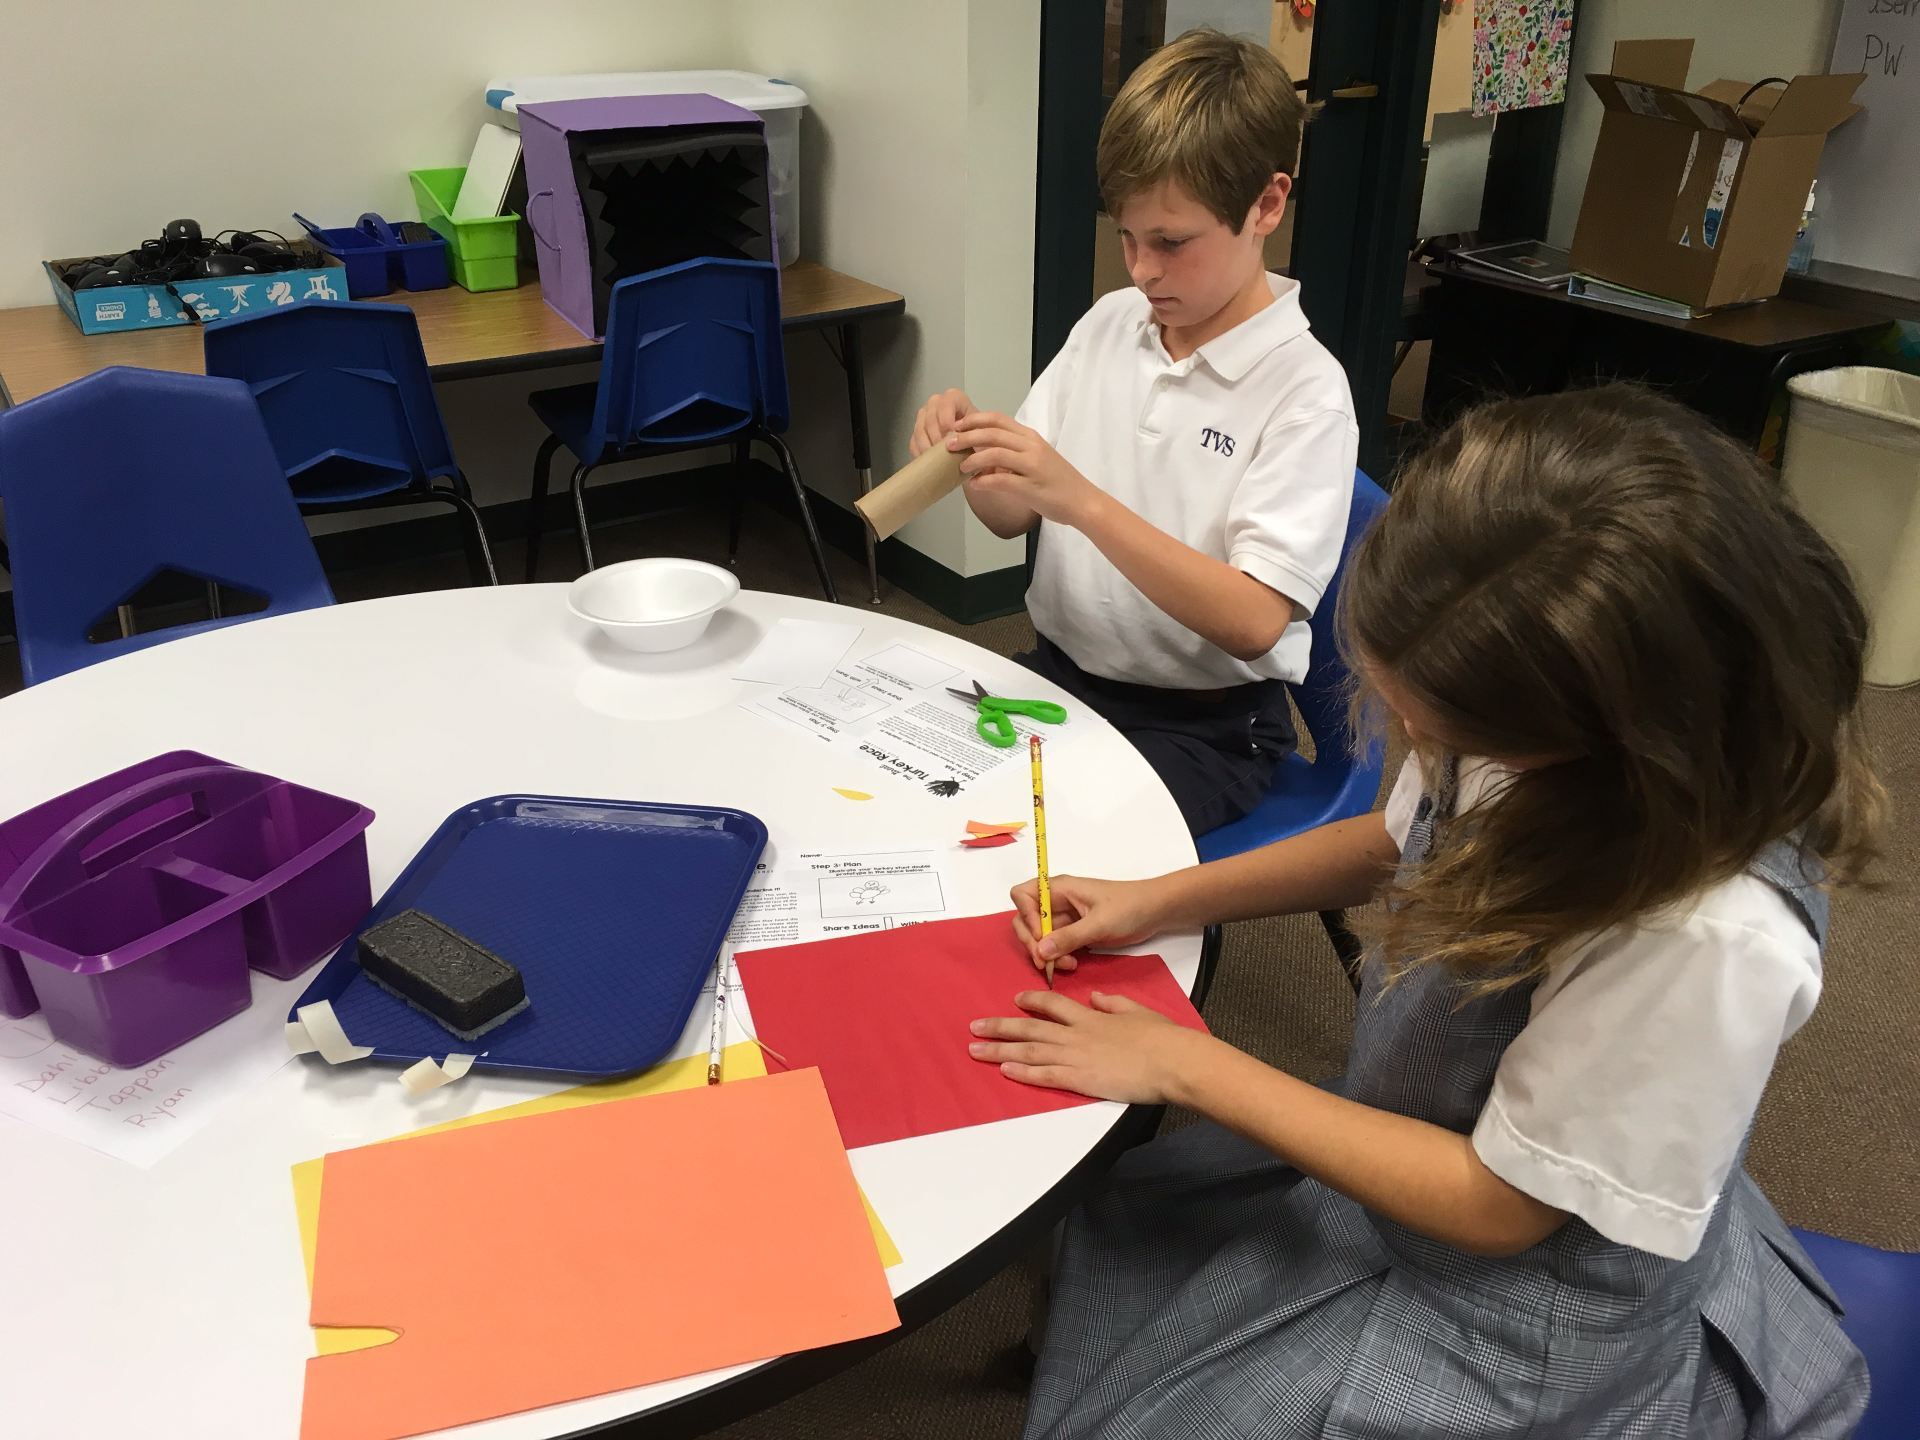
Angela has created a fantastic PowerPoint that walks the students through the process so we started with that. I told the class the materials they would have and what had to be included – head, body, feet, and tail feathers. Then, I asked them to sketch what they had in mind. The next step was to decide on a group design – not easy when each person is fond of their own!

The groups set to work creating some of the strangest turkey doubles I’d ever seen!

One group held up pieces of their styrofoam bowl and sheepishly asked if they could have another.
The test track had been marked by masking tape and as groups finished, the asked me to time their turkey.
This one actually rolled quite well but too many turkey parts were missing from the design!

This one was pretty cute but the team couldn’t get it to move.

They changed the design and tried again.
This was such a good challenge for learning that sometimes things don’t work they way you expect and changes need to be made. No one became frustrated; they quickly went back to their place and began to brainstorm how certain changes might affect the outcome.
Was it loud? Oh, my, yes! Were the students learning? Most definitely!
We may just continue Thanksgiving AFTER the break so that other classes have the opportunity to give this a try.
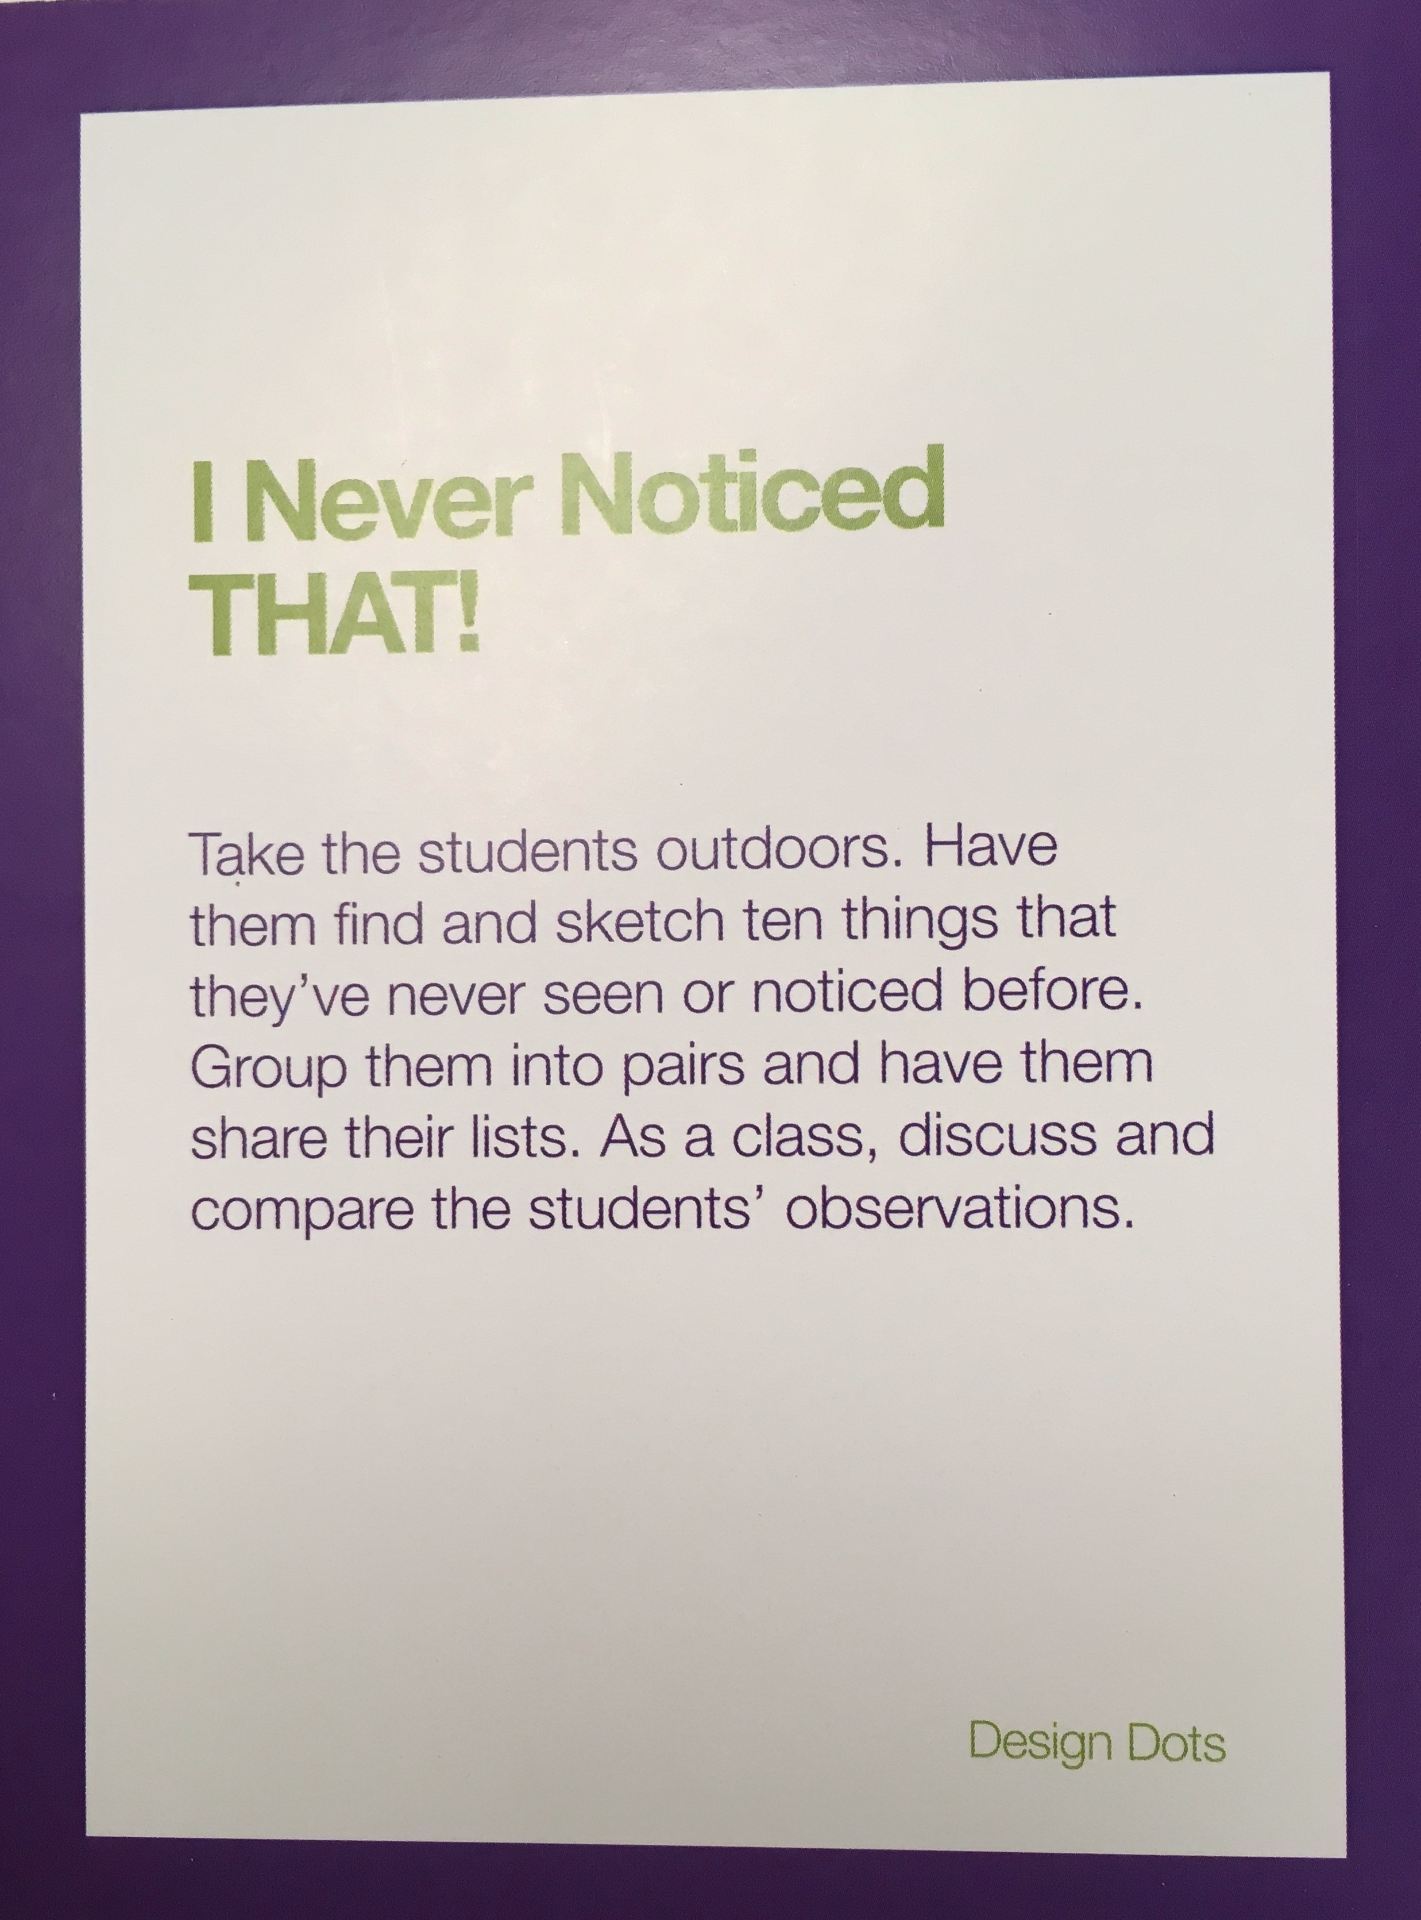
Recently, I purchased Design Dots from Ellen Deutscher. These are Design Thinking activities for grades K – 12.
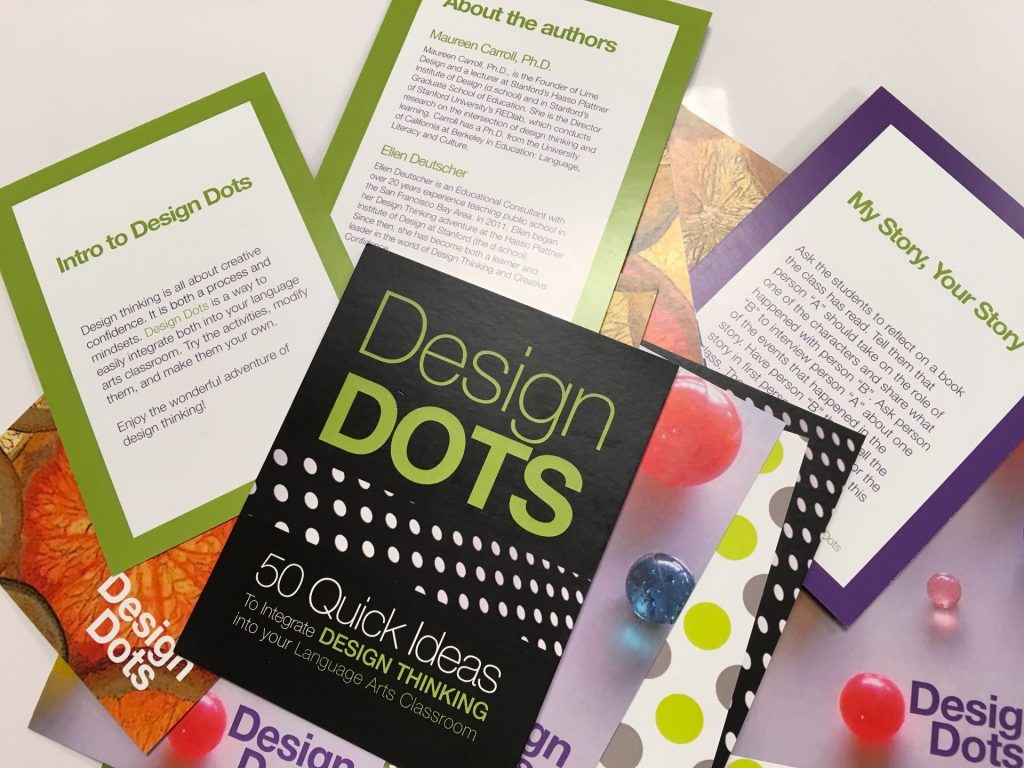
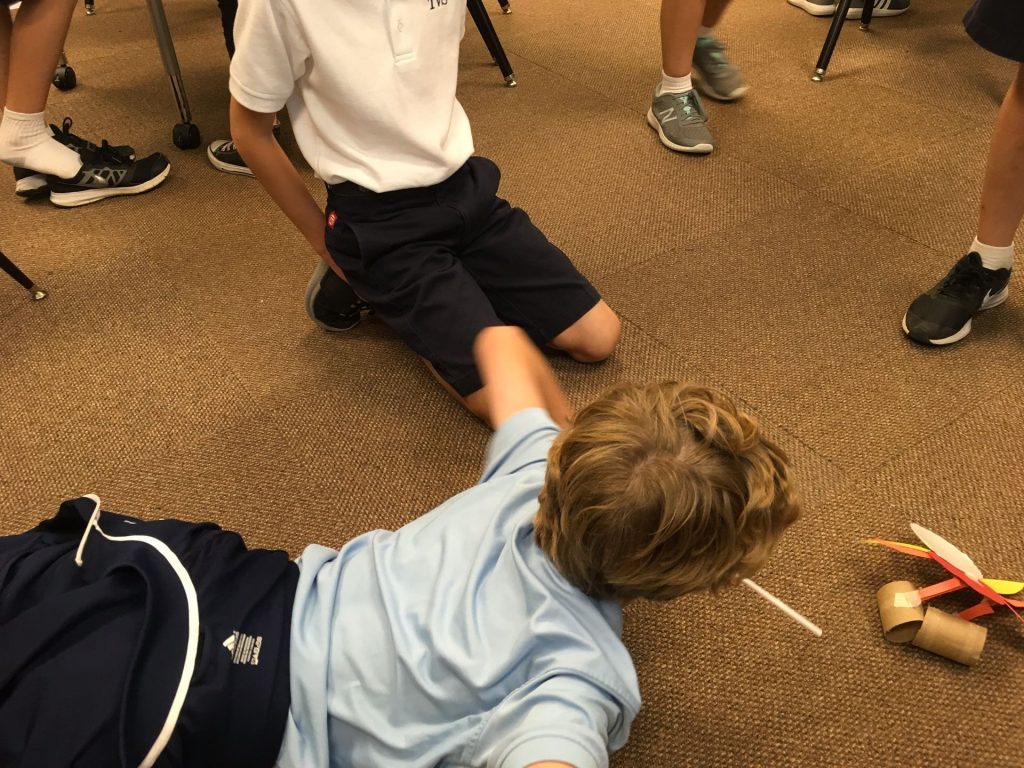
For this activity, I chose “I Never Noticed That!”

I adapted this to include technology by having students search for 6 to 8 items that they had not noticed before OR that they might have seen but had questions about. They were to photograph these, make a video that included their questions or “I wonder” statements, and post to their Seesaw (digital portfolio) journal.
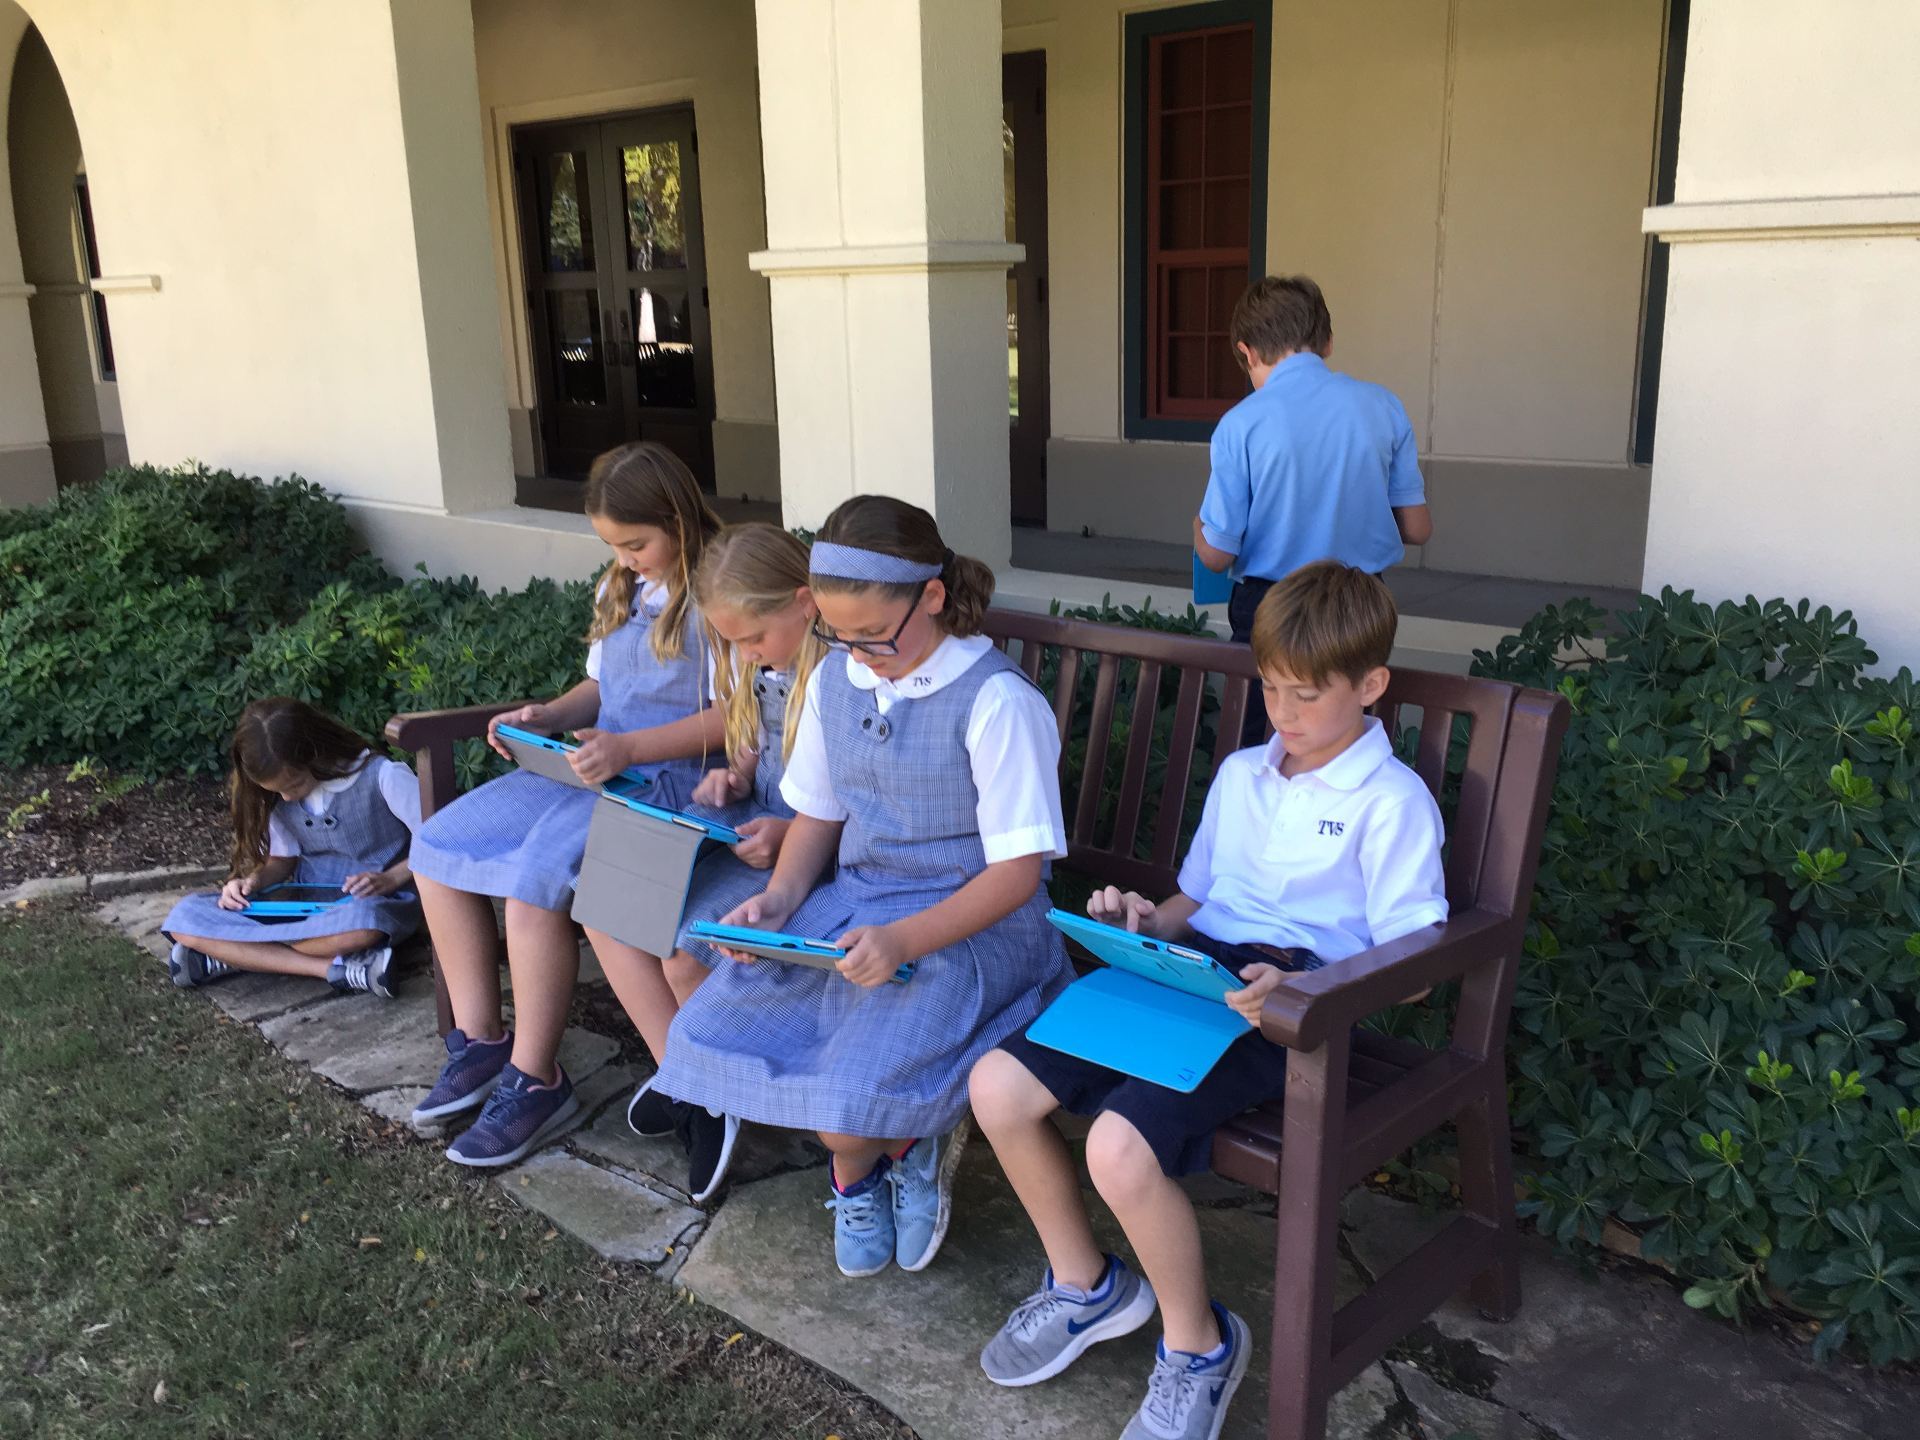
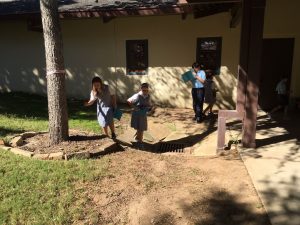
Telling the students this was an individual search for the unusual, we headed outside. With about 10 minutes to take 6 to 8 photos, they wandered around, searching for just the right object.
Once they completed the search, they were to start cropping their images. Many discovered the new feature in iOS 11 that allows the user to draw on photos.

I’d thought we could complete taking the photos, cropping, and uploading to Shadow PuppetEDU in one 40 minute session. It turned out that the group had such a good time exploring things they’d never seen before, that we were lucky to finish just the photography and the cropping! But, the activity was designed to focus on observation skills so that was fine.
The following day, I introduced the free Shadow PuppetEDU app; a video-creation app in which narration, text, and music can be added. (*Be sure to get the EDU version of Shadow Puppet which is licensed for educational use.) This app works seamlessly with the Seesaw app which we are now using in the Lower School, so I had students sign in to that before we started working with Puppet EDU.
We then worked together to add photos. I demonstrated how to record, save, tap the Seesaw icon, and automatically upload to their Seesaw journal. Before dismissing the students, I shared expectations: They were to ask thoughtful questions about the objects they found OR create “I Wonder” statements.

Below are some sample recordings.
To wrap up, students shared with their table groups what they’d discovered. The area we explored isn’t that large so there were many who had similar or the same photos. It was fun listening to the children as they participated in their own brainstorming session, trying to determine the purpose of some of their findings!
Perhaps this appears to be a “simple” activity for 4th graders. Before heading outside, some of the students stated, “I’ve been out there a lot and already know exactly what is there. I won’t find anything new.” Guess what? They did! That is, once they decided to really search! Were all of the videos what I’d hoped to get? No, some were silly but, some of the students did ask great questions!
Learning to observe is an important skill that we sometimes assume students have no trouble doing. After all, little ones are very observant. Think about the never-ending questions from toddlers and pre-schoolers. However, it seems that the older we get, the less we question. This activity was a fun way to get children to go back to their observing and questioning days that they first thought they were too “old” to do! We’ll definitely do an adaptation of this again.
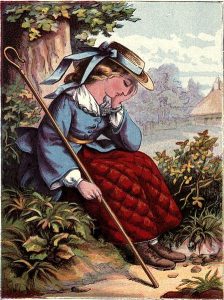 Little Bo Peep has lost her sheep
and doesn’t know where to find them.
Leave them alone and they’ll come home,
wagging their tails behind them.
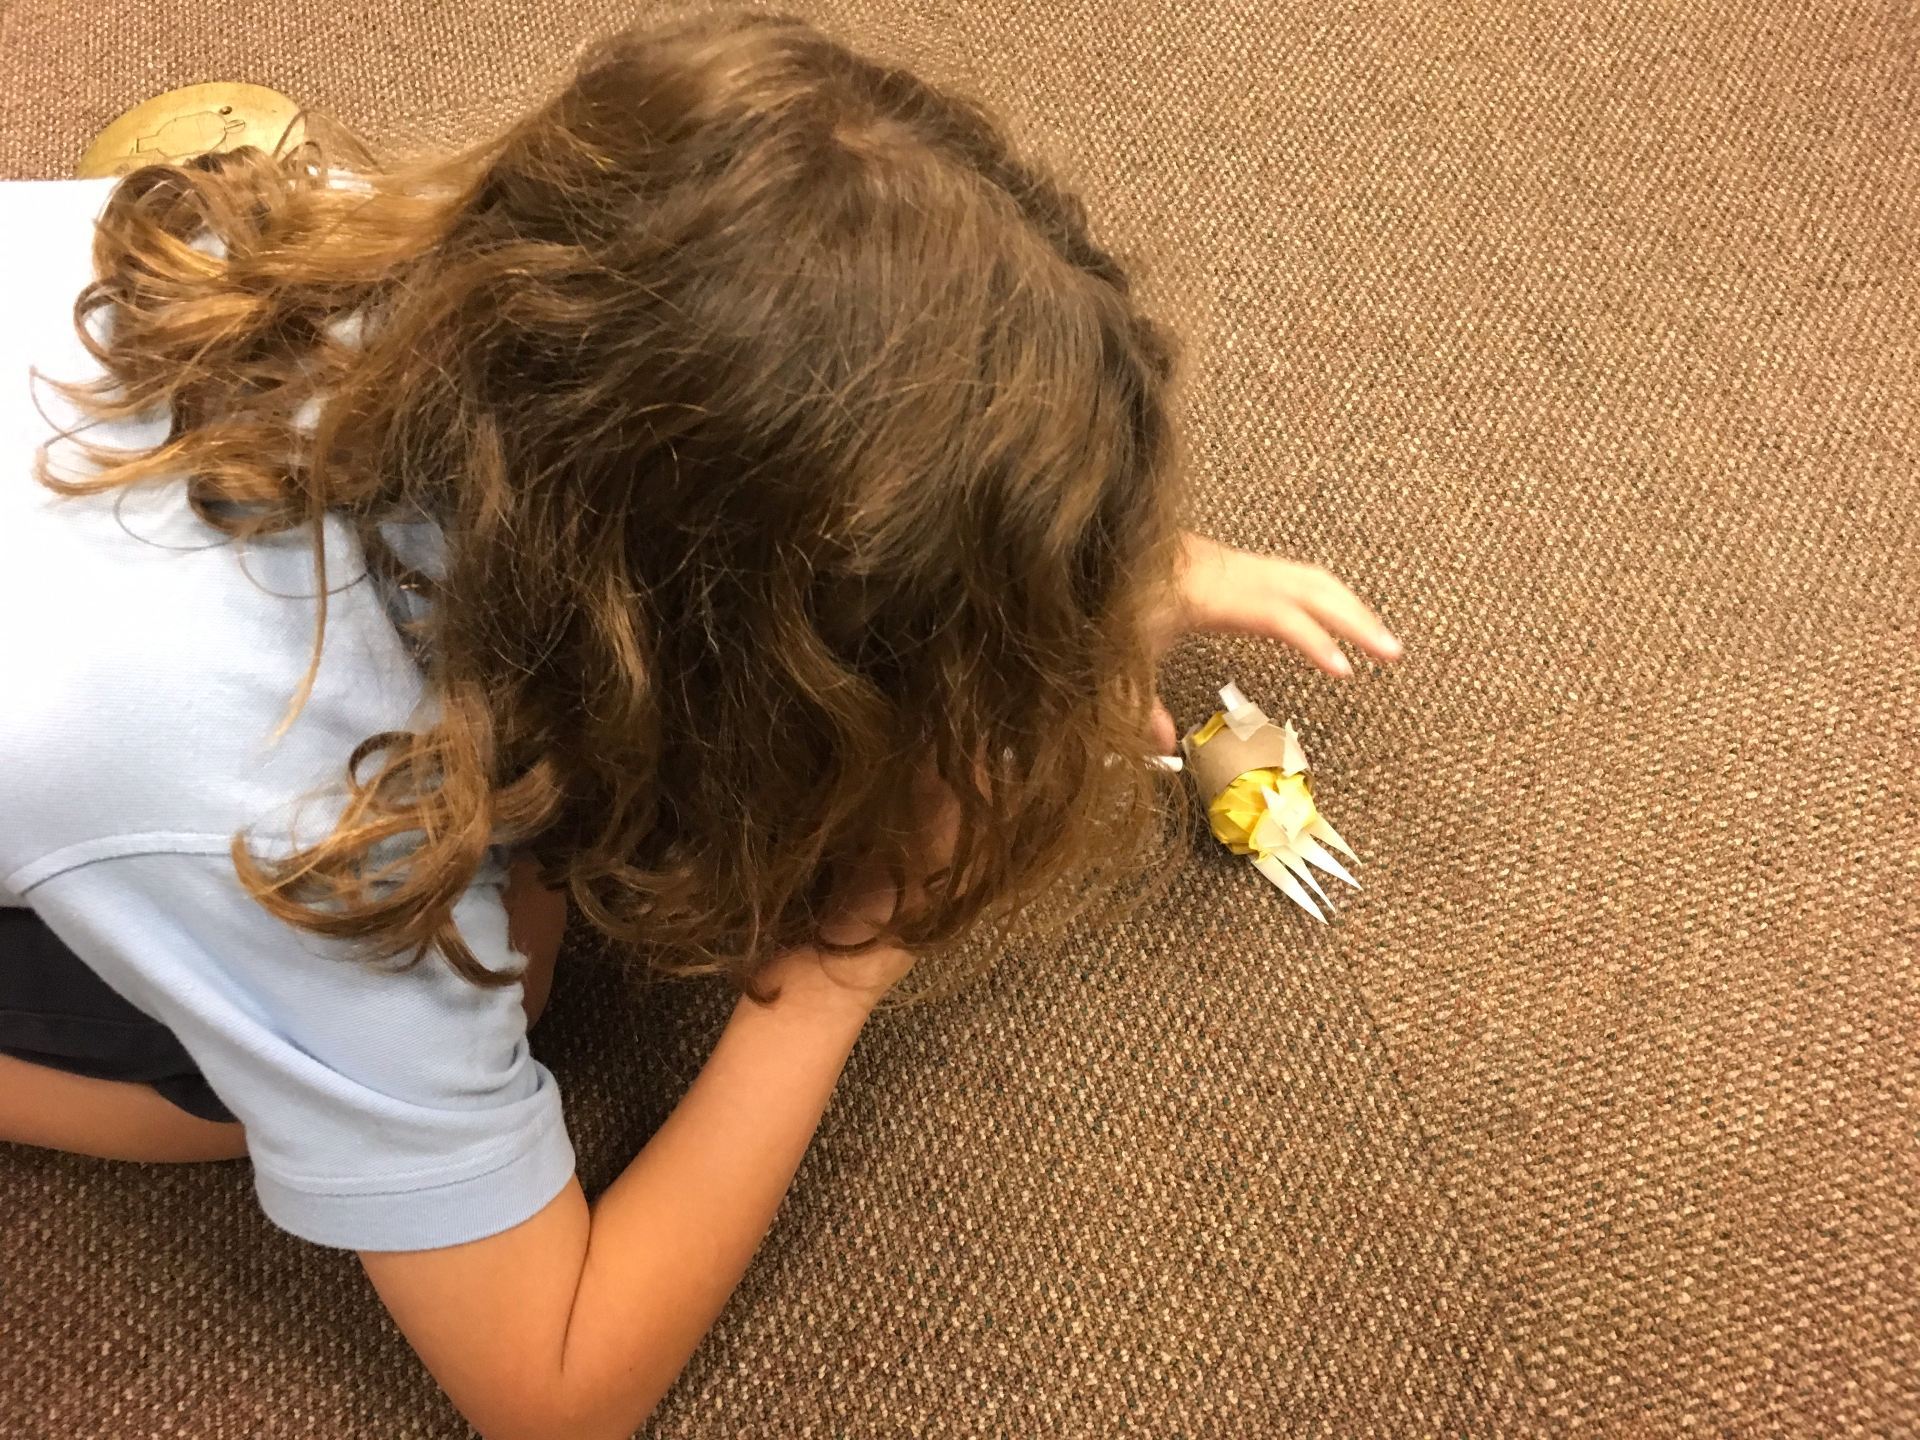
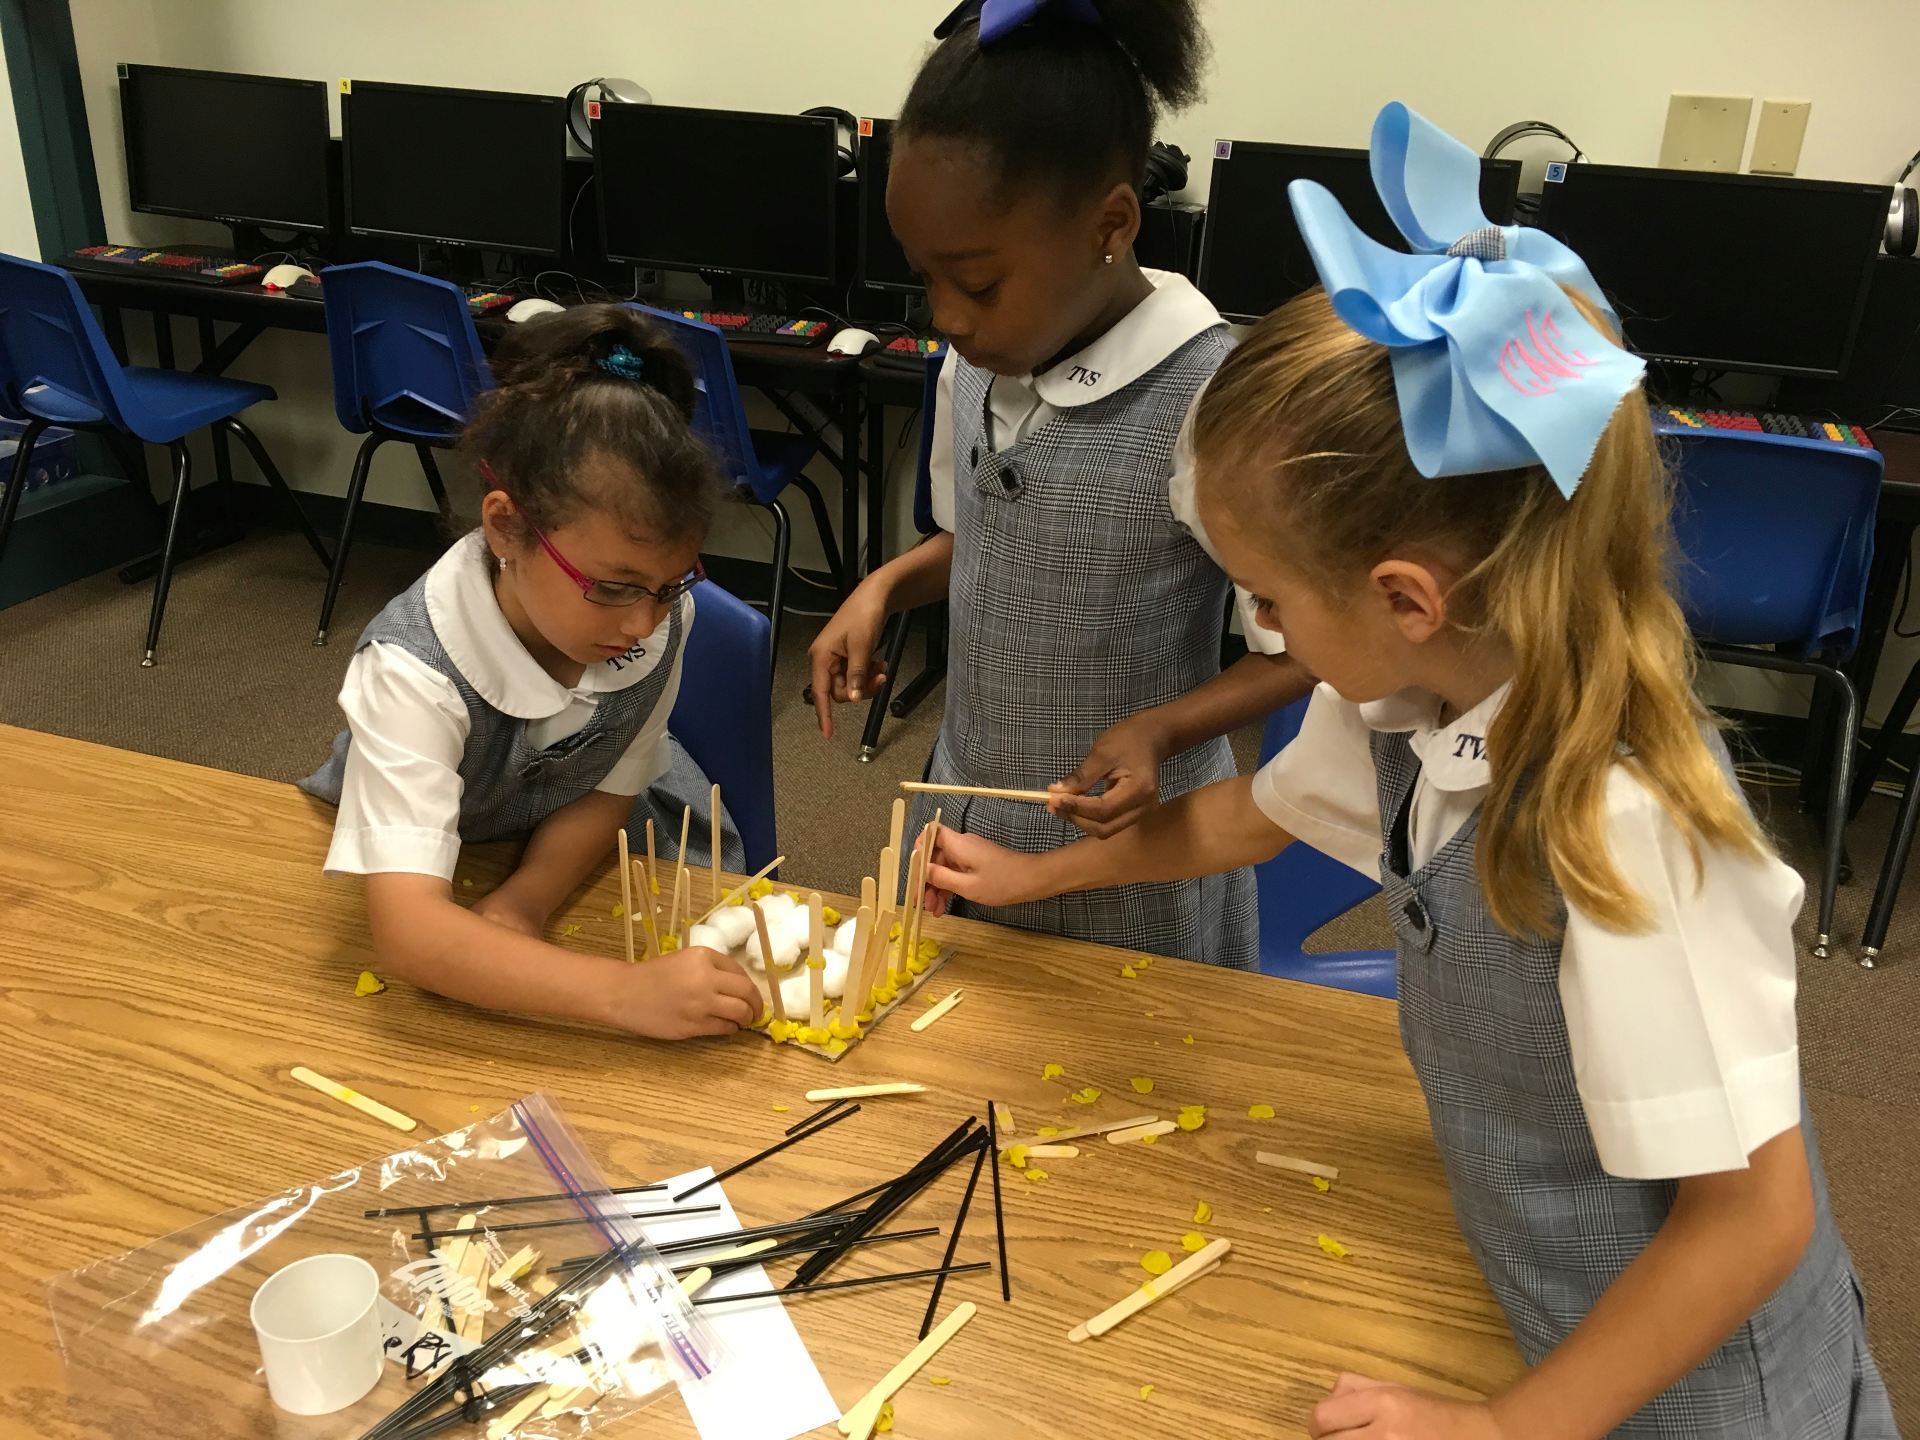
I love nursery rhymes and fairy tales and, after doing a couple of design thinking activities with second grade with the fairy tale theme, decided to try something with first grade. While searching on the Teachers Pay Teachers site, I discovered STEM and Mother Goose: Nursery Rhymes with Engineering. After sharing the idea with the first grade teachers, I found that they had just finished a unit on nursery rhymes. Perfect timing! We chose “Little Bo Peep” primarily because we already had several of the materials.
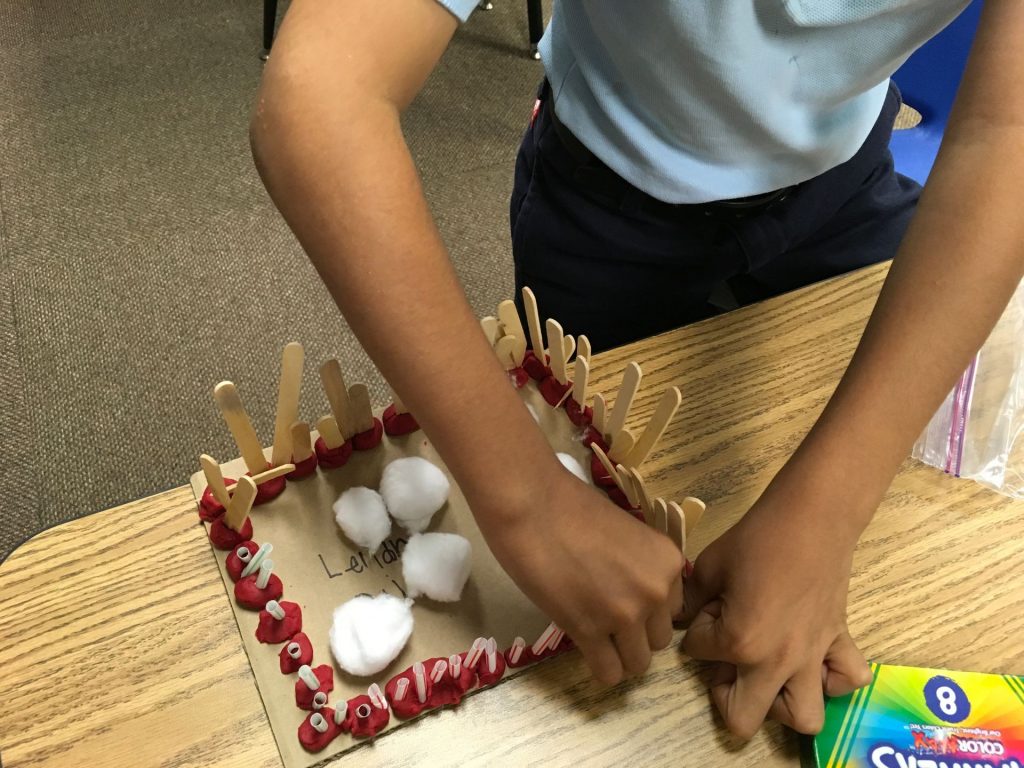
However, when I asked the students who knew the Little Bo Peep rhyme, I was shocked that very few had heard of it! My boys grew up with nursery rhymes and fairy tales, but they are now in their thirties. I guess these aren’t as popular as in the past! Oh well, that didn’t stop the activity – I read the rhyme a couple of times and talked about poor Little Bo Peep who just couldn’t keep up with her sheep! We discussed what prototype meant and said that they’d be using straws, popsicle sticks, and/or coffee stirs to construct their model. Playdoh would be used to hold it together. The prototype would need to hold at least 6 cotton balls (which represented the sheep).
We used the The Launch Cycle model, developed by John Spencer and A.J. Juliani as our design thinking guide. I asked the students to first think what Little Bo Peep needed to keep her sheep in one spot. This was so hard because the children wanted to draw and discuss immediately. Think time was short; less than a minute for this age. Next, I asked the children to draw their ideas on paper; again without talking.

Finally, students were allowed to discuss and improve on their ideas. Lots of talking and hand motions occurred as they really got into the planning stage! Then, the materials were chosen and the building began.
As we walked around the room, listening to the conversations, we heard fantastic collaboration and encouragement.
“Don’t lose confidence,” said one child to another when frustration was expressed.
Another group was asked by their teacher if the sheep could hop out of the low pen. In an exasperated voice, the makers replied, “No! It’s a protype!” She almost got the new vocabulary word – prototype!
Another group was describing their structure and the girl started with, “Well, Mary Bo Peep needs a pen because she keeps losing all her sheep.” Love the combination of nursery rhymes!

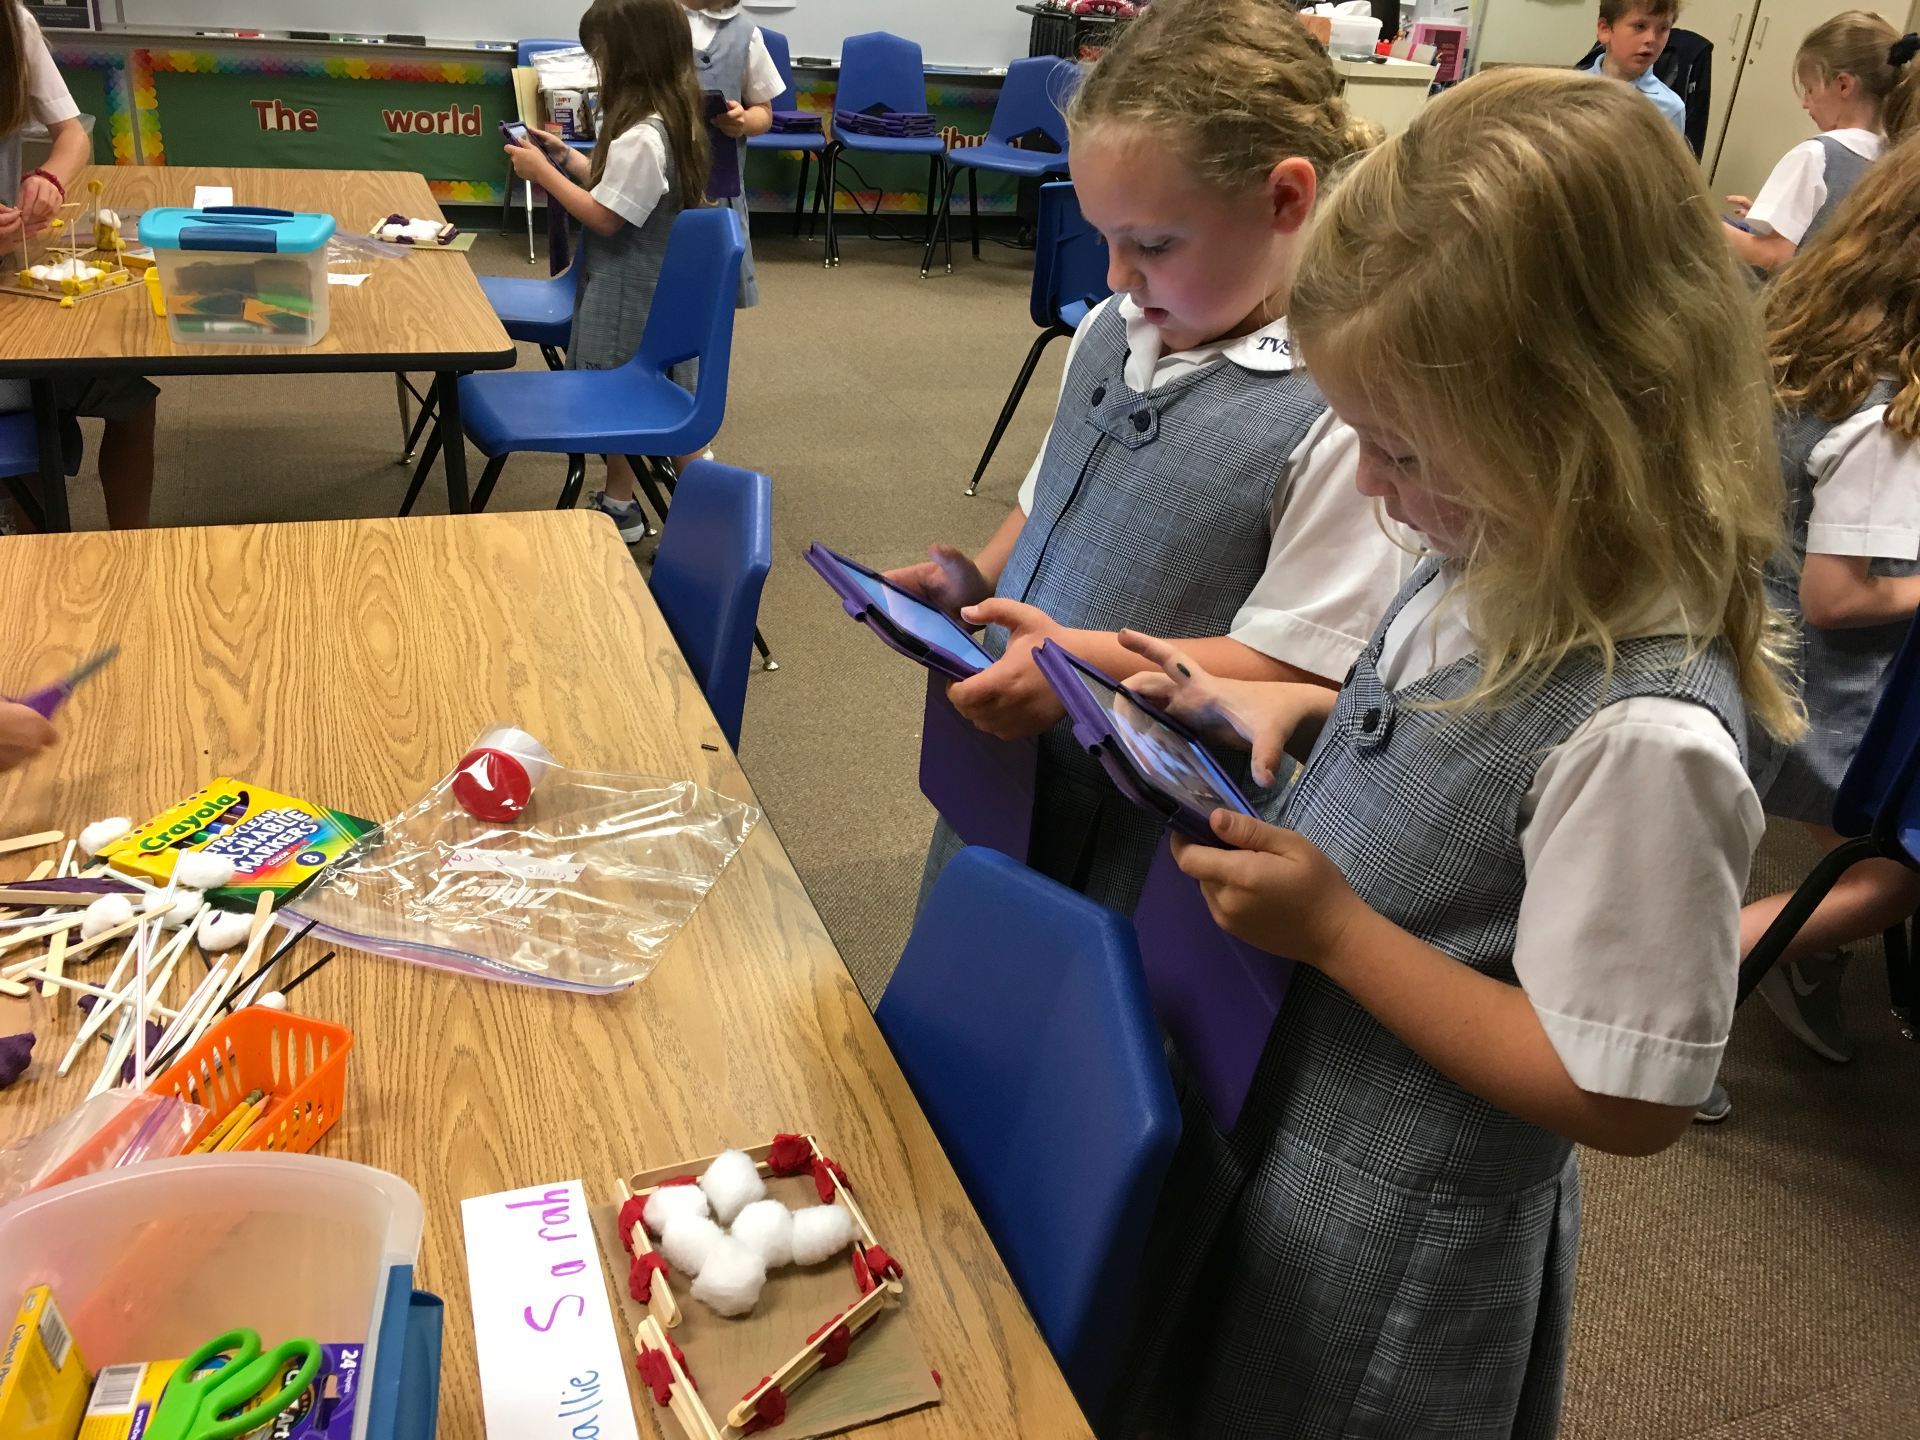
We didn’t finish the first week but that was fine. The following week, the children were SO excited to return to the lab to get their pen built. In the second session, I also asked the kids to take a photo in the Seesaw app and record something about their design.

Sometimes we’re hesitant to try design thinking activities with our younger students. After watching the collaboration and listening to the conversations, I’m convinced this is a vital part of learning. These children AMAZED me! Is it messy? Oh, yes! Is it worth it? Definitely!!
Links for other class videos:
Mrs. Crumley’s video
Mrs. Hutchinson’s video
Students are unable to access their files and can’t work on what you had planned? Last night, we had an email warning that desktop folders had disappeared. Well, 4th graders have been working on self-portraits using MS Paint and they were unable to access them.
Perhaps that’s one reason I couldn’t fall asleep last night – my mind was working overtime to figure out the best thing to do with the students. Design thinking was at the forefront of ideas but what supplies did I have at school? That’s a bit hard to determine at 2:00 AM!

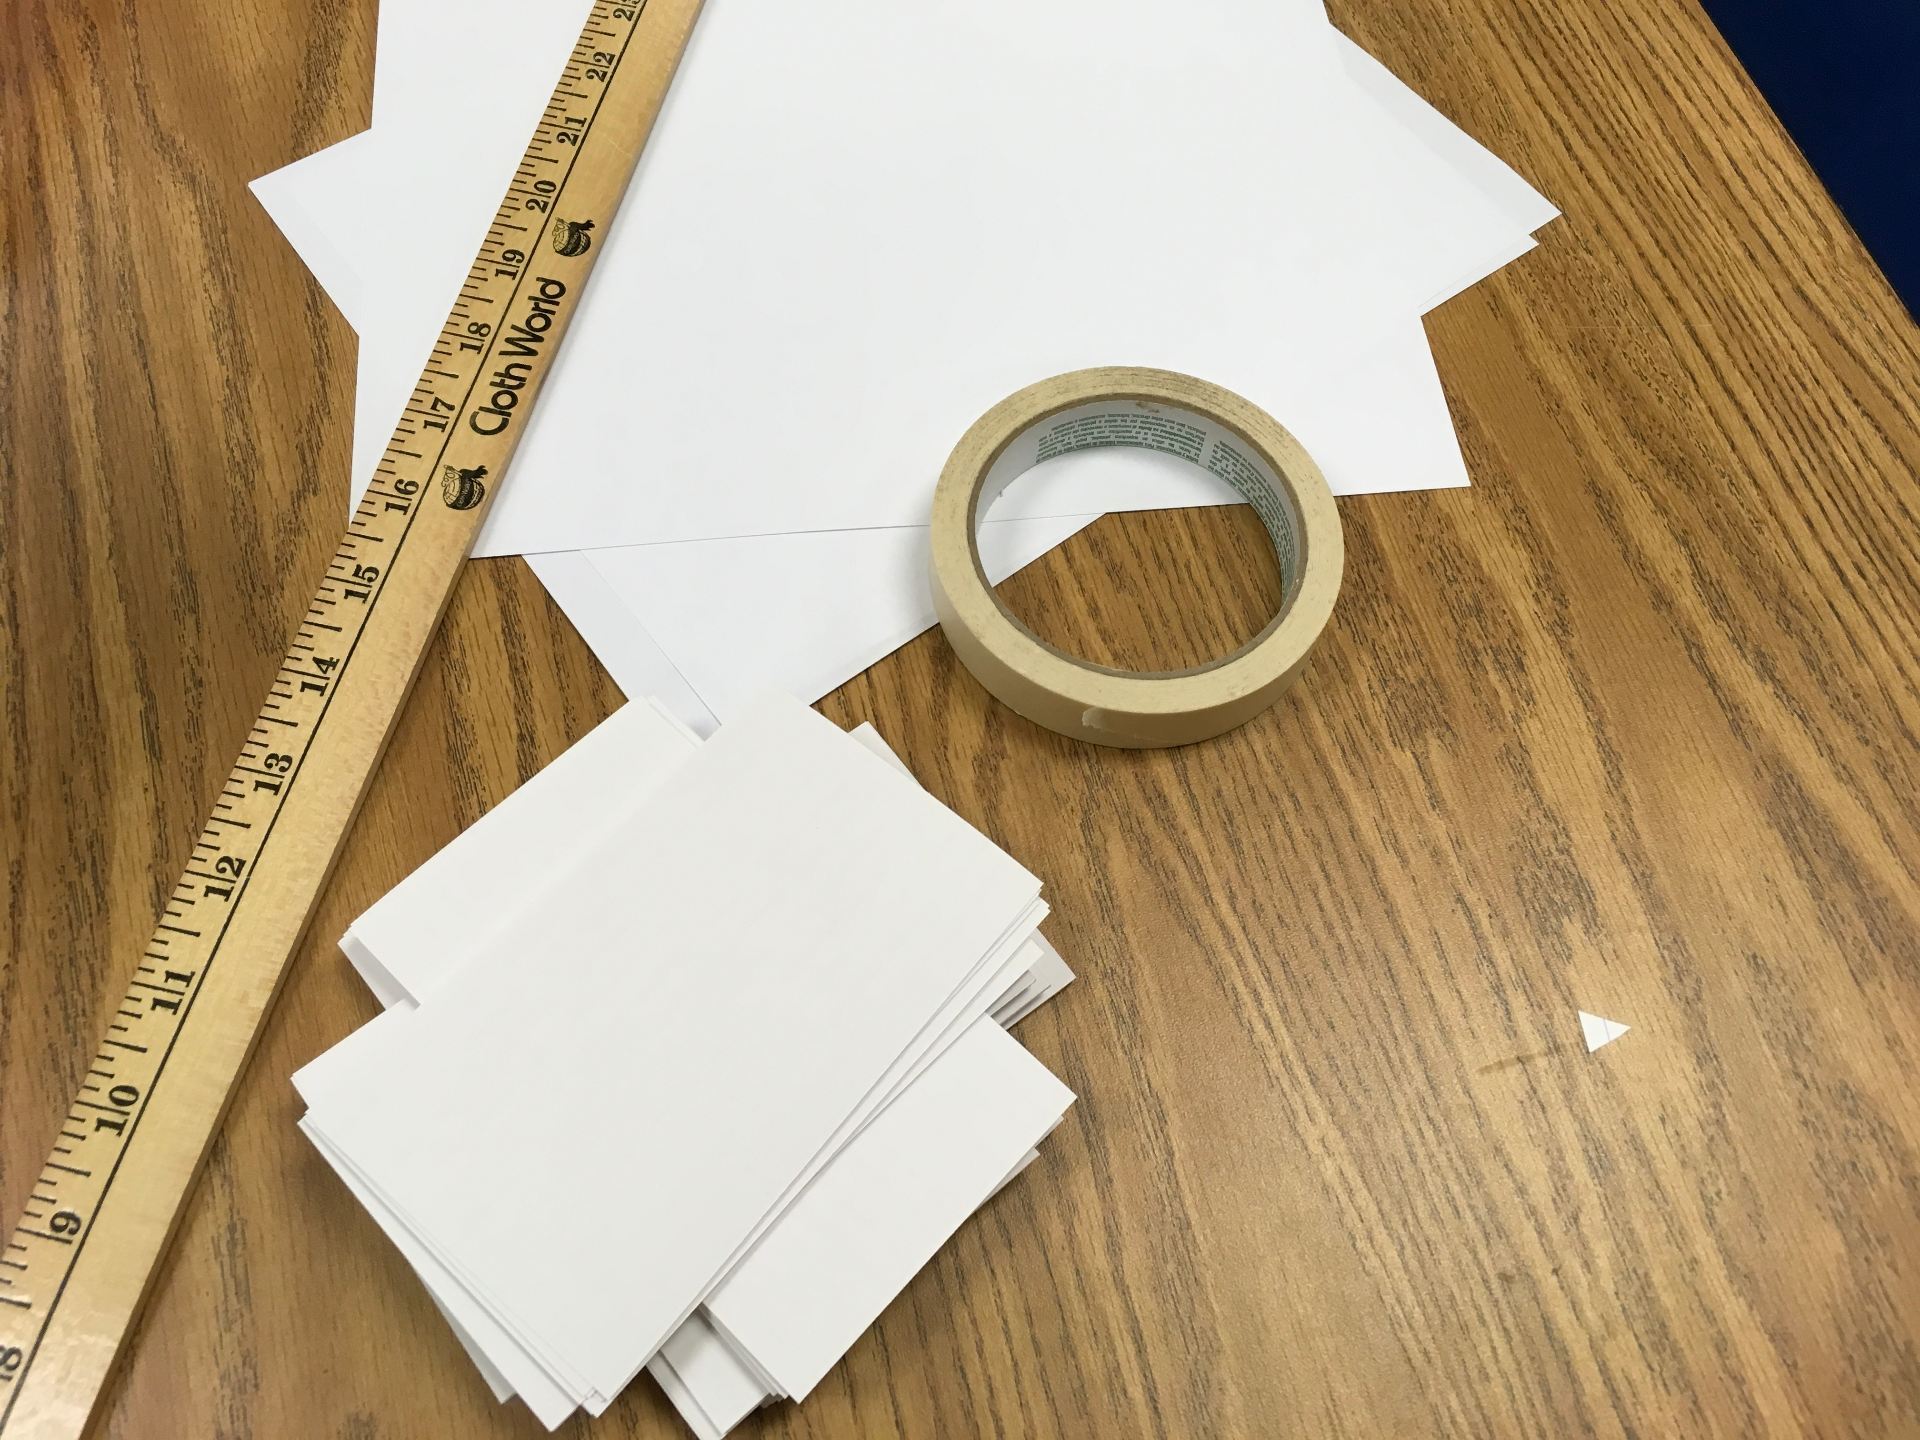
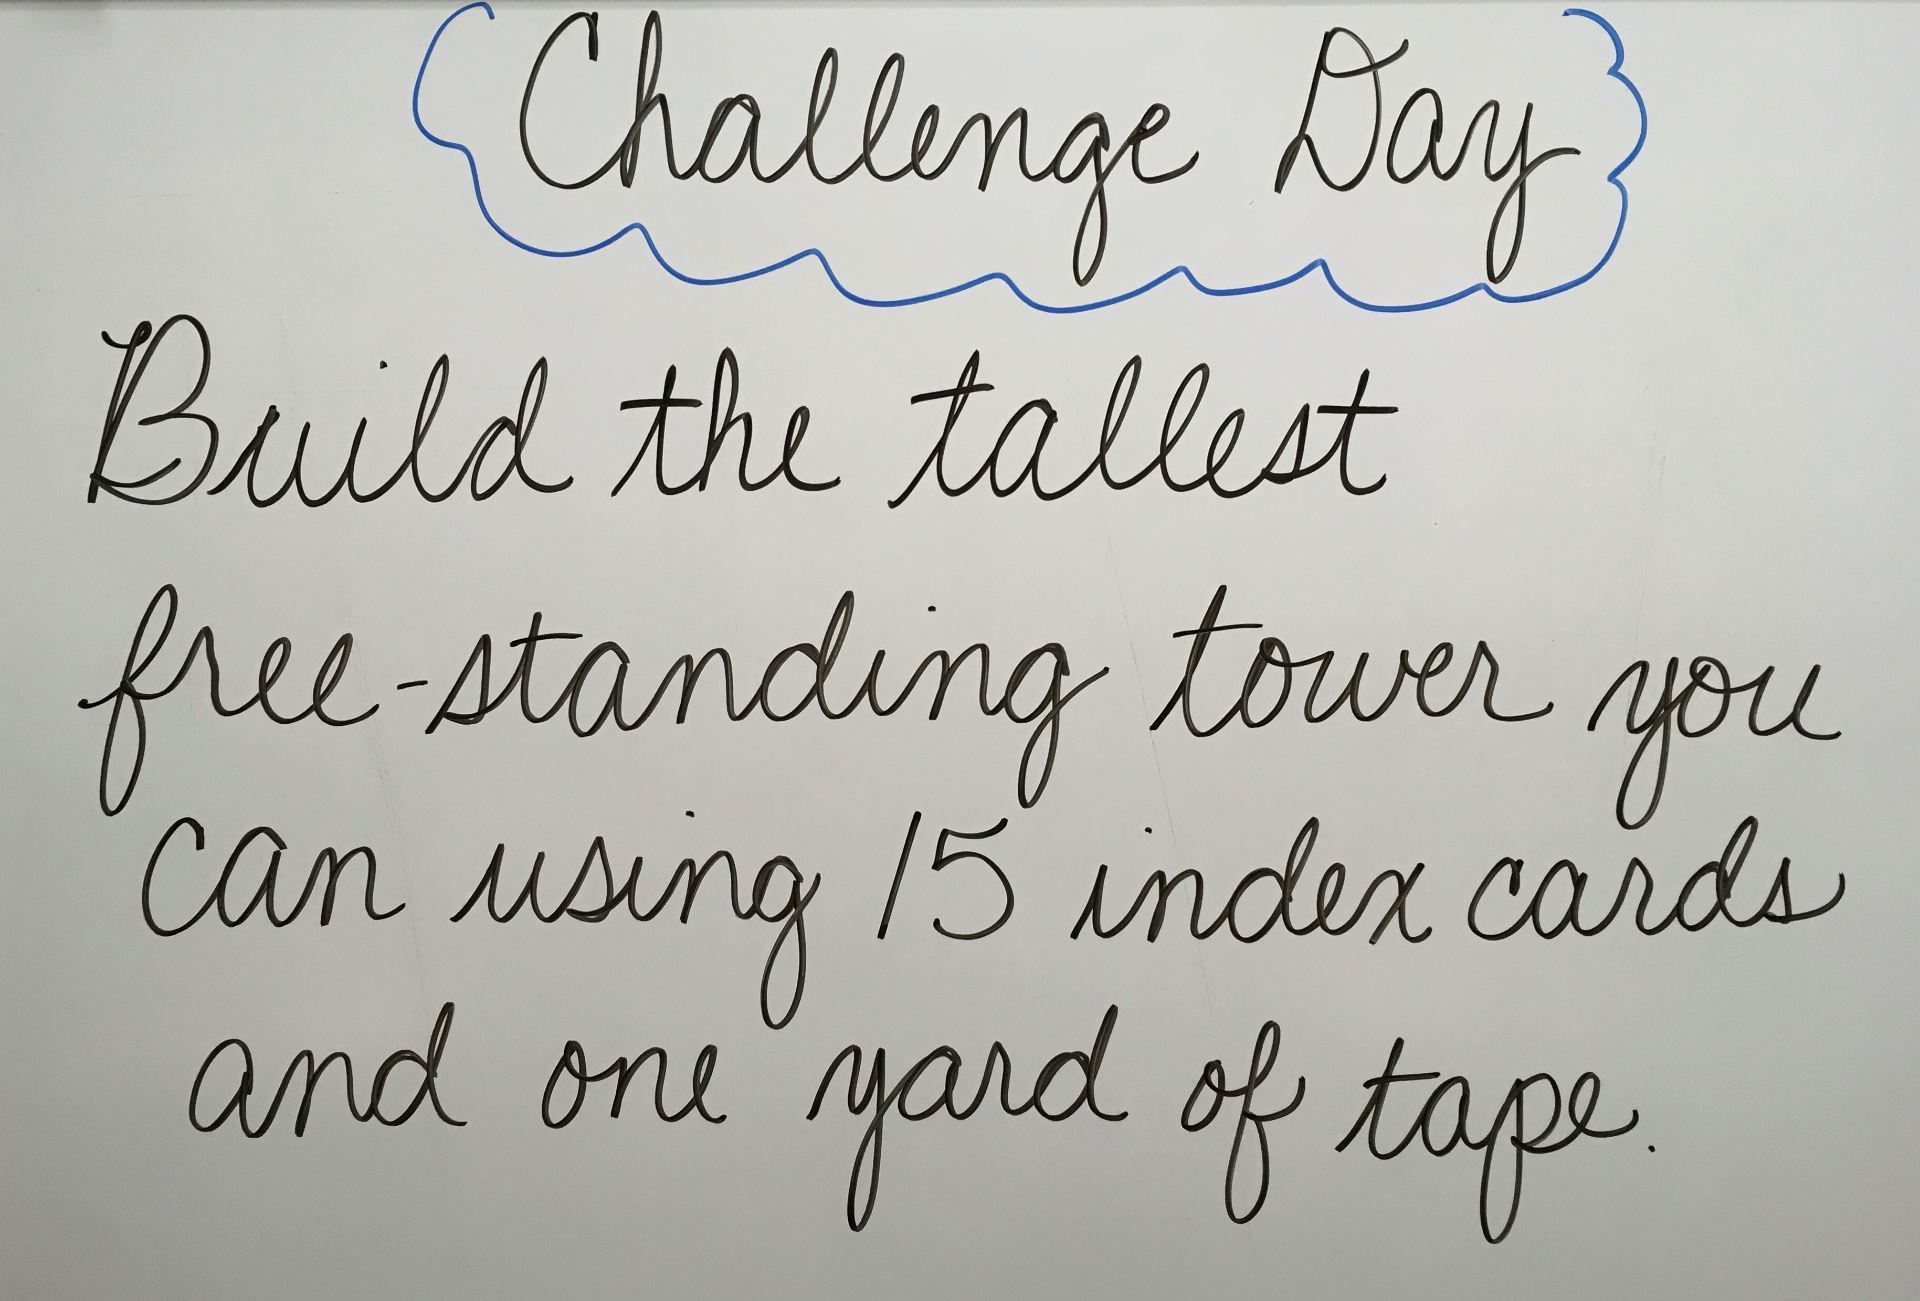
Index cards and masking tape turned out to be plentiful so that’s what we went with!
Challenge:
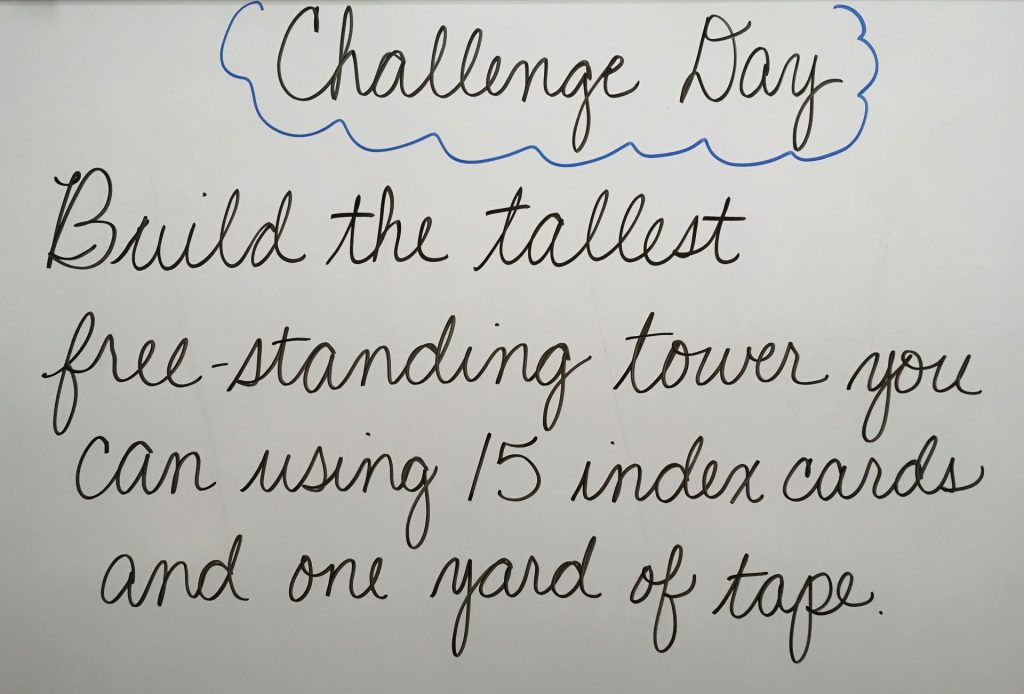
This changed over time after getting feedback from each group. The first group worked with only a half yard of tape. At the end of class, I told them they were my test group and I needed feedback for the other two classes. All agreed more tape was needed. The biggest request was duct tape, along with moans and groans that the masking tape wasn’t sticky AT ALL! Oh well, you work with what you have!
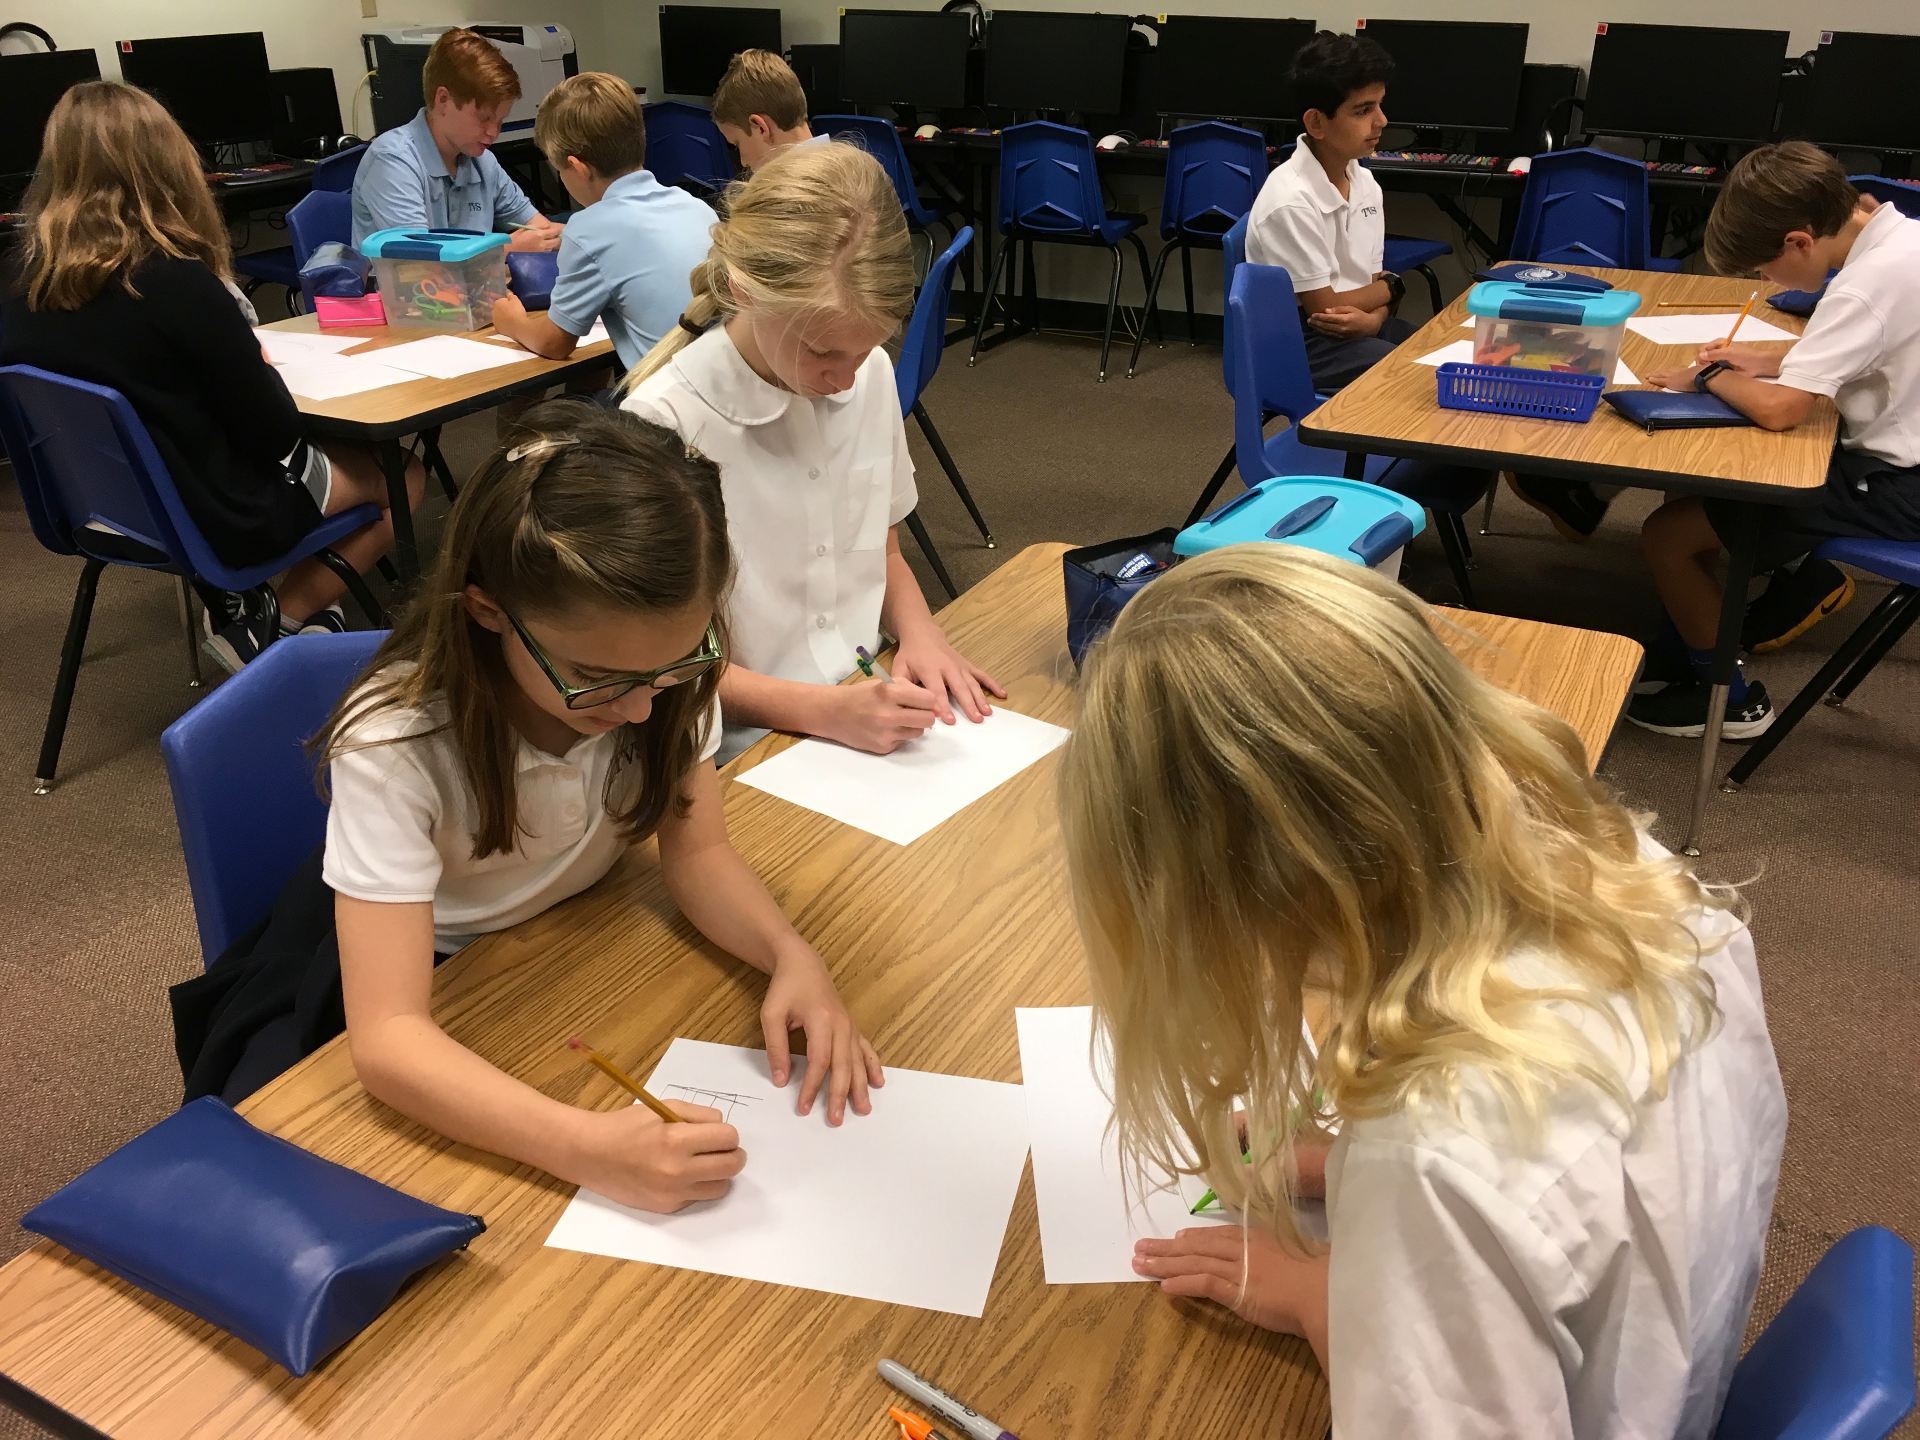
Using the Launch Cycle as a guideline, students were given one minute to listen to ideas from their group. Next, one minute to sketch ideas – no talking.
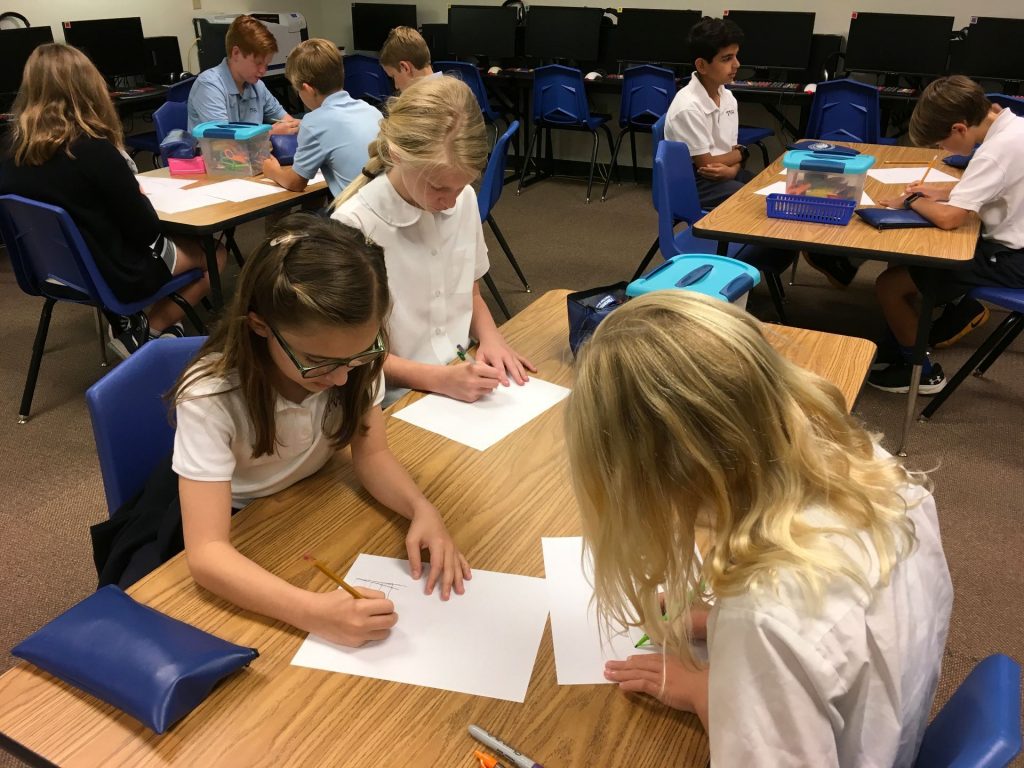
Then, another minute to decide how to incorporate designs into one to be used for the creation stage.

Yes, they were moved quickly through the process but I only have them for 30 minutes!
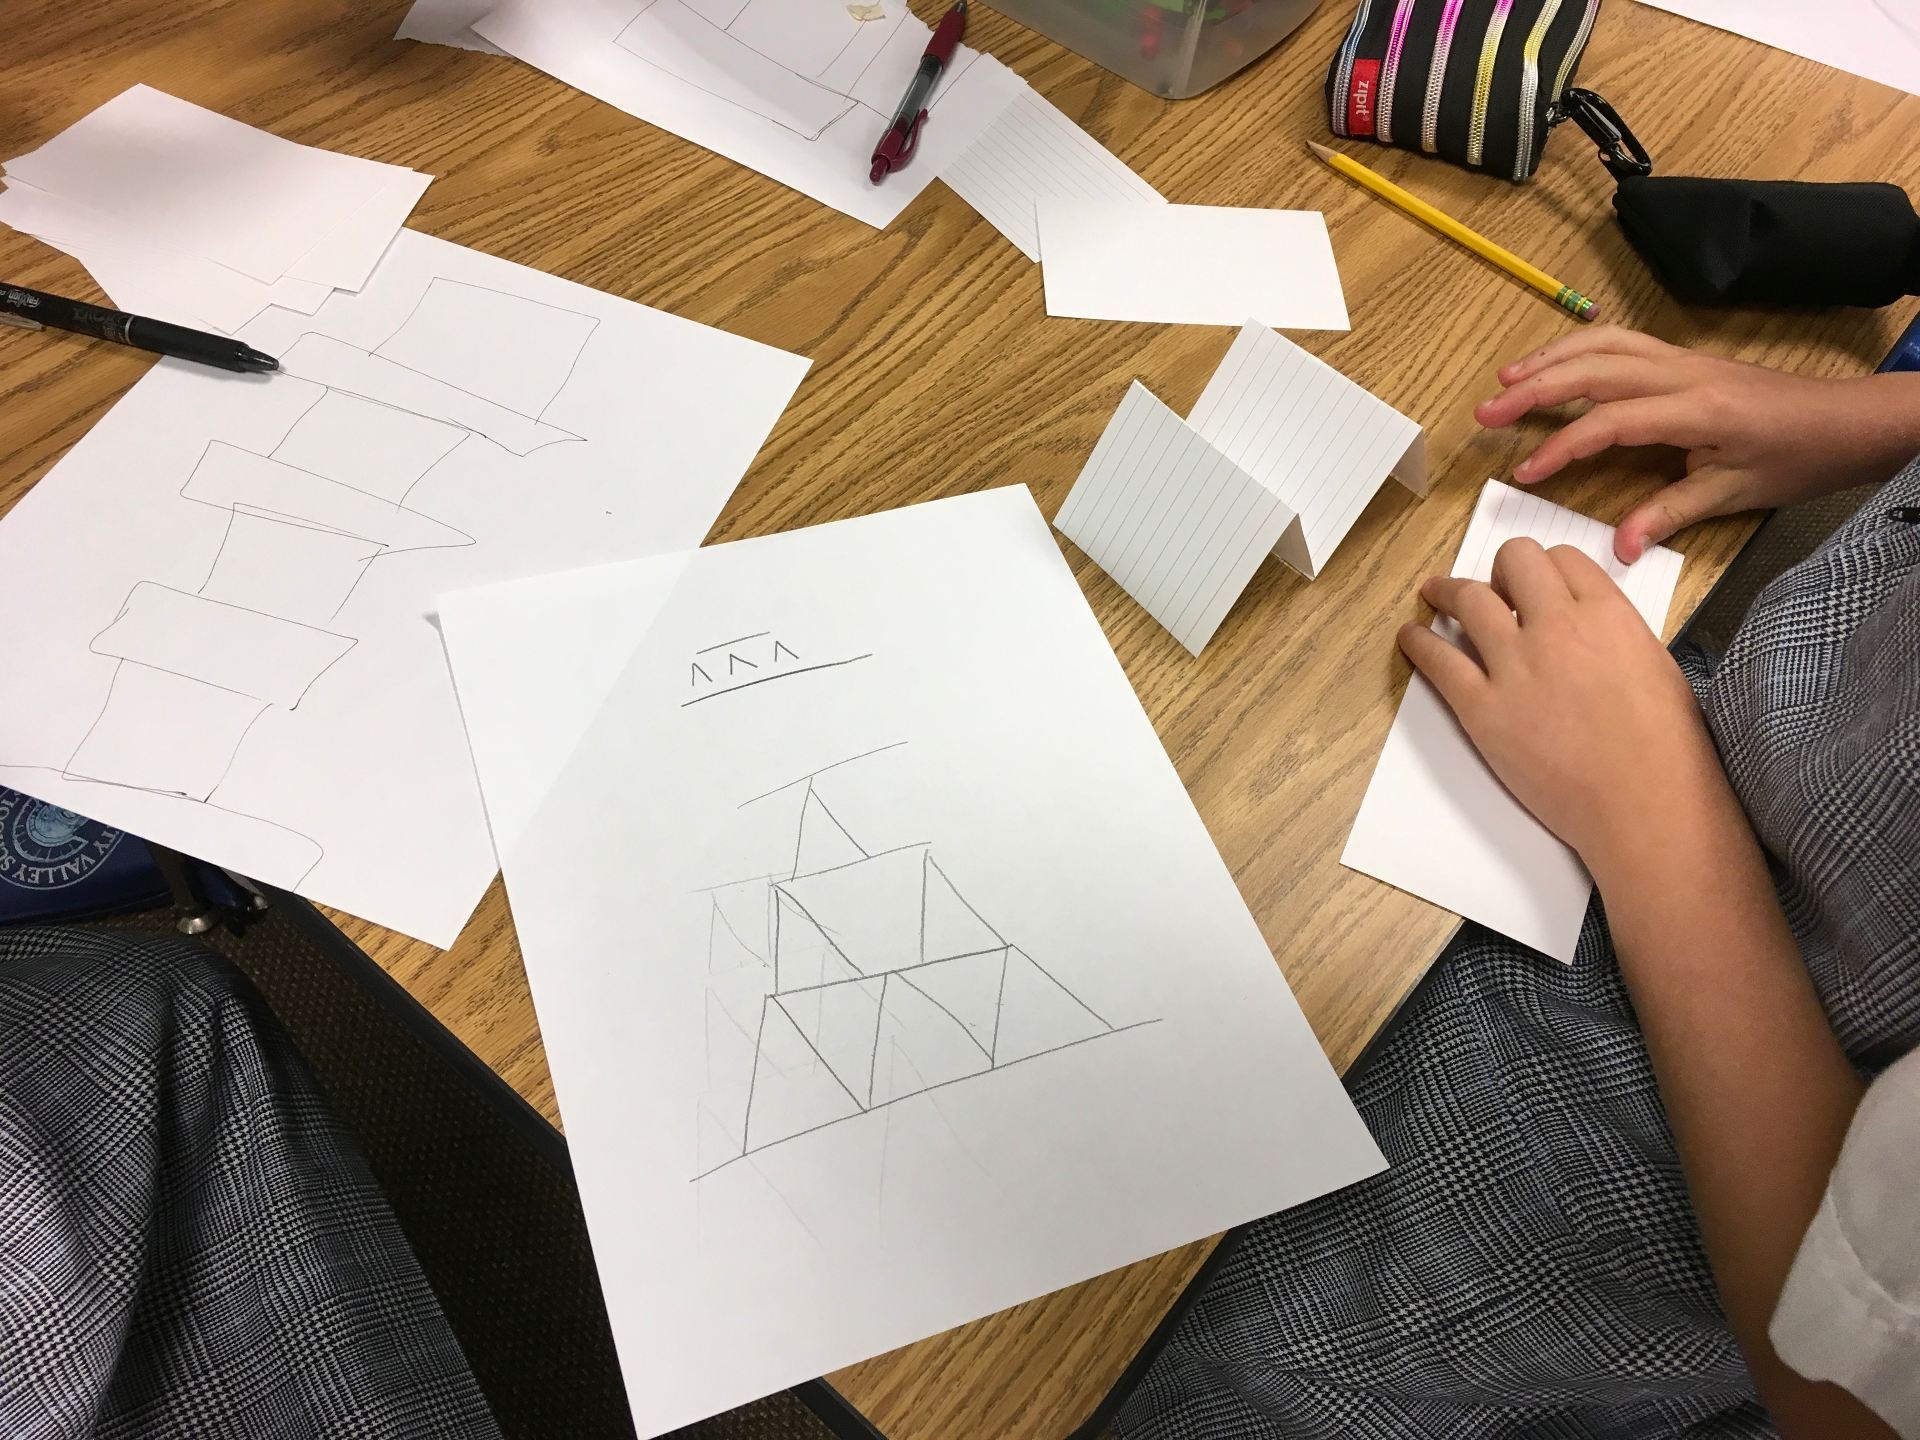
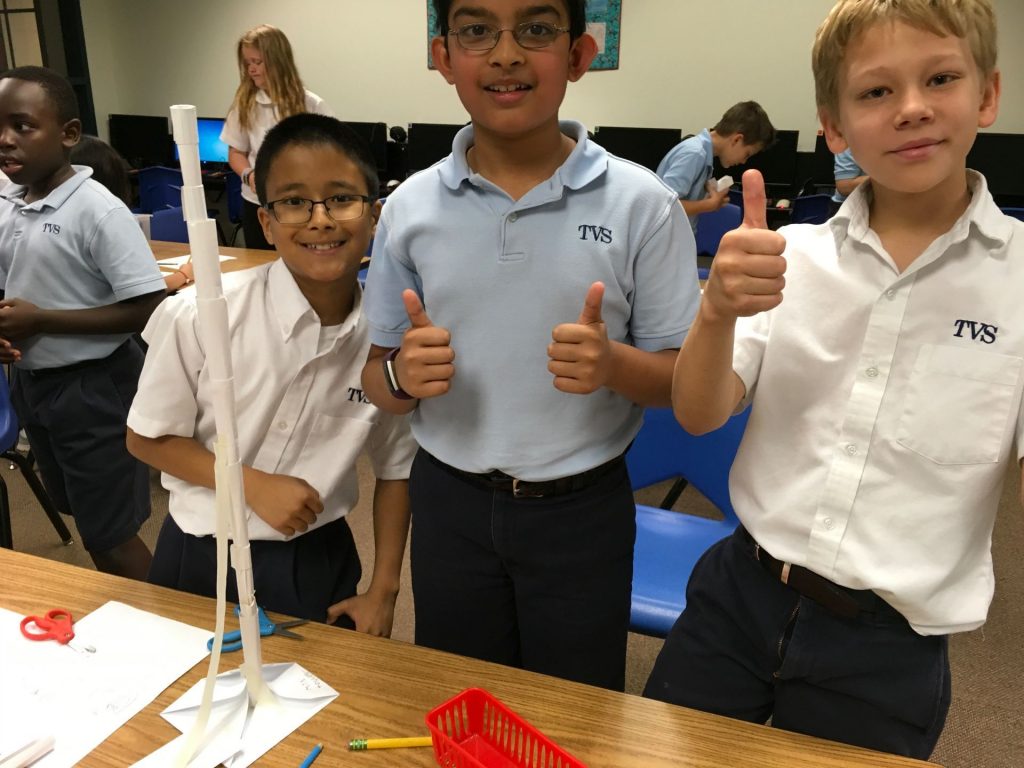
Building began and we had a huge variety of structures – some worked, others didn’t. Of course, the tendency for students is to build the highest structure possible without regard as to whether or not it can stand on its own! There were several “Leaning Towers of Pisa!”

The above pair worked so quietly and methodically, no one heard a peep out of them! The group below built straight up but definitely had a plan. One member kept his group on track with constant reminders “that the base has to be propped up.”
As we reflected, we talked about success and failure. Did the building proceed according to their sketches? What adjustments were made? Did you give up if something didn’t work the first time? (Yes, some groups did!) I even told the students that in an activity like this, failure was expected. Why? That’s the best way to learn!
Was it loud? YES!! Much louder that I like but every single person was on task. What I liked was watching students who are usually quiet or who don’t always feel secure in answering questions in front of the class, absolutely blossom in this environment! Will we do this again? You bet!
And, to think, not one child asked why we weren’t using technology in the tech lab!!
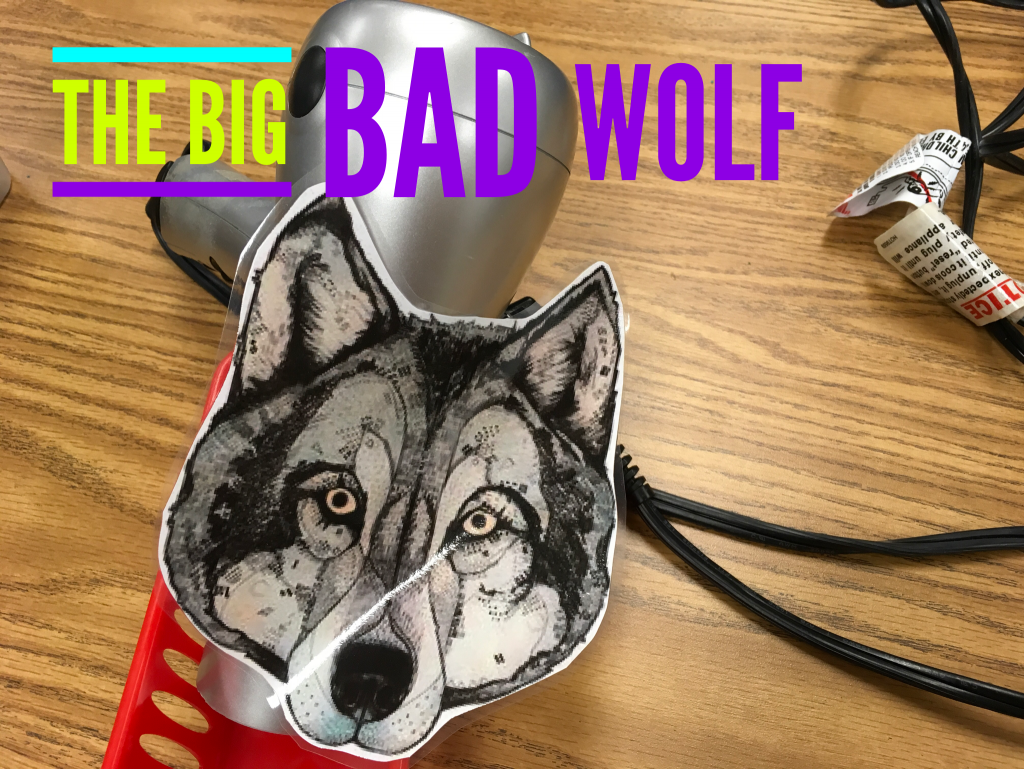
 Continuing with the Fairy Tale theme, Mrs. Garcia and I found an activity from Teachers Pay Teachers called, The Big Bad Wolf STEM Challenge. We adapted it slightly to incorporate design thinking. (I like to use the Launch Cycle model because it’s very easy for elementary children to understand. See the post, Design Thinking + Dot Day = Thoughtful Creation, for a more in-depth description of this model.)
 The challenge: Build a house for the pigs that can’t be blown down by the Big Bad Wolf (aka the hairdryer).
The students chose 20 of one of the following:
- toothpicks
- straws
- popsicle sticks
We started by asking the children to assume the role of the pigs. What would you want for a house? How could it be built so that it was sturdy enough to withstand all the huffing and puffing of the wolf?
Going through the design thinking process, we had the students discuss ideas with their partner using only verbal descriptions. They had 2 minutes for this (and begged for more)! Then, the children sketched ideas based on the previous discussions. Next, each described their illustrations. The hardest task was to choose the “final” design – the one to be used for building. That step required give and take as well as negotiating skills as they tried to prove that certain designs would withstand the wolf better than others. It was interesting to listen to the conversations as the children combined the best parts of each of the sketches. There was no arguing. Instead, we saw and heard fantastic reasoning skills as students talked through the pros and cons of each design element!

Time for building! Students collected the materials and went to work. No two houses were alike!

The one thing I’d change for the future would be to limit the amount of tape. That would certainly increase the challenge difficulty. These houses were like an armored truck; there was SO much tape wrapped around some of them that I’m not even sure these structures could be crushed!

The reflection time is very important. It’s really easy to skip this step because of lack of time but it’s critical to have the students talk about their challenges; what worked, what didn’t, what they would change doing it again, etc. It also provides the opportunity for the teacher to get a better idea of the students’ thinking.
Here’s a video to give you a glimpse into the Three Pigs challenge.
To the students, this seems like “play” – it’s most definitely fun for children AND teachers! But, there is SO much learning going on. Collaboration, design, planning, learning how to improvise if something doesn’t work – to name just a few of the skills!
I’d love to hear your experiences with design thinking!
The second grade classes are reading Stuart Little this year. After attending the LLI Southwest conference in February, our teachers are eager to incorporate design thinking and makerspace activities into their curriculum. One of our teachers, Mrs. Shapard, came to me with the idea of having her students create a small room to better fit Stuart Little. We brainstormed materials that might be helpful for students to use and she asked parents to send in anything that might be useful for the project. Soon, her room was filled with boxes, empty paper towel/toilet paper rolls, fabric scraps, buttons, small plastic bottles, and much more.
 I really like Launch Cycle by John Spencer and AJ Juliani to move the students through the design thinking process. “Launch” is an acronym that describes each step in the process. I also like the cycle image so that students have a great visual showing planning and creating as a continuous process.
Empathy is a critical part of the process and this is a challenge for any age, especially for younger children who like to create something based on their likes. The challenge was to think like Stuart Little. What would he like in his room? We started with a thinking time about a minute long. That seems like an eternity for students who are ready to build!
We talked about architects and builders; how they would never start to build something without having plans first. One of the parents in this class is a builder so the child knew exactly what I was talking about and eagerly explained it to her peers.
 As we began, I first asked the students to get some ideas in their head. No drawing yet! After a long minute, we moved to the next step which was to sketch out their ideas for the room. Again, I just gave them a short time (a couple of minutes). There were lots of groans and comments that it was TOO short!
 Before we moved on to the next part, we discussed how to disagree without hurting anyone’s feelings. This step involved telling about the ideas and then deciding which to use. We stressed that parts of each sketch could easily be incorporated into the chosen design. Then the chatter between each pair of students began. We loved hearing the respectful way that each child listened. They truly wanted to hear about their partner’s ideas.
The next step – building! The children were SO excited! As we walked around observing and asking questions, we learned more about the thinking processes of the children. And, that was fascinating! One boy told us that he couldn’t find the supplies that they wanted to use for their room so they “had to start from scratch.” No complaining about lack of supplies, he and his partner solved that roadblock and moved on!
Here’s a video to show the students in action.
After about 30 minutes, Mrs. Shapard had to send the students to Spanish. The students had additional time later that day and into the next. At that point, the students were told building would end that day. Later, I saw Mrs. Shapard who told me that the students were mad at her. When asked why, she reported that they weren’t at all ready to stop!
At our reflection meeting, I asked the students to tell me how they felt about the designing and building. Here are some responses:
- It was hard getting an idea and then choosing which one to build.
- We had trouble getting things to stick together so maybe the supplies weren’t the best.
- It was easier to draw the design on the paper than it was to build it when you found out you didn’t have the right materials.
- It’s going to be hard to decide who keeps what we built.
- We couldn’t find one of the supplies that we’d used earlier so we had to find something else and make it work.
- My partner did a lot of compromising with me.
- It was hard agreeing where to place things.
As for the teacher reflection, we decided that perhaps the challenge was too open-ended and really couldn’t be completed in a reasonable amount of time. Next time we’ll narrow the focus. Regardless, the planning, designing, communicating, and compromising that occurred was well worth it!
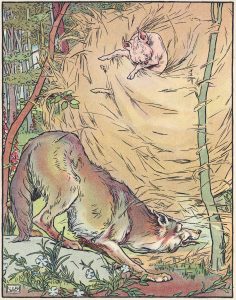
I love the story of Flat Stanley – the boy who ended up flattened when his bulletin board fell on him! The book explores the many benefits to being flat!
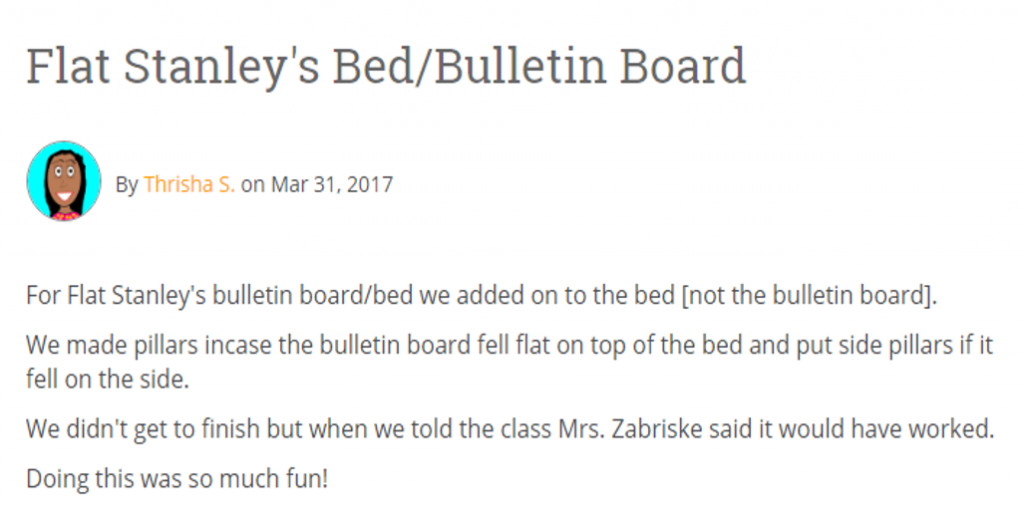
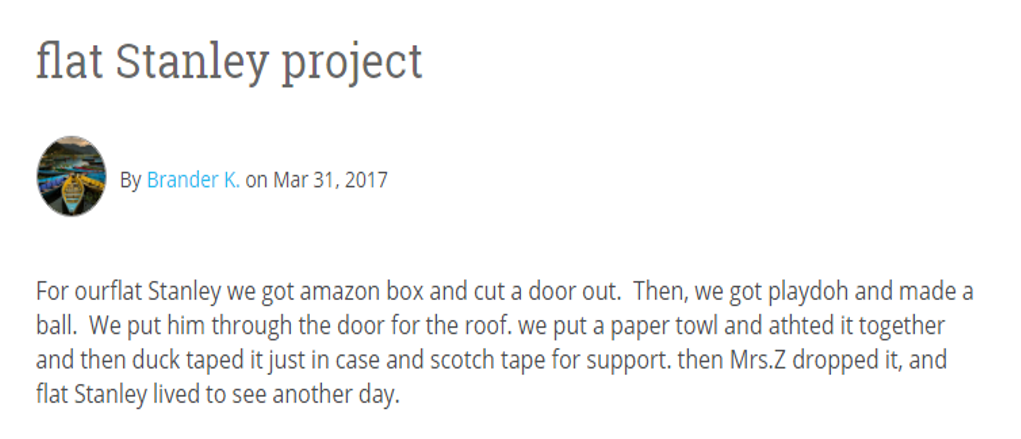
Mrs. Zabriskie, one of our second grade teachers, wanted to create a design thinking lesson where her students would create something that would protect Stanley from falling bulletin boards.
I used the Launch Cycle by John Spencer and AJ Juliani to move the students through a design thinking process. We began by just thinking about what might work for Stanley – and, let me say that it is hard to sit in complete silence for 60 seconds! Actually, I shortened it to 40 seconds which, as one student said, “Seemed like forever!”
After that, time moved too quickly (according to students!). First, I asked the students to talk about ideas they had to keep Stanley safe. They had 2 minutes for this and everyone in the group had the opportunity to speak and ask questions. When the timer went off, there were lots of groans along with, “That couldn’t have been 2 minutes!”
 Next, the students were asked to sketch of what they could create to keep Stanley safe. No talking for this segment; that came in the next step. After a couple of minutes sketching, the children shared the drawings with their group. The most difficult part was deciding which design would be used for the prototype. We role-played how to disagree nicely as well as how to take some aspects from each sketch to create a working design.
We enjoyed listening to the children as they participated in that all-important give and take; such an important skill to learn. Lots of hand gestures were observed as students attempted to explain their ideas to the group.
As for materials, Mrs. Zabriskie asked for parents to send in straws, paper towel rolls, toothpicks, playdoh, etc. I believe she bought a few items as well. Really, anything can be used.
I wasn’t able to participate in the entire building process since I had another class to teach. From comments from the teacher and the students, this was a worthwhile activity. The students didn’t think they were doing “school stuff” but, in reality, they were learning many important life skills:
- problem-solving
- sharing
- communication
- reasoning
- failure
Yes, even failure! Two major goals of design thinking are for children to practice empathy as they work on problems to solve that help someone else (in this case, a book character) and to discover that failure isn’t a bad thing; that we take failures and learn from them.
A few days after the project, I asked the students to blog about the process. Here are just a few of the responses.


 After a successful bridge building experience with second graders, I decided to give it a try with the third graders. The idea (from Playground Park Bench blog) is based on the book, 21 Elephants and Still Standing, a true story about the building of the Brooklyn Bridge. Click here to read the last post for information on the process.