Archive of ‘Digital Learning Lab’ category
Carrie Kunert, Beaverton School District Innovation Strategist, has compiled a huge selection of Seesaw Activity Links that she has graciously made available to anyone who would like to use them. In looking through the holiday section, I found one by Beth Saunders called Egg Decorating that I thought would be enjoyed by our younger students.
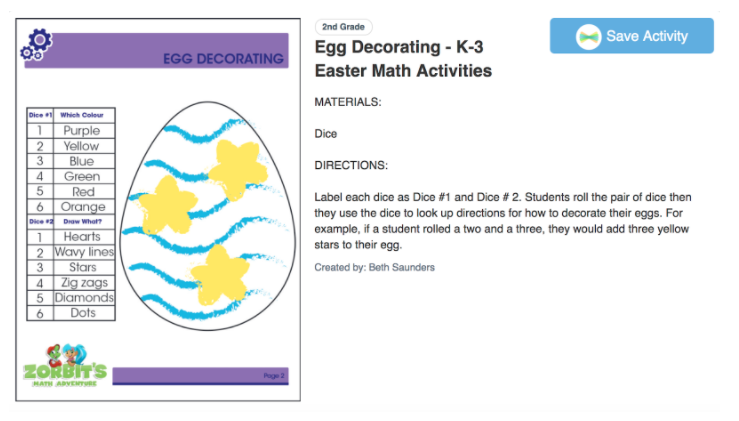
The directions are a bit small to read but the students were to roll a pair of dice that determined how they would decorate the egg.
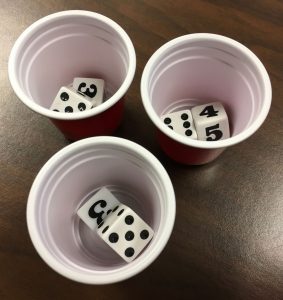
In searching through my dice collection, I discovered traditional dice with the dots as well as dice with numerals. The students were placed in groups of two and they shared the dice. Then I added some instructions that differed slightly for each grade level.
Kindergarten:
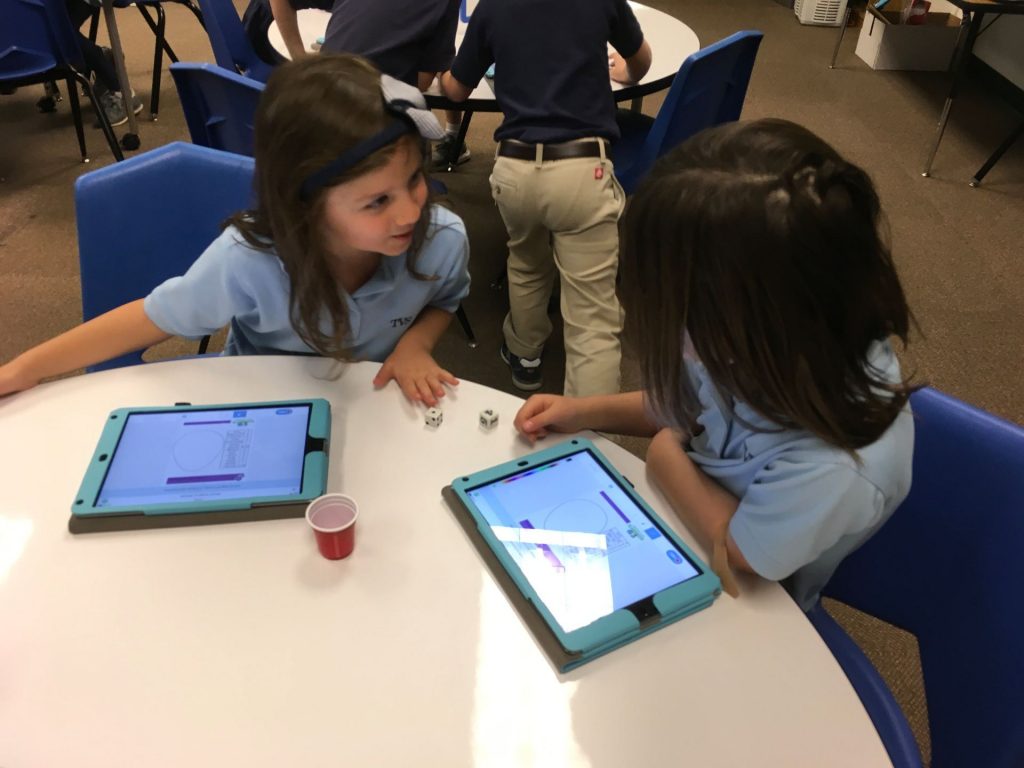
Students took turns rolling. The idea was to have one child roll and both would draw what each person rolled. They started out doing that but ended up having the person who rolled the dice as the one who drew on their own egg. The hardest task was drawing stars – that’s difficult for this age. What was funny is that if stars were rolled, some students would roll again to get something easier to draw!
I had told the students that if they finished early, they could talk about their eggs. Below are a couple:
As one class left the lab, a little boy came to me to say, “I just loved decorating the egg. I LOVE coming to the lab almost more than ANYTHING!” That certainly made my day!
First Grade:

The directions I gave this grade were that they had to roll the dice for their partner; the partner would then draw what the dice indicated. They did a fantastic job working together, taking turns, and even agreeing on rule changes so that they ended up rolling favorite colors and decorating with what they wanted to draw.
It’s funny how something so simple can turn out to be so engaging! Don’t tell the students, but there was also quite a bit of learning going on:
- listening to and following multi-step directions.
- working with a partner and working out differences.
- sharing and taking turns.
- fine motor skills (drawing in small spaces).
- communication and collaboration.
- verbal expression for those that recorded.
- even working through frustrations if they didn’t get the color they wanted!
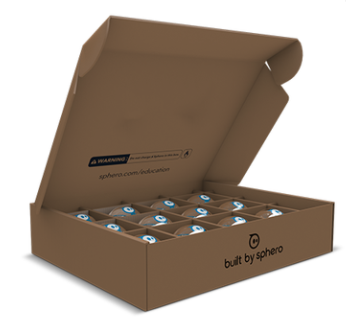
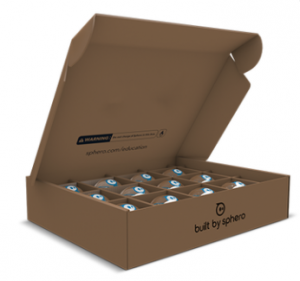 We have a fantastic Parents’ Club at our school. Each year we are given the opportunity to apply for Grants for Greatness. My request this year was a class set of the Sphero SPRK+ robots.
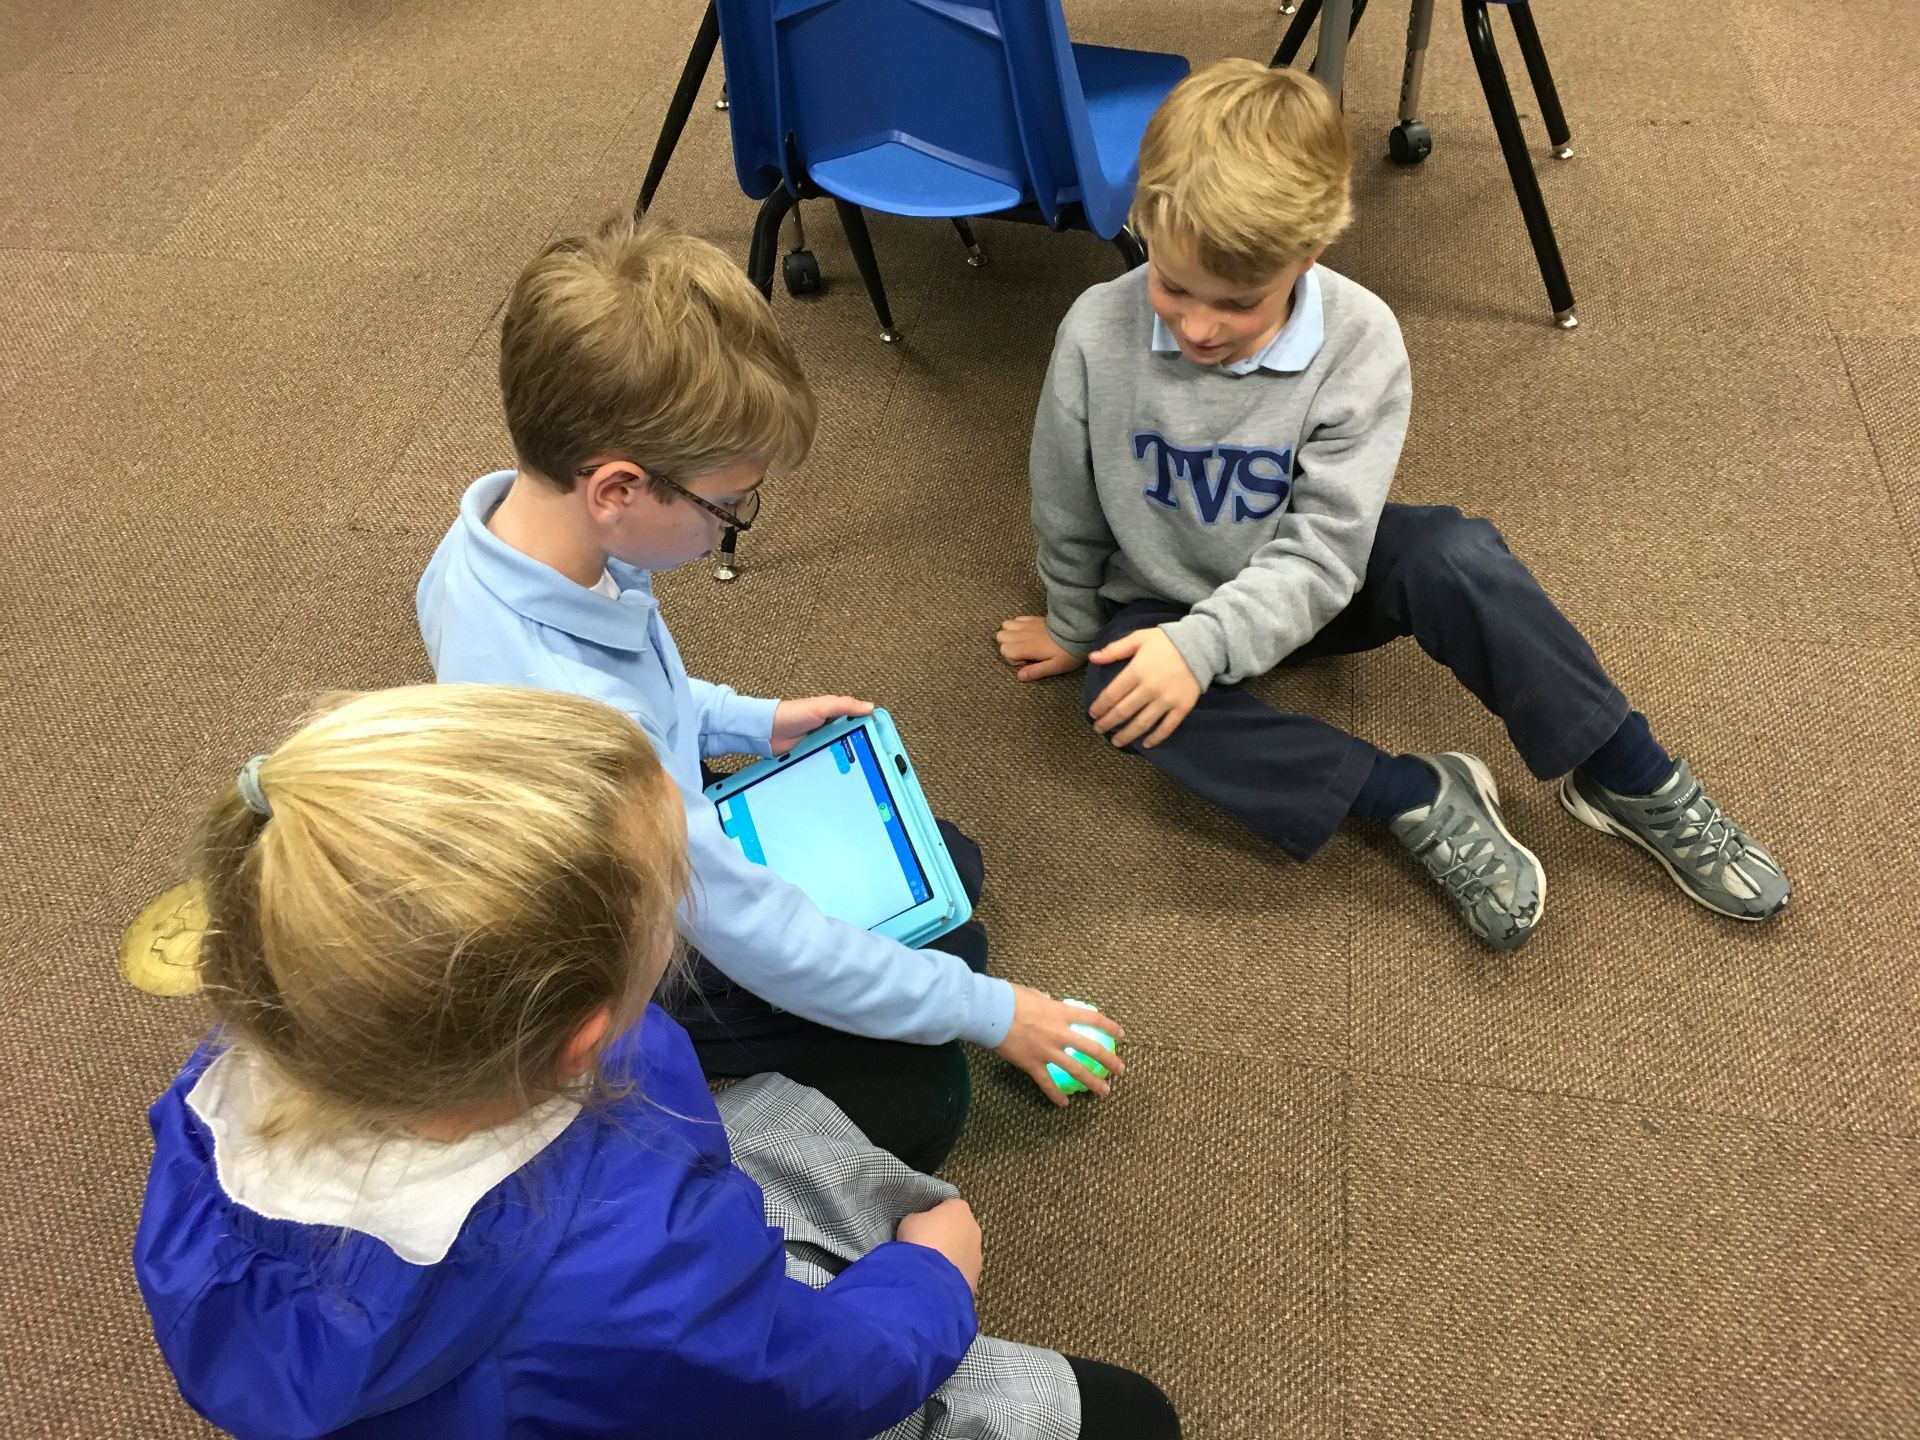
Our third graders were the first to experience the Spheros using the Sphero EDU app. The app is block-based programming with all kinds of blocks available to challenge students. There were a few students who had their own Spheros at home so they were eager to provide help to those trying them out for the first time.
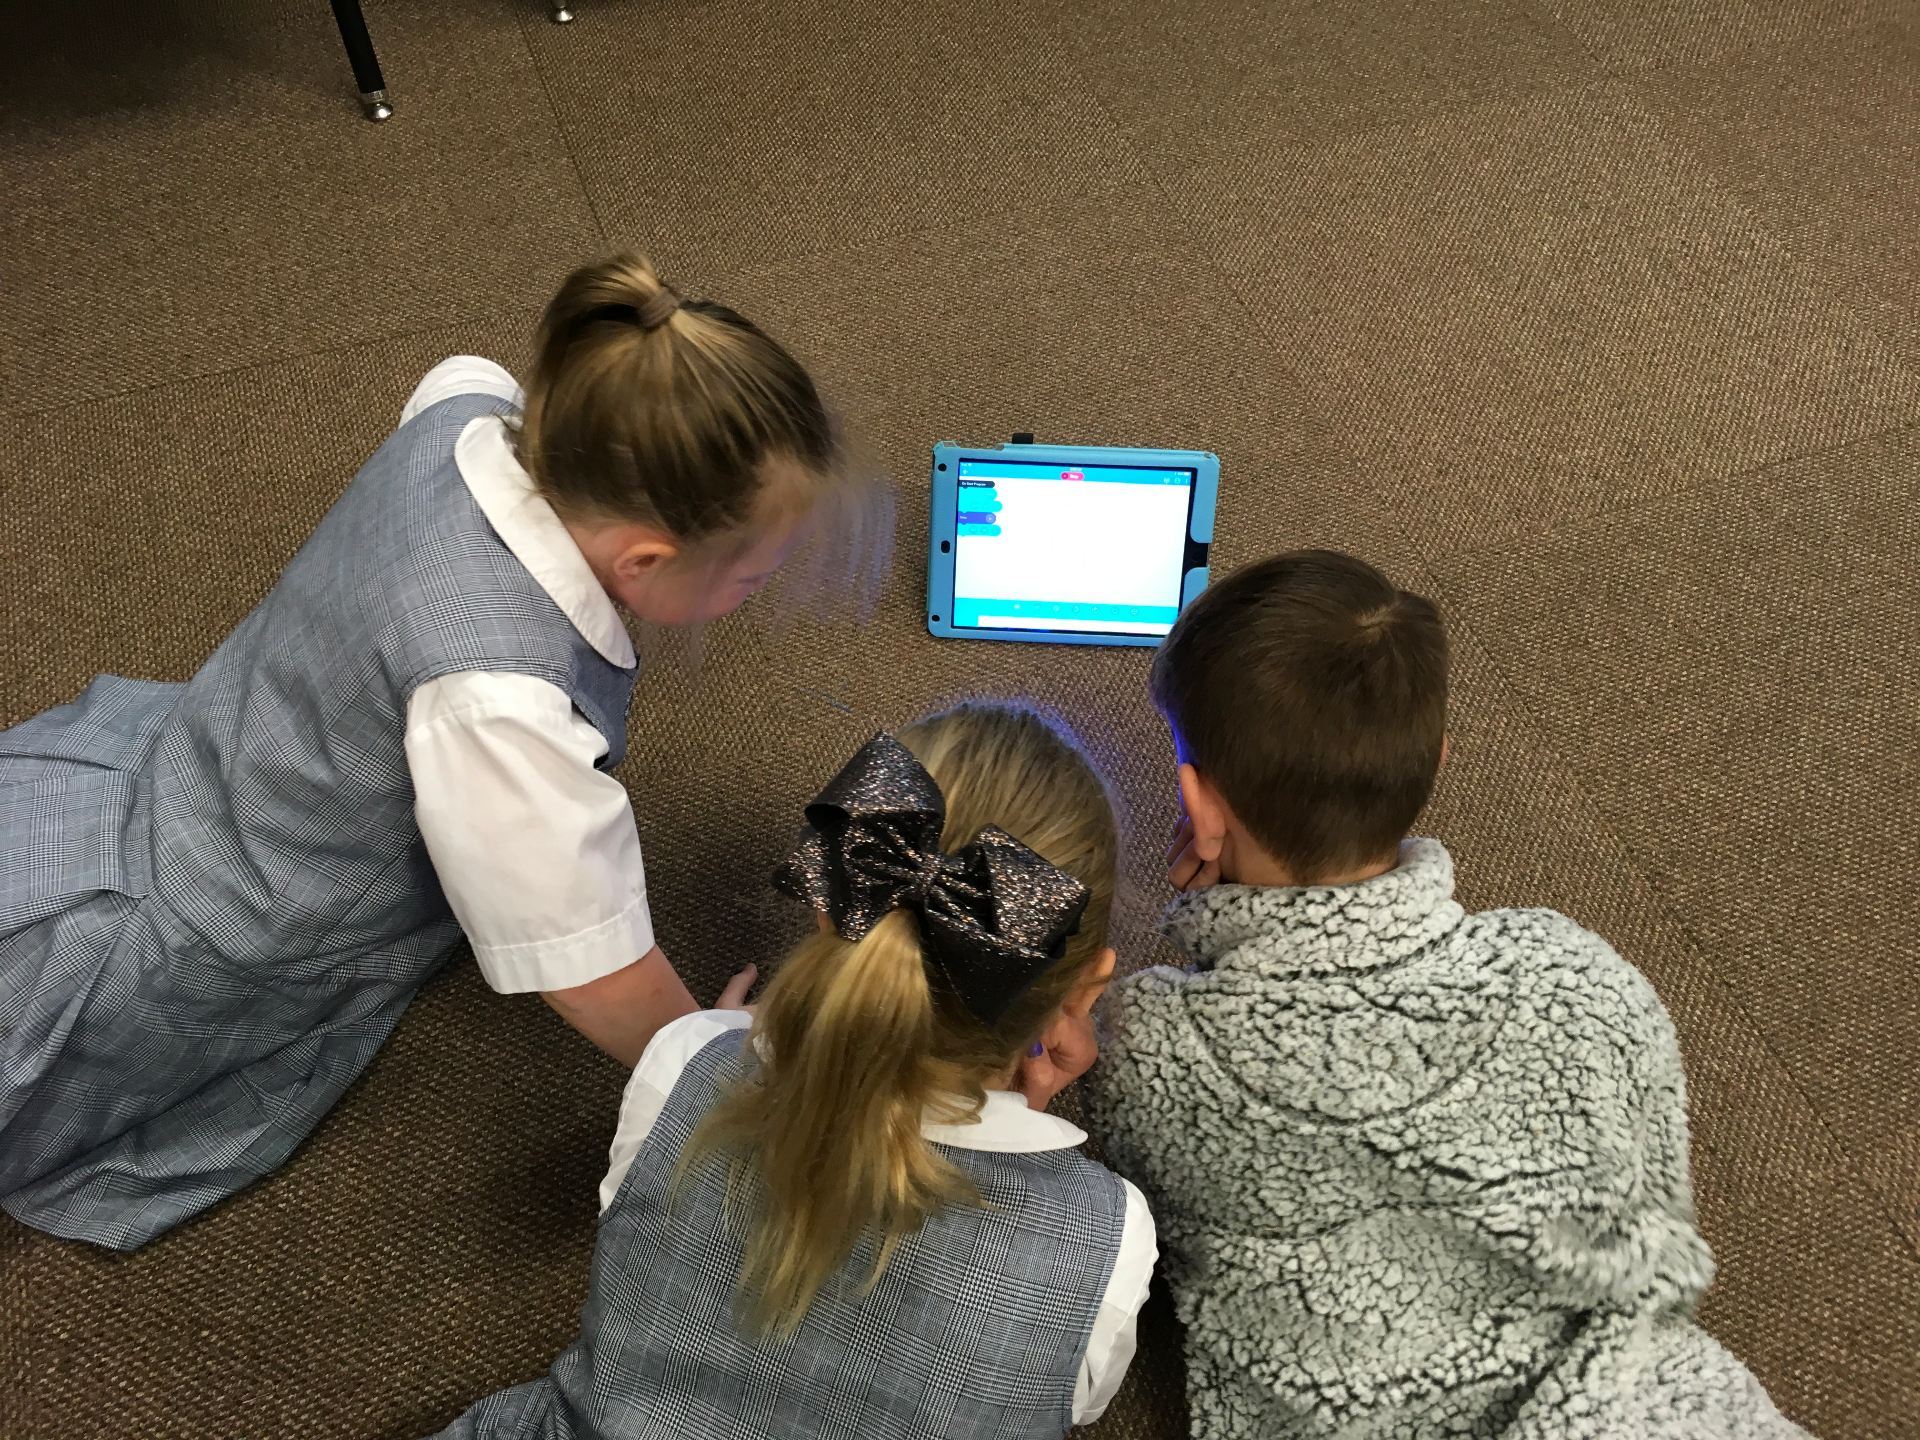
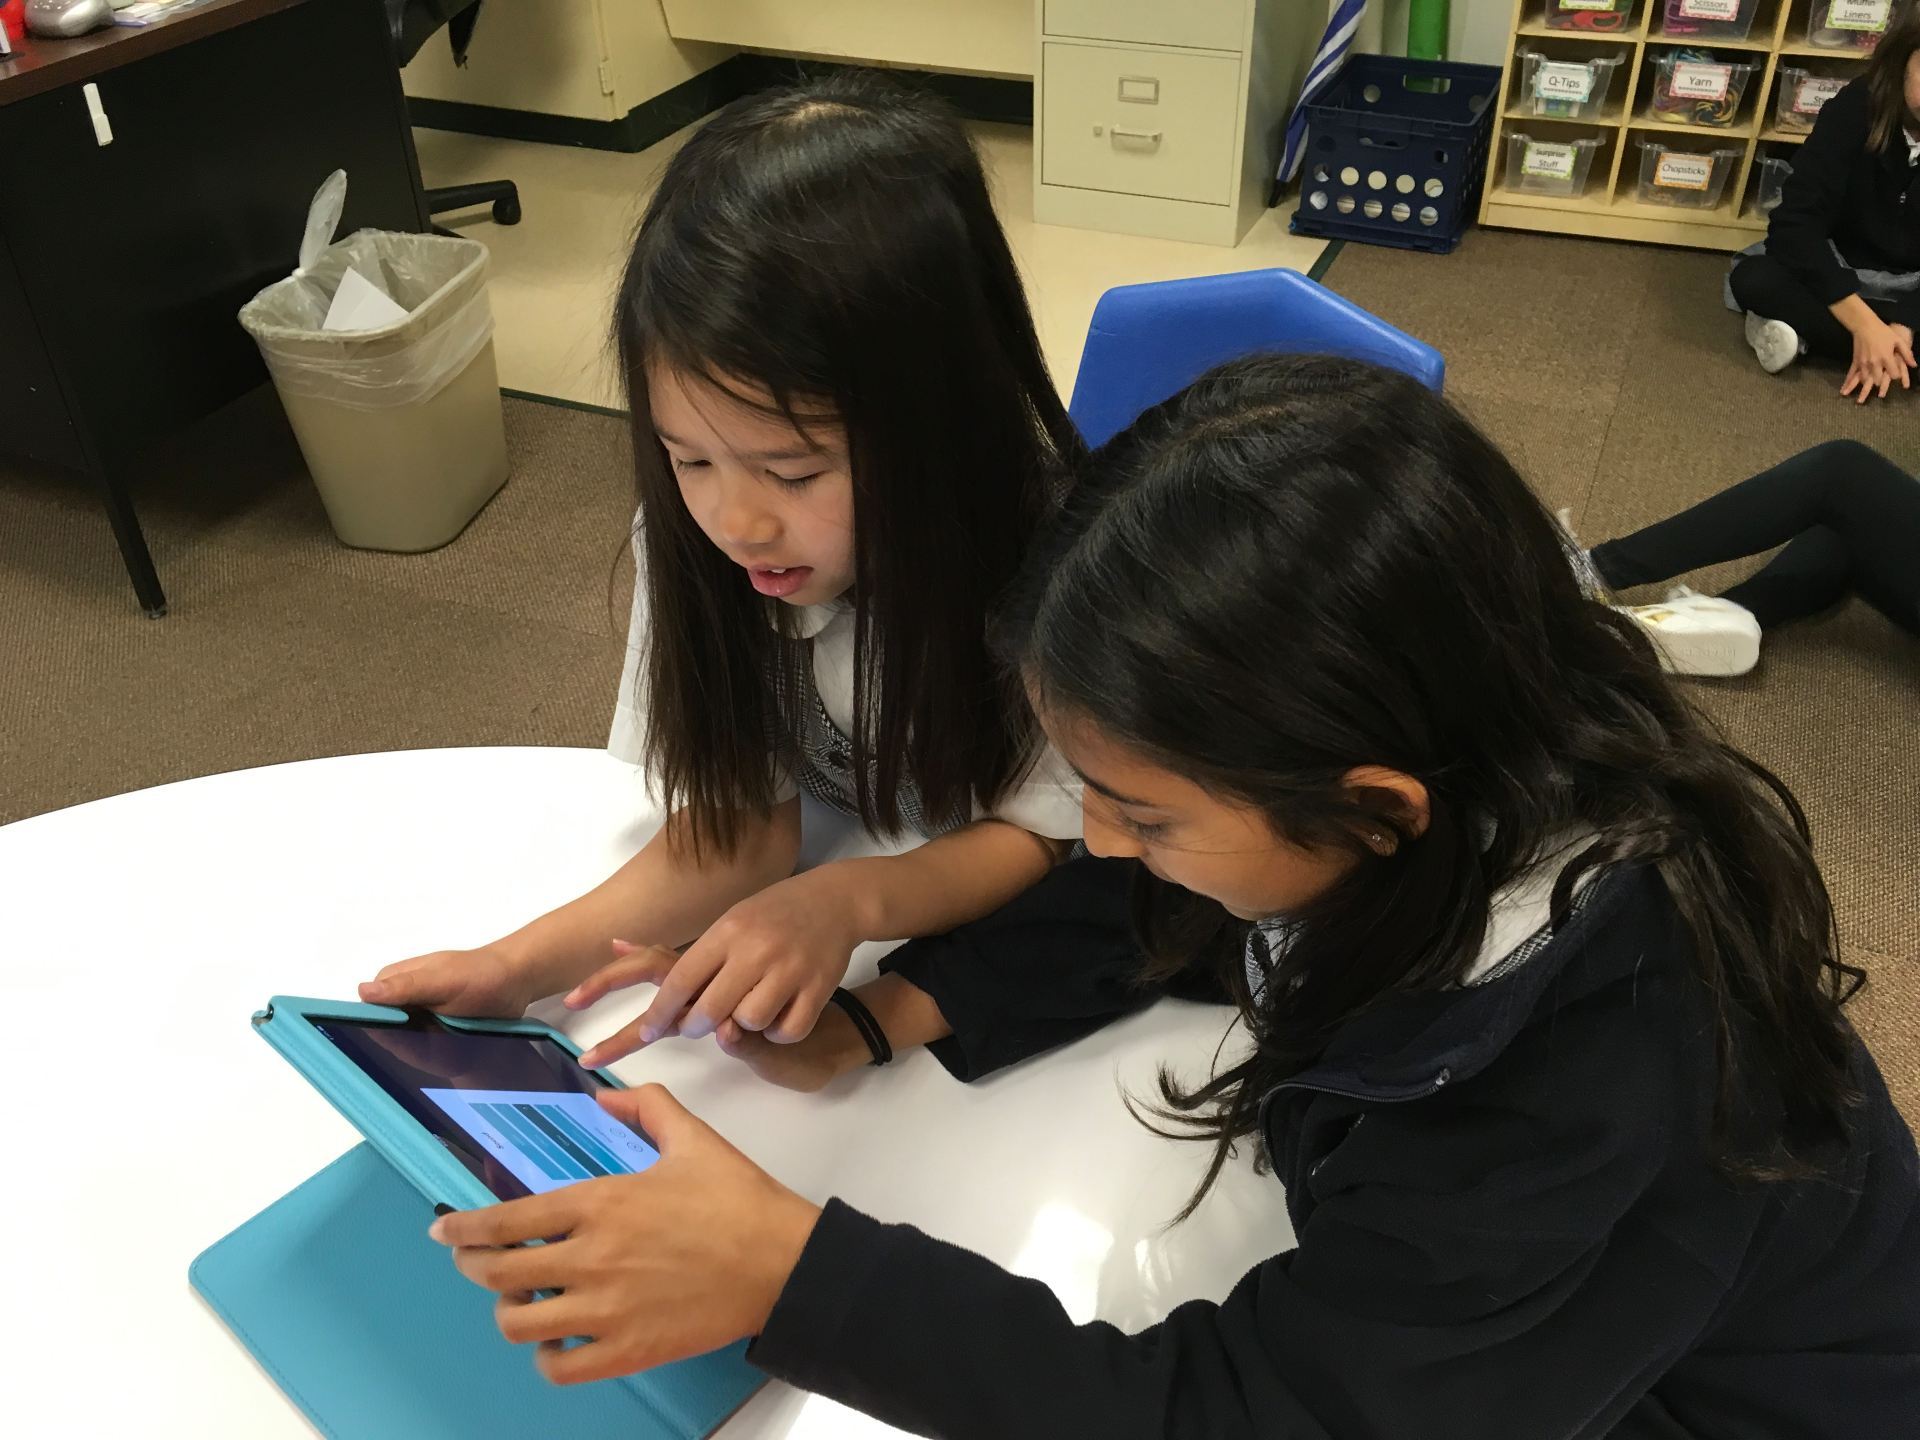
 To begin, I introduced the app to the students and told them some helpful tips. For example, it’s really important to aim the Sphero. If you don’t, Sphero won’t do what you expect! We went over the tabs at the bottom of the screen. For the first session, I suggested that they focus on movement, lights & sounds, and controls only.
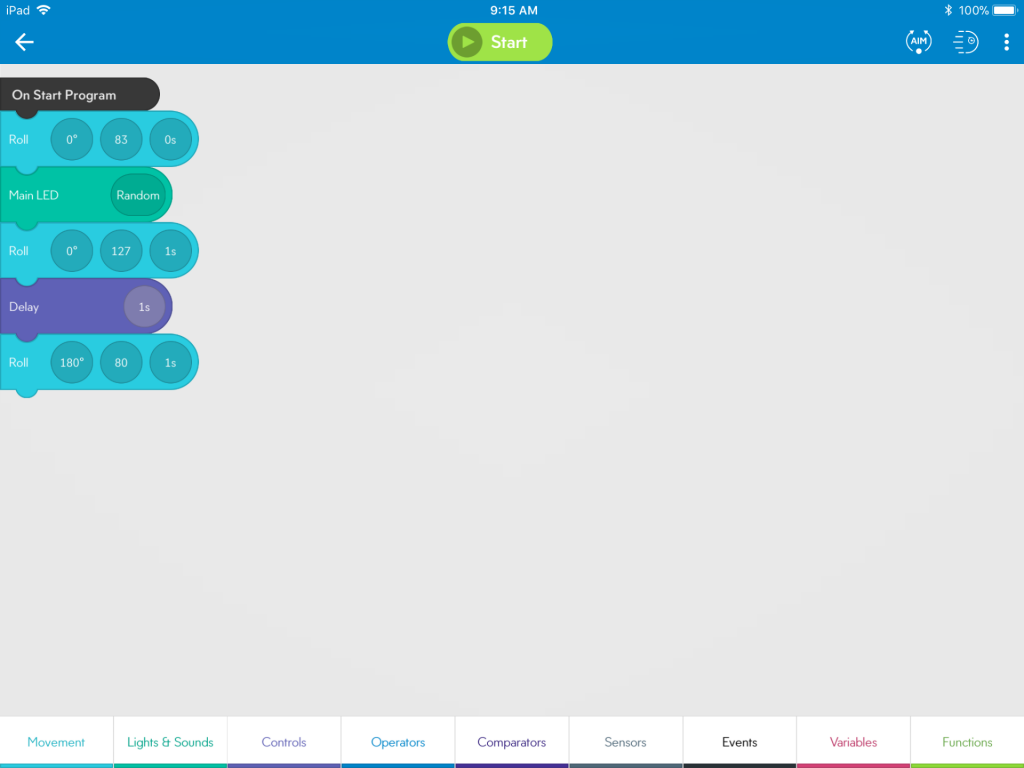
Then, I gave them the challenges:
- Make Sphero roll in a straight line away from you.
- Have Sphero roll back to you.
- Add lights as Sphero rolls.
- Add sound.
- Program Sphero to roll around the perimeter of a carpet square. (We had a great discussion about right angles for this one!)

Spreading out, the challenges began. Students experimented with speed and timing as the little balls went speeding past legs. Every once in a while, we’d hear, “Watch out for my Sphero!” Getting the robots to roll back was often figured out as they rolled behind desks and the printer!

There were questions such as, “Why didn’t the lights show up as it rolled?” That led to discussions on order of blocks – it does make a difference!

No one accomplished the last challenge of driving around the carpet square but some came really close!


As we wrapped up the lesson, several of the Sphero owners said they didn’t know about the app we used; there’s another app that just drives the robot – no programming involved. They were eager to go home to download Sphero EDU.
What did we learn?
- computational thinking
- debugging (what didn’t work as expected and why)
- problem solving
- Math!
- collaboration
Next time, we may just set up an obstacle course!
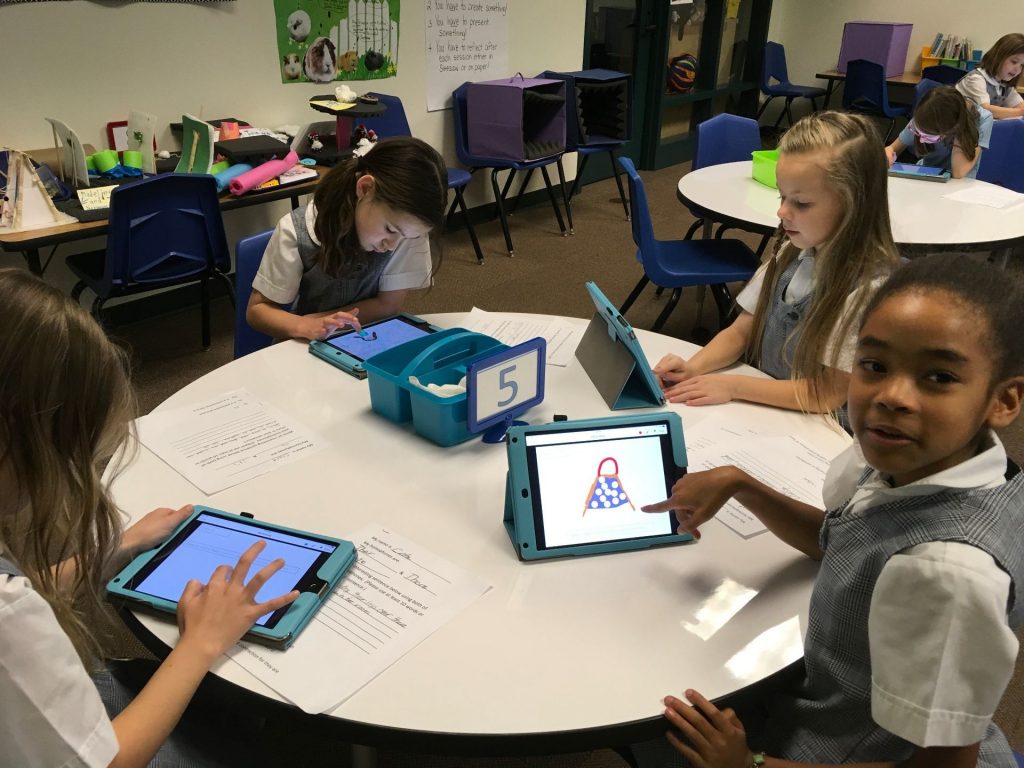
To go along with the homophone spelling unit, a second grade teacher asked if there was a digital way that we could make a homophone book. My go-to app is Book Creator and I felt like this would be perfect for the activity.
Prior to class, the students were given a set of homonyms. They were to create one sentence using all of the homonyms. On my part, I made a template in Book Creator and air dropped that to our lab iPads. When the students came in all they had to do was type in their sentence, illustrate the it, and record.
 They had so much fun creating fabulous sentences.
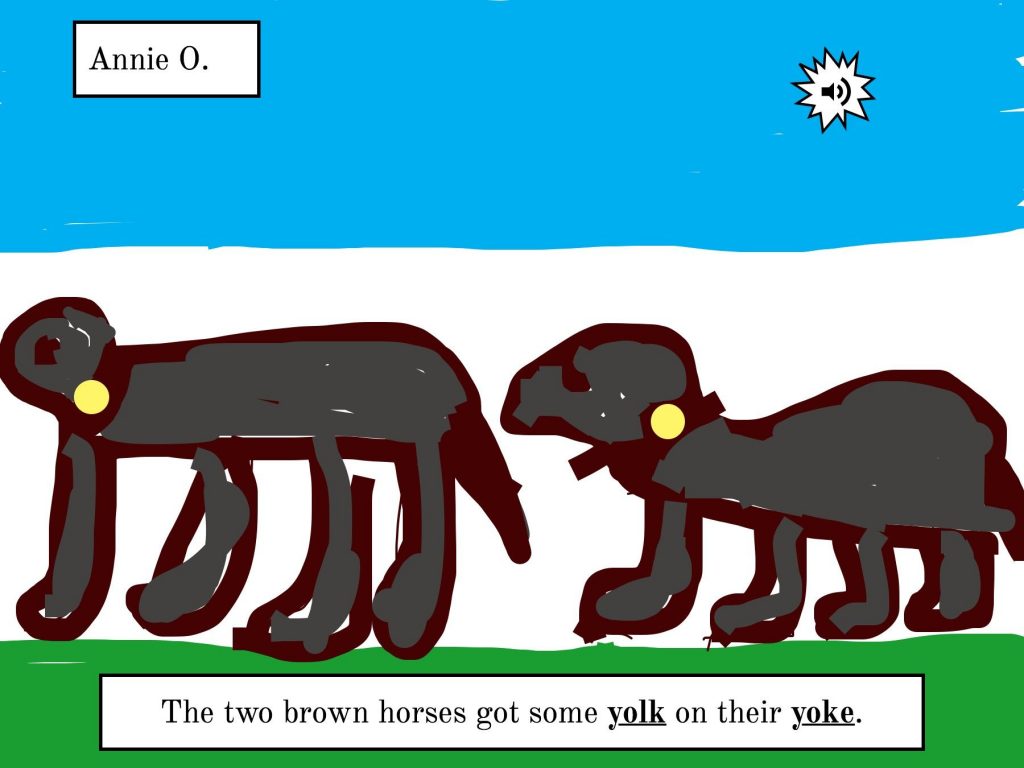
And, their illustrations were amazing! This one was funny because her sentence originally had been written as, The four brown horses got some yolk on their yoke. After drawing two and realizing how much room that took, Annie came over to ask, “May I change this to two horses!”
 After recording, the students came to me to air drop their book to my iPad so that I could create the class books. I absolutely LOVE working with Book Creator – easy to use and the students can do just about anything they want with all of its features. There are many others apps that we could use but Book Creator worked out perfectly for this project.
 The teachers and I were very proud of how the books turned out. The students did such a great job with their illustrations and sentences.
Below are links to the books. These were saved in two formats – as an ePub book to be read in iBooks and as a video. We had so many students absent with the flu that not all children were able to make a page.
Directions to Download to iBooks:
- Click on the book link while on an iOS device (iPhone or iPad). It will not work on a Mac or PC.
- Choose Download.
- Choose Open in iBooks.
Mrs. Garcia’s Book and Video
Mrs. Shapard’s Book and Video
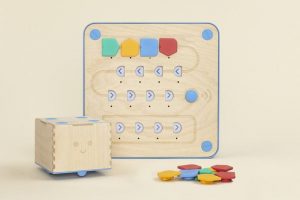 Cubetto, a robot created by Primo Toys, is a cube-shaped robot that is programmed by adding shapes to a control board. This description is from their web site: “Meet Cubetto: the friendly wooden robot toy for kids aged 3-7, chosen by 20000 parents & teachers to guide kids on coding adventures without screens.“
Having discovered Cubetto from another educator on Twitter, I started researching it and decided this would be an excellent tool for teaching the basics of coding to our younger students. I shared the information with our Chief Technology Officer and our Middle and Upper School programming instructors who were equally excited. Our CTO even found some extra funds to purchase one!
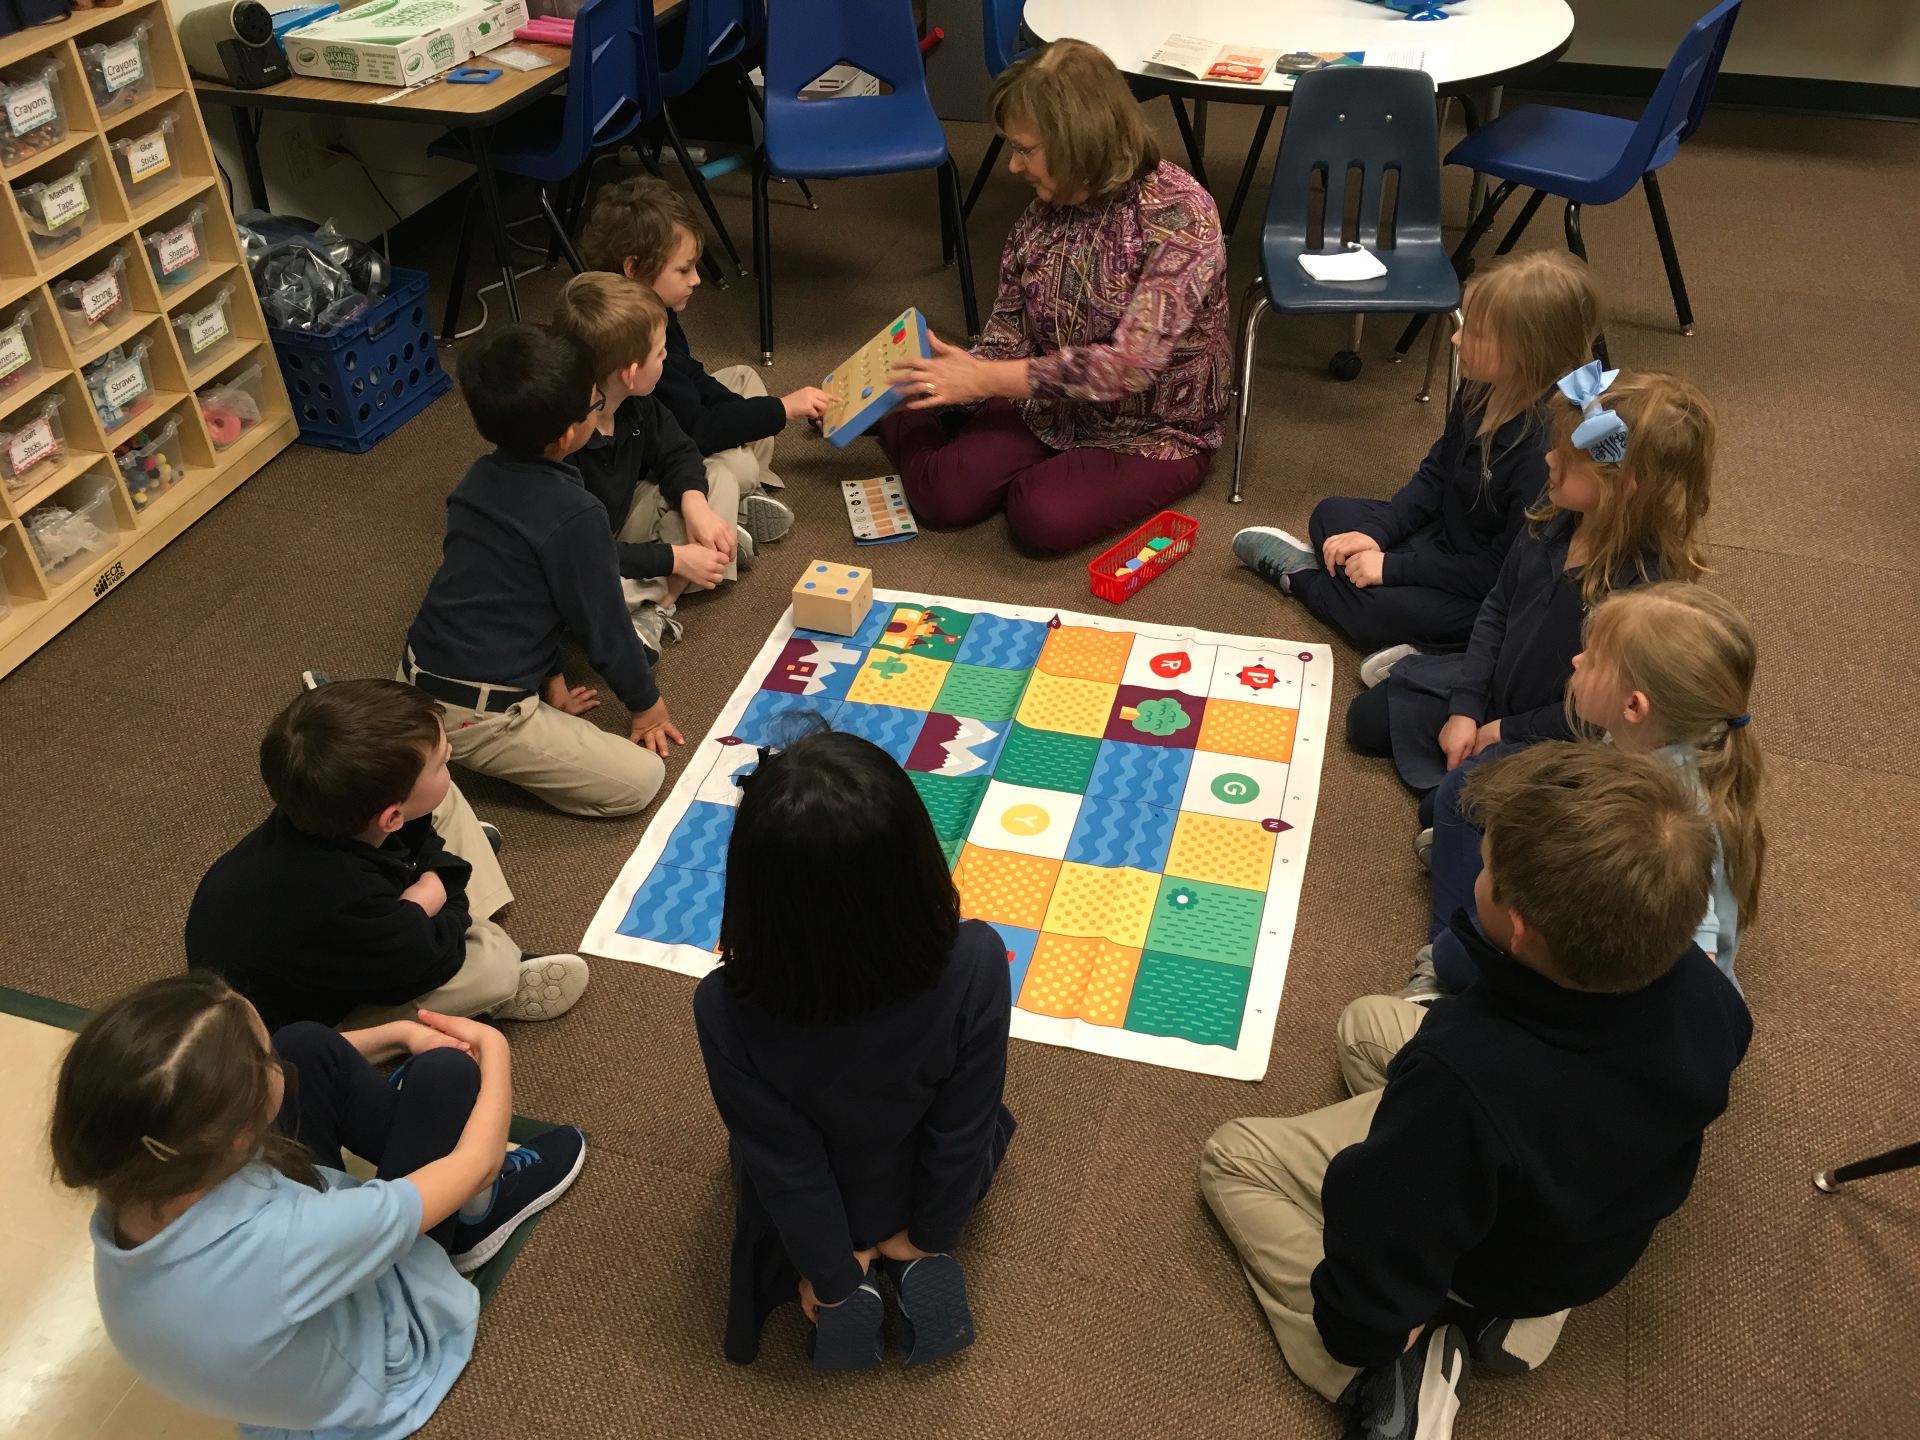
A couple days later, Cubetto was introduced to our Kinder students. As you can see, the mats are small. There is no way you can fit an entire class around one so I asked the teachers to split their class into two groups each. One group worked on the Lego Wall while the other explored Cubetto. We switched after about 15 minutes.
 We started by discussing the mat – geographical features, compass rose. It turned out that the students had spent the week learning about maps so this fit perfectly into their curriculum. The blocks were introduced by letting the students try them one a time to see how the robot responded. The function block brought puzzled expressions! By itself, of course, it does nothing. To a young child, the first reaction is that it doesn’t work! Later, they were able to see its benefits.
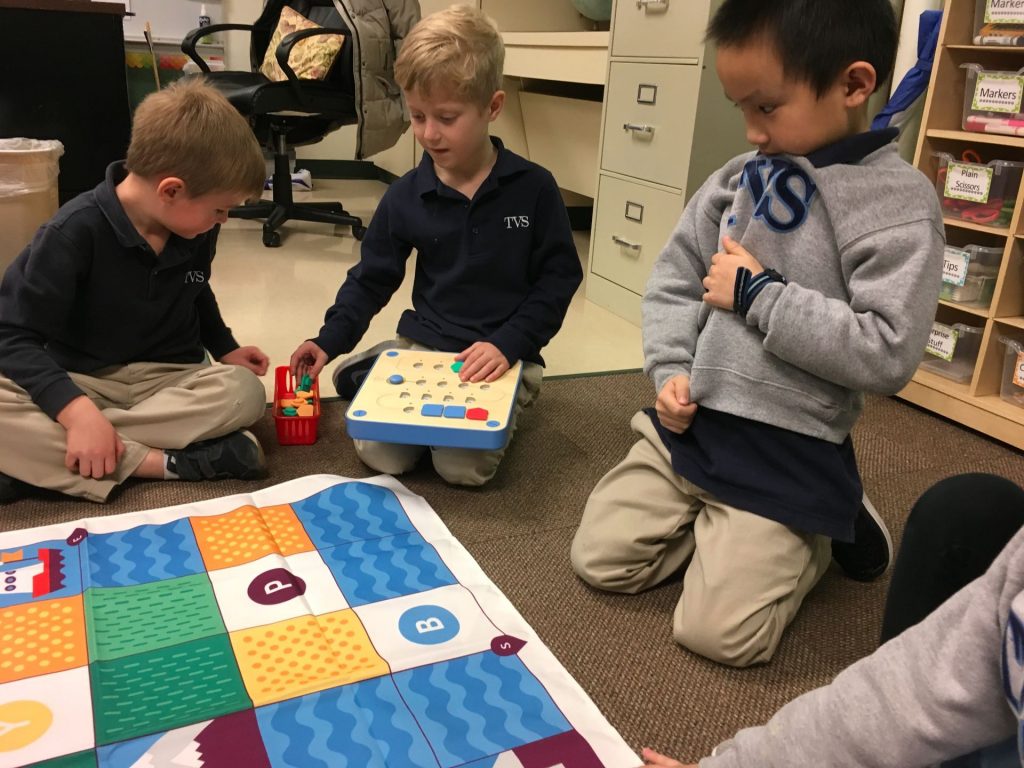 Then I gave a challenge – “Cubetto wants to travel to the mountains. How do we program it to get there?” As the control board was passed around to each child, we talked through blocks to choose. Then, we pointed to each block as Cubetto followed the commands. Of course, there were some “bugs” to work out which produces great problem-solving. Using the function blocks is necessary because there aren’t enough “go straight” blocks. That’s a hard concept for little ones but it will come with practice. You can see in the picture below that we were using the function blocks to represent 4 go straight blocks.
 Everyone worked together quite well. A couple of the students really caught on quickly; you could practically see their analytical minds working! Some children were hesitant to make a decision about the type of block to insert but classmates were eager to offer advice and encouragement.
During the last group, it seemed to be taking longer than any other group to go around the circle so that everyone had a turn to add a block. Turned out, this group was actually larger than the first – one little boy apparently enjoyed Cubetto so much that, instead of going to the Lego wall, he just joined the new group to work with the robot again!
Judging from the reactions of the students, the Cubetto robot was a HUGE hit!
What I Like about Cubetto:
- A lot of thought went into the making of Cubetto which means all types of learning is going on – directions, map skills, basic coding skills including function, geography, math.
- Easy to use and perfect for small hands.
- The hands-on nature of Cubetto provides excellent visual learning for students as they explore computational thinking.
What I Wish:
- The basic kit comes with only one map and limited coding blocks (directions and 2 function). It would have been nice to have more blocks, including the logic ones.
- The kits are expensive! You can buy extra mats and blocks, but at $29 each, that adds up.
- For a classroom you will need at least 2 kits because only 6 or 7 students can comfortably around the mats. Three or four is even better but that gets expensive!
- Cubetto is a very slow-moving robot compared to others I have. A bit faster would have been nice but we can certainly handle the slowness!
Would I Buy it Again?
YES!! This is an excellent tool for helping young children understand the concepts of coding!
I love incorporating literacy skills into lab activities and bringing in technology is a fun and effective way to make predictions.
 This year, I discovered the book, What’s Under the Bed, by Joe Fenton. It’s a quick, rhyming book about a boy named Fred who is trying to go to sleep but hears noises under his bed. He finally decides to check it out: “One, Two, Three, Four . . . It’s time to look on the floor!” And, that’s where I stopped!
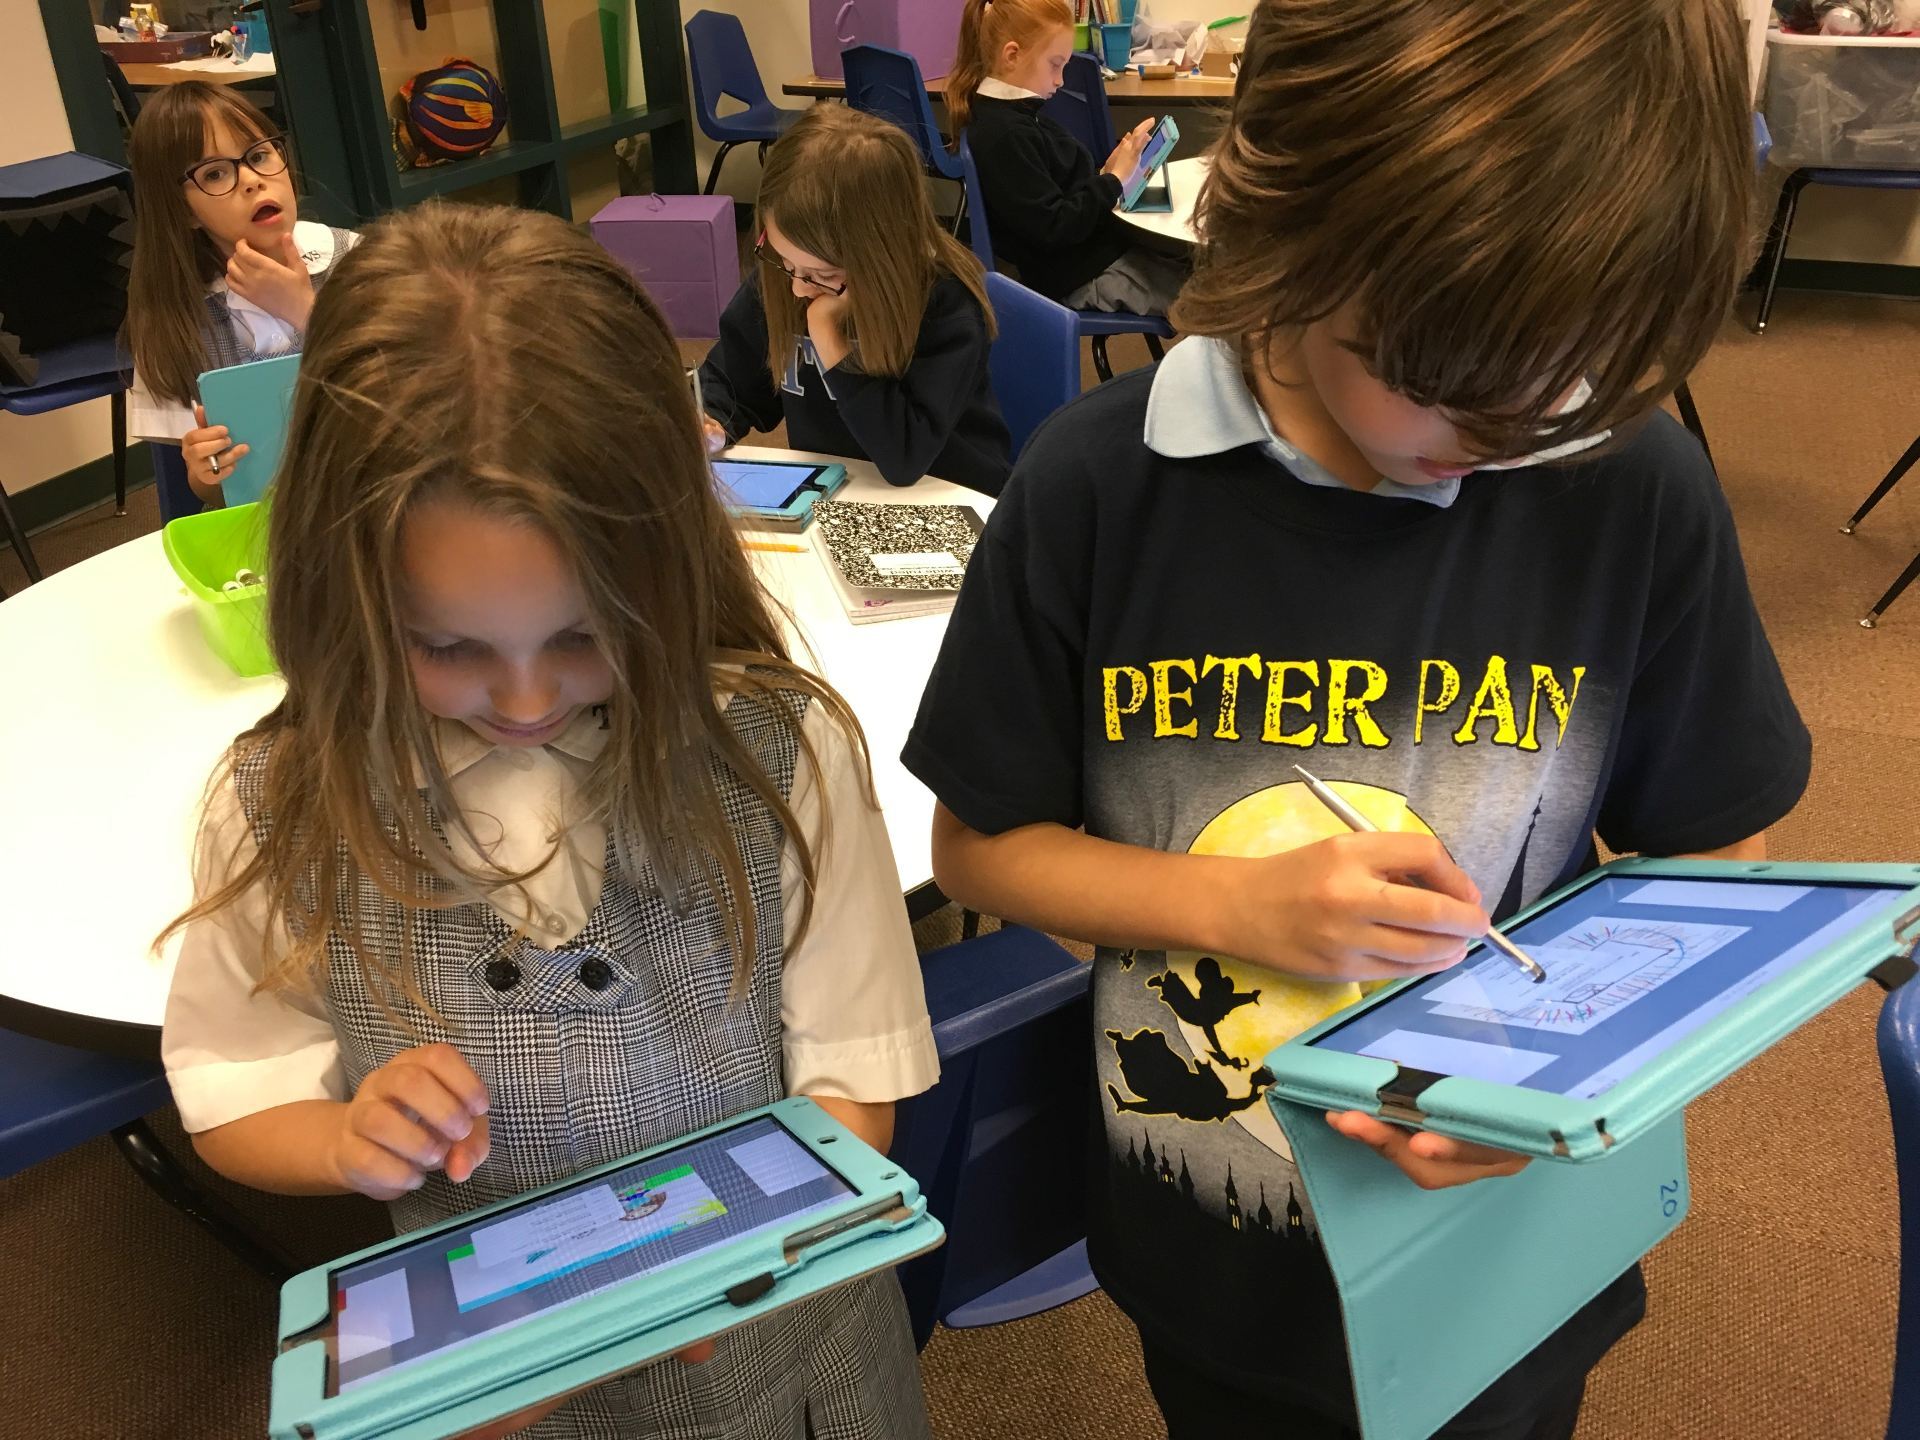
Before class, I created a template and air dropped it to our shared iPads. When the students arrived, we worked together to add a name to their page and set up the drawing feature. After doing some predicting by discussing the title, I told the children they could illustrate as I read. We read till we reached the page where Fred was about to look under his bed. At that point, the directions were to:
- finish illustrating your prediction,
- write your prediction, and
- record your prediction.
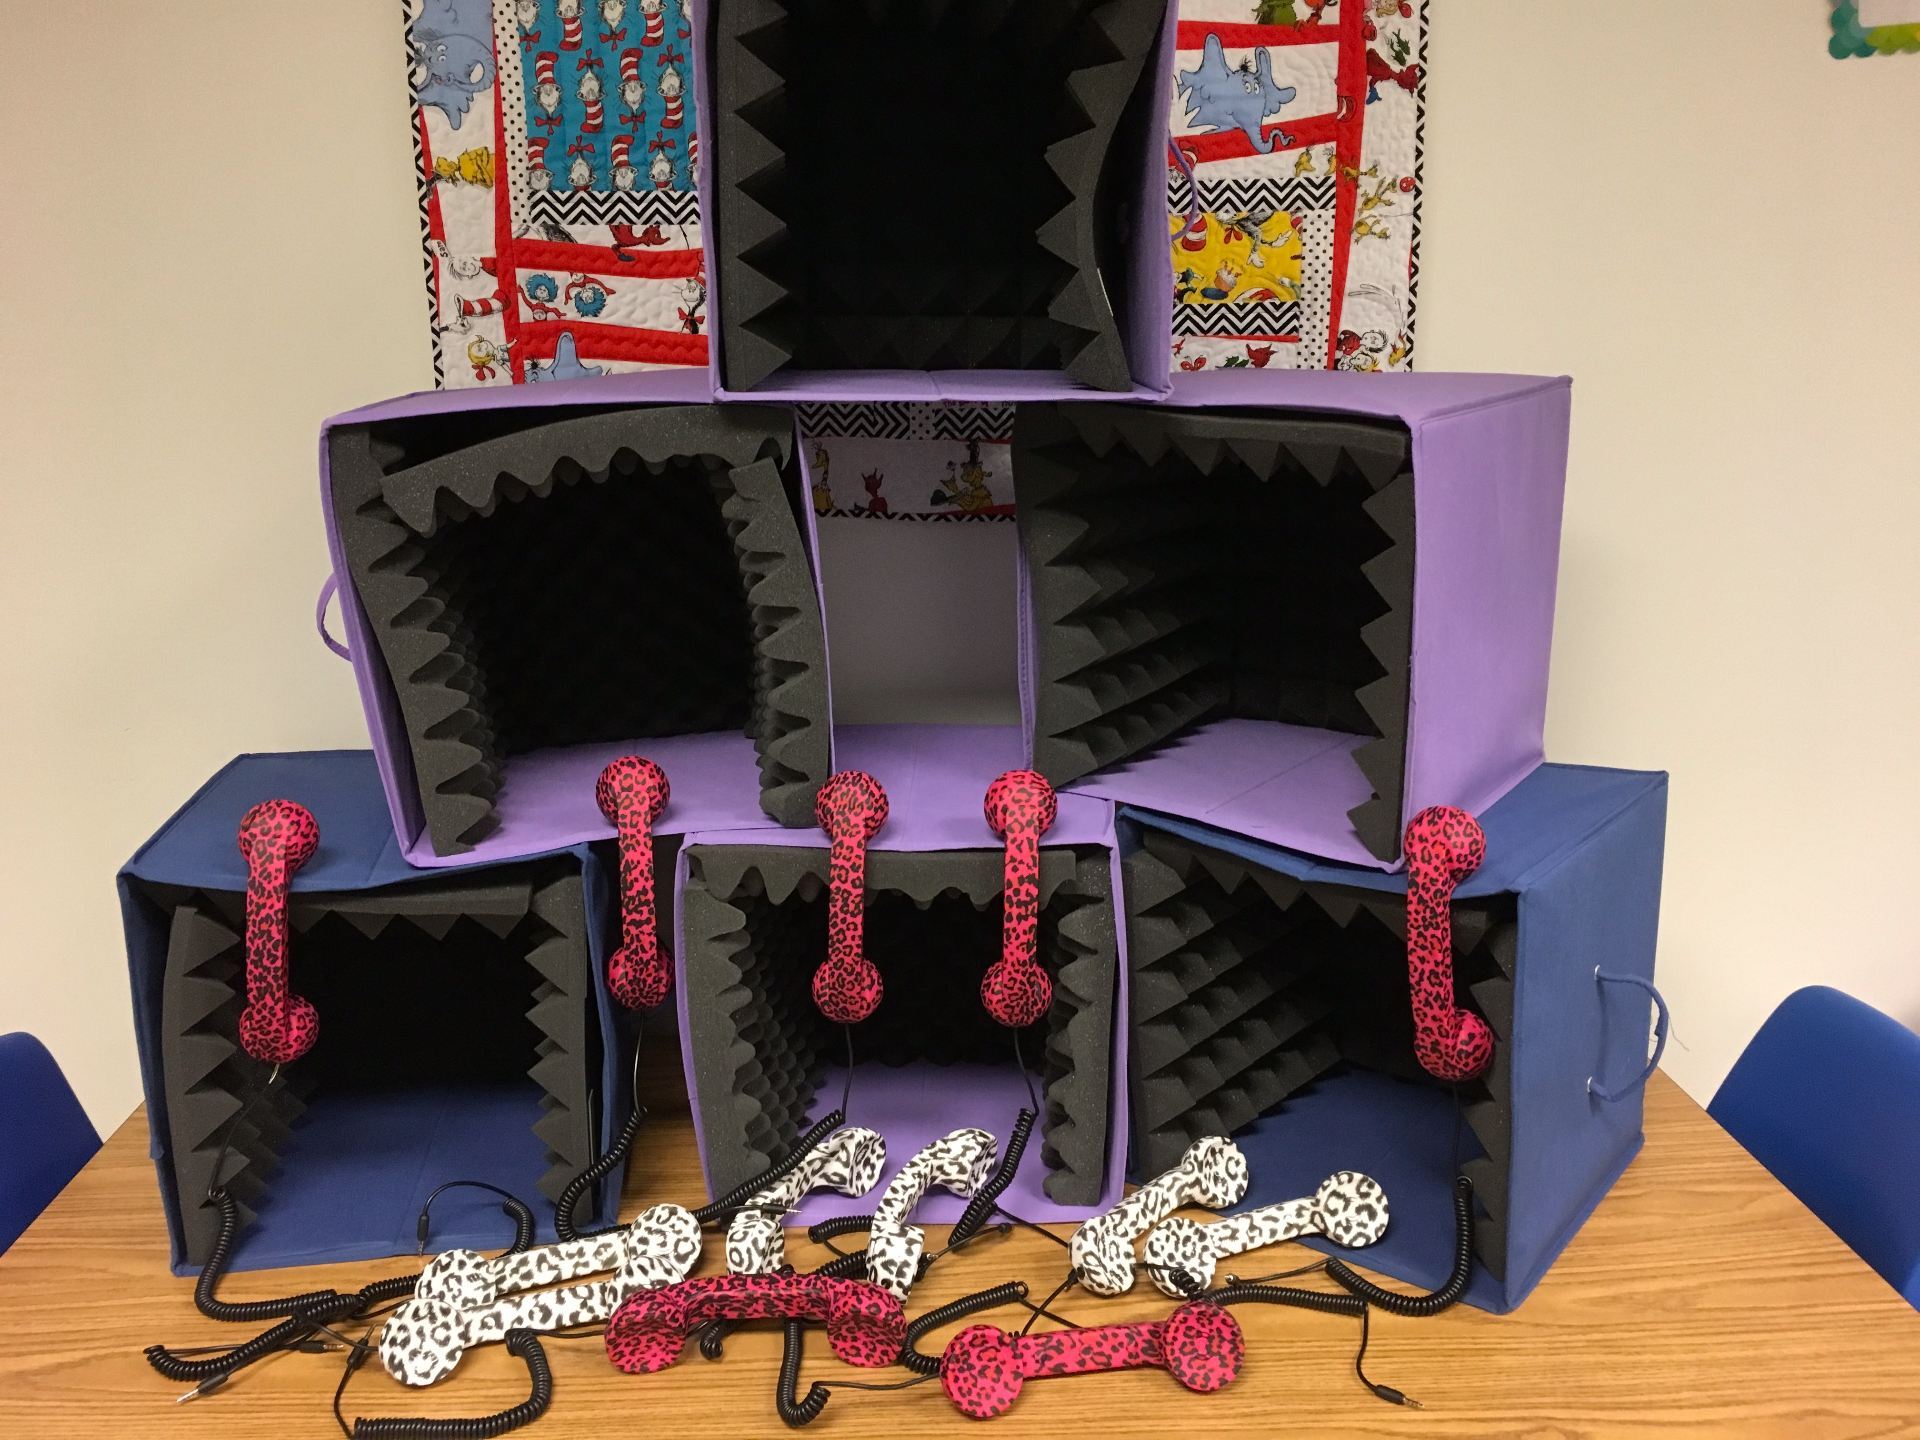
Instead of giving all the instructions at once, the students drew for about ten minutes. As they began to wrap up the drawings, I showed how to record. Soon all were off to various corners of the room, using our “telephone’ mics or the recording cubes.

When everyone had completed their one-page book and air-dropped it to me, we finished reading. What is great about this book is that there are visual clues to what is under the bed. It’s several pages back and you have to watch to catch it. This was a great way to discuss how important it is to look at ALL clues – in the text as well as in the illustrations!
Making Predictions with Second Graders from Trinity Valley School on Vimeo.
The class ebooks can be read on an iOS device (iPad or iPhone) by following the directions below. This eBook will NOT work properly on any other device (i.e. Kindle, Android tablet or phone). However, the books have also been saved as a video that can be seen on any computer or mobile device.
Instructions for Viewing Books and Videos:
If you are downloading the ePub books, remember that you need to click on the book link while on an iPad or iPhone that has the iBooks app. Choose download and open in iBooks.
Click on the word “book” or “video” to view the projects.
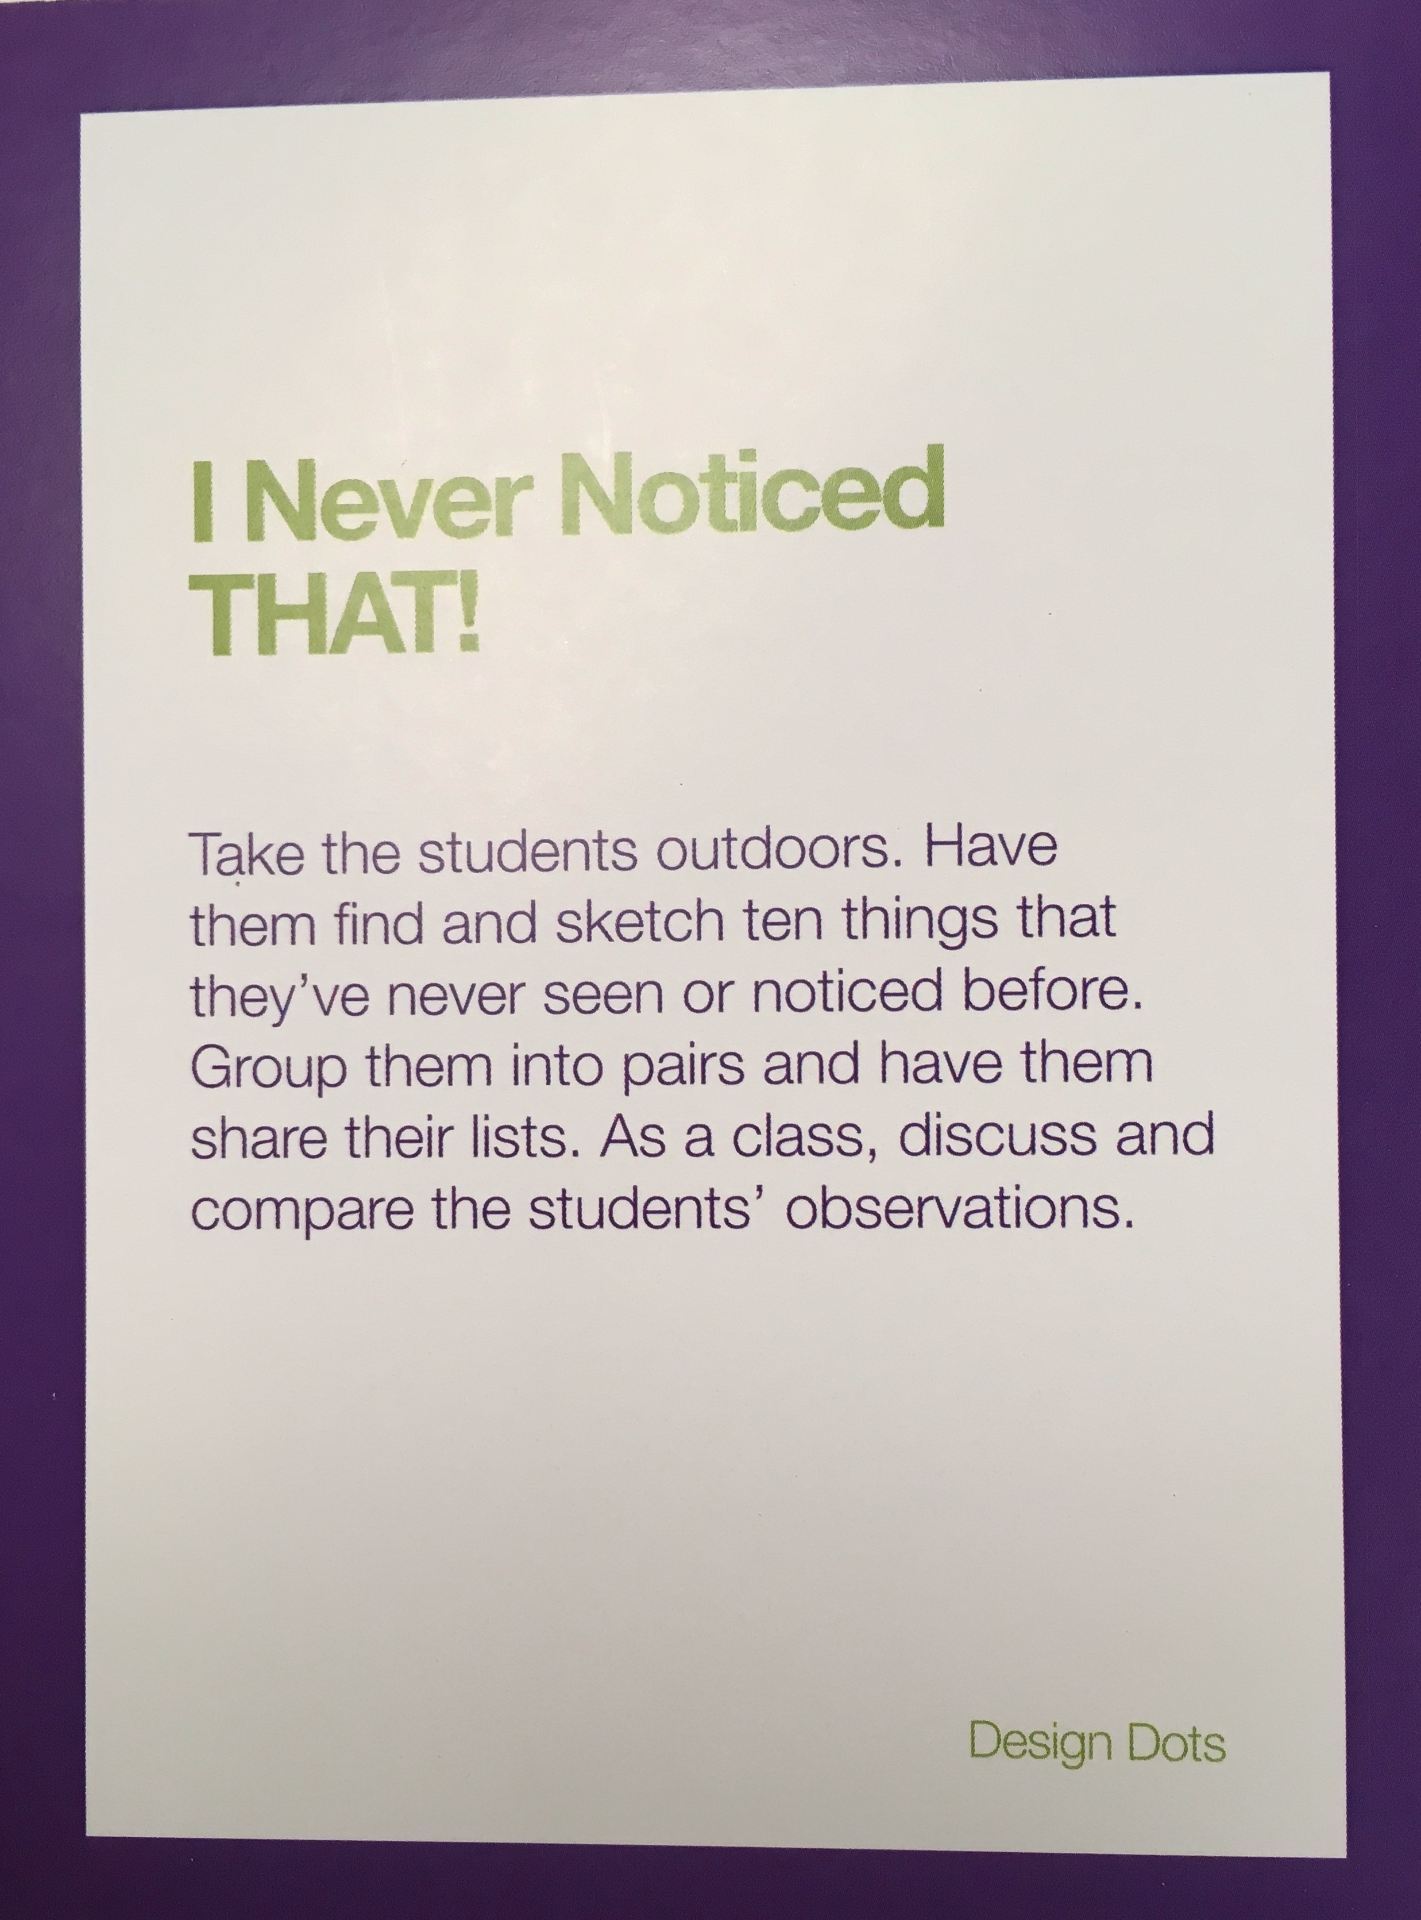
Recently, I purchased Design Dots from Ellen Deutscher. These are Design Thinking activities for grades K – 12.
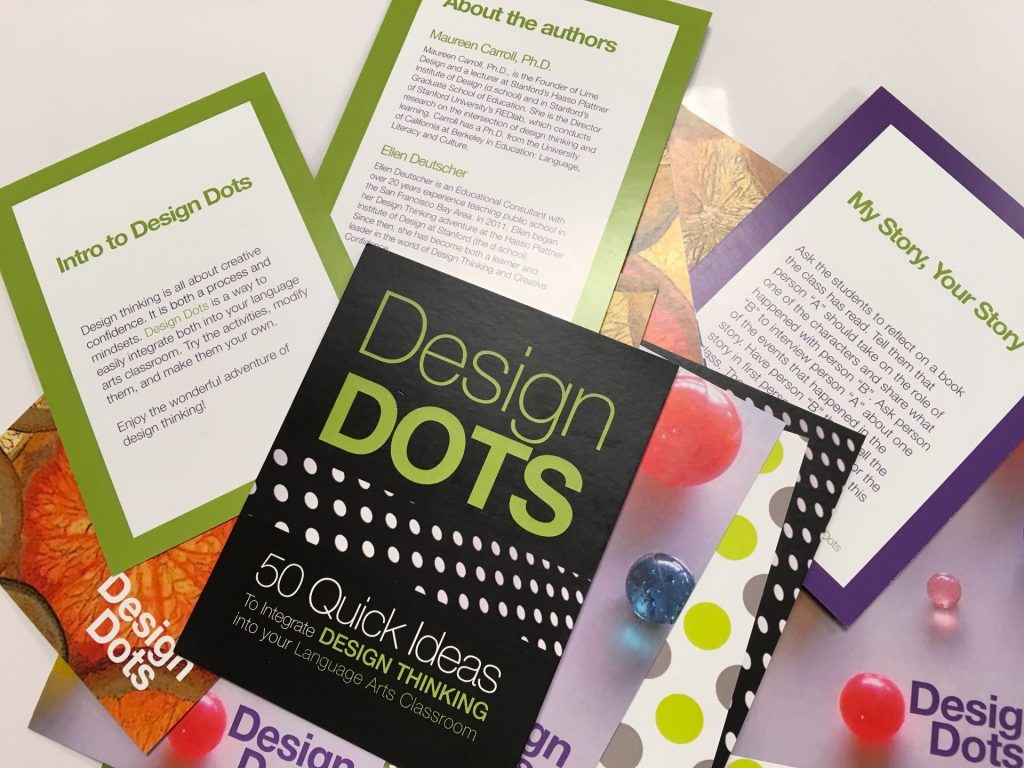
For this activity, I chose “I Never Noticed That!”

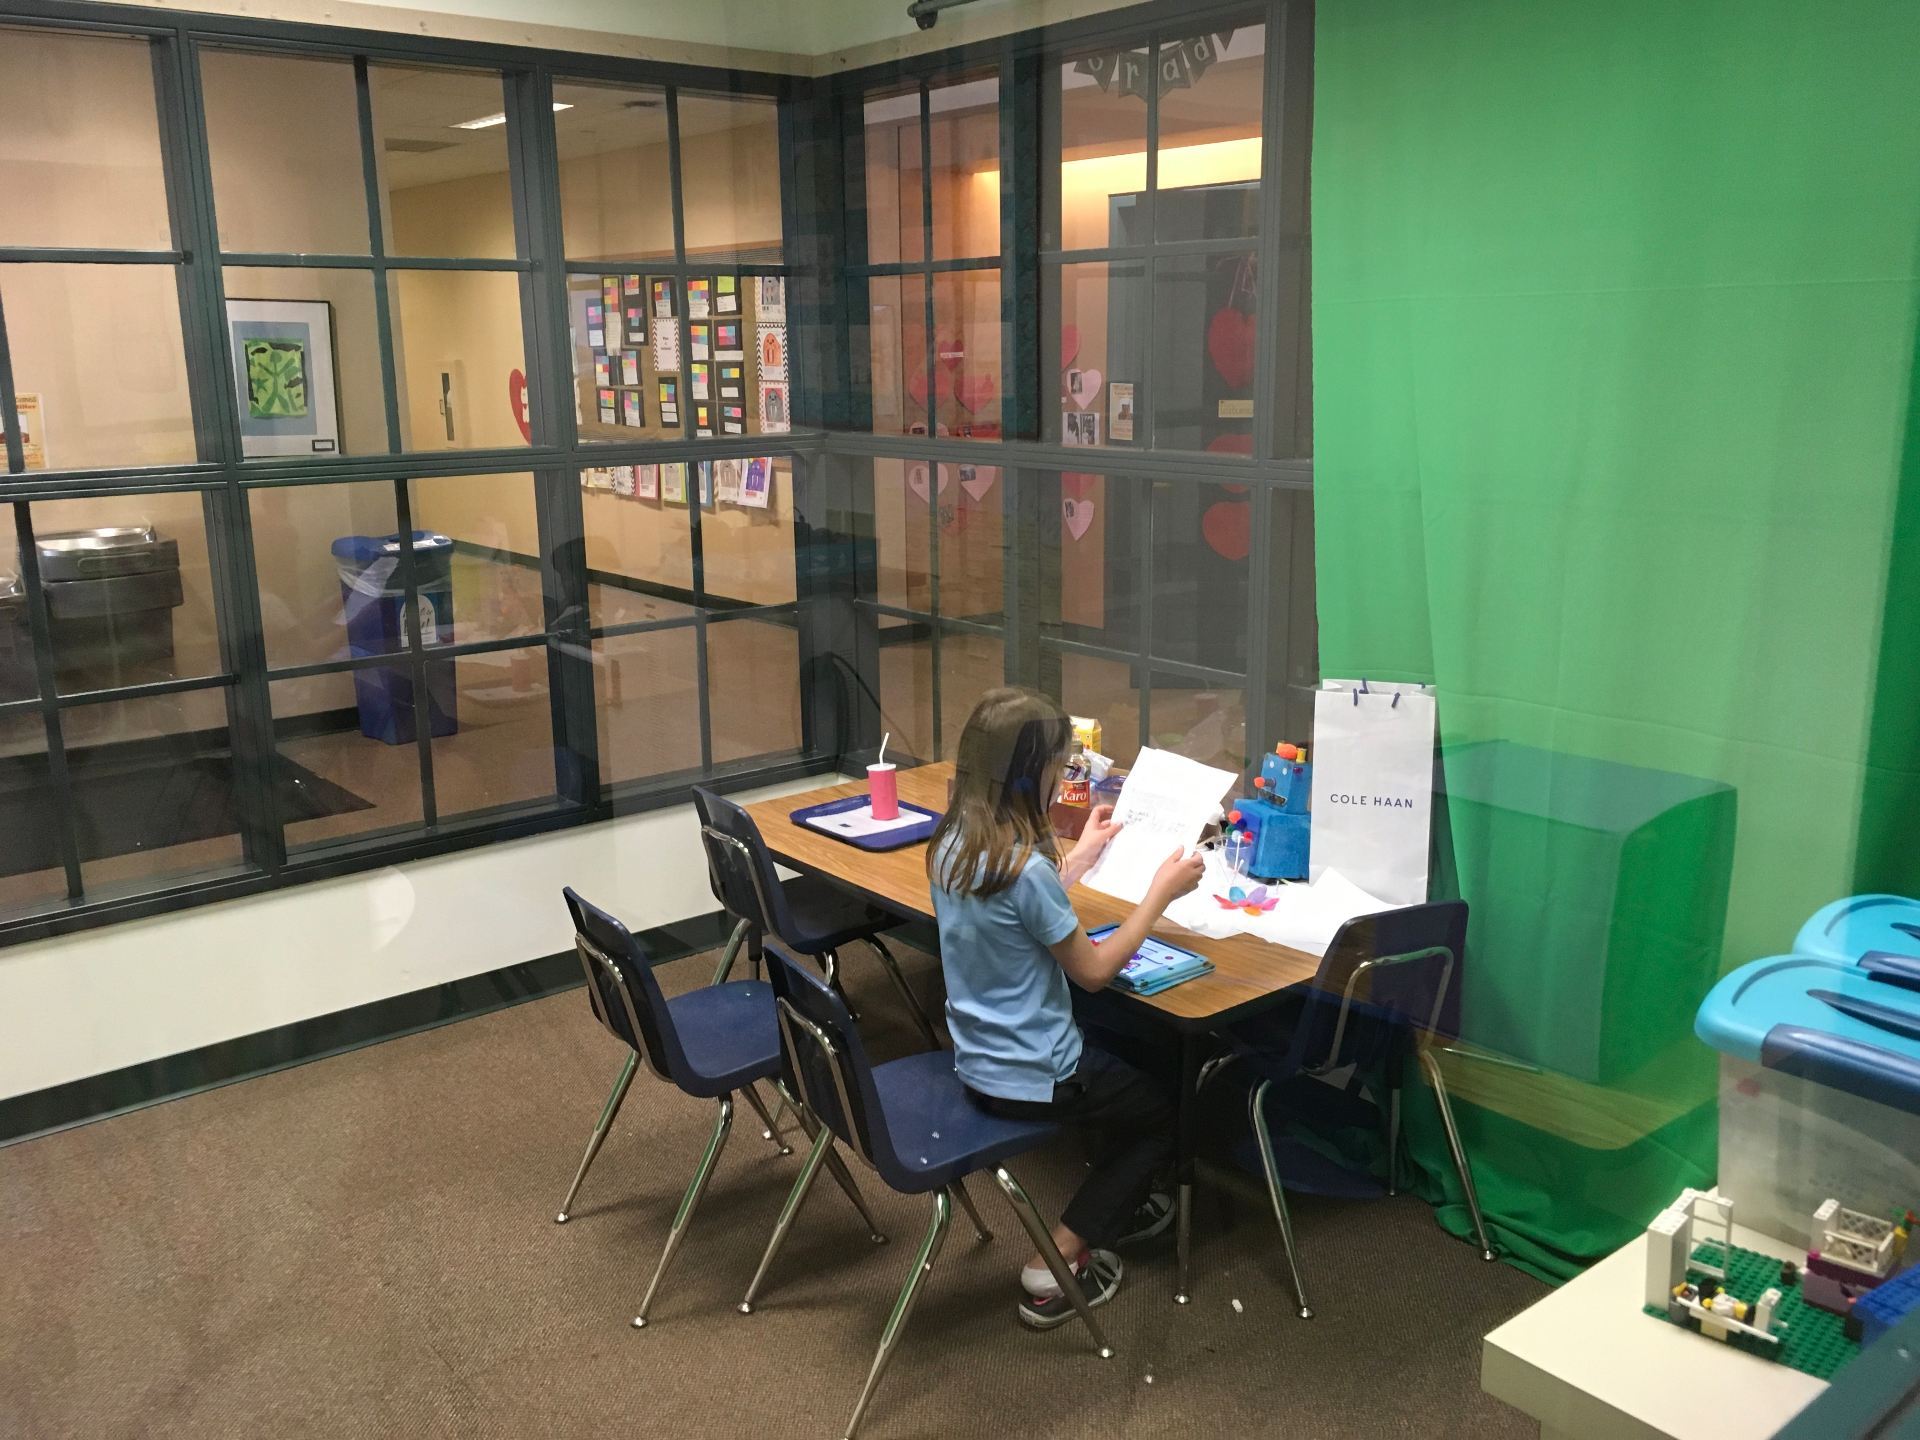
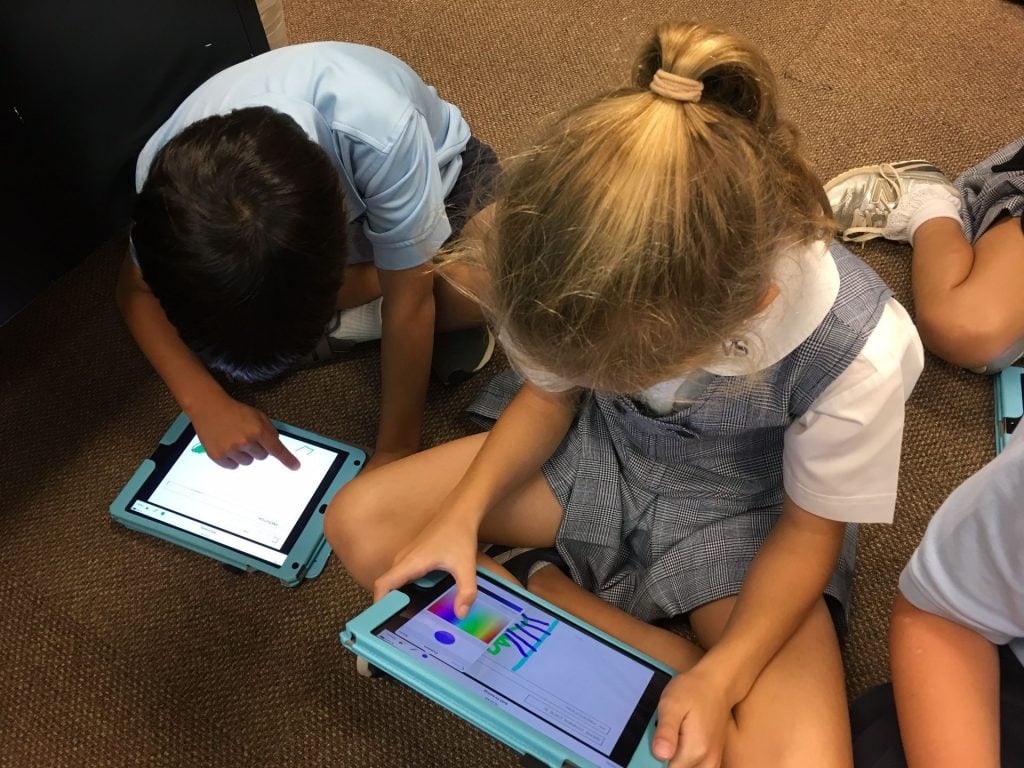
I adapted this to include technology by having students search for 6 to 8 items that they had not noticed before OR that they might have seen but had questions about. They were to photograph these, make a video that included their questions or “I wonder” statements, and post to their Seesaw (digital portfolio) journal.
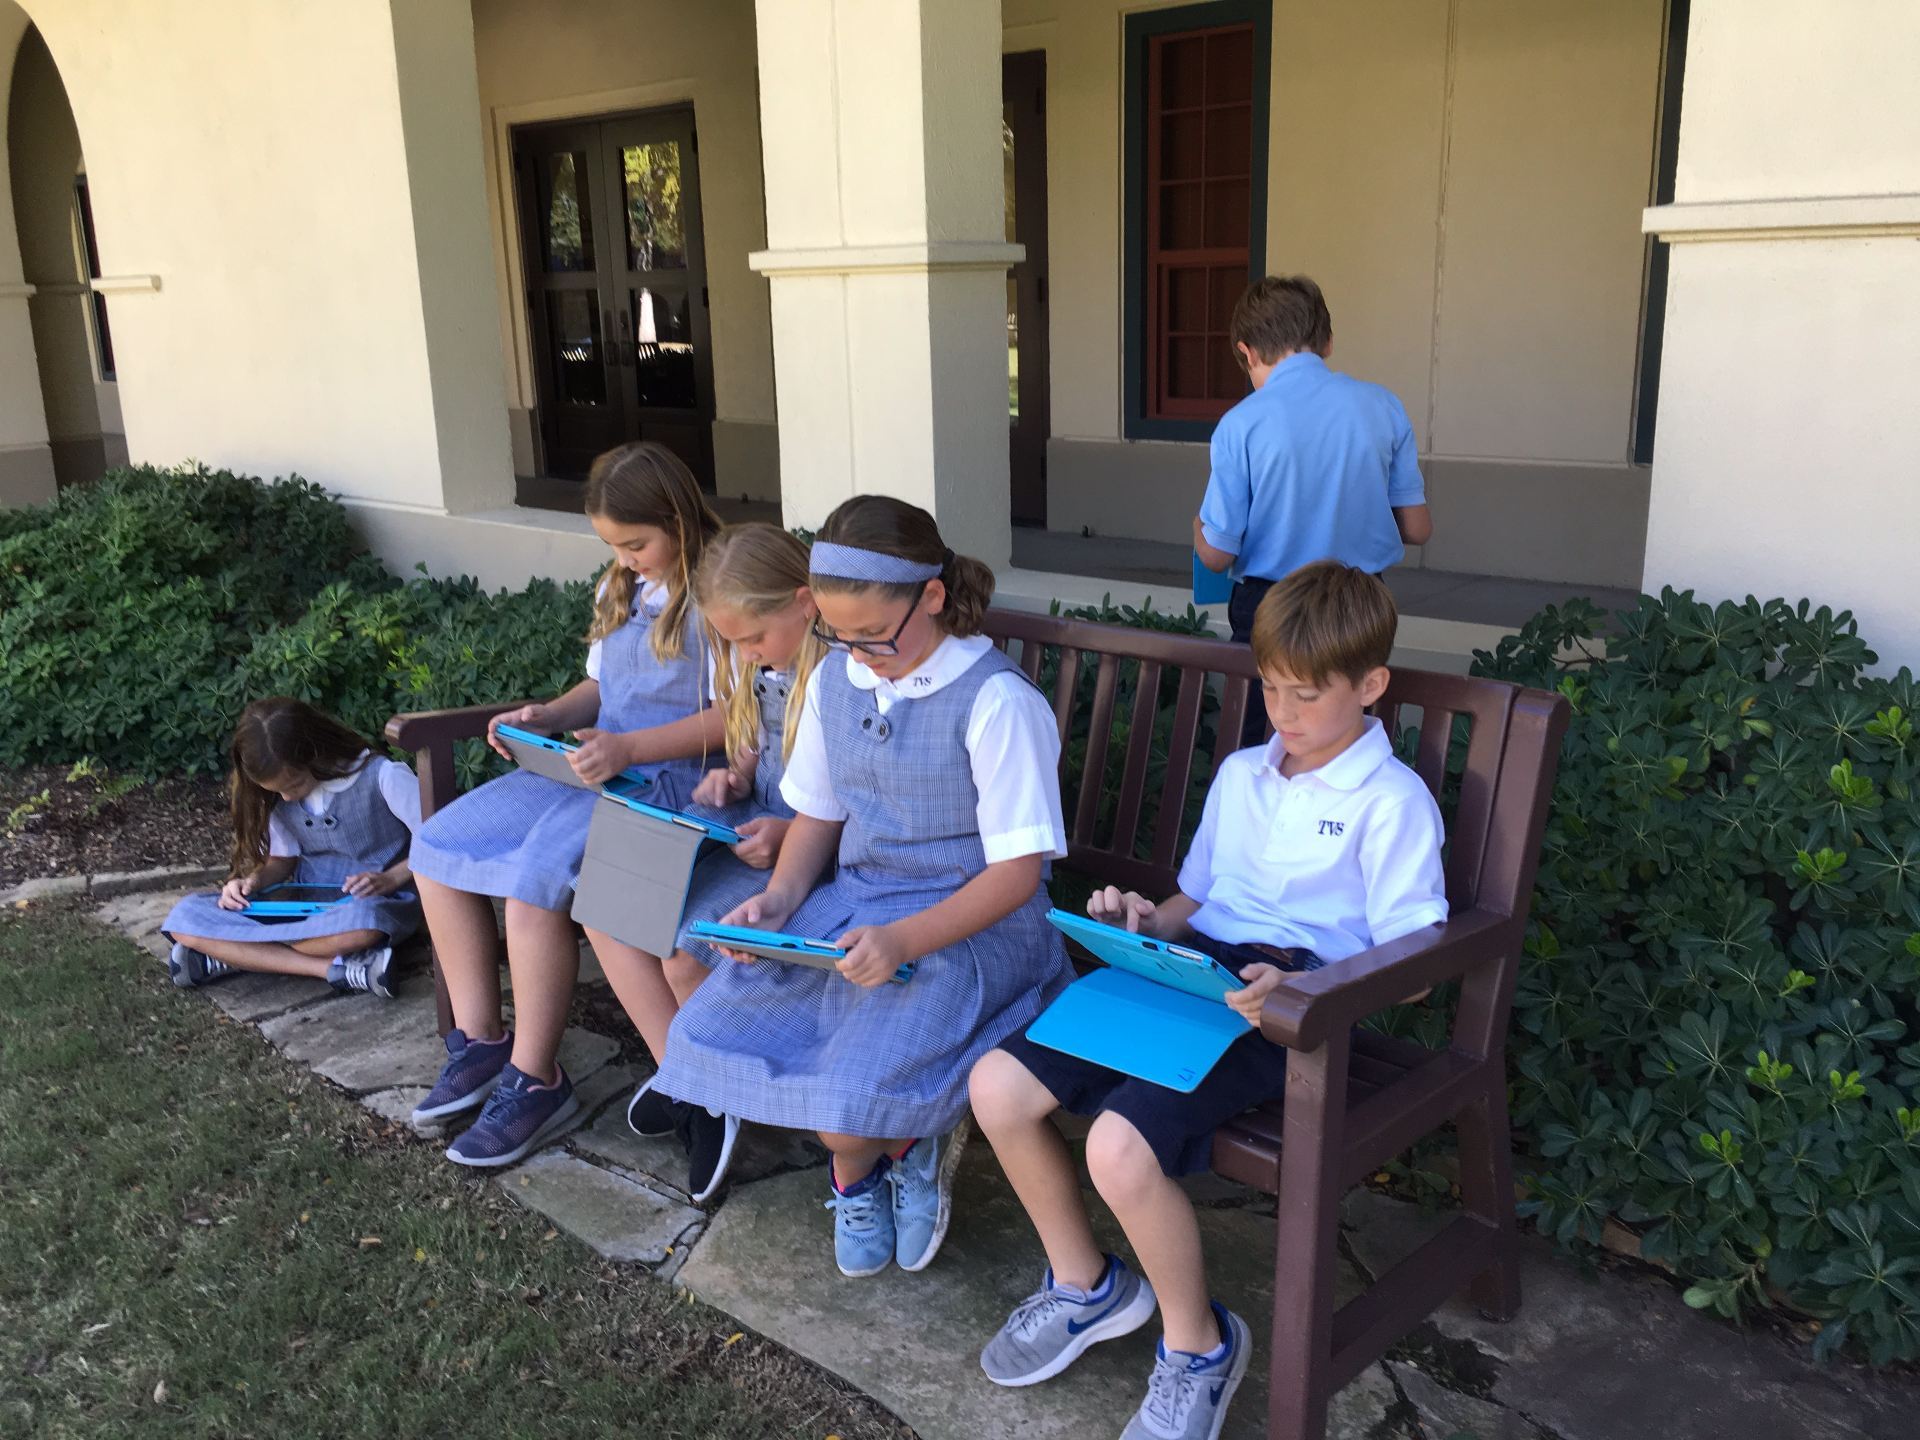
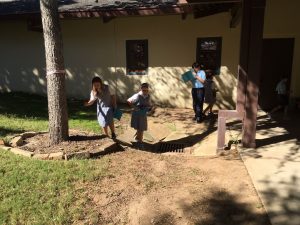
Telling the students this was an individual search for the unusual, we headed outside. With about 10 minutes to take 6 to 8 photos, they wandered around, searching for just the right object.
Once they completed the search, they were to start cropping their images. Many discovered the new feature in iOS 11 that allows the user to draw on photos.

I’d thought we could complete taking the photos, cropping, and uploading to Shadow PuppetEDU in one 40 minute session. It turned out that the group had such a good time exploring things they’d never seen before, that we were lucky to finish just the photography and the cropping! But, the activity was designed to focus on observation skills so that was fine.
The following day, I introduced the free Shadow PuppetEDU app; a video-creation app in which narration, text, and music can be added. (*Be sure to get the EDU version of Shadow Puppet which is licensed for educational use.) This app works seamlessly with the Seesaw app which we are now using in the Lower School, so I had students sign in to that before we started working with Puppet EDU.
We then worked together to add photos. I demonstrated how to record, save, tap the Seesaw icon, and automatically upload to their Seesaw journal. Before dismissing the students, I shared expectations: They were to ask thoughtful questions about the objects they found OR create “I Wonder” statements.

Below are some sample recordings.
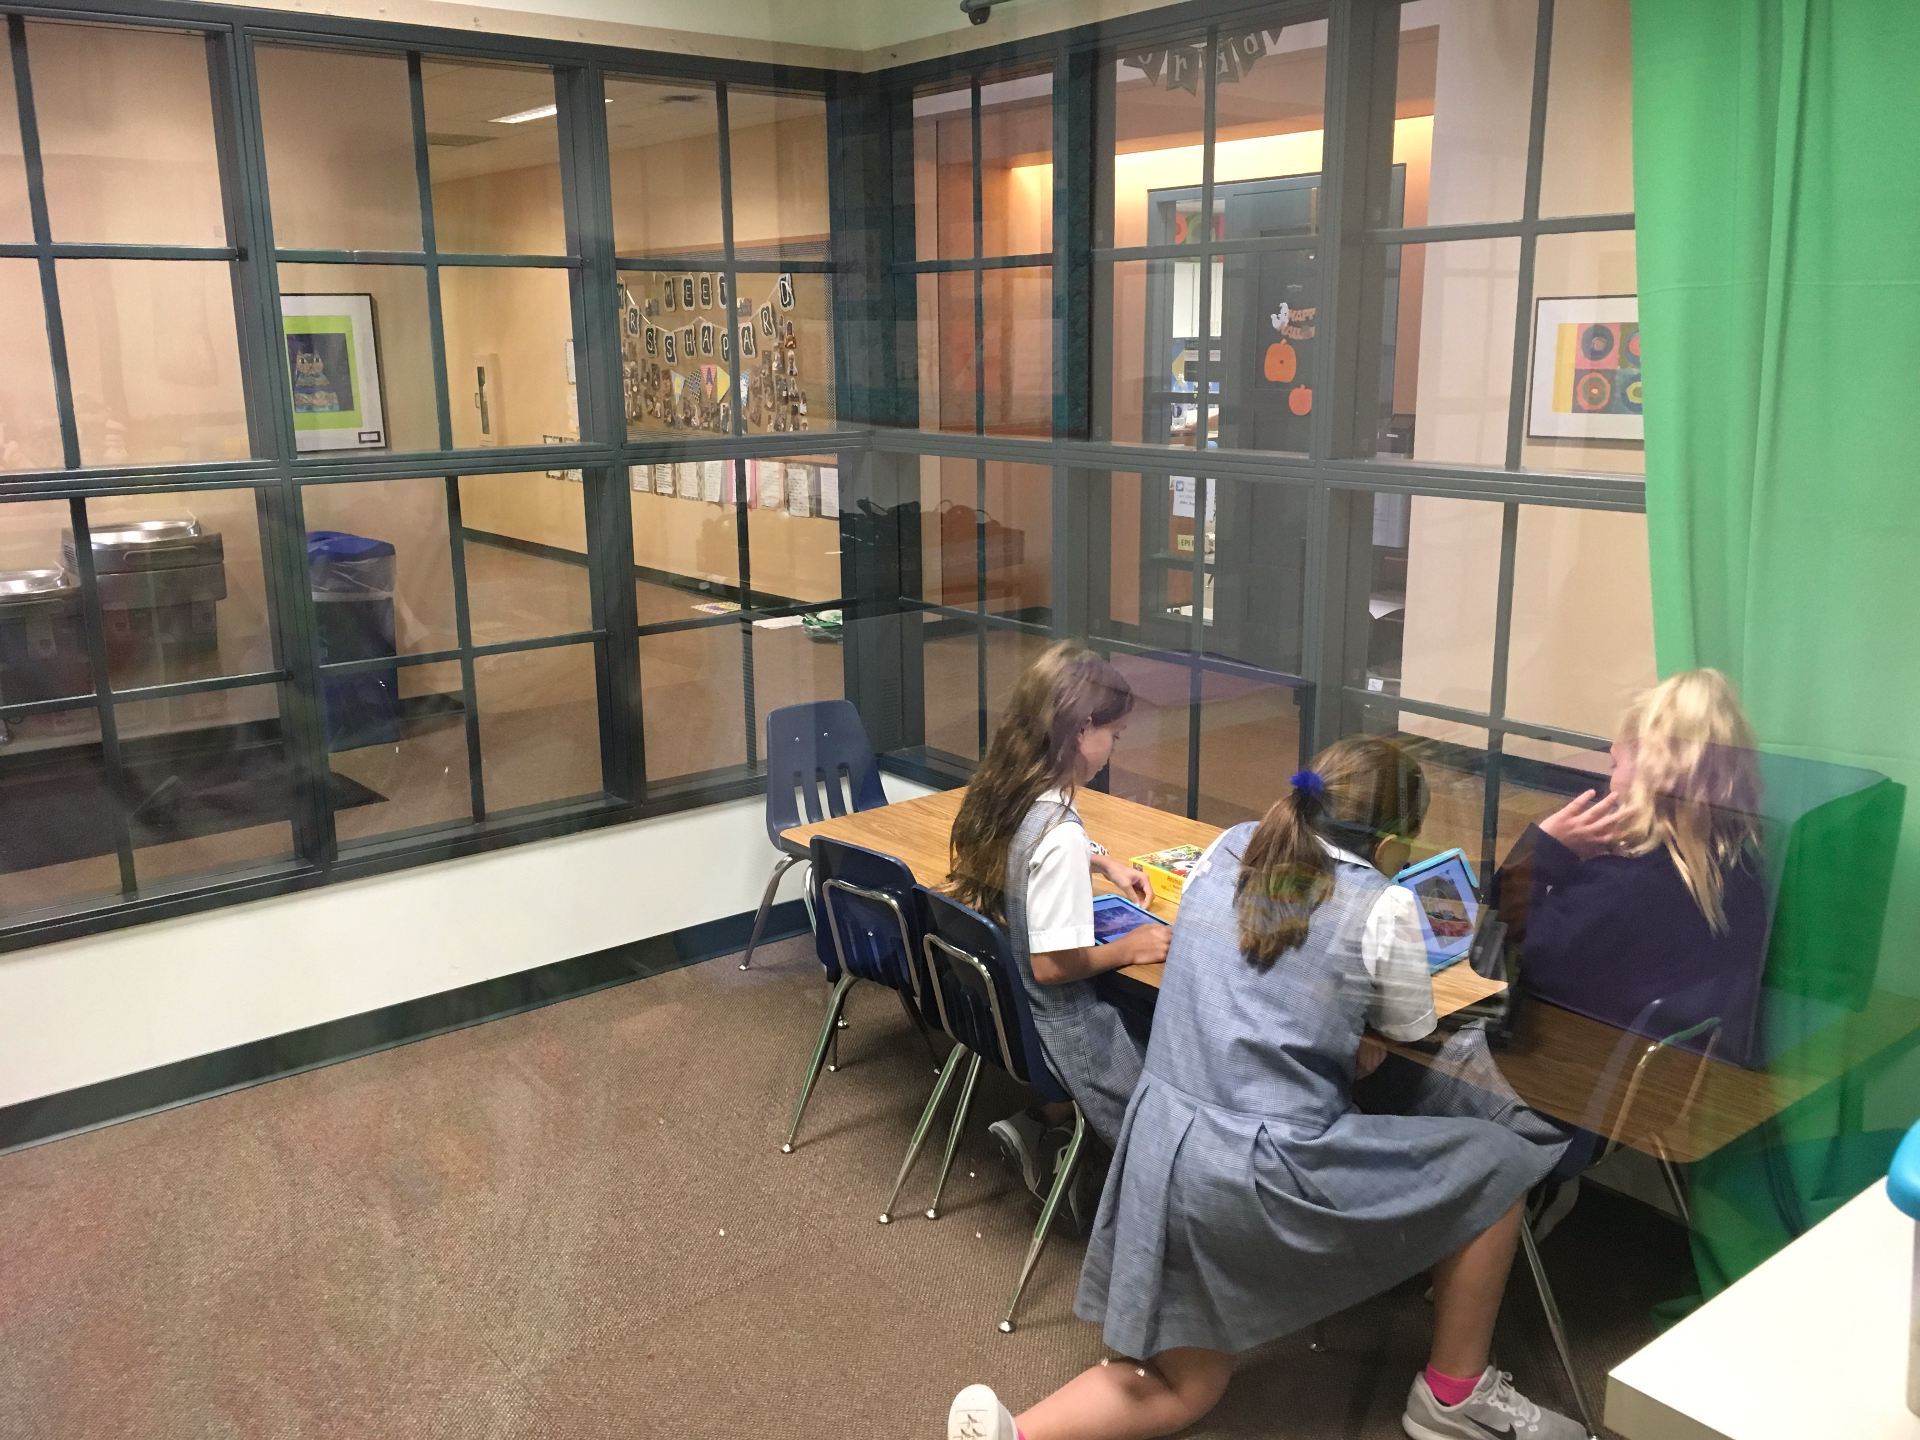
To wrap up, students shared with their table groups what they’d discovered. The area we explored isn’t that large so there were many who had similar or the same photos. It was fun listening to the children as they participated in their own brainstorming session, trying to determine the purpose of some of their findings!
Perhaps this appears to be a “simple” activity for 4th graders. Before heading outside, some of the students stated, “I’ve been out there a lot and already know exactly what is there. I won’t find anything new.” Guess what? They did! That is, once they decided to really search! Were all of the videos what I’d hoped to get? No, some were silly but, some of the students did ask great questions!
Learning to observe is an important skill that we sometimes assume students have no trouble doing. After all, little ones are very observant. Think about the never-ending questions from toddlers and pre-schoolers. However, it seems that the older we get, the less we question. This activity was a fun way to get children to go back to their observing and questioning days that they first thought they were too “old” to do! We’ll definitely do an adaptation of this again.
Click on the picture to access our October newsletter. Enjoy!