Archive of ‘Digital Storytelling’ category

Recording in the Book Creator app
One of my very favorite apps is Book Creator. This app allows students and teachers to create interactive ePub books that can be shared with others. Hyperlinks, images, audio, and simple drawings can be added to a book. But, the best part is that it is extremely easy for students of any age to use which is why I use it for all kinds of curricular activities!
The app is available in the App Store ($4.99) as well as on Google Play ($2.49). Both offer a free version but that only allows the creation of one book. Try the free app first, but trust me, you will definitely want the paid version! As we have iPads in school, I don’t have experience with the Android version so the rest of this post will refer to sharing the books so they can be read in the iBooks app.
There are three ways to export a book made in Book Creator.
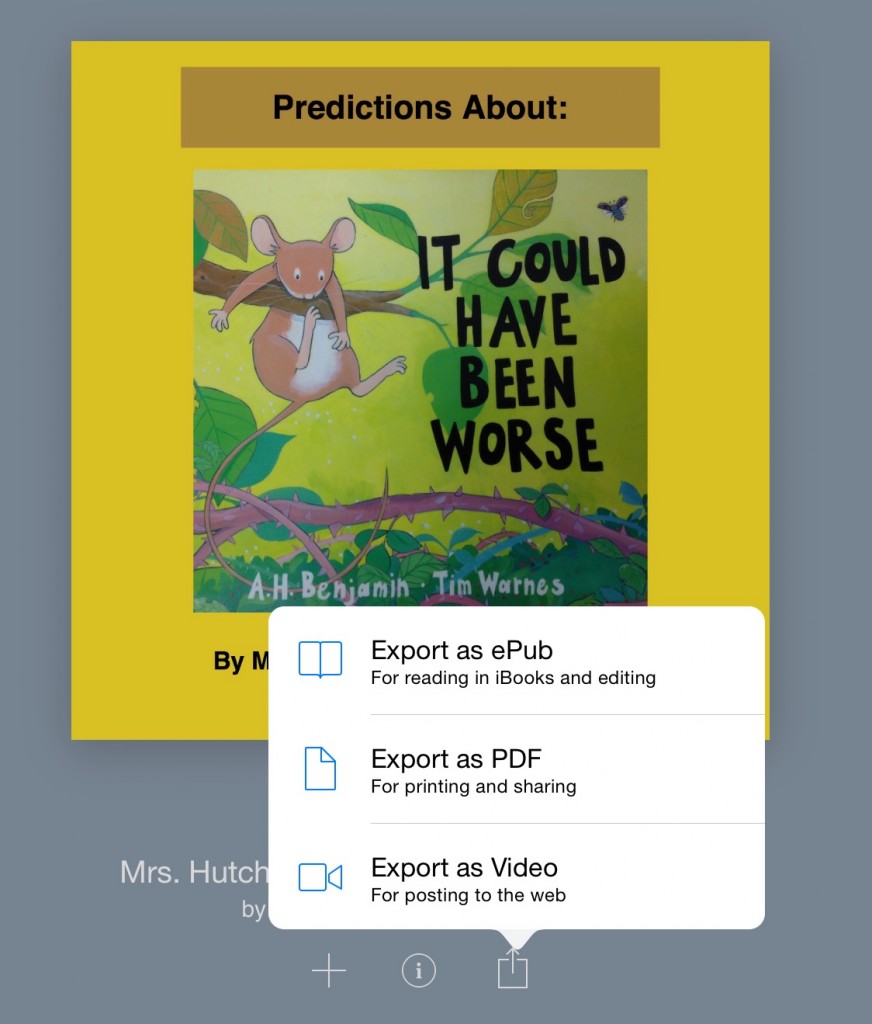 Export as Video – This is a good method to use when sharing with people who do NOT have an iOS device. I save in both the ePub and Video formats and share links with parents. Saving to the camera roll is an option with this method. What I do is save the video to Vimeo (YouTube also works) then embed it in a blog post. Students could use this choice, save to the camera roll, and upload to their blog.
Export as PDF – Any recordings will be lost in this format.
Export as ePub – This is the choice for reading in iBooks. However, the problem is that a person can only read this on the iPad on which the book was created.
The question is: How do you share the book with others so it can be read on different iPads or iOS devices?

Here’s what has worked for me:
- While the book is open in Book Creator, tap on the share button and then choose to open in Dropbox or Google Drive (or whatever cloud storage you prefer).
Choose a cloud-based storage app
- If you choose Drive, make sure in “Who has access?” that the Link Sharing is turned ON so anyone with the link can view it. Then tap on Get Link.

Link sharing on then get link
- The next step is to post this link to your blog. This can be done on either the Edublogs app on the iPad OR using a browser on a computer. Below is a sample of adding the link using the app.
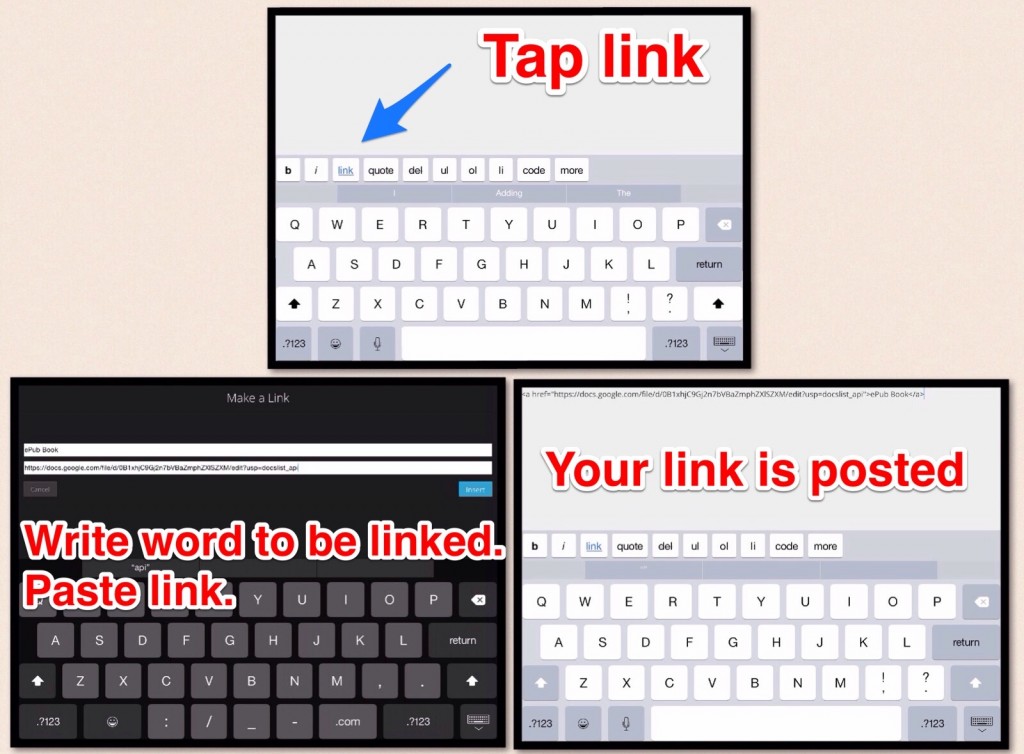
Adding the ePub link using the Edublogs app
- If you are working on your blog in a web browser, just select the word you want to hyperlink and add the link.
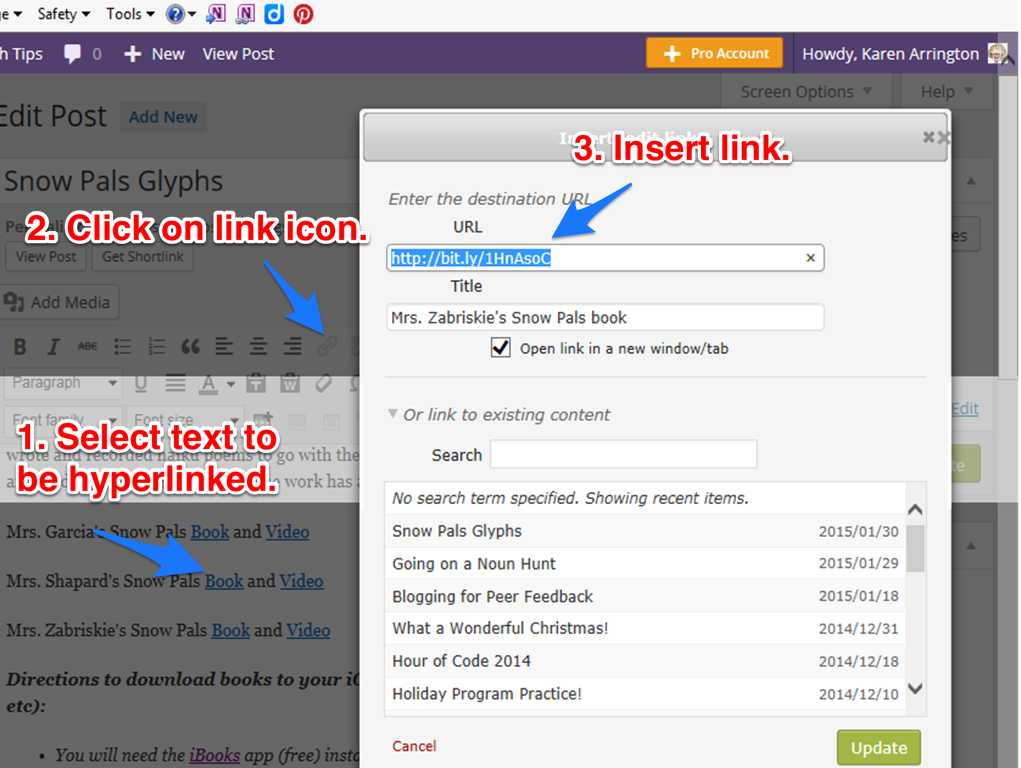
Adding hyperlink on blog using web browser
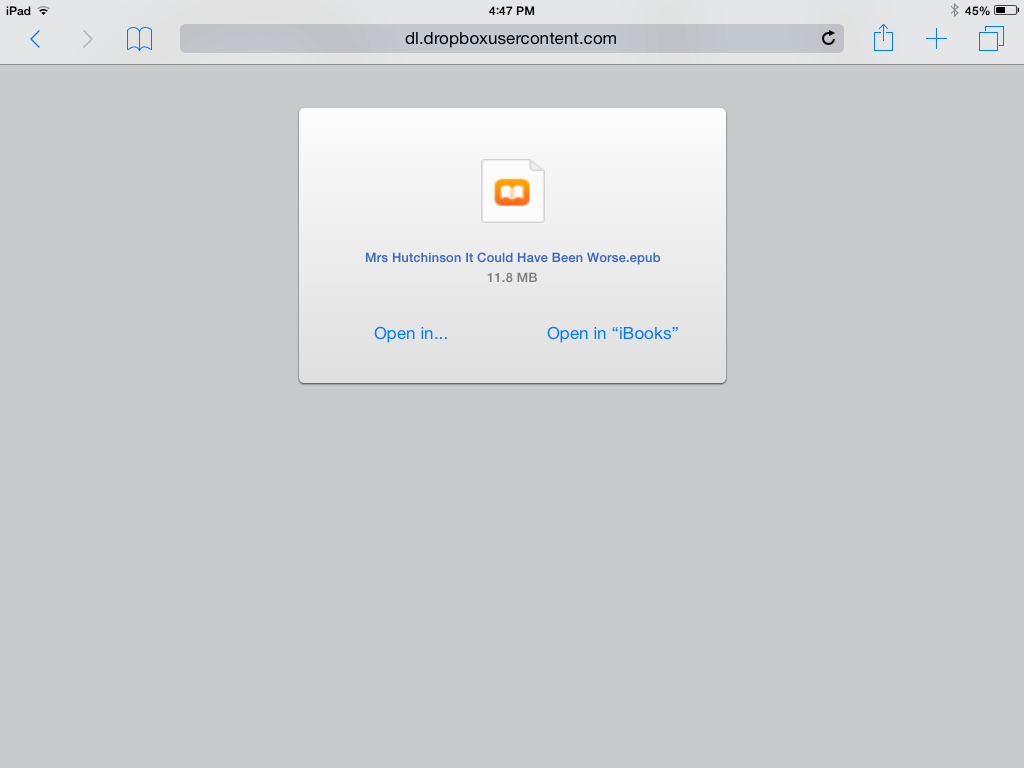
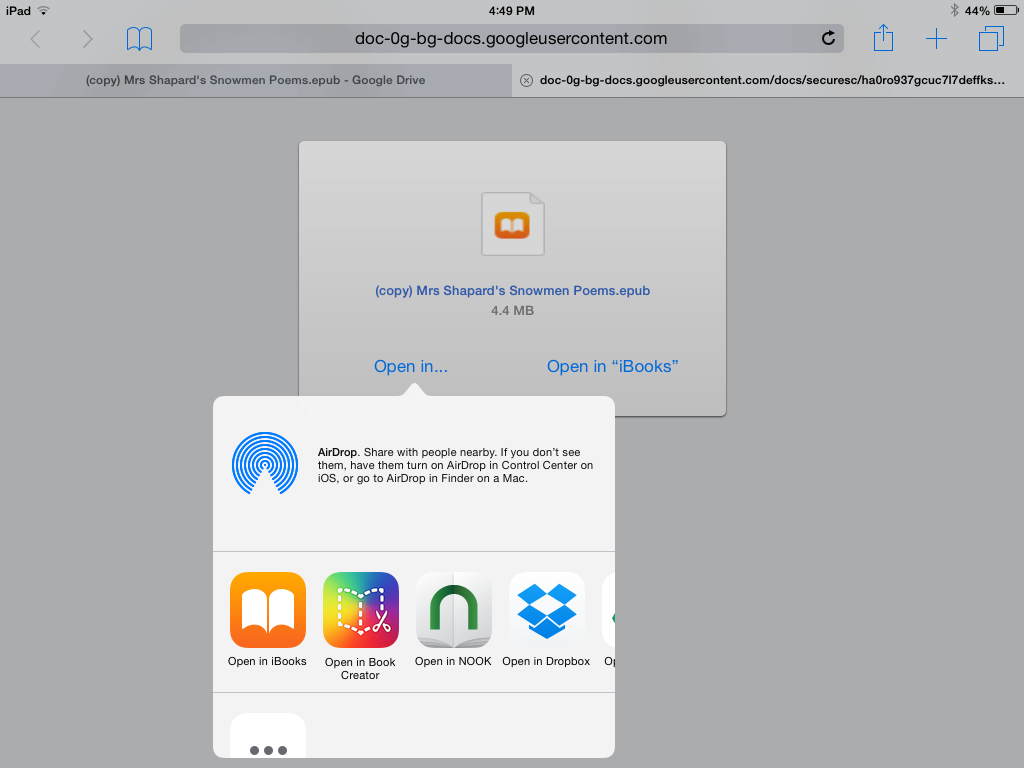
- Once the link is posted on your blog, anyone can download the ePub book to their iOS device and open the eBook in iBooks by tapping on the download link. Although the look is different depending on which cloud storage you use, the procedure is the same. Remember – you must be on an iOS device to open the ePub book!
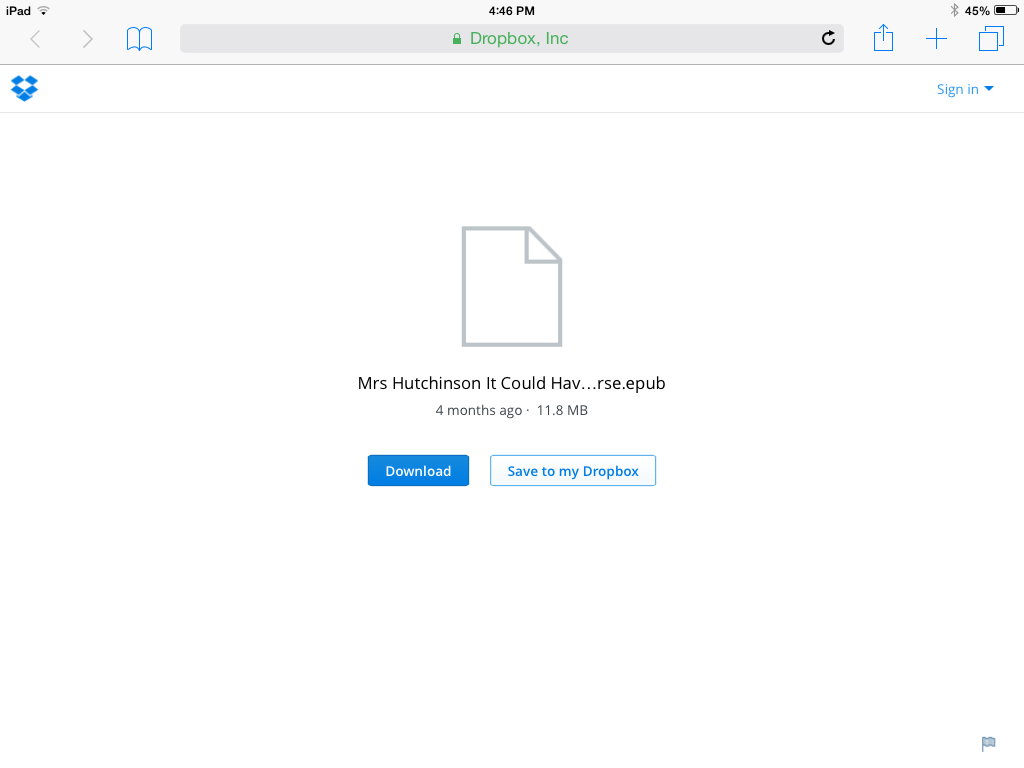
Screen shot of what downloading ePub book from Dropbox looks like

Screen shot of what downloading ePub book from Drive looks like
- Once the book has downloaded, it can be opened in iBooks or other apps including Book Creator (helpful if you are collaborating with others to create books).

Opening ePub book on iOS device

Opening the book in other apps
Although there seems to be several steps to get the ePub link onto the blog, once you’ve done this a couple of times it becomes second nature and really doesn’t take very long! Parents absolutely LOVE to read books that their child either makes on their own or has created as a class.
Have fun posting links to your own books! I enjoy seeing what others create in Book Creator. If you have questions, let me know!
TIPS:
When I link to ePub books, I always add the following information so that visitors know how to download the eBook.
Directions to download books to your iOS device (iPad, iPhone, etc):
- You will need the iBooks app (free) installed on your iOS device.
- Click on the book link above (while on your iOS device).
- Tap on the download button.
- Choose Open in . . . and then choose Open in iBooks
- The book is now in iBooks on your iOS device.
As mentioned earlier in the post, I also save the Book Creator book as a video then upload it to Vimeo. I then embed the Vimeo video into the blog. That way, parents without iOS devices are still able to “read” the book!
If you chose to export the book created in Book Creator as a PDF, to upload it to Edublogs, you would click on the ADD MEDIA tab at the top of the post’s toolbar. The PDF would be hyperlinked as below:
Workflow for ePub books
Did you know that November is Picture Book Month? Mrs. Murphy and Mrs. Hebert, our librarians, issued a challenge to the Lower School to read picture books in an effort to beat last year’s goal of 4,370.
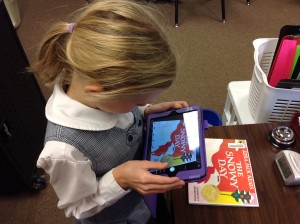
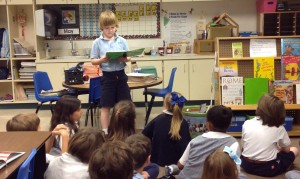
For the past several weeks, we’ve been discussing blogging when the students come to the lab. To correlate with blogging and the library’s challenge, I asked the third graders to bring a picture book to the lab. They were to produce a book talk and upload it to their blog.
We started class by taking a picture of their book cover.
The next step was to read the book.
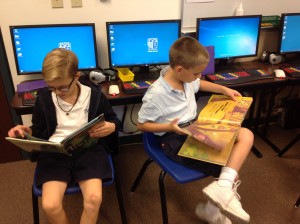 Writing isn’t always a favored part of a third grader’s life but the students did understand that this step is important to organizing thoughts and really makes the recording go much more smoothly.
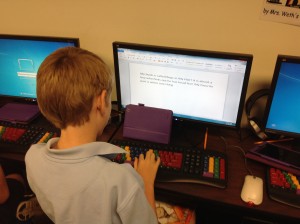 The next step was to choose an app. I gave the option of Tellagami (free; available on App Store and Google Play) and ChatterPix Kids (free from App Store). Both have a limit of 30 seconds so students needed to be concise in what they said. Both also allow the user to import photos from the camera roll. With Tellagami, the students created an avatar that “spoke” their recorded message. With ChatterPix, a “mouth” line is drawn and that moves to the narration. The students enjoyed creating a mouth on their book cover.
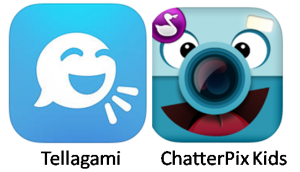 The students recorded, made sure they were satisfied with the sound, saved to photos, then emailed the video to me. Once students completed the process, I put them to work helping others.

Finally, the children uploaded their video to the KidBlog app. Next week their first grade buddies will be listening to the book talks and making comments on their buddies’ posts. I also posted all the book talks on TVS TechnoWizards.
Class Blogs:
Below is a visual of the apps we used for the project.

Every year I have the students draw a self-portrait using Microsoft’s Paint program. These have a variety of uses: avatars for blogs, printed for bulletin boards, “All About the Author” pages, and so on.
Mrs. Weth, one of our third grade teachers, likes to have her students use the portraits to create a video for our Grandparents’ Day. Her students write an “I Am” poem then record it with their portrait as the backdrop.
Last year she used Explain Everything for the project. This year, we chose Book Creator due to their new feature allowing users to export the book as a video. By going with this app, we were able to save the book in two formats: ePub book and video. This gives our families options on how they want to view the students’ work.
For the ePub book, choose download while on an iOS device and open in iBooks (make sure that app is installed on your device).
Mrs. Weth’s ePub book link
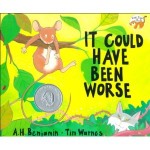 An important skill for students to develop as they read is learning how to make predictions. One way I like to practice this is through children’s literature. A perfect book for making predictions is It Could Have Been Worse by A. H. Benjamin. The book is about a mouse on his way home from visiting his town cousin. Mouse runs into all kinds of difficulty as he heads home – slipping, sliding, landing in thorns, . . . After each little episode, Mouse laments that his day isn’t going well at all. However, there is much more going on in the background that Mouse doesn’t know about. As it turns out, several creatures come very close to having Mouse for lunch. Because of Mouse’s “terrible” day, he manages to escape the dangers around him!
I start by reading the first few pages of the book. The students listen as Mouse loses his balance, falls to the ground, and declares, “This isn’t my lucky day.” In the background, the children can see that Cat is just about to pounce on Mouse but misses him as the mouse falls. Cat ends up in a bed of thorns as the narrative reads, “But it could have been worse!” I read the next page but stop before finding out what will happen to Mouse this time.
We talk about what a prediction is and how to use picture clues to help decide what will happen next. Then I tell the students that they will write down their prediction in the Book Creator app and will illustrate that using Drawing Pad. (Book Creator has a drawing feature within the app that is easy to use. For this activity I wanted the teachers to see an app-smashing example that they could use within their own classroom.)
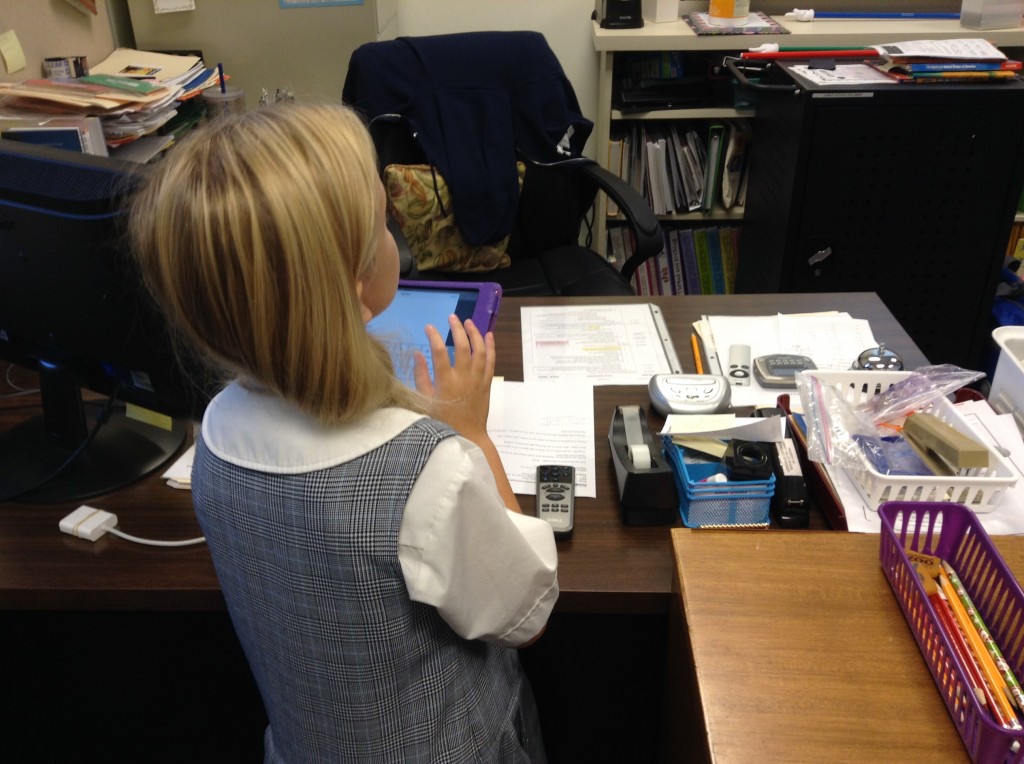
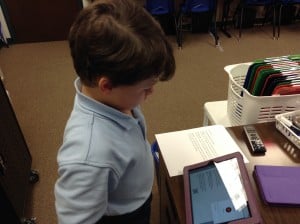
Writing a prediction in the Book Creator app
The prediction activity took about two 40 minute sessions. Part of the time was spent introducing the drawing features in the Drawing Pad app and showing how to develop their page in Book Creator (add illustration, write sentence, record narration) – the next time the teachers (or I) use the apps, the students will be able to work more independently.
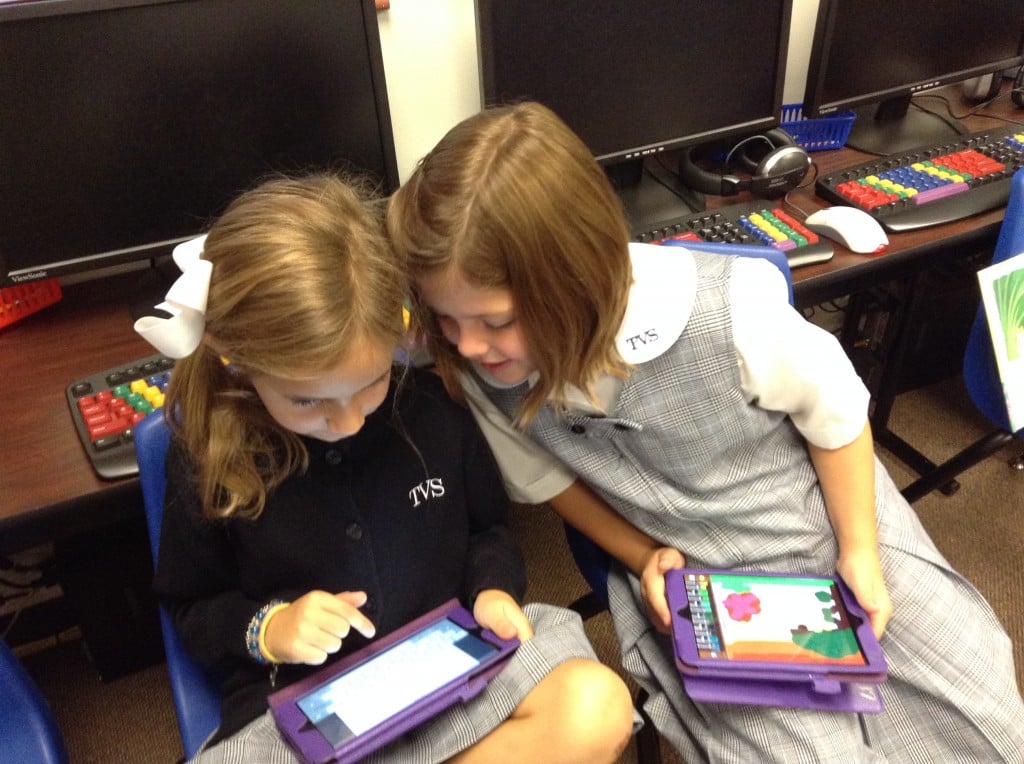
Illustrating their predictions using the Drawing Pad app
As students finished recording, they came to me for guidance in emailing their Book Creator page to me. The pages are then compiled into class books for students to read on their iOS devices. In addition, I also exported the book as a video to offer another way to view the books.
Here are the apps we used:

App Smashing with First Graders
Links to the ePub Books and the videos:
- What will happen to Mouse and Snake? Mrs. Hutchinson’s Class ePub Book and Video
- What will happen to Mouse and Fox? Mrs. Kee’s Class ePub Book and Video
- What will happen to Mouse and Fish? Mrs. Orehek’s Class ePub Book and Video
Directions to download books to your iOS device (iPad, iPhone, etc):
- You will need the iBooks app (free) installed on your iOS device.
- Click on the book link above (while on your iOS device).
- Tap on the download button.
- Choose Open in . . . and then choose Open in iBooks
- The book is now in iBooks on your iOS device.
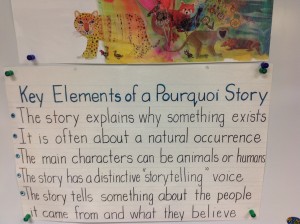
What is a pourquoi story? Ask Mrs. Garcia’s second graders and they’ll be able to tell you that it is a type of story that tells why something is the way it is. In fact, pourquoi means why in French. Rudyard Kipling’s Just So Stories is a classic work of this genre. One well-know tale is How the Camel Got His Hump. Many cultures have pourquoi tales that have been passed down through the ages.
In a collaborative effort with technology and art, Mrs. Garcia’s students explored some of these stories using the “making smaller circles” principle (zooming in on details).
Josh Waitzkin, an eight-time National Chess Champion in his youth, attributes his success to learning techniques he developed to bring his mind and body to peak performance. In The Art of Learning, Waitzkin reveals his self-study to define techniques to maximize student achievement. One of those techniques he calls “making smaller circles.”
 Mrs. Garcia introduced her students to the pourquoi genre by discussing the elements found in this type of tale. She shared the camel story from Rudyard Kipling, complete with a camel stuffed animal. As she talked, Mrs. Garcia asked the children to pretend they had a magnifying glass to use to zoom in on just the camel’s hump.

Zooming in!
The students also played the “I Spy” game which is a fantastic reinforcement to understanding how to zoom in on details. In addition, the students wrote clues about an object to allow their classmates to guess. Each additional clue provided more details.
What is my object? Guess my clues.
After looking at a variety of books, the students then decided on a pourquoi tale. They examined main characters, problems, outcomes, etc and wrote their rough draft.

Determining Problem, Block/Change, and Outcome
At this point, the students were ready to begin their illustrations. Mrs. Black, our art teacher, worked with the children on how to look at the “big picture” then zoom in on the smaller details. Each child had a picture of their object and a black “window” that was used to helped focus in on a specific part. Oil pastels were used to create the colorful illustrations.
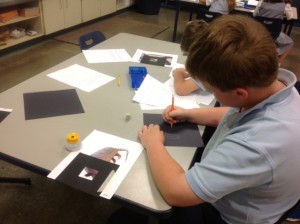
Focusing on the armadillo’s head
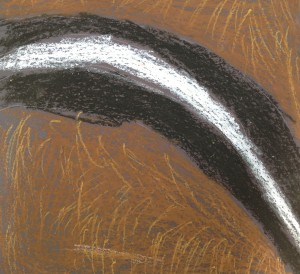
How the chipmunk got its stripes
For the technology part of the project, I used the Book Creator app (available from the App Store and Google Play) to create an ePub book to share with parents. I love this app because it is extremely easy to use and it has a wealth of features!
Normally, I would have each student create a page in the app then email it to me where I would combine all into one class book. However, because we wanted the formatting to be the same throughout the book, I typed the students’ work and then we recorded each child.
Recording
After photographing the completed drawings and adding them to the corresponding page, I previewed the project with the students. I wanted to make sure each picture went with the correct story and that the drawings were inserted in the direction the child wanted. (We had to change a few!)

Checking for proper orientation of illustrations
Below is the link to the finished book. While on an iOS device, click on the link to download then choose to open in iBooks. To read the book using the Google Chrome browser, click here for instructions. The file is large so it may take a few minutes to complete the download.
Pourquoi Stories: Making Smaller Circles by Mrs. Garcia’s Second Graders (ePub book)
New! The Book Creator app now allows the book to be exported as a video file. Here is a link to the book in the video version.
Video overview of the process
Extension ideas from Mrs. Garcia:
After the children completed the examination of their pourquoi stories, Mrs. Garcia asked them to create their own tales. They also worked as a class to write poetry.

Pourquoi tales from students

Poetry
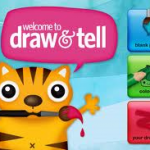 Well, actually the Draw & Tell app came after the farm visit!
The kindergarteners took their annual trip to the farm and I wanted them to share something about the visit. When they came to the lab, I asked them to open Draw & Tell. This is a kid-friendly app that allows children to do just what the name says: draw a picture and tell about it by recording their voice.
I honestly did not know if the students would be able to complete their drawing, record, and save to the camera roll within our short 30 minute time period! But they did! We had 3 adults per class – teachers, assistants, and myself – and those extra hands made all the difference. But credit certainly goes to the kindergarteners who quickly learned what to do. (And kudos to Duck Duck Moose for a superb app!)
After the children left the lab, I air dropped the screen casts to my iPad so that all could be combined into class videos using the iMovie app.
Enjoy!
Mrs. Moore’s Class
Mrs. Newton’s Class
Mrs. Rea’s Class
In addition to making a creation to share with parents, the teachers were able to see the power of this app. They are excited to find more ways to use it within their classrooms.
After reading a blog post by April Requard called Bring Literacy to Life with Technology! (A HUGE thanks to April for sharing this idea!). I thought this would be an excellent way to have our students create alliterations that could be shared with younger students.
We started with the book The Z Was Zapped, by Chris Van Allsburg. Most of the students had read the book before so we just went through a few pages, noting the art work used to aptly illustrate each letter.
We discussed alliterations and how to create a fun, light-hearted sentence that could be illustrated in the Drawing Box app (free and paid versions).
After drawing, the students pulled their picture into ChatterPix Kids (free) – a very easy app where a “mouth-line” is drawn that moves with the recorded narration. Stickers and more can be added to enhance the picture. Once the video is saved to the camera roll, it can be air dropped to the teacher iPad where I combined it into one video in iMovie.
The students enjoyed this “different” way to share learning.
Hint for recording: What we discovered when we combined some of the videos was that a few words were cut off when moving from one clip to the next. It’s important to tell students to wait a second after pressing record and when they finish talking, to again wait a second before tapping the stop recording button. We had to re-record a few and we still have some clips that run together but it’s better that it was!
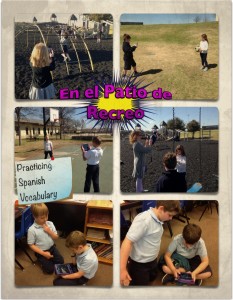
Señora Ross teaches playground vocabulary to her second graders. Last year she recorded the students speaking about the different parts of the playground but never really did anything with her video.
This year, she wanted to make sure that the students’ work was posted somewhere. How exciting for parents to be able to hear their children share their Spanish knowledge with others!
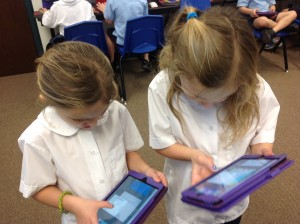
Her idea was to have students work in pairs to take two photos each: one of a specific playground item by itself; the second with their partner on or next to the equipment.
In preparation, Señora Ross assigned partners and the item that would be photographed. Before starting, we discussed how to take a non-blurry photo (these were not to be action shots!). Next, we handed out their assignment cards and an iPad. Then we trekked out to the playground.
The students quickly took their photos (only had one instance where video was taken rather than stills) and gathered back together to go to the computer lab to finish the project.
 There are many apps that would work for importing images and recording narration. For this project, I suggested we try Pixntell EDU. I hadn’t used the app with a class but felt like it would be easy for the students to upload images and record on each photo. Once finished, the user is able to save the work as a video file. Our goal was to collect all projects to combine into a class video using iMovie.
The app worked quite well for this project. It was easy for the students to use. Once the user saves, the video automatically saves to the photo roll where it can be air dropped to the teacher iPad.
Quirks of Pixntell EDU:
- Can’t listen to recording till it is saved. If you want to redo after that, it appears that all photos must be re-recorded.
- When images are added, there is no check mark to indicate which pictures are selected. This is fine for adults but harder for children. We had LOTS of extra images but they are easy to delete!
Señora Ross and I had quite an assembly line going – she helped with the Spanish vocabulary then sent the students to me so they could air drop their video.
Next, Señora Ross pulled all videos together in iMovie, added a quick title page created in Explain Everything, uploaded to our Vimeo account, and the work was ready to share!
Mrs. Garcia’s Class
Mrs. Cooper’s Class
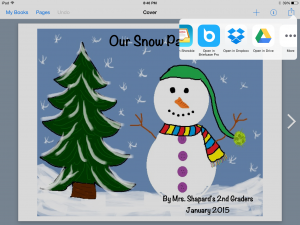
Mrs. Shapard’s Class
This was a fun project – the students quickly learned the app and really did a great job saying their sentences in Spanish. And we are so glad that parents can get a glimpse into what their children are learning!
It Could Have Been Worse by A. H. Benjamin is a fantastic book to help students with the skill of predicting! It is a delightful story about a mouse on his way home who escapes all kinds of predicaments that he knows nothing about – however, he thinks that he is having a terrible day due to many falls and tumbles as he unwittingly escapes danger.
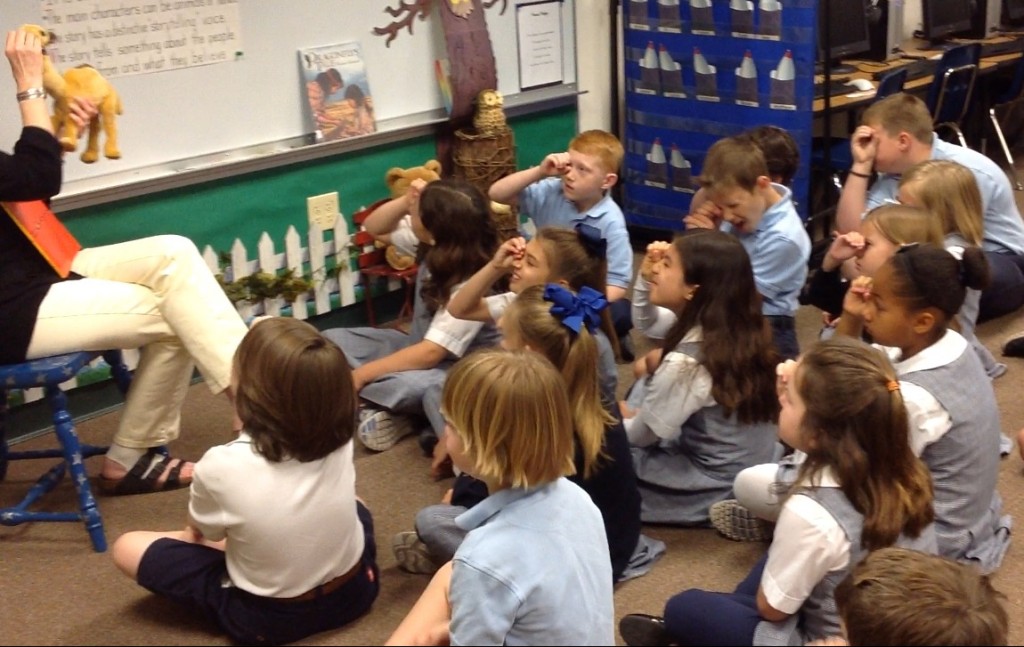
I read part of the book to our first graders and asked them to predict what might happen next. We talked about using picture clues to help with predictions. Once they had an idea in their minds, I told the students that we would be using the Book Creator app to make a class book of all the predictions.
iPads were handed out and the book was set up for their predictions. We used the square format, added a name, and wrote a sentence or two about what they thought would happen next. Then I showed the children how to draw right in the book with the pen choice. I love this feature – yes, tools are limited; there is no fill bucket but it is SO easy to draw directly in the app!

The students then recorded their narration and were guided in emailing the book to me. Two of our classes were extremely fortunate to have several TCU students visiting that day. The college students were a tremendous help to the first graders. In fact, I had planned two 40 minute sessions to complete the book but, with all the grown-up help, the children were finished in one period!
This was the students’ first experience with creating their own page in Book Creator and I guarantee, it won’t be their last!
Enjoy their class books:
Mrs. Hutchinson’s Book
Mrs. Kee’s Book
Mrs. Orehek’s Book
Directions to download books to your iOS device (iPad, iPhone, etc):
- You will need the iBooks app (free) installed on your iOS device.
- Click on the book link above (while on your iOS device).
- Tap on the download button.
- Choose Open in . . . and then choose Open in iBooks
- The book is now in iBooks on your iOS device.
Directions to read the ePub book on a computer:

Mrs. Garcia’s Dream Catcher Bulletin Board
Mrs. Garcia’s second grade class discussed dreams and how they would try to accomplish them. However, what children wish for doesn’t magically occur. The students researched possible ways to make those dreams come true.
When the students came to the lab, they drew their dreams on the iPad using the Drawing Box app. (I like the paid version because there are more tools,) When finished, the children learned how to save the drawing to the camera roll so that it could be used for the second part of the project.
The next step was to create a new book in the Book Creator app. This is one of my very favorite apps! It is simple to use for all ages. Students can email books to me and these can be very quickly combined into a class book. Love it!!
The students easily inserted their photo into Book Creator, recorded their narration, and then emailed the book to me. I compiled the individual books into one class book which was uploaded to Dropbox so that it could be shared with parents. (See below for instructions.)

Apps used to create and publish the class book.
Chasing Our Dreams Class Book
Directions to download books to your iOS device (iPad, iPhone, etc):
- You will need the iBooks app (free) installed on your iOS device.
- Click on the book link above (while on your iOS device).
- Tap on the download button.
- Choose Open in . . . and then choose Open in iBooks
- The book is now in iBooks on your iOS device.
Directions to read the ePub book on a computer:


 Export as Video – This is a good method to use when sharing with people who do NOT have an iOS device. I save in both the ePub and Video formats and share links with parents. Saving to the camera roll is an option with this method. What I do is save the video to Vimeo (YouTube also works) then embed it in a blog post. Students could use this choice, save to the camera roll, and upload to their blog.