A few years ago, after reading a bit about genius hour, I decided to give it a try. Well, it didn’t go as expected – it was noisy and chaotic and I really struggled with, “Are the students really learning anything??” What that taught me was I needed to make sure expectations were clear to the students while still allowing freedom of choice.
Fast forward a few years . . . last July I attended Alan November’s Building Learning Communities conference and was able to take a workshop presented by Joy Kirr, the guru with Genius Hour. Joy has collected a vast number of resources over the years (visit her Genius Hour Livebinder). Between this fantastic information and her encouragement, I began to believe that Genius Hour was something that I needed to try again. Am I glad I did!
What is Genius Hour? We started with this excellent video by John Spencer.
Genius Hour is a time where students are allowed to learn about something in which they are passionately interested.
The students were amazed that they were being given time to learn something of their choice! But, trying to zero in on a topic proved to be a bit more difficult than expected. Some had so many choices that they weren’t sure what to choose, while others couldn’t seem to think of anything.
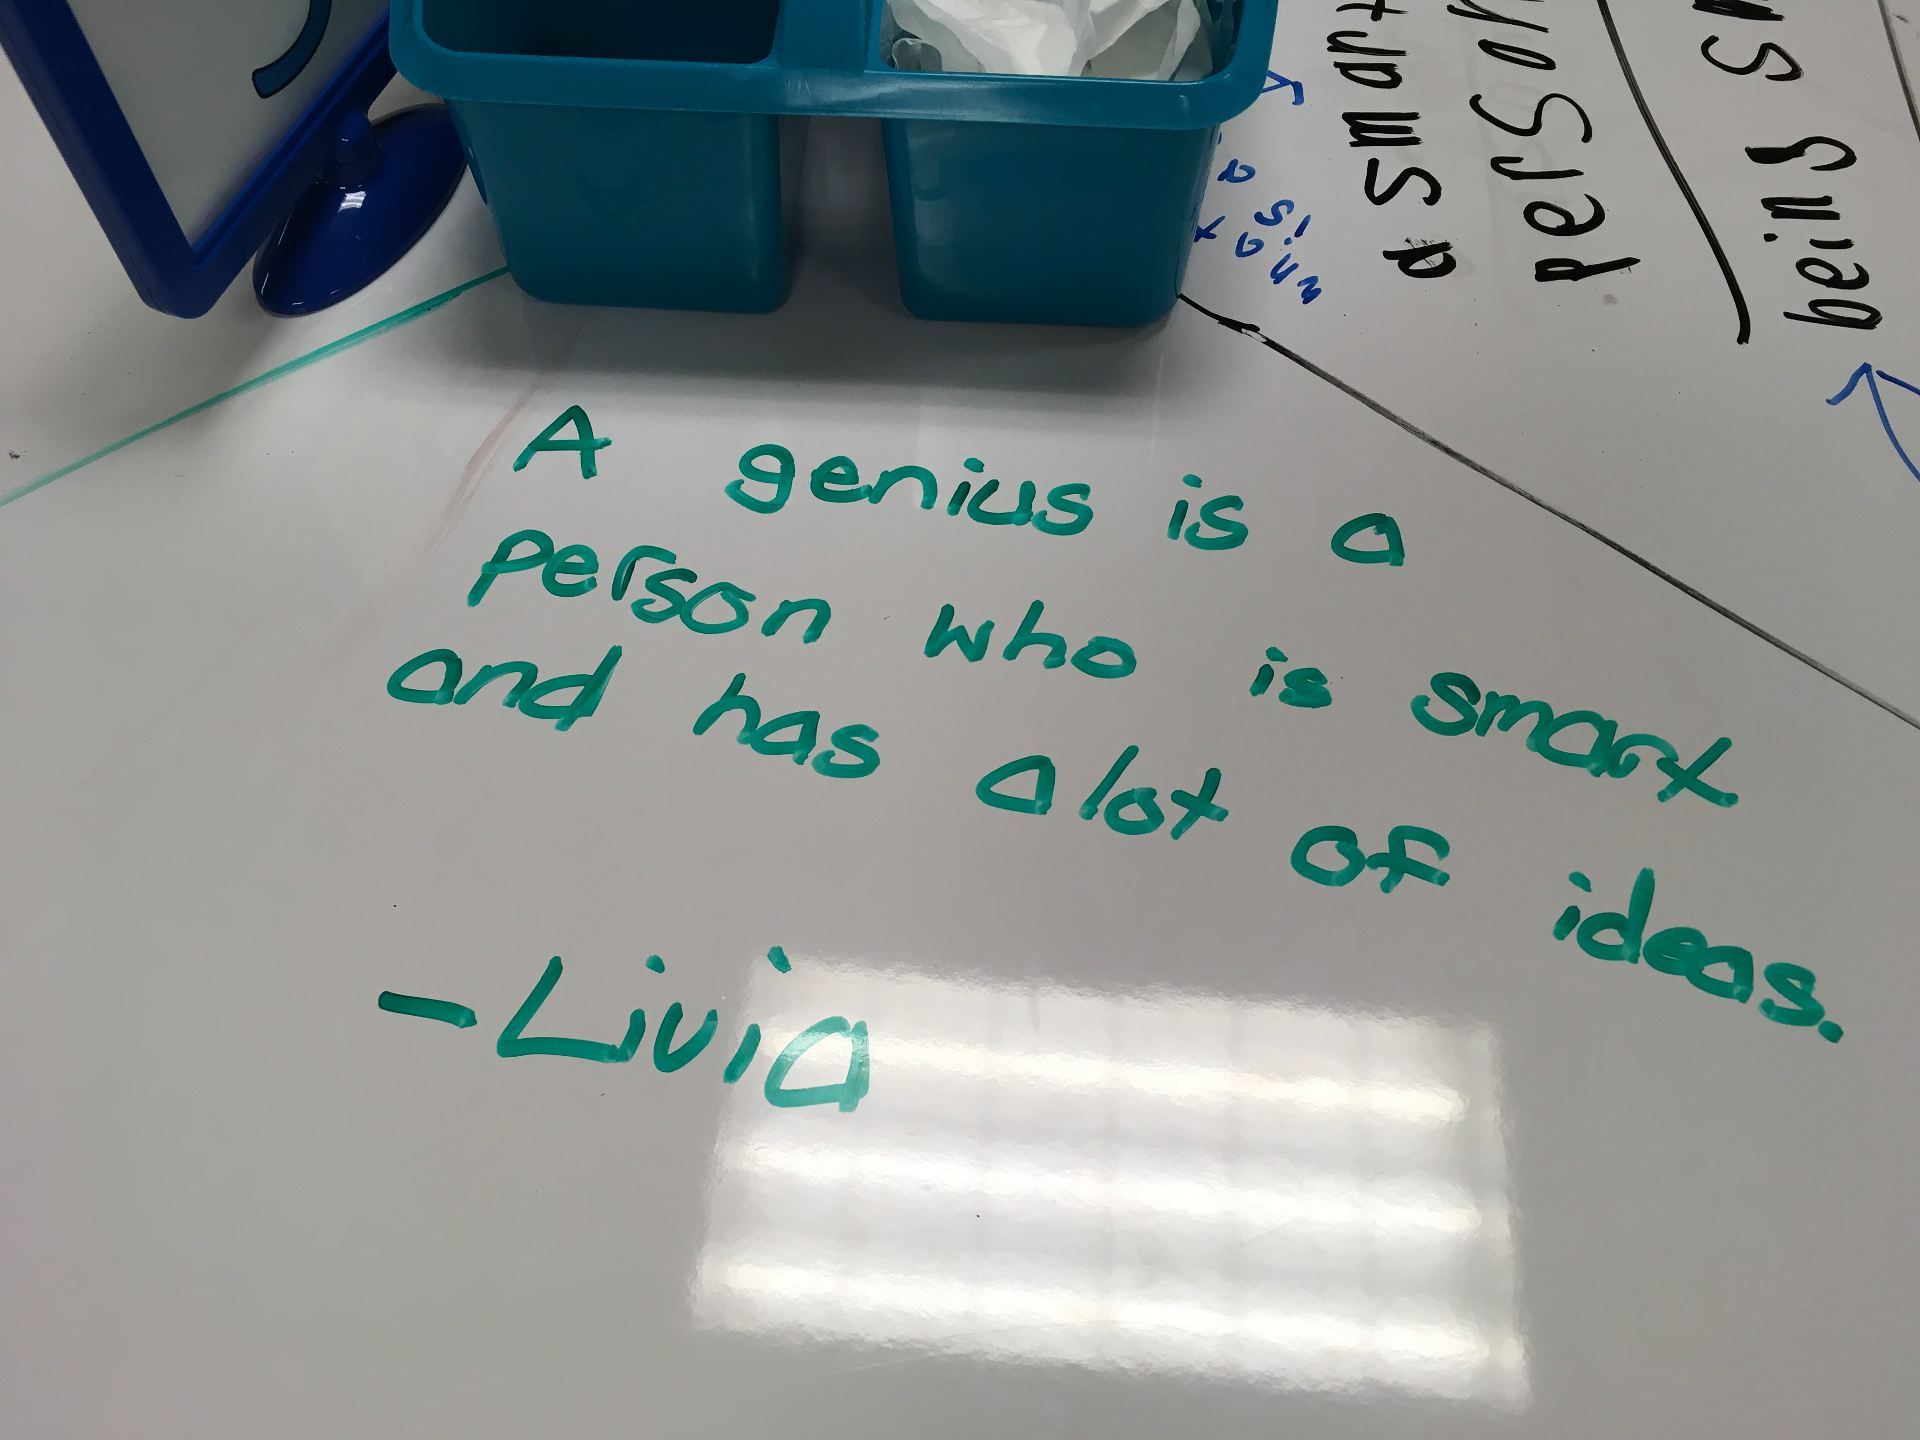
First, I had the children define genius.
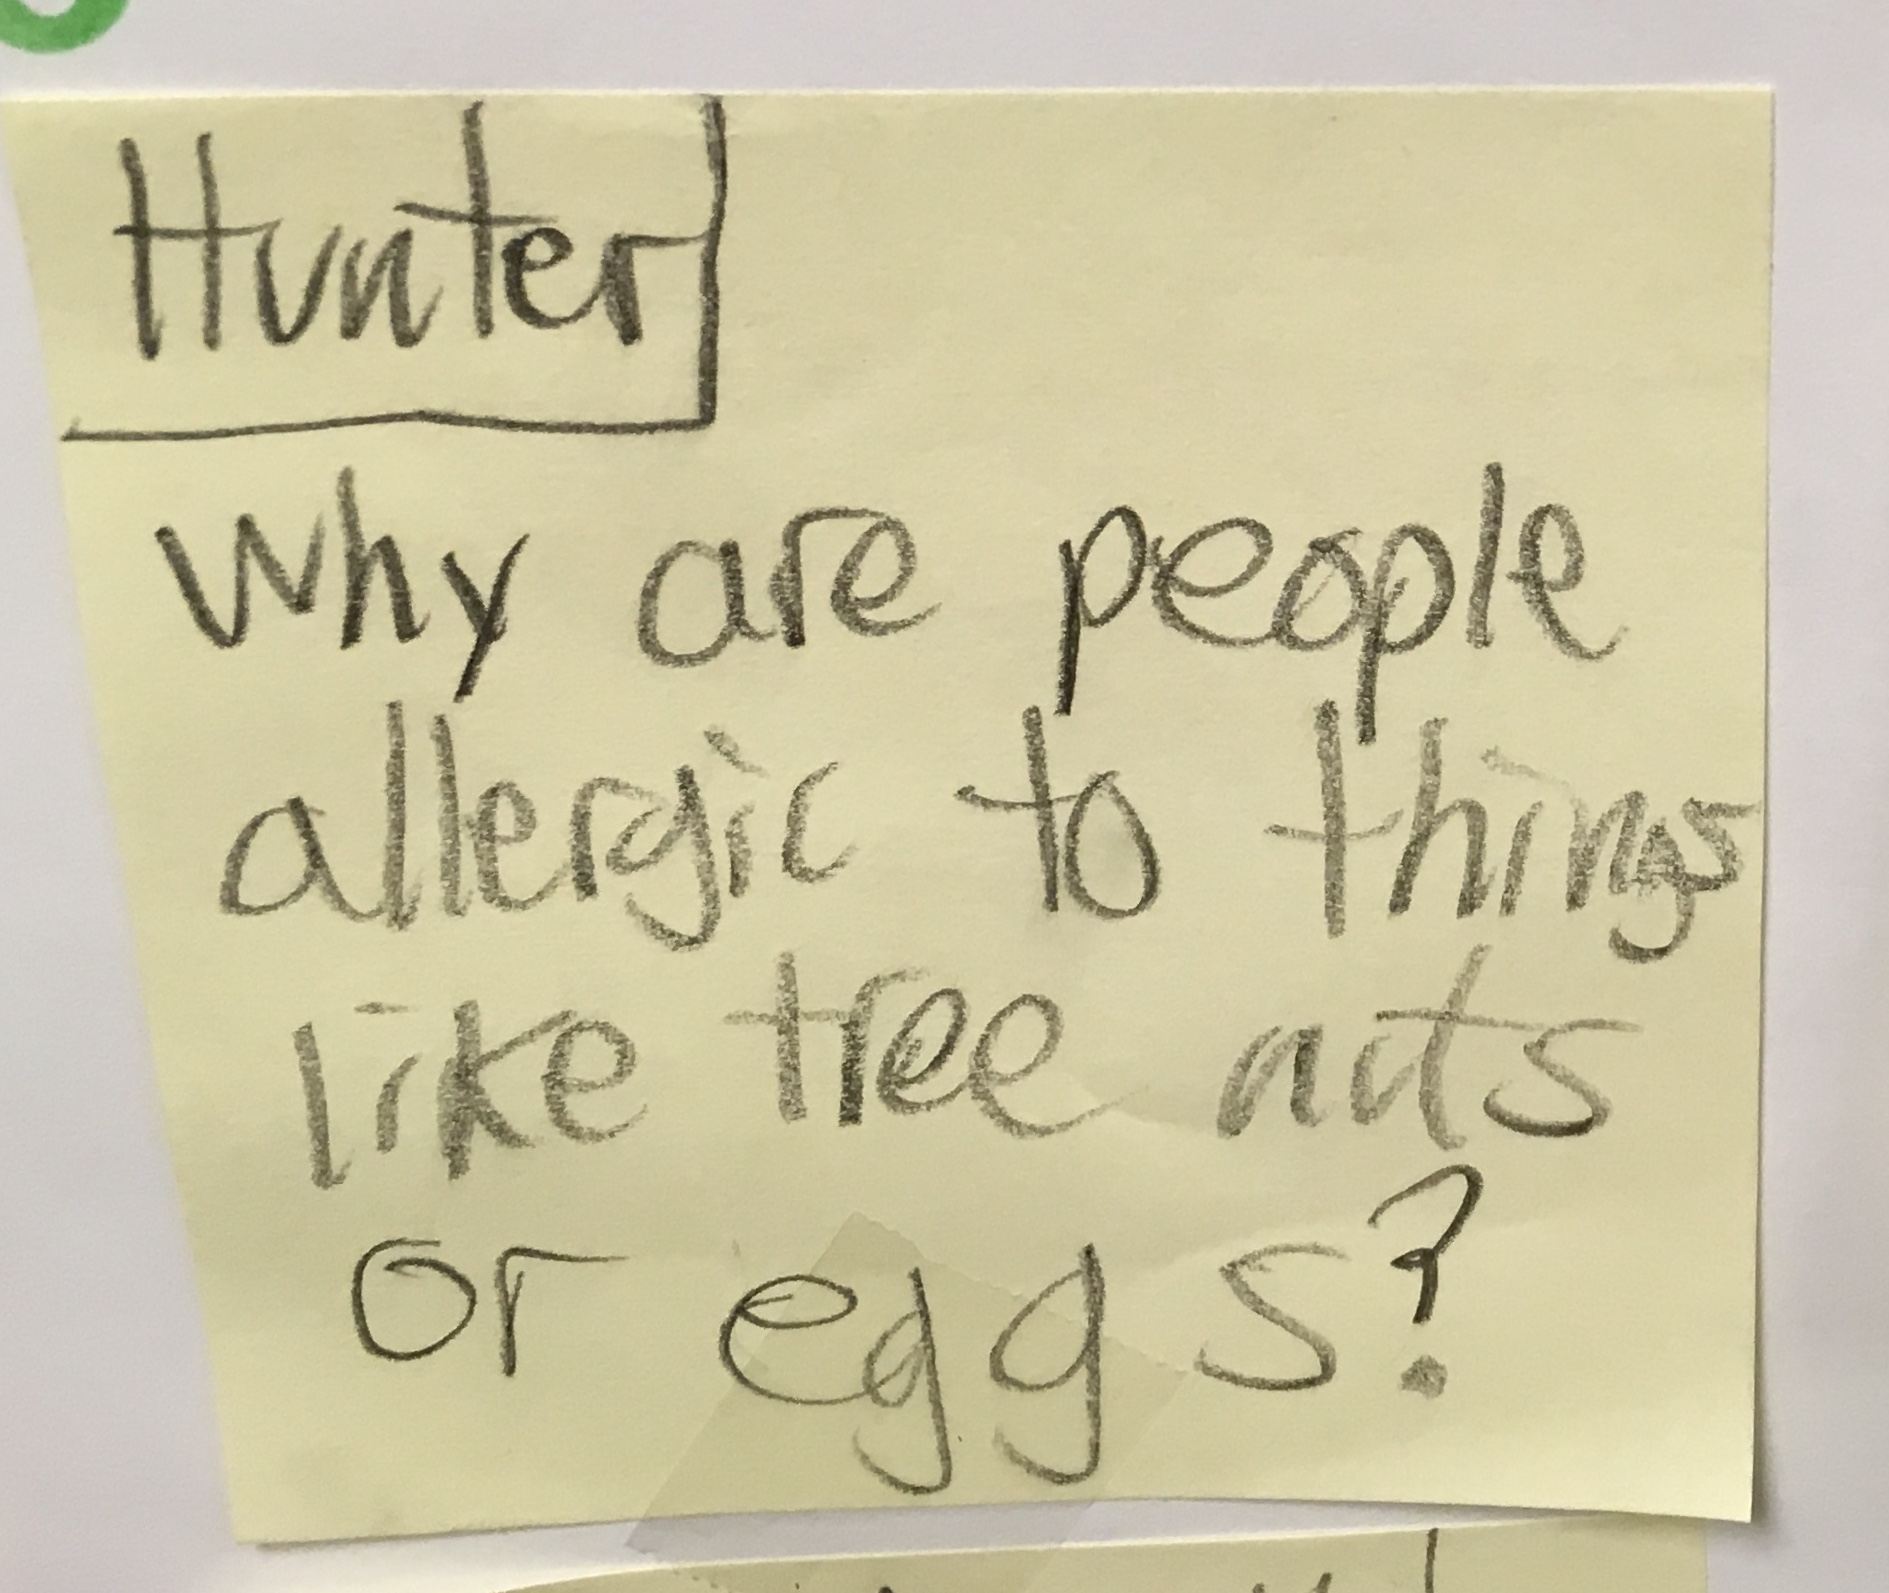
Next, we brainstormed things we wonder about. These thoughts were written on post-it notes and added to a chart.
The hardest step was to narrow down exactly what their interests were. Students were asked to jot down three topics that they were most interested in researching. To the best of their knowledge, they had to let me know about materials and costs. We had a serious talk about NOT going home and telling parents that they needed all kinds of supplies!
The guidelines were simple:
You must research something.
You must create something.
You must present something.
You must reflect on your learning.
Oh, my! I have NEVER seen so much excitement! In several cases, students stopped by in the mornings, arms filled with supplies as they chattered away describing their plans.
One afternoon, I glanced across the room to see a boy who usually had a difficult time staying on task, sewing away. He’d found the plastic needles and yarn and was stitching a word into a scrap of acoustic foam! I’d never considered that to be a tool for sewing and I certainly was proud of his ingenuity!
The joy experienced when what you’re working on actually does what you want it to do!
Student Reflections:
I’m having a difficult time getting the reflection time in because the students only have 40 minutes with me. Add in short group meetings and clean-up time, we’re lucky to get 30 minutes of work time. My plan of reflecting every day has had to be adjusted. I’m thinking a quick blog reflection at the beginning of the week and then another at the end of the week might be better. It’s a critical part of the process, though, so it’s very important to include this step!
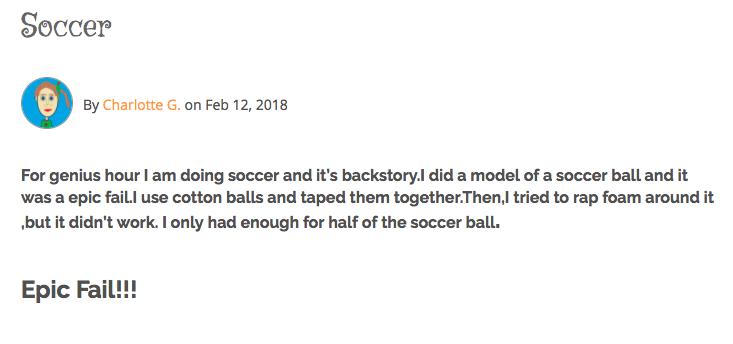
Here’s one post that I absolutely LOVE! This girl had an idea in her mind but when she attempted to build it, nothing went right. She realized that failure was absolutely OK!
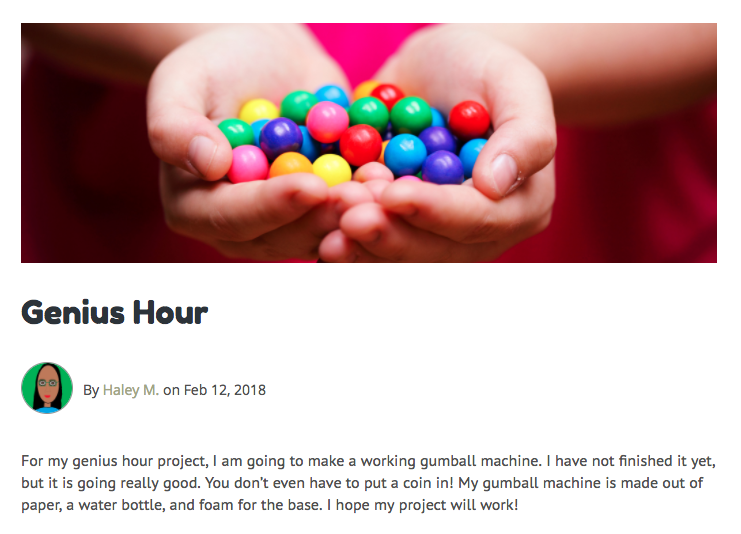
Here’s another post about building a gumball machine. She’s not sure if it will work but she’s eager to try out her ideas.
So far, not many students have reached the presentation stage. Most are still hard at work. Does everything always run smoothly? No! Are there students who are often off-task? Are there students and/or topics that need a lot of guidance and direction? Yes! But, that’s okay – we are ALL learning!
What are they learning? It’s not necessarily the content or even the topic. Instead, it’s the research skills, the ability to compile information and find the best way to present, the figuring out what to do if something doesn’t work the way you expect, the confidence that comes from speaking with assurance in front of others or on camera – these are what will help students succeed in life!
I am SO excited about our Kinder-First grade Spanish teacher’s project! Sra. Ross has done this activity with her first graders for a few years and, wanting to use Seesaw to share this with parents, asked me to be the “tech” help.
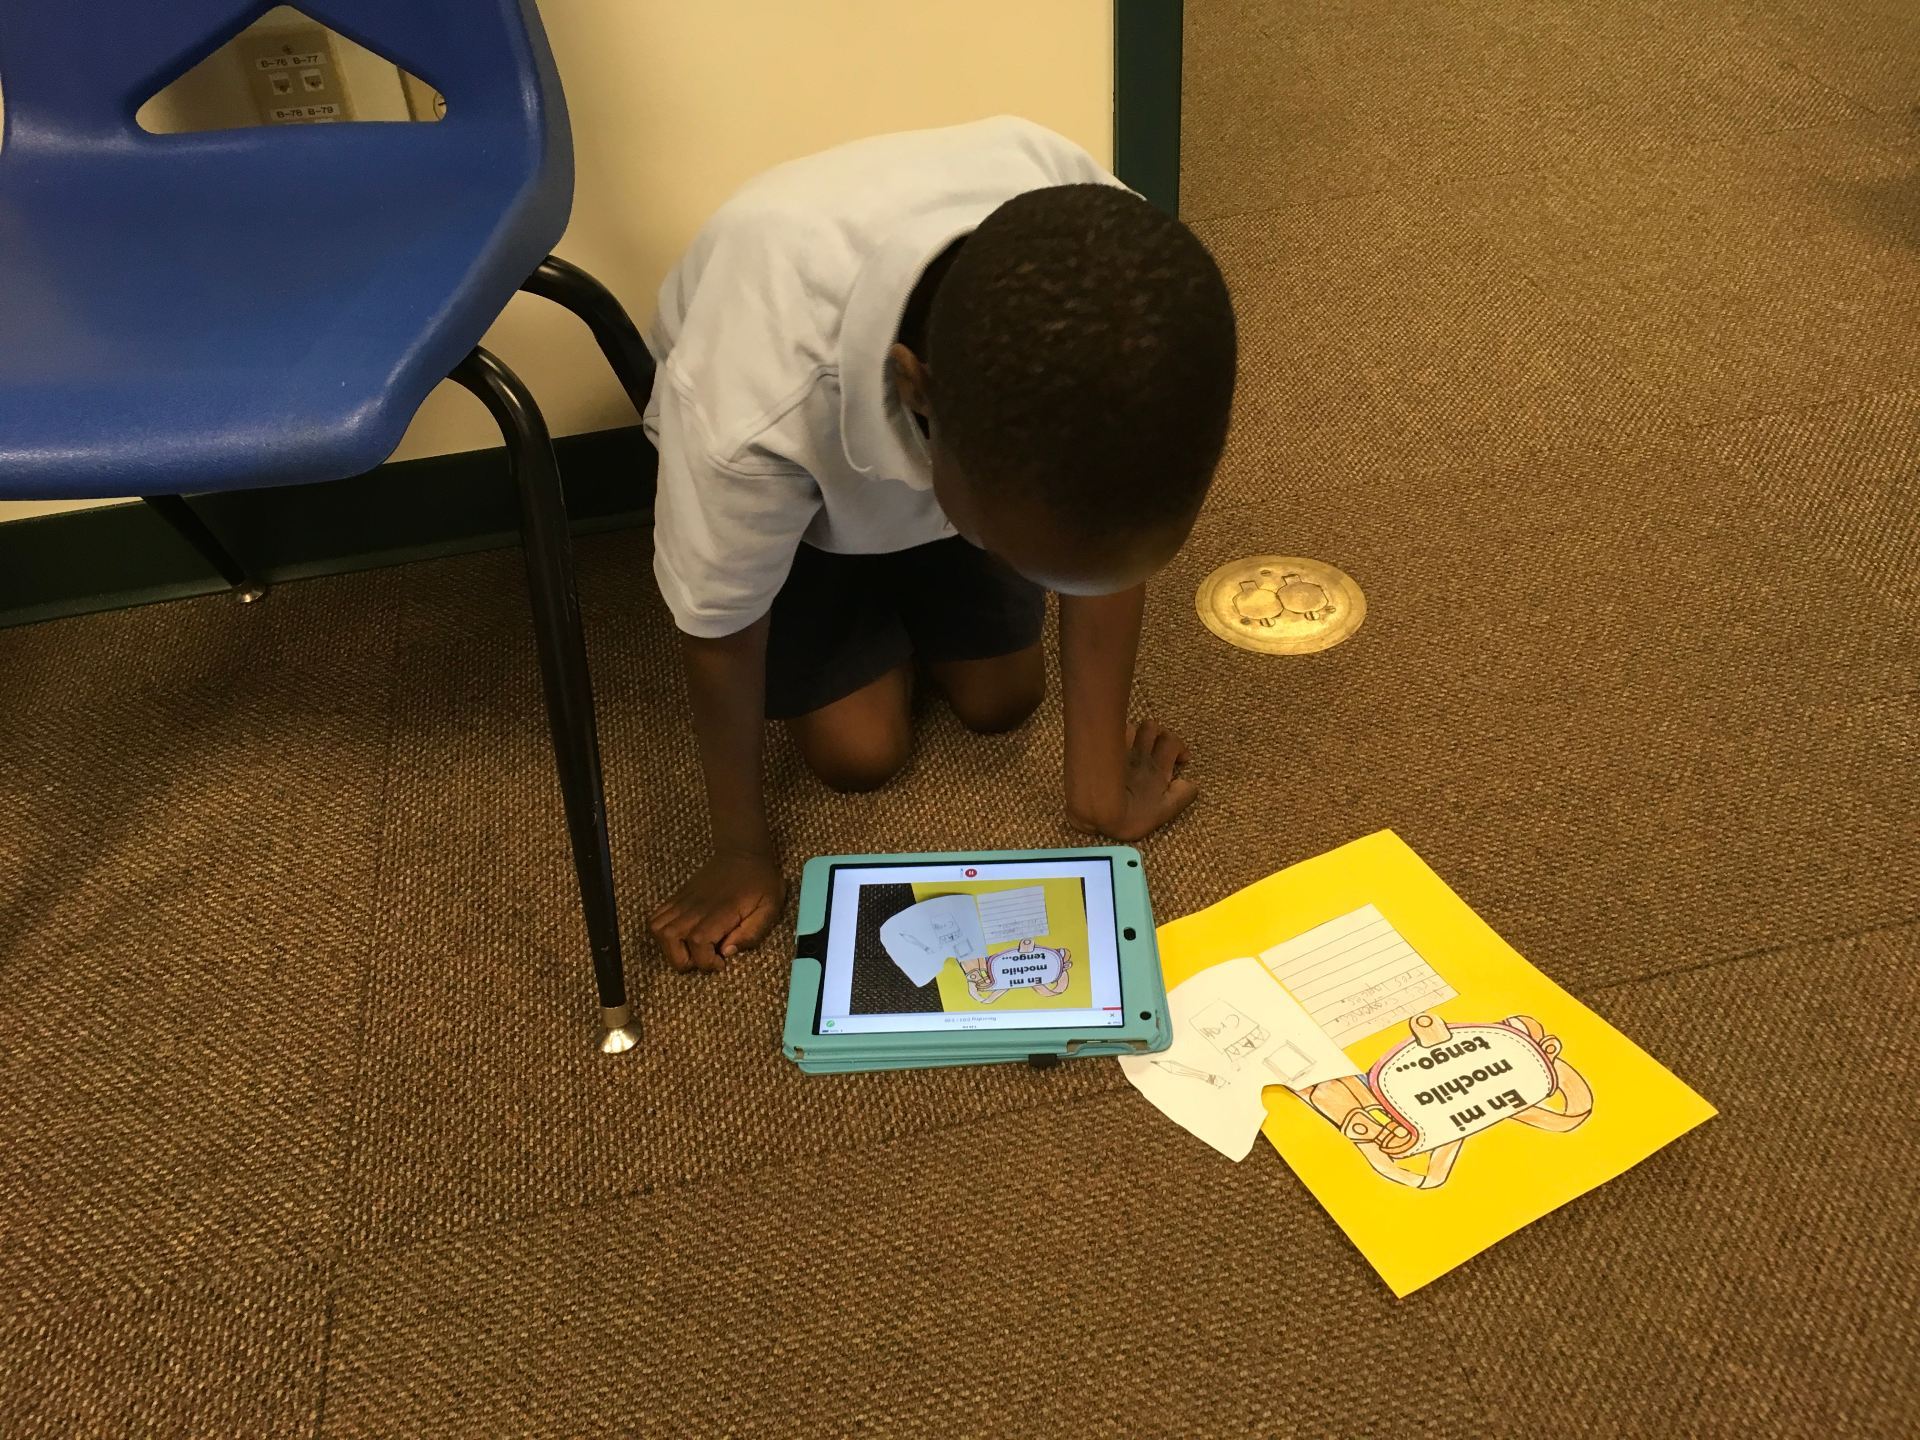
Sra. Ross’ students have been learning the Spanish names for school items. To help practice what they had learned, they wrote and illustrated various items (pencils, crayons, etc) that they would find in their backpacks. They practiced how to say, “En mi mochila tengo . . .” (In my backpack, I have . . .)
She brought each class to the lab where I offered tips on taking good photos of their work. (I certainly was no help with the Spanish!)
Then, they recorded what they’d written.
Before posting, the children checked in with Sra. Ross so she could help with pronunciation.
Sra. Ross’ bulletin board will feature the students’ work along with QR codes to scan so others can hear their voices. What better way for parents to listen to their children speaking another language! Thankful that Seesaw makes this such an easy process.
Wouldn’t it be fun to have a robot at your beck and call? What would you have it do? How would it help you?
This is what the second graders were asked to ponder! Then, to their delight, they were asked to build a robot prototype. After constructing the robot, they were to post a picture or video, along with narration describing their creation, to their journal in Seesaw (digital portfolios).
The idea started with a Christmas gift from by mom! My mother is a fantastic quilter, has an amazing ability to determine just the right fabrics that go together, and is one of the most creative people I know! Recently, she’s been designing small quilts for every month that I hang in the window next to the door to my classroom. This past Christmas she gave me a really cute robot mini quilt. I told her it was perfect; that I’d been thinking of ideas for a robot lesson. Within days, she had created more of these little robot quilts!
Add in two fun robot books, and we were ready to begin!
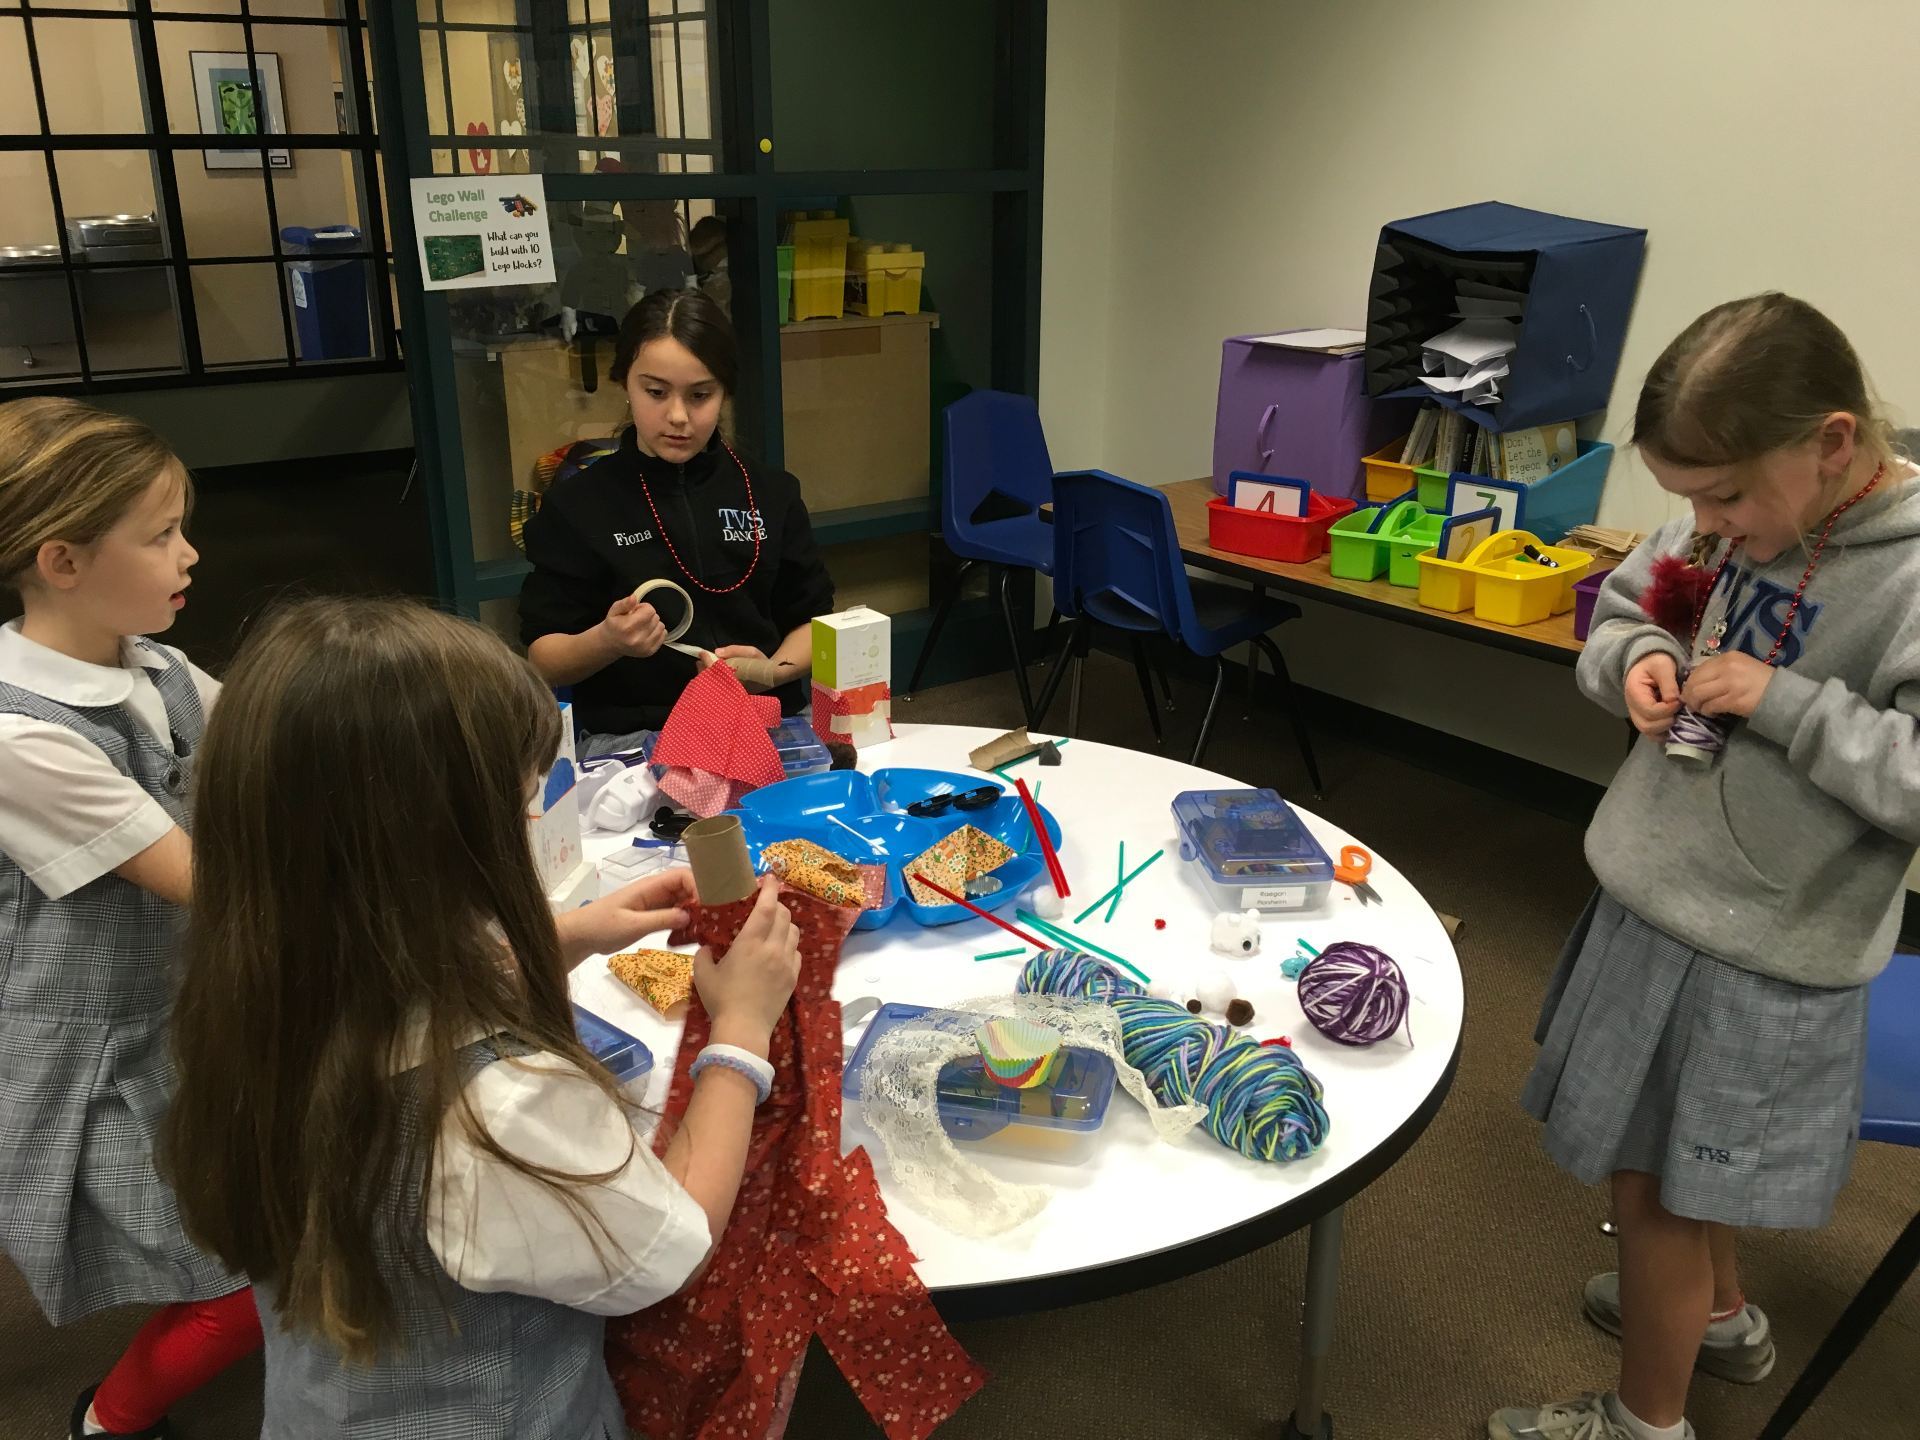
We started with the question, “Would you like to have a robot to do something for you?” We brainstormed ideas of all kinds of tasks that robots could accomplish to make our lives easier. Then, to lots of “oohs” and “ahhs” the quilts were shown one at a time. You could almost see the wheels turning as students began to get ideas on what they would build!
Each table had a collection of q-tips, fabric, wiggle eyes, reinforcements, muffin cup liners, ribbon, yarn, lids. There were also small containers, boxes, and empty toilet paper rolls available.
Oh, my! I had no idea how exciting this simple creation opportunity would be! I enjoyed watching the students try different materials to create the “perfect” robot. If one item didn’t work, they regrouped and tried something else. For several, the idea they had in their mind at the beginning of the class wasn’t like the final product. That is such a good lesson to learn – not everything works the first time!
The children had the option of taking a picture then recording about the robot, narrating a video of their design, or having someone else video while they explained their robot. Below are some examples:
We had robots that danced, some that tossed baseballs, others that were like pets to be a friend to the owner, and many others. The one common factor is that ALL students were extremely proud of their robots! One confident child stated, “I LOVE my mind!”
I met Beth a few years ago while attending an EdTechTeacher conference and she is one of the most creative and knowledgeable persons I know. I ALWAYS learn so much in her sessions! Her focus is on pedagogy first; using technology ONLY if it is the correct tool to help meet the objective. So, I knew whatever she had to say would be well-worth reading!
Since Book Creator is my go-to app and coding is an area I feel is important for all ages, the title certainly caught my eye!
As it turned out, I focused on a variety of coding activities using Ozobots (to the delight of all the students) and ran out of time for other options. This month, I revisited Beth’s post and incorporated it into the fourth grade lessons.
Take a look at Beth’s video, Teach Coding as a Language with Book Creator.
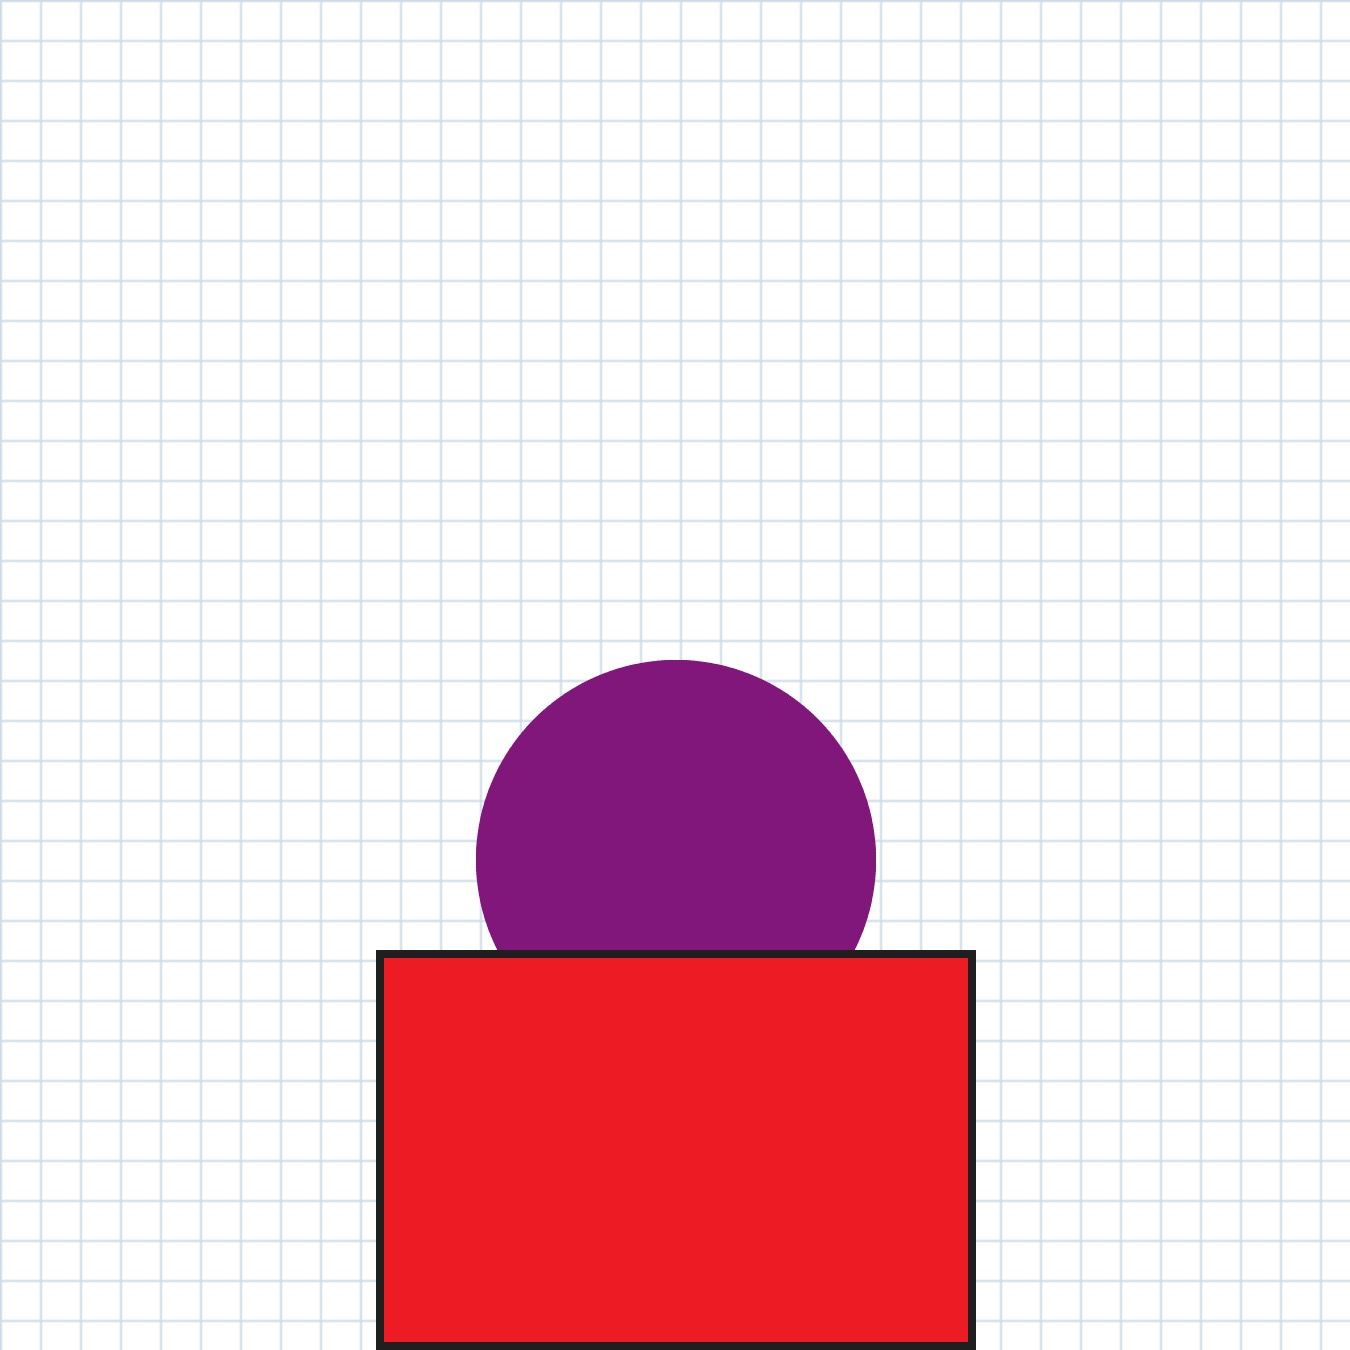
Following Beth’s ideas, I started with these instructions, telling students I could only speak in concise sentences:
Add > Shape > Rectangle
“i” > Color > Red
“i” > Border On > Color > Black
Add > Shape > Circle
“i” > Color > Purple
Move Circle > x=238; y=338
“i” > Move to Back
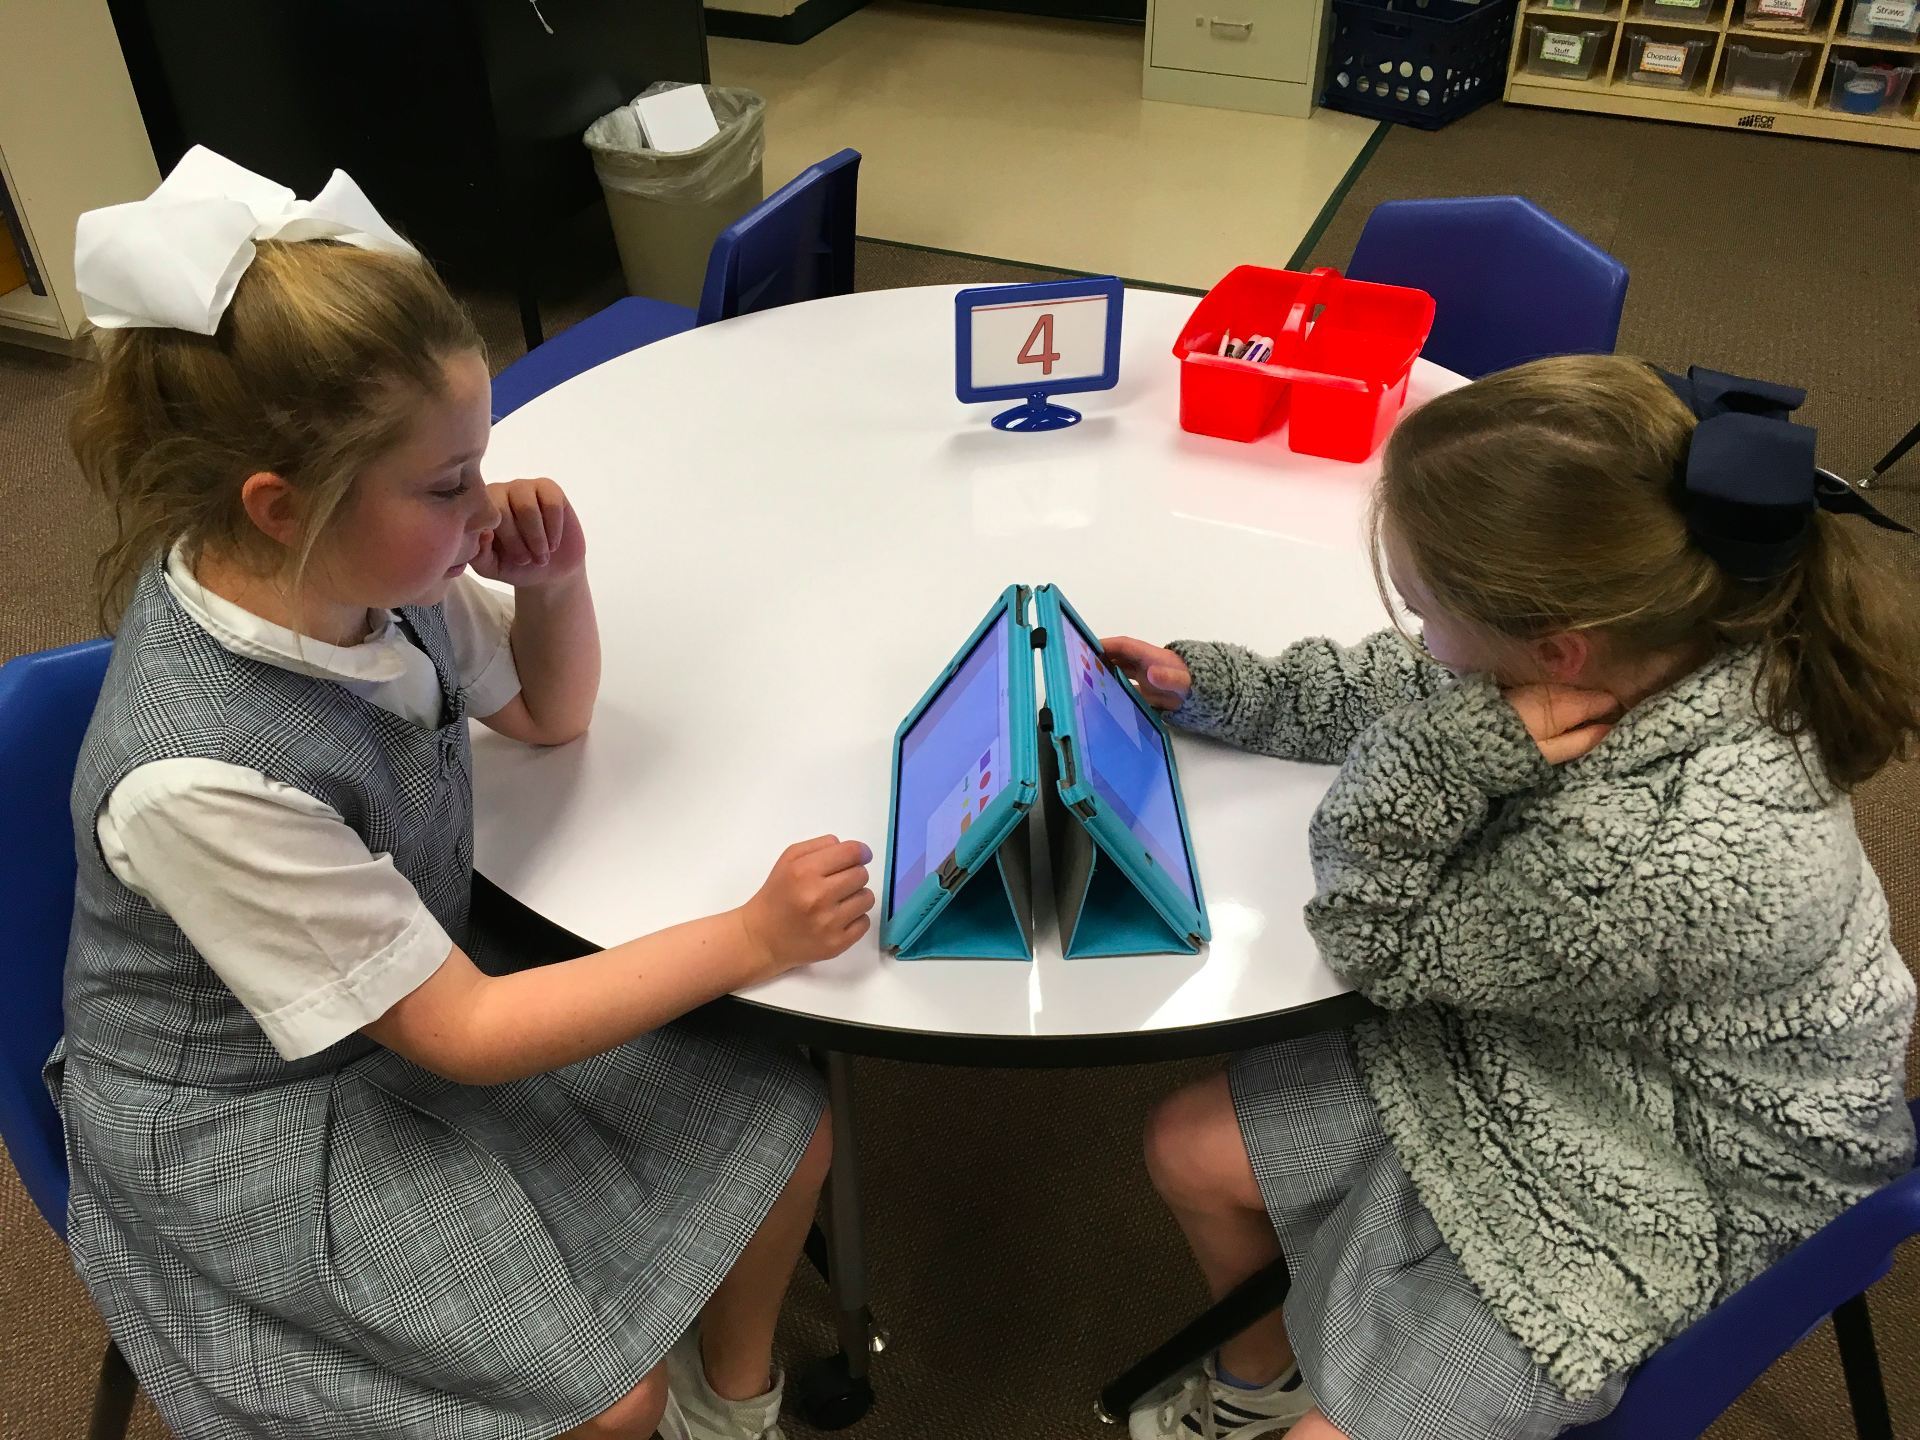
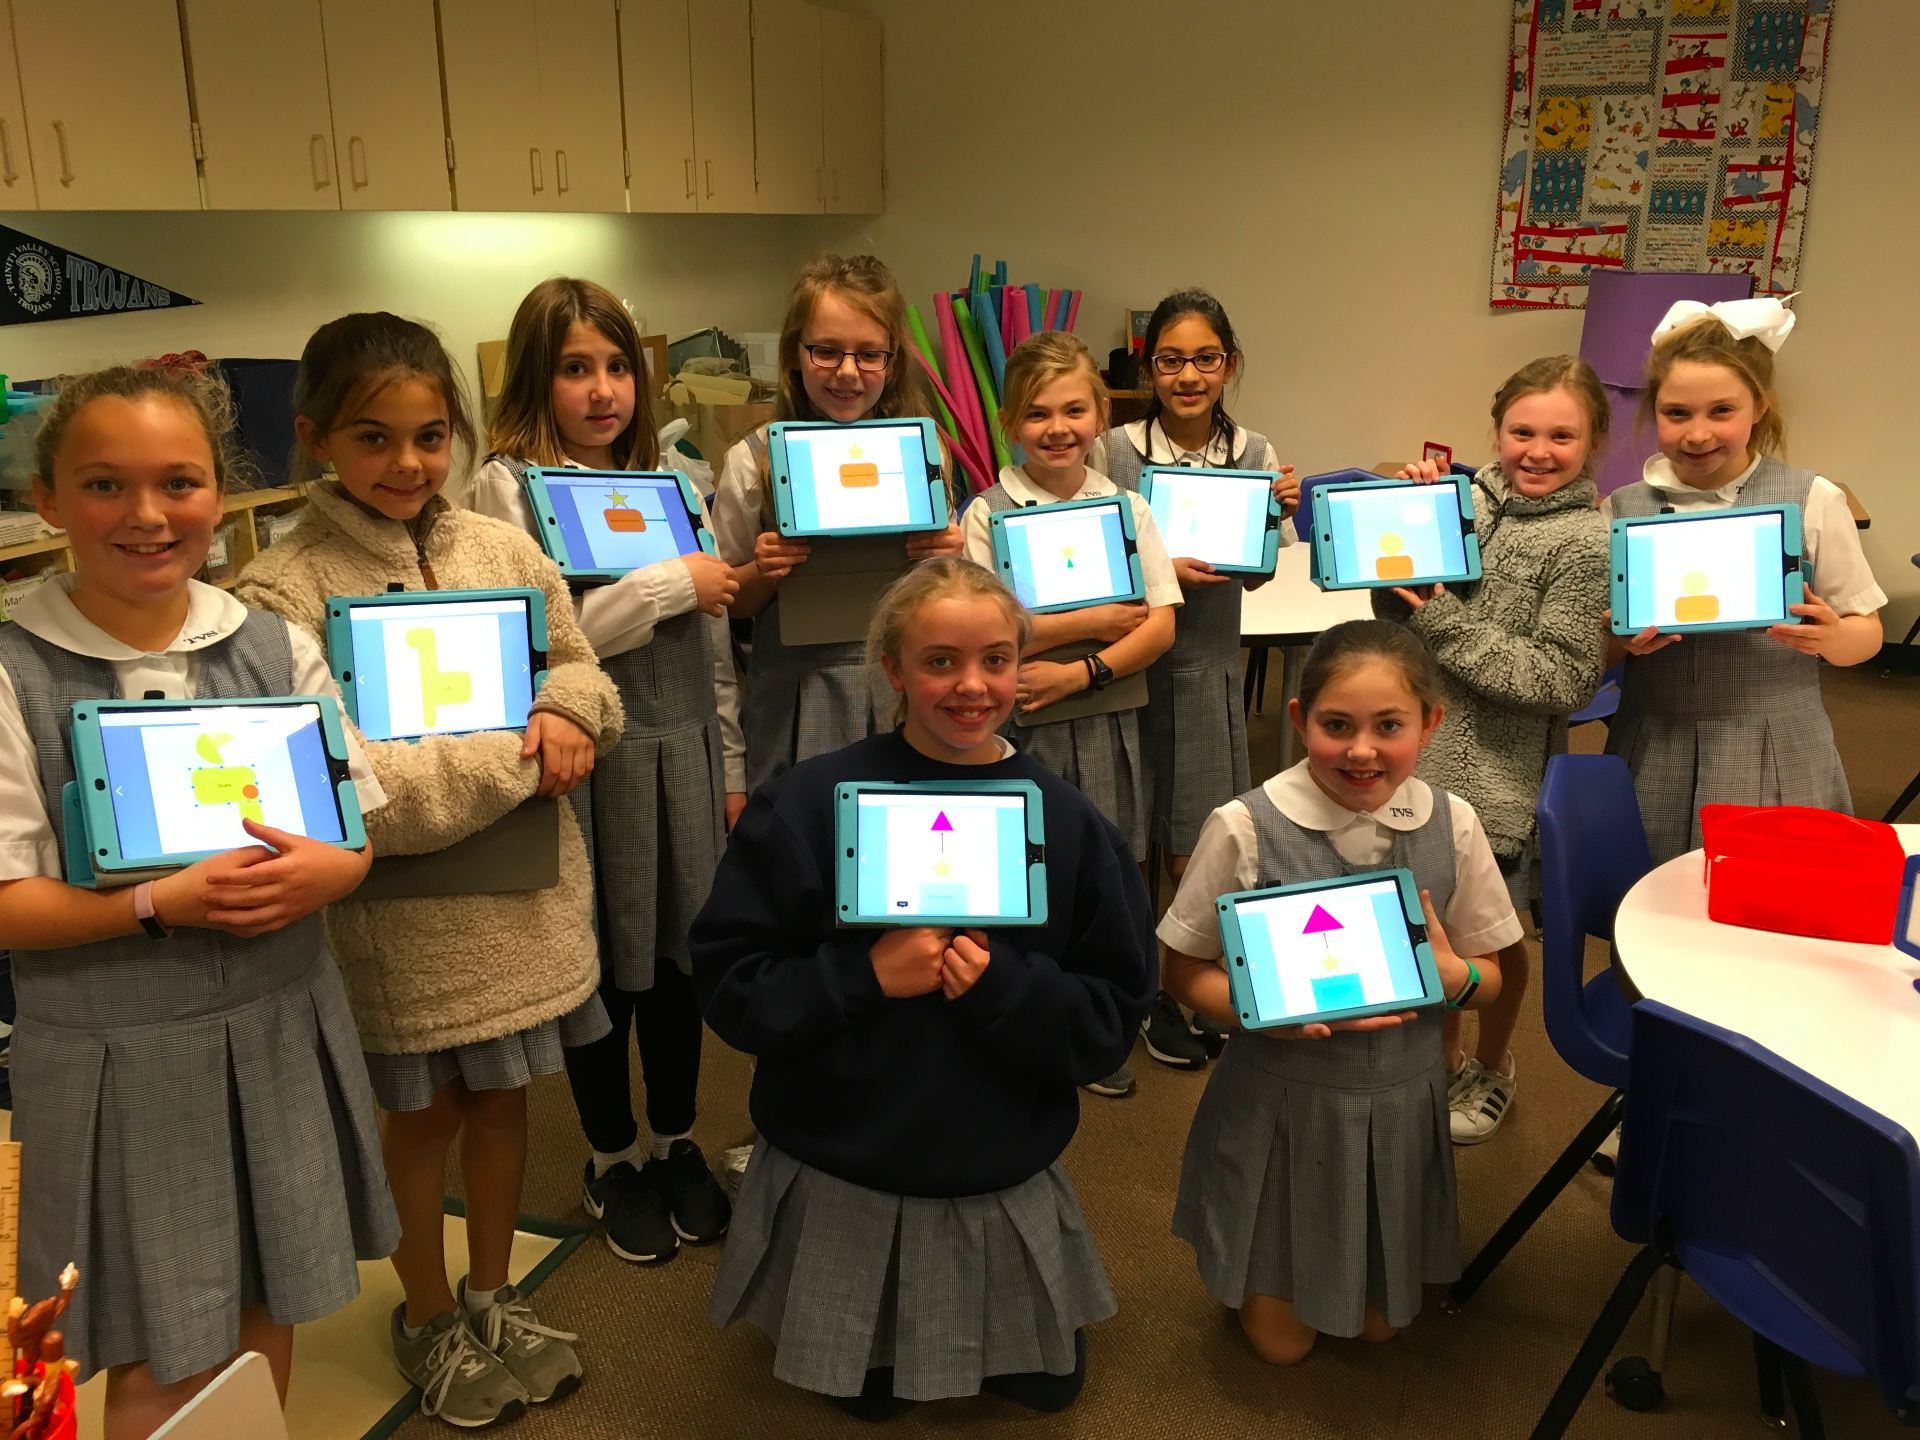
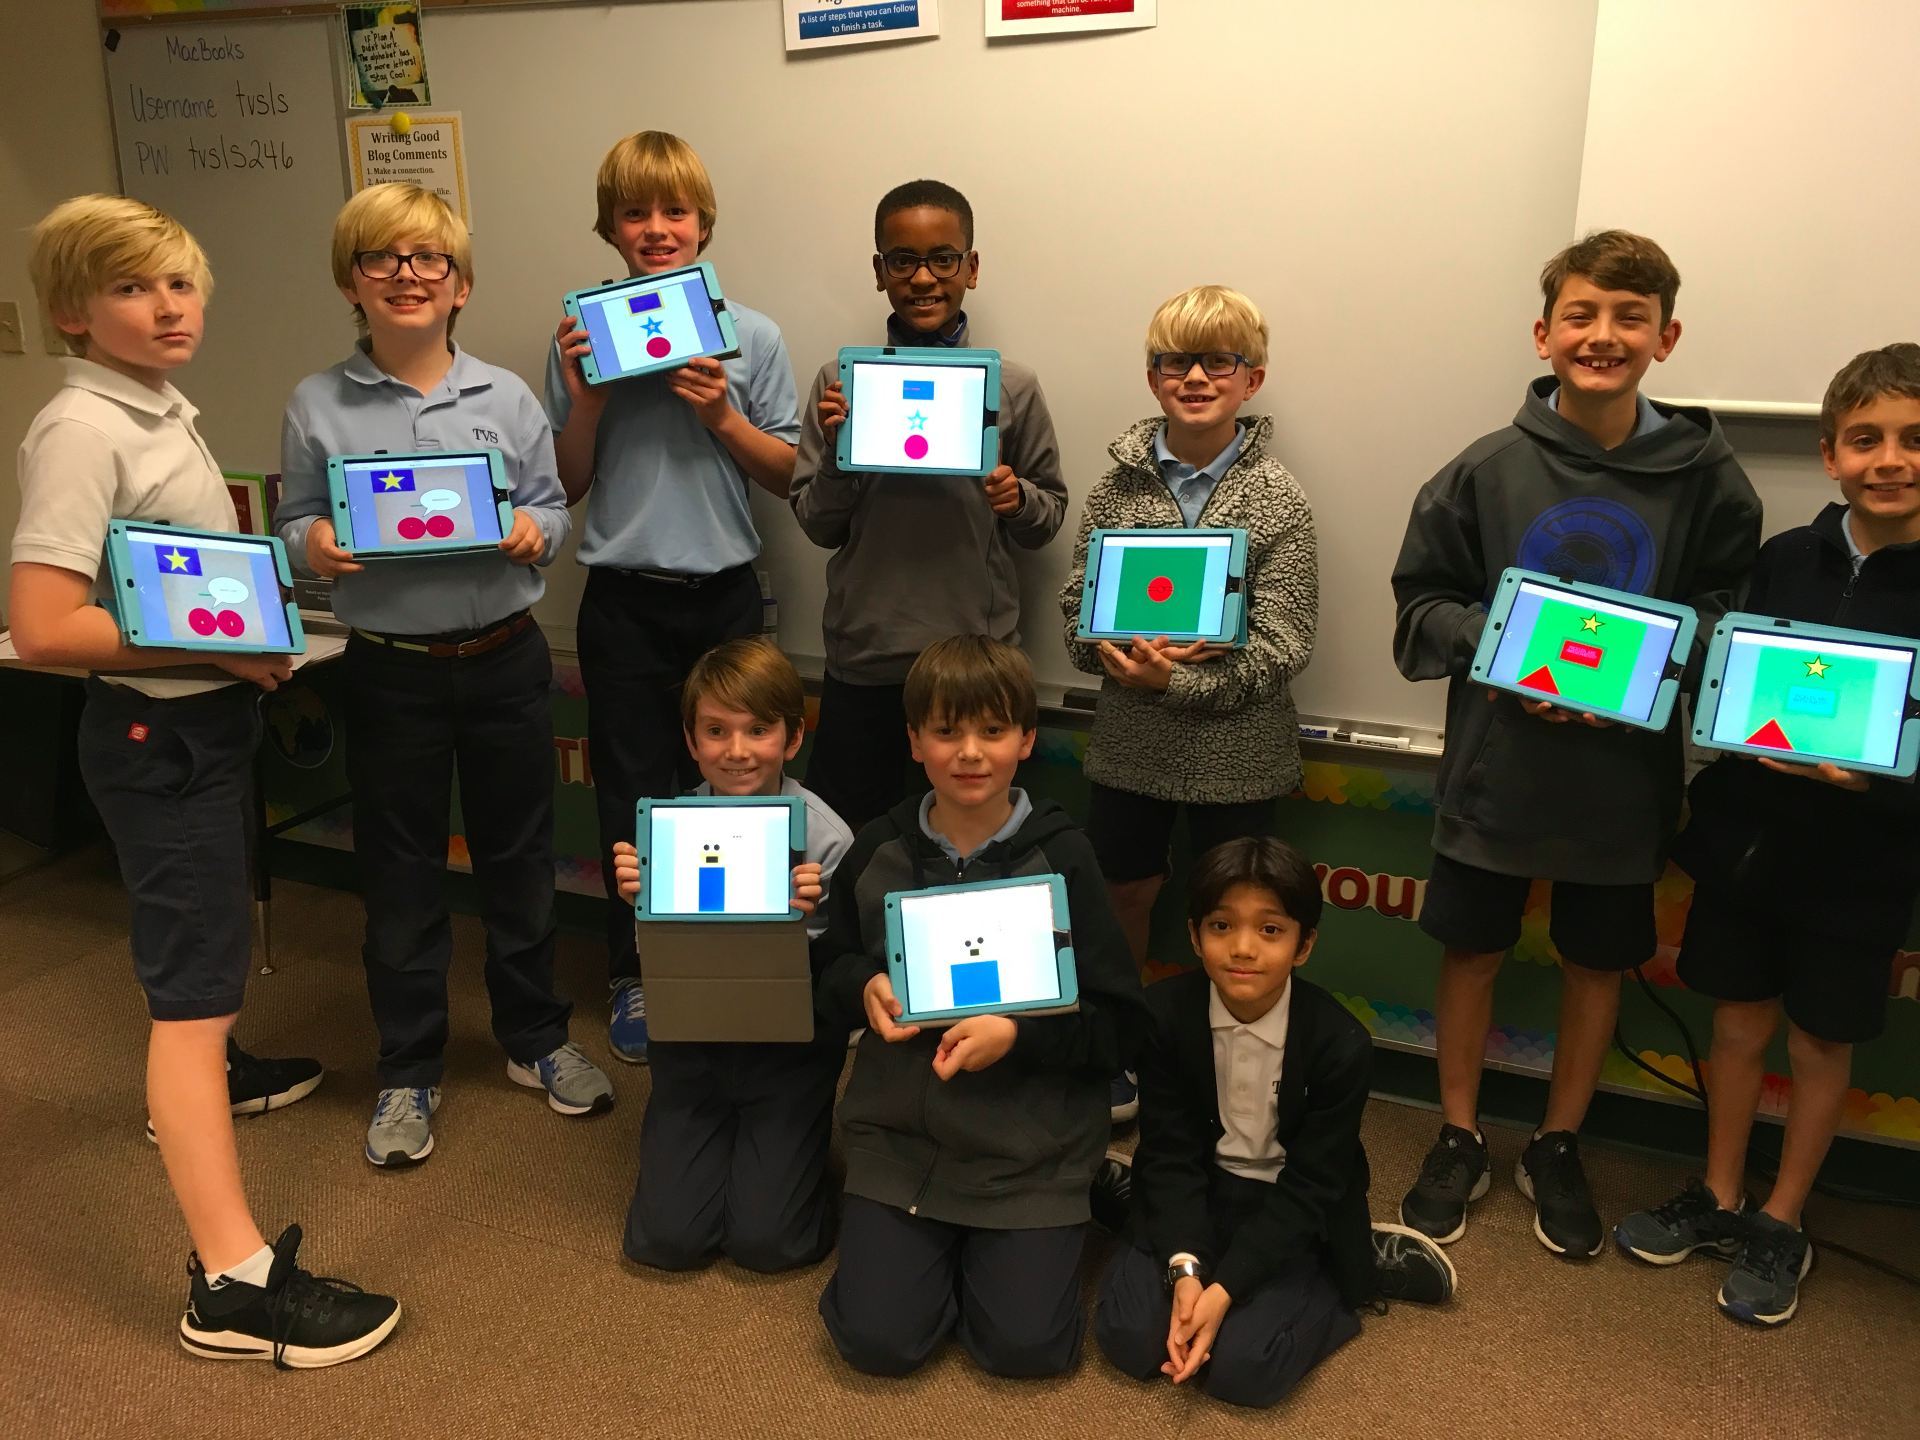
The next step was to ask the students to pair up and set up their iPads so that they couldn’t see the partner’s drawings. They were to alternate directions, giving one line only for each turn. They could create whatever they wanted.
Oh, my goodness! I honestly don’t think I’ve ever had EVERY SINGLE student on task for the entire class period! Talk about fully engaged!! The only complaining heard was when the bell went off for the end of class – no one wanted to stop!
Here are photos of the partners with their drawings. They did a pretty good job giving and following instructions!
Of course, the “coding” we do in the lower grades is not the same as what programmers do for a living. However, it is an excellent way to teach problem solving, perseverance, computational thinking, communication skills, and so much more.
Beth Holland says this quite well in the second paragraph of her post, “However, after speaking with computer science educator, Douglas Kiang, I learned that the real power lies in teaching computational thinking and creative problem solving – not any specific type of code.”
I was amazed at how well this activity went and how quickly the students picked up the concise “coding” language as they directed their partner what to draw.
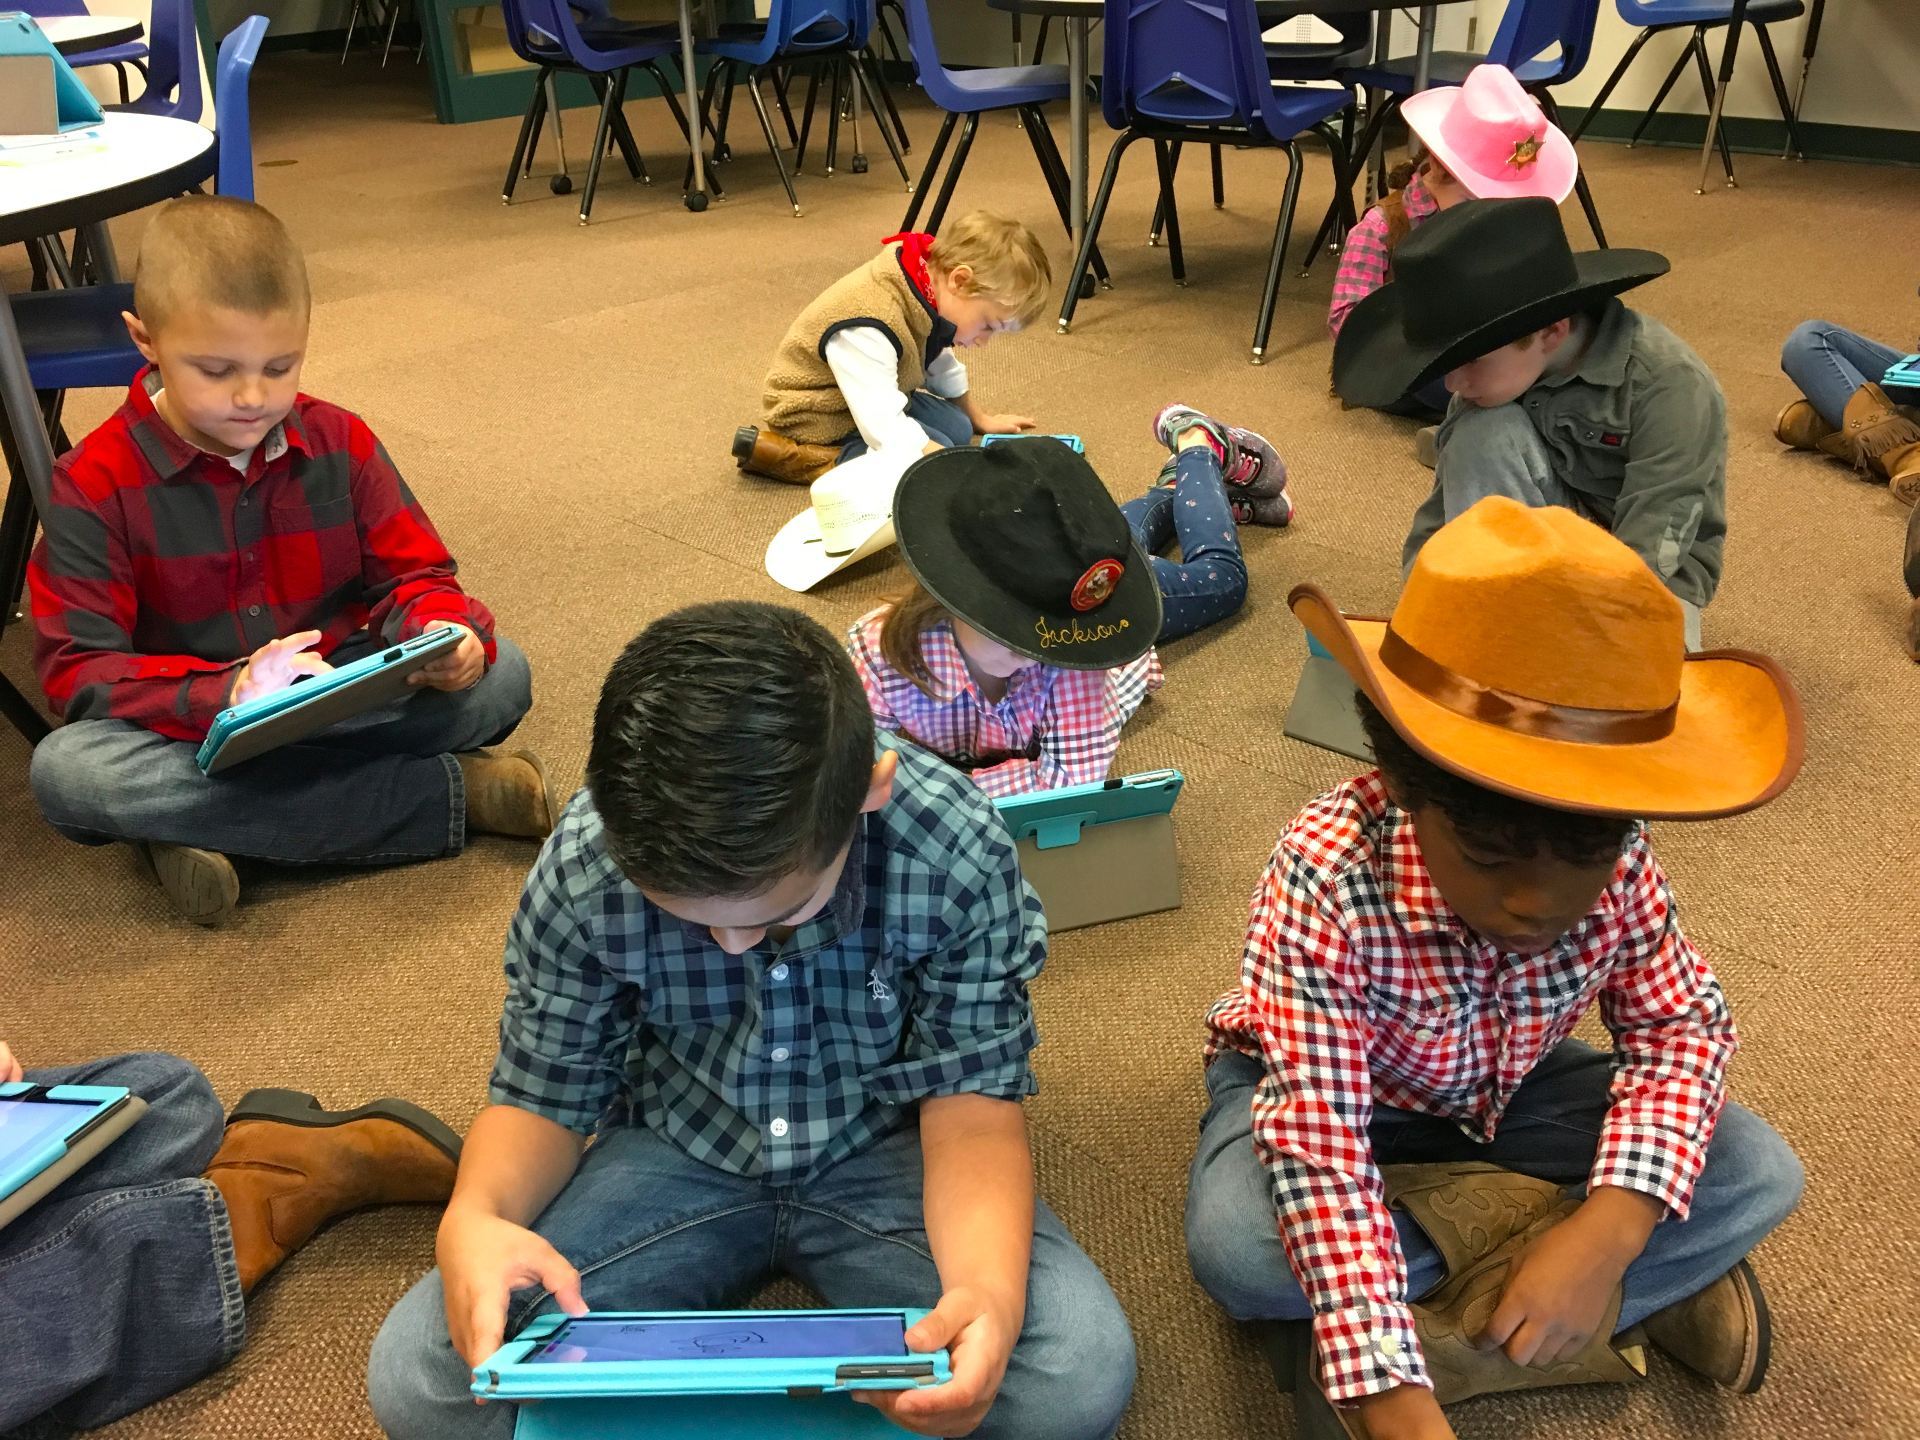
Western Day is always a fun time at school. Everyone dresses in their best western wear – boots, hats, the works! When the kindergartners visited the lab, I wanted to capitalize on this excitement by having them post something to their Seesaw journal. The original idea was to have the students take a selfie then decorate themselves in western clothes (similar to the Snowy Selfie that Seesaw added to the Activities Library). However, something happened when I modified the activity; the students signed in without the opportunity to choose the camera. Still have no idea what went wrong!
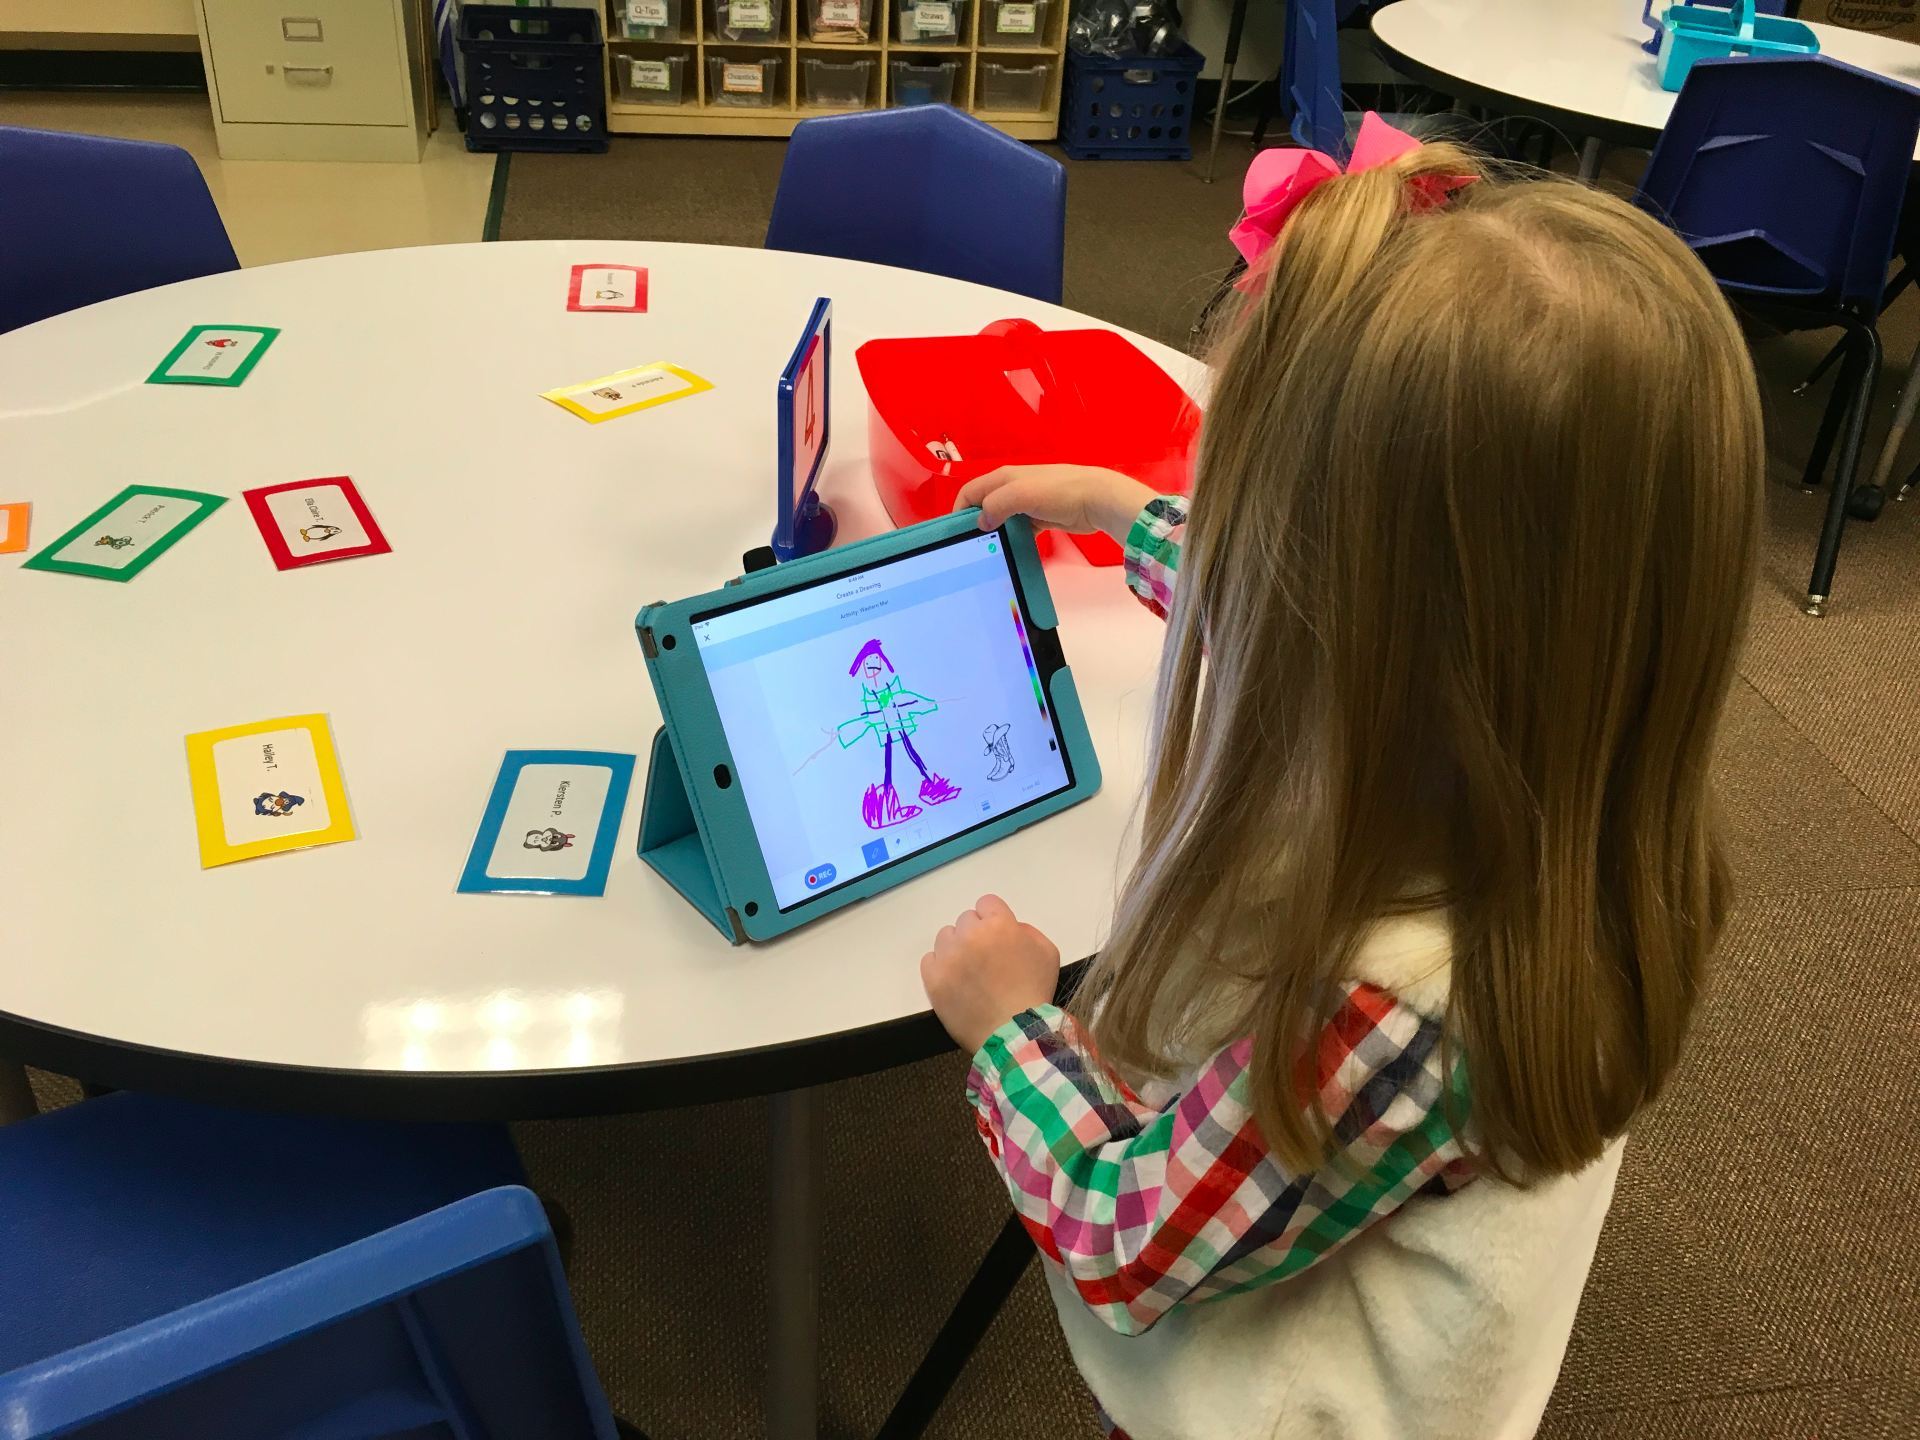
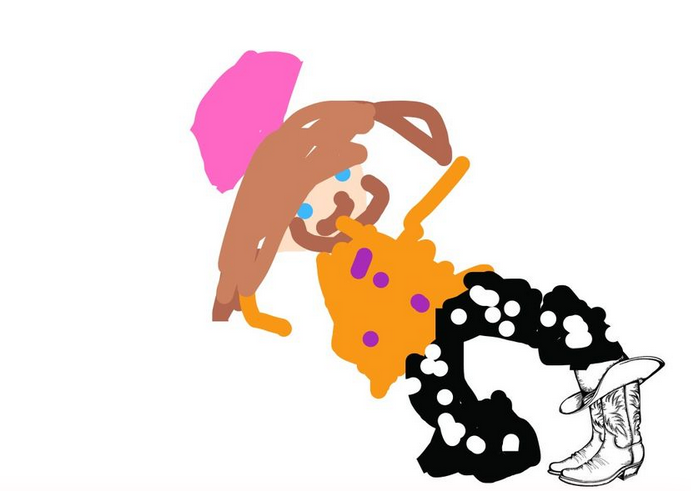
Quickly moving to a backup plan, I asked the children to draw a picture of what they wore and then they were to record something about themselves as a cowboy or cowgirl. This was the first time recording on their own.
I absolutely LOVE how this child created her drawing by using the boots on the template I’d uploaded when the Seesaw activity was made.
Listen to this little guy work on saying bandana. SO cute!
Were the recordings perfect? No, some were too soft to hear what was said. But, what’s better than listening to the cute voices of little children??
Recently, I came across some fantastic Seesaw Activities compiled by Carrie Kunert, Beaverton School District Innovation Specialist. WOW! What a wonderful resource for all ages and subjects!
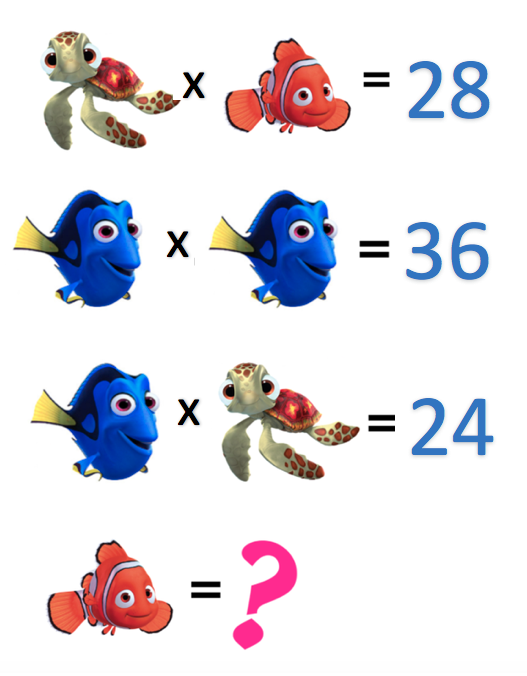
I’d been asked by a third grade teacher to review Seesaw with the students because some seemed to be unsure about the sequence of posting to their journal. Wanting to do something with math, I was excited to come across Carrie’s collection. For the first class, I chose an addition algebraic puzzle. I thought we’d breeze through this and move on to multiplication.
They quickly caught onto the process needed to determine the values. It just took longer than expected to record the steps needed to solve. For the next two classes, I redid the above puzzle, changing it to multiplication but using the same symbols.
I was a bit surprised at some of the explanation, especially since everyone knew the answers. But, thinking about it, how often to we ask children to explain their thinking? It definitely takes practice! Below are a couple examples of those who had no trouble solving; they just found it difficult to put it into words.
Here are samples of students who understood the sequence of events when explaining – that the second sentence MUST be solved before any other values can be determined!
The more I ask students to reflect or explain, the more I realize the importance of doing this. If a child can explain the process, chances are his/her understanding is solid.
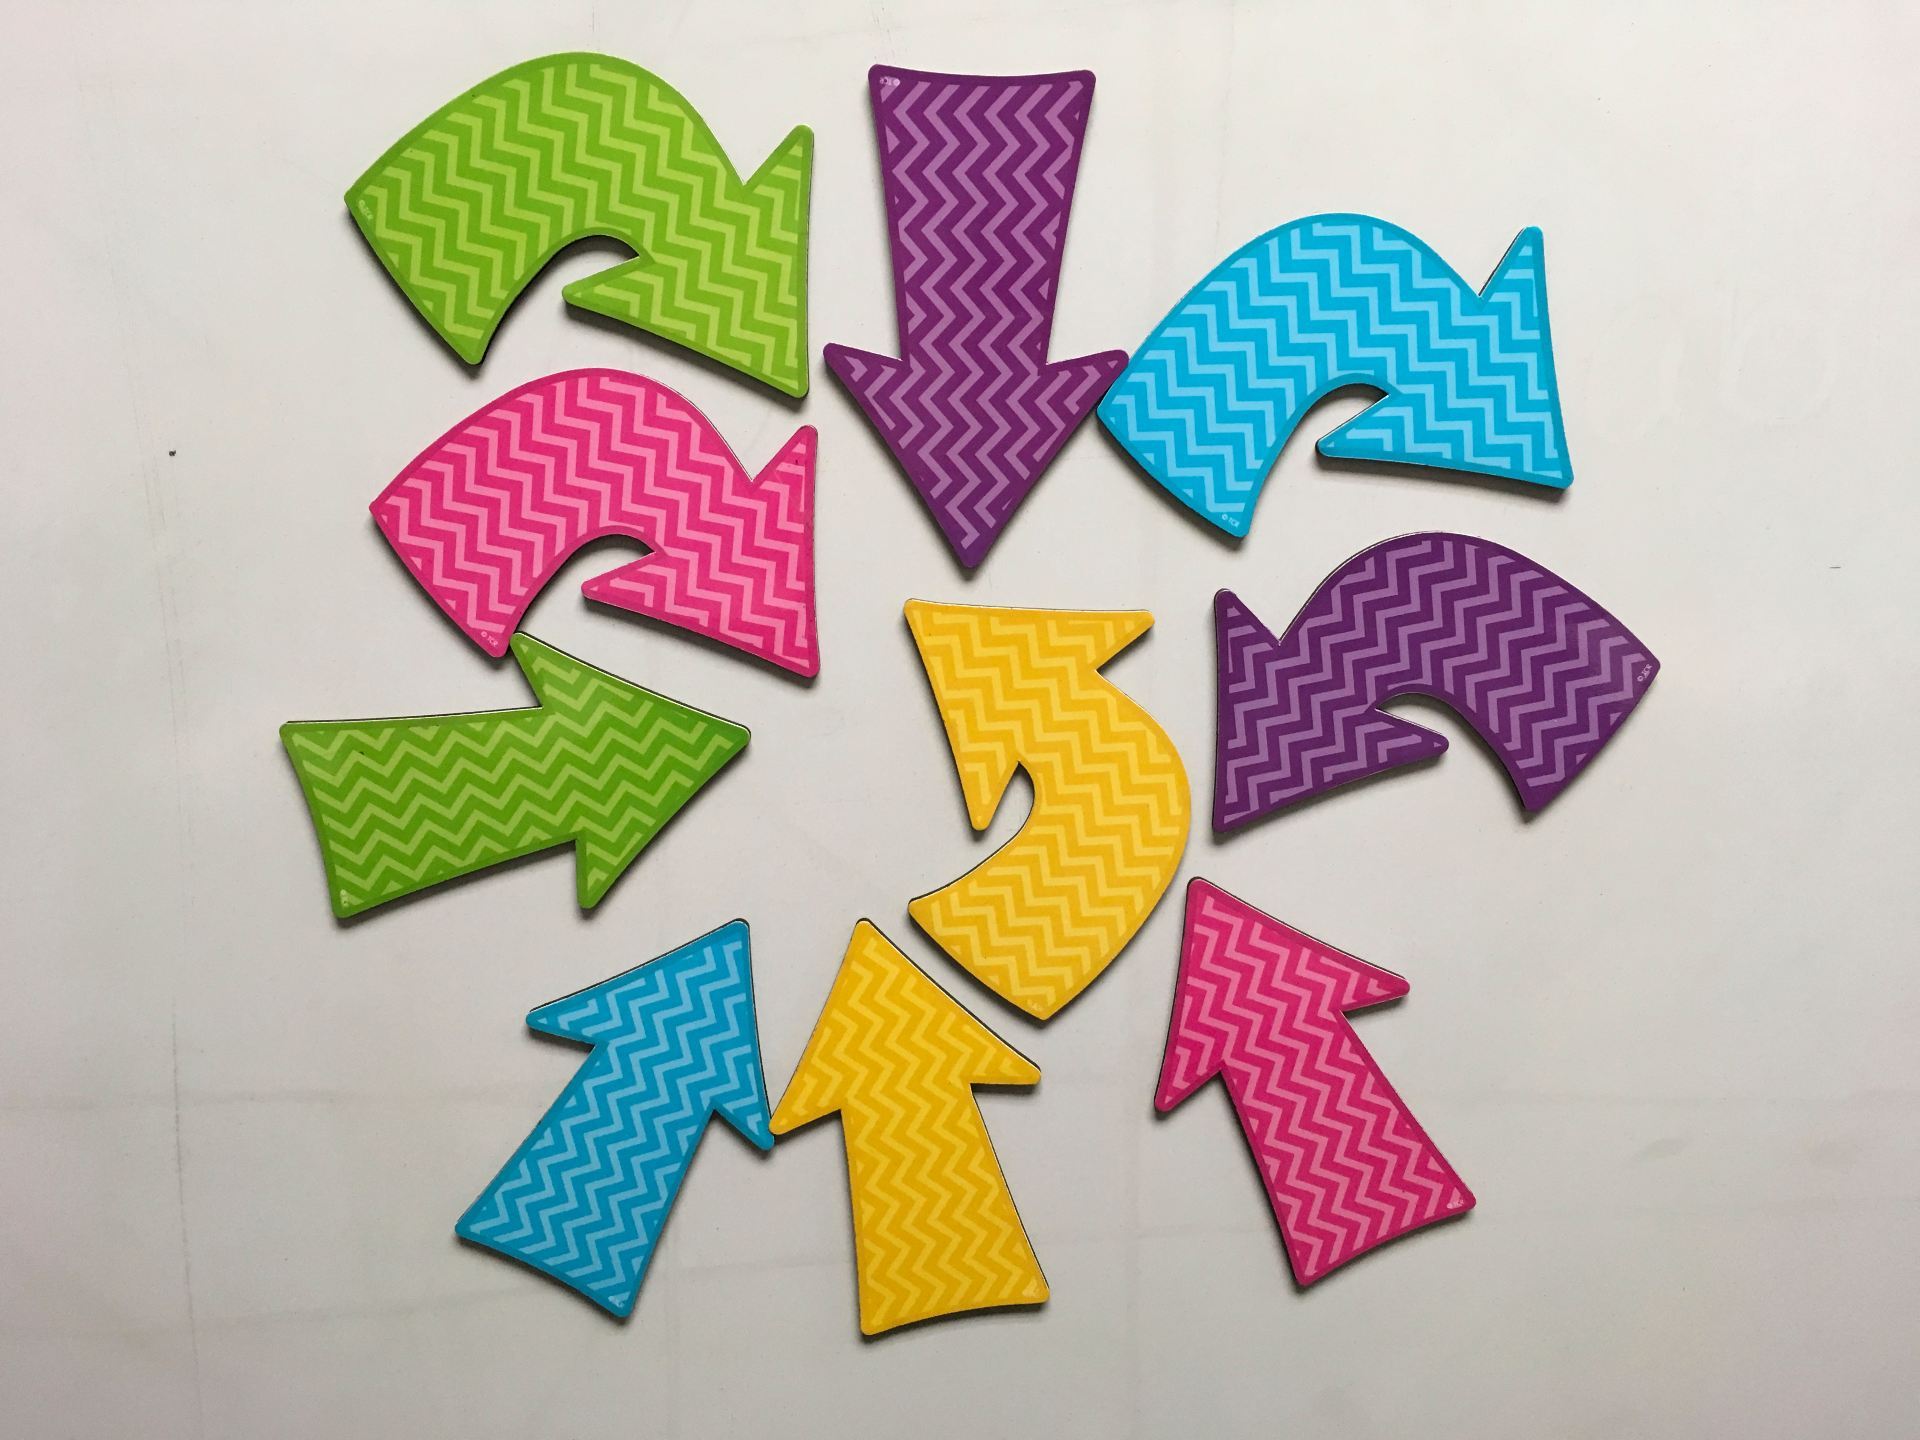
I found the best tool at a teacher supply store last summer – magnetic arrows!
I’m not sure what the maker had in mind for these, but they are absolutely PERFECT for practicing coding movements on the board!
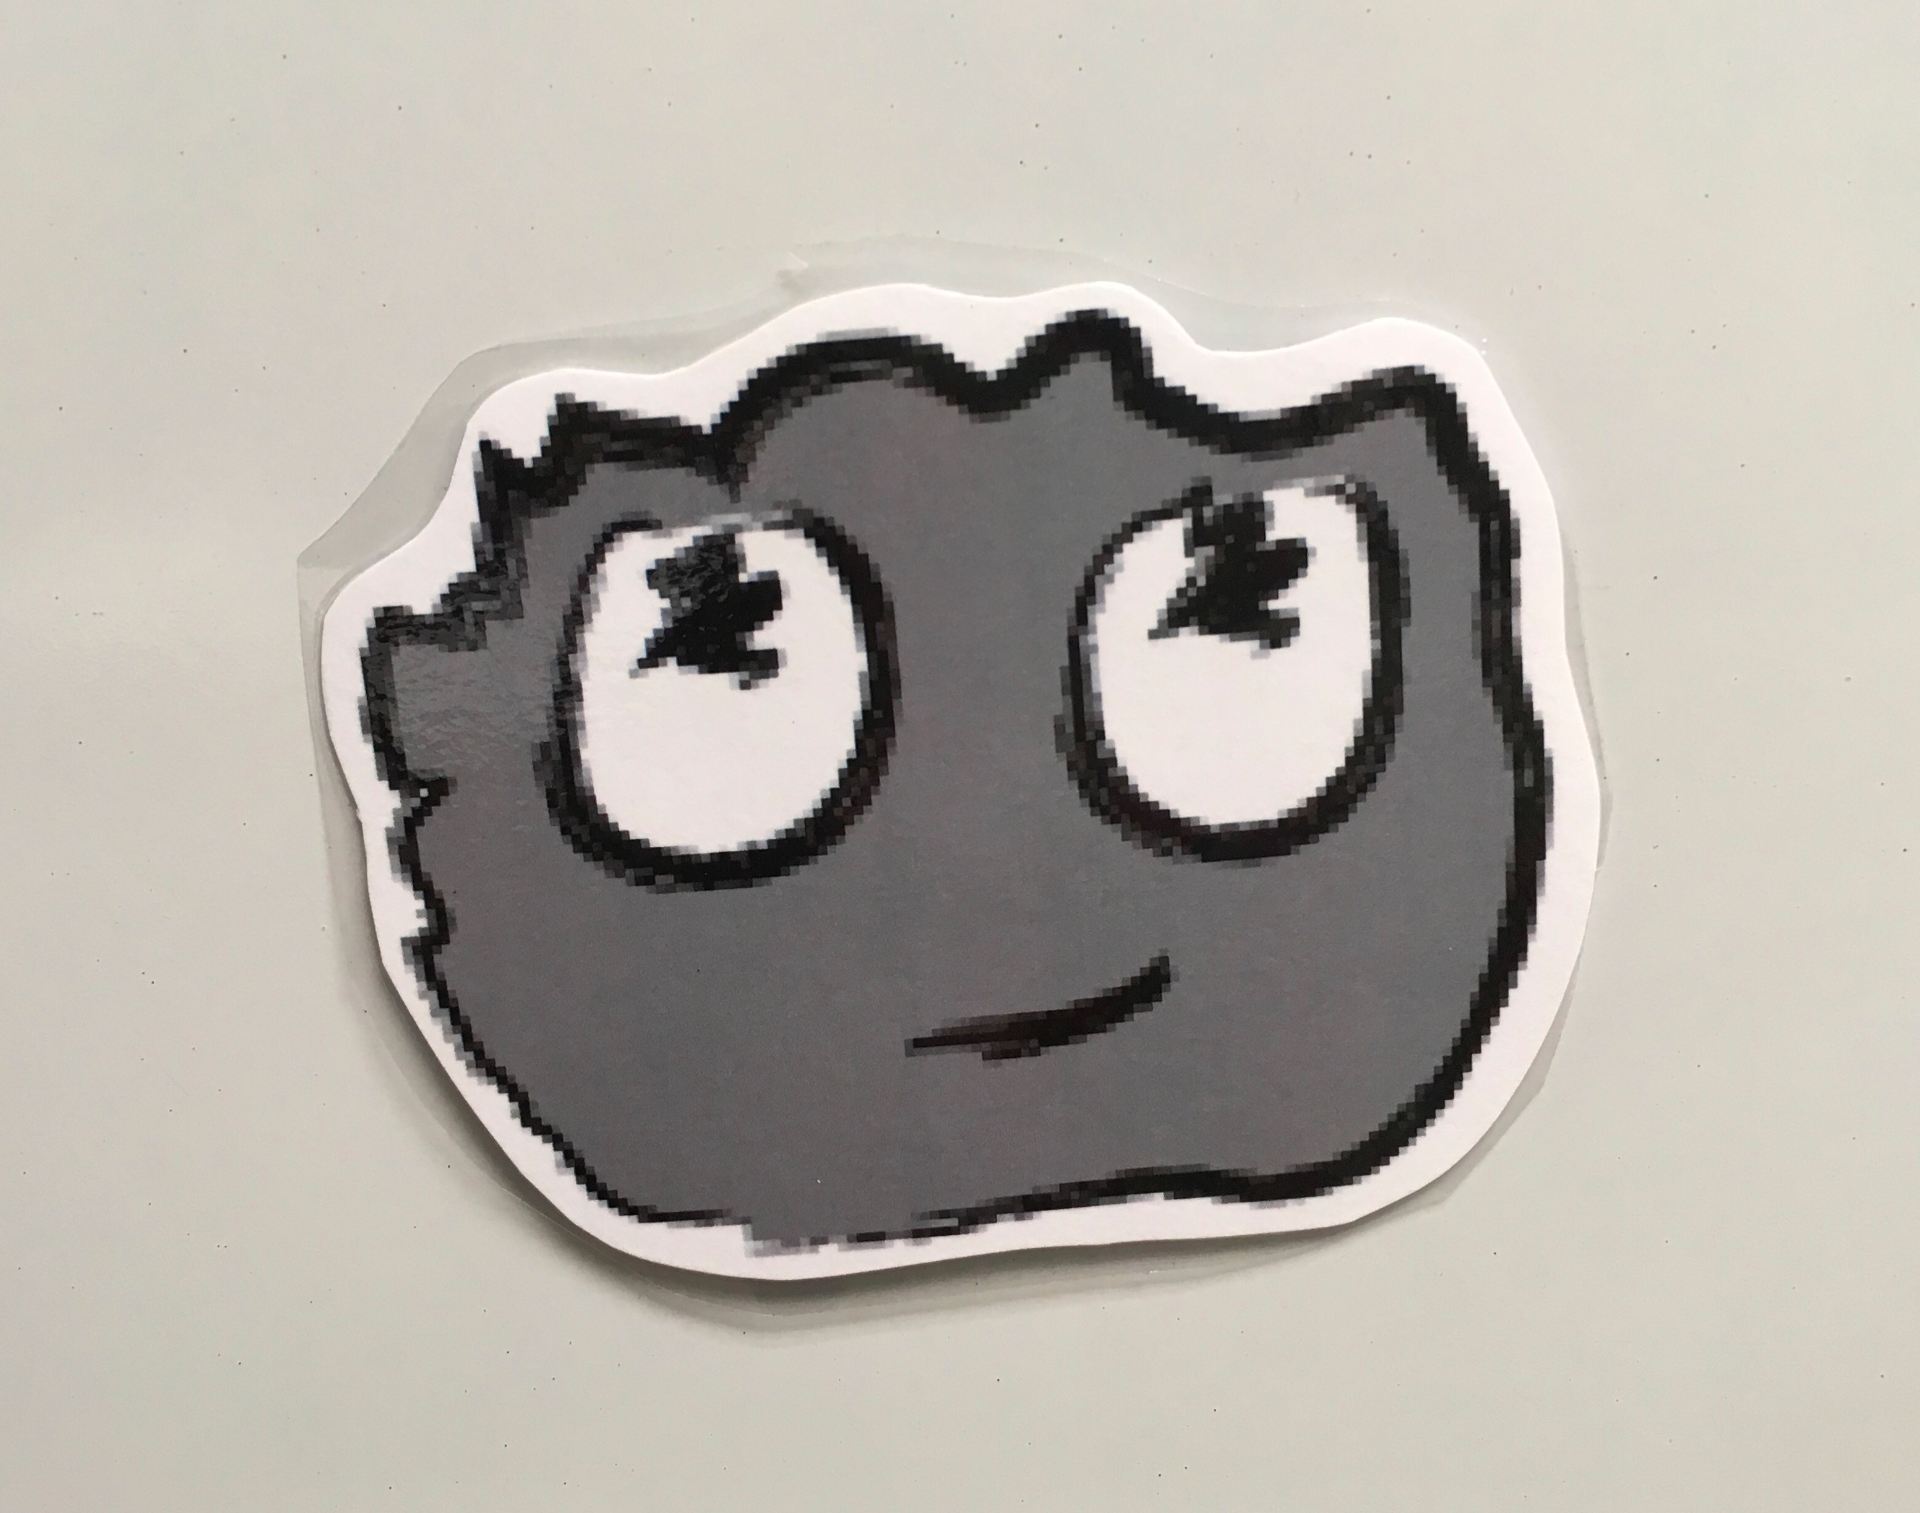
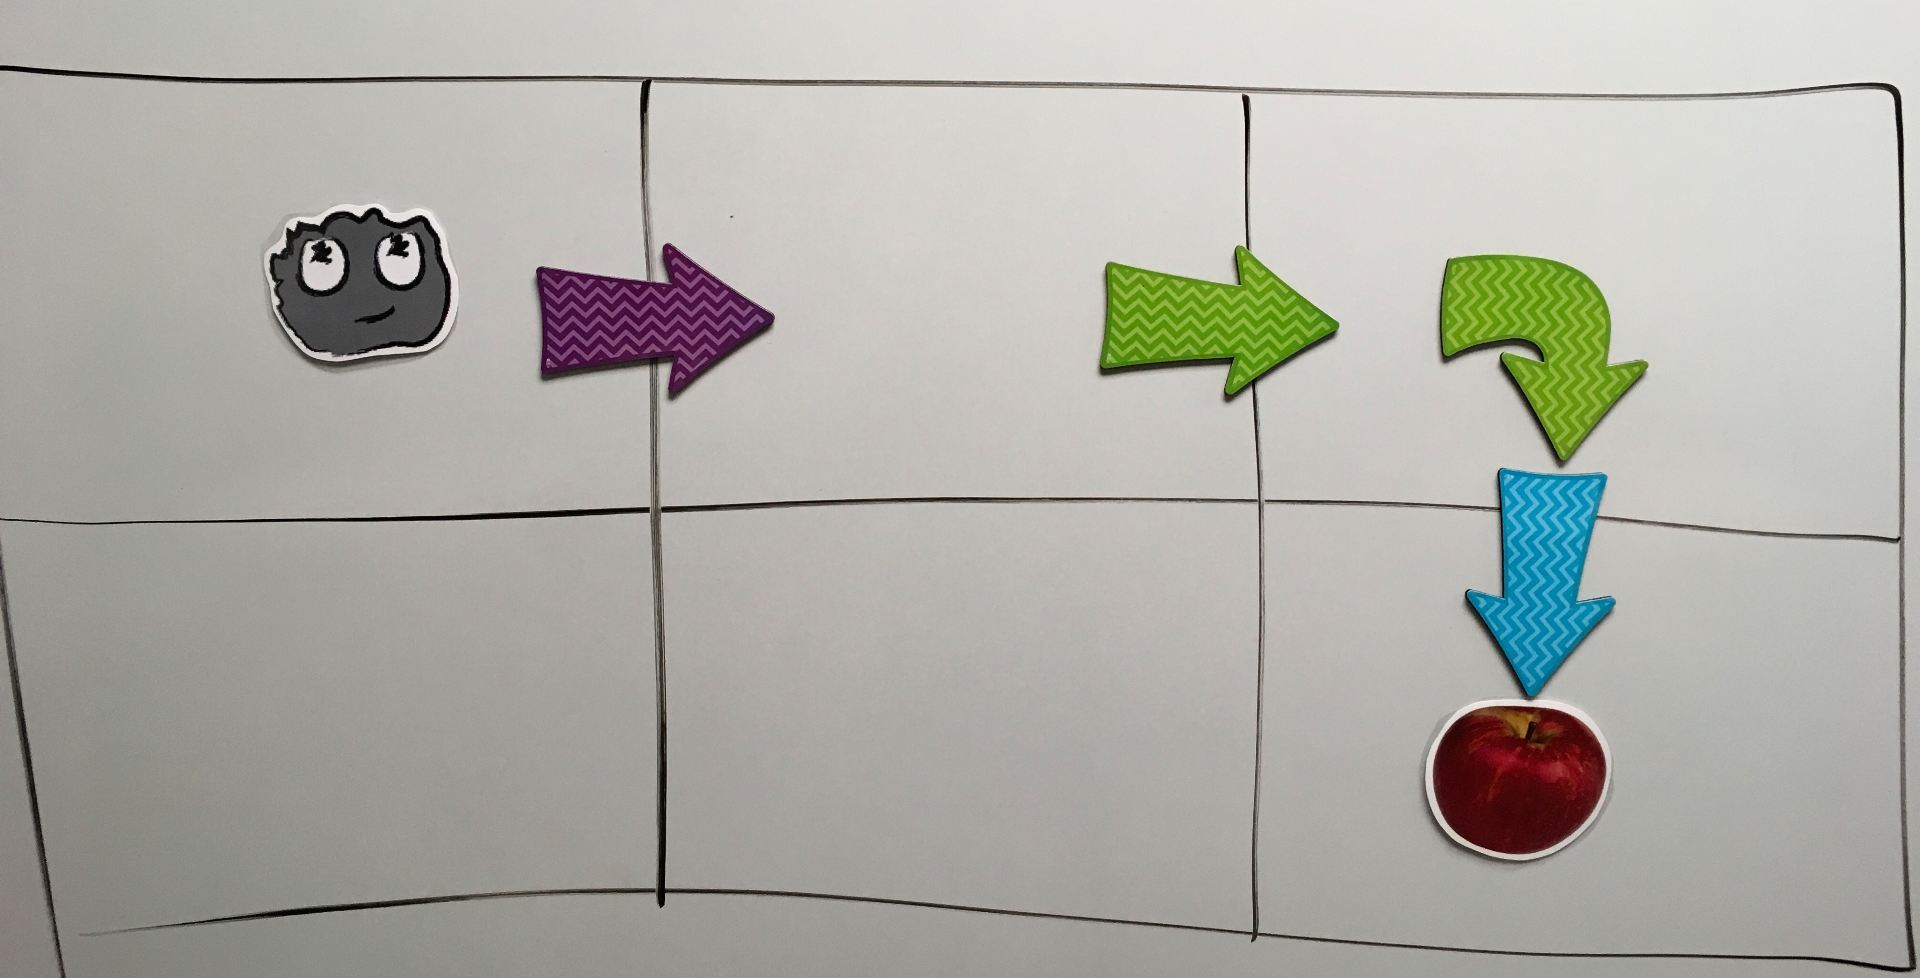
One of the best and most comprehensive (and free) coding curriculum is from code.org. There are many excellent programs and apps available but I highly recommend this be a integral part of a coding program, especially for elementary ages. Besides the student activities, there are numerous resources available for teachers. One such resource is called “Happy Maps” where students tell Flurb (see below) which way to go to get the fruit.
Meet Flurb!
Last year, we used arrows to point the directions to move. The magnets I purchased have a turn arrow which is great for truly showing the sequence of steps necessary to reach the fruit.
After reviewing the vocabulary:
algorithm – a list of steps that you can follow to finish a task
program – an algorithm that has been coded into something that can be run by a machine
I ask how Flurb can get to the apple. With all the volunteers, we could spend the entire time moving arrows!
After one child has placed arrows and moved Flurb, I ask if there is another way to reach the apple. We spend a lot of time talking about being able to have several solutions to get to the same result. Of course, fixing and trying again (debugging) are extremely important parts of the computational thinking process.
After a few students have tried progressively harder puzzles, we move to the iPads and code.org. I encourage students to “walk out” the solution when they get stuck. We’ll hold the iPad together and walk in the directions they need to go. Some students (me included!) need that extra kinesthetic approach. I always love watching children do just that – they talk quietly as they walk the steps they should take:
one step forward > turn right > two steps forward
As we wrap up the lesson, I always ask, “Did anyone get stuck?” A few hands slowly go up, as if they are unsure that they want anyone to know. Then I tell the children, “You know what I noticed? When you got stuck, not one person complained and said they couldn’t do it; that it was too hard. You didn’t give up. You kept trying. That’s what coders do!”
Last December, I came across Rosie’s Runtime, an unplugged coding activity created by Project Lead the Way. I was finally able to give it a try last week and, WOW! Was it a hit!? The students absolutely LOVED it!
In Rosie’s Runtime, a large grid is set up on the floor. The teacher starts out as the robotic dog who is trying to get from a fire hydrant back to the doghouse. To make it more of a challenge, there are mud puddle cards that must be avoided and there are bones that need to be collected.
There are two versions:
K-2nd Grades Basic movements such as move forward, turn right/left, pick up bone are in this level’s commands.
3rd – 5th Grades More involved commands have been added to this level. In addition to the above, jump, repeat, and conditional commands are part of this more difficult level.
I worked with 2nd grade, using this as a refresher activity before students moved to code.org. Students were divided into 5 groups, each receiving a set of cards. For this level, the cards were move forward, turn right, turn left, pick up bone, and make a u-turn.
Correct or not, each time I, as Rosie the Robotic Dog, was given a command, I moved. They students were quick to make corrections! Of course, there were cheers when they guided me to the doghouse!
The students absolutely did NOT want to quit! Well, maybe I was a bit excited, too. We debriefed by discussing different routes the students could have had me travel and talking about how we had to debug a few times to get back on track.
We’ll definitely be doing this with other grades. And, I’m eager to try the harder level. I think this would be a good small group activity that students could do on their own once they’ve been introduced to it.
FYI: I thought about using felt squares for the game board but was concerned those might stretch after being stepped on several times. I ended up buying a fabric (don’t remember what kind) that won’t fray (yea! no hemming). The fabric is the same type as what is often used in the recyclable grocery bags you can buy. I cut them into 12″ squares which turned out to be a perfect size!
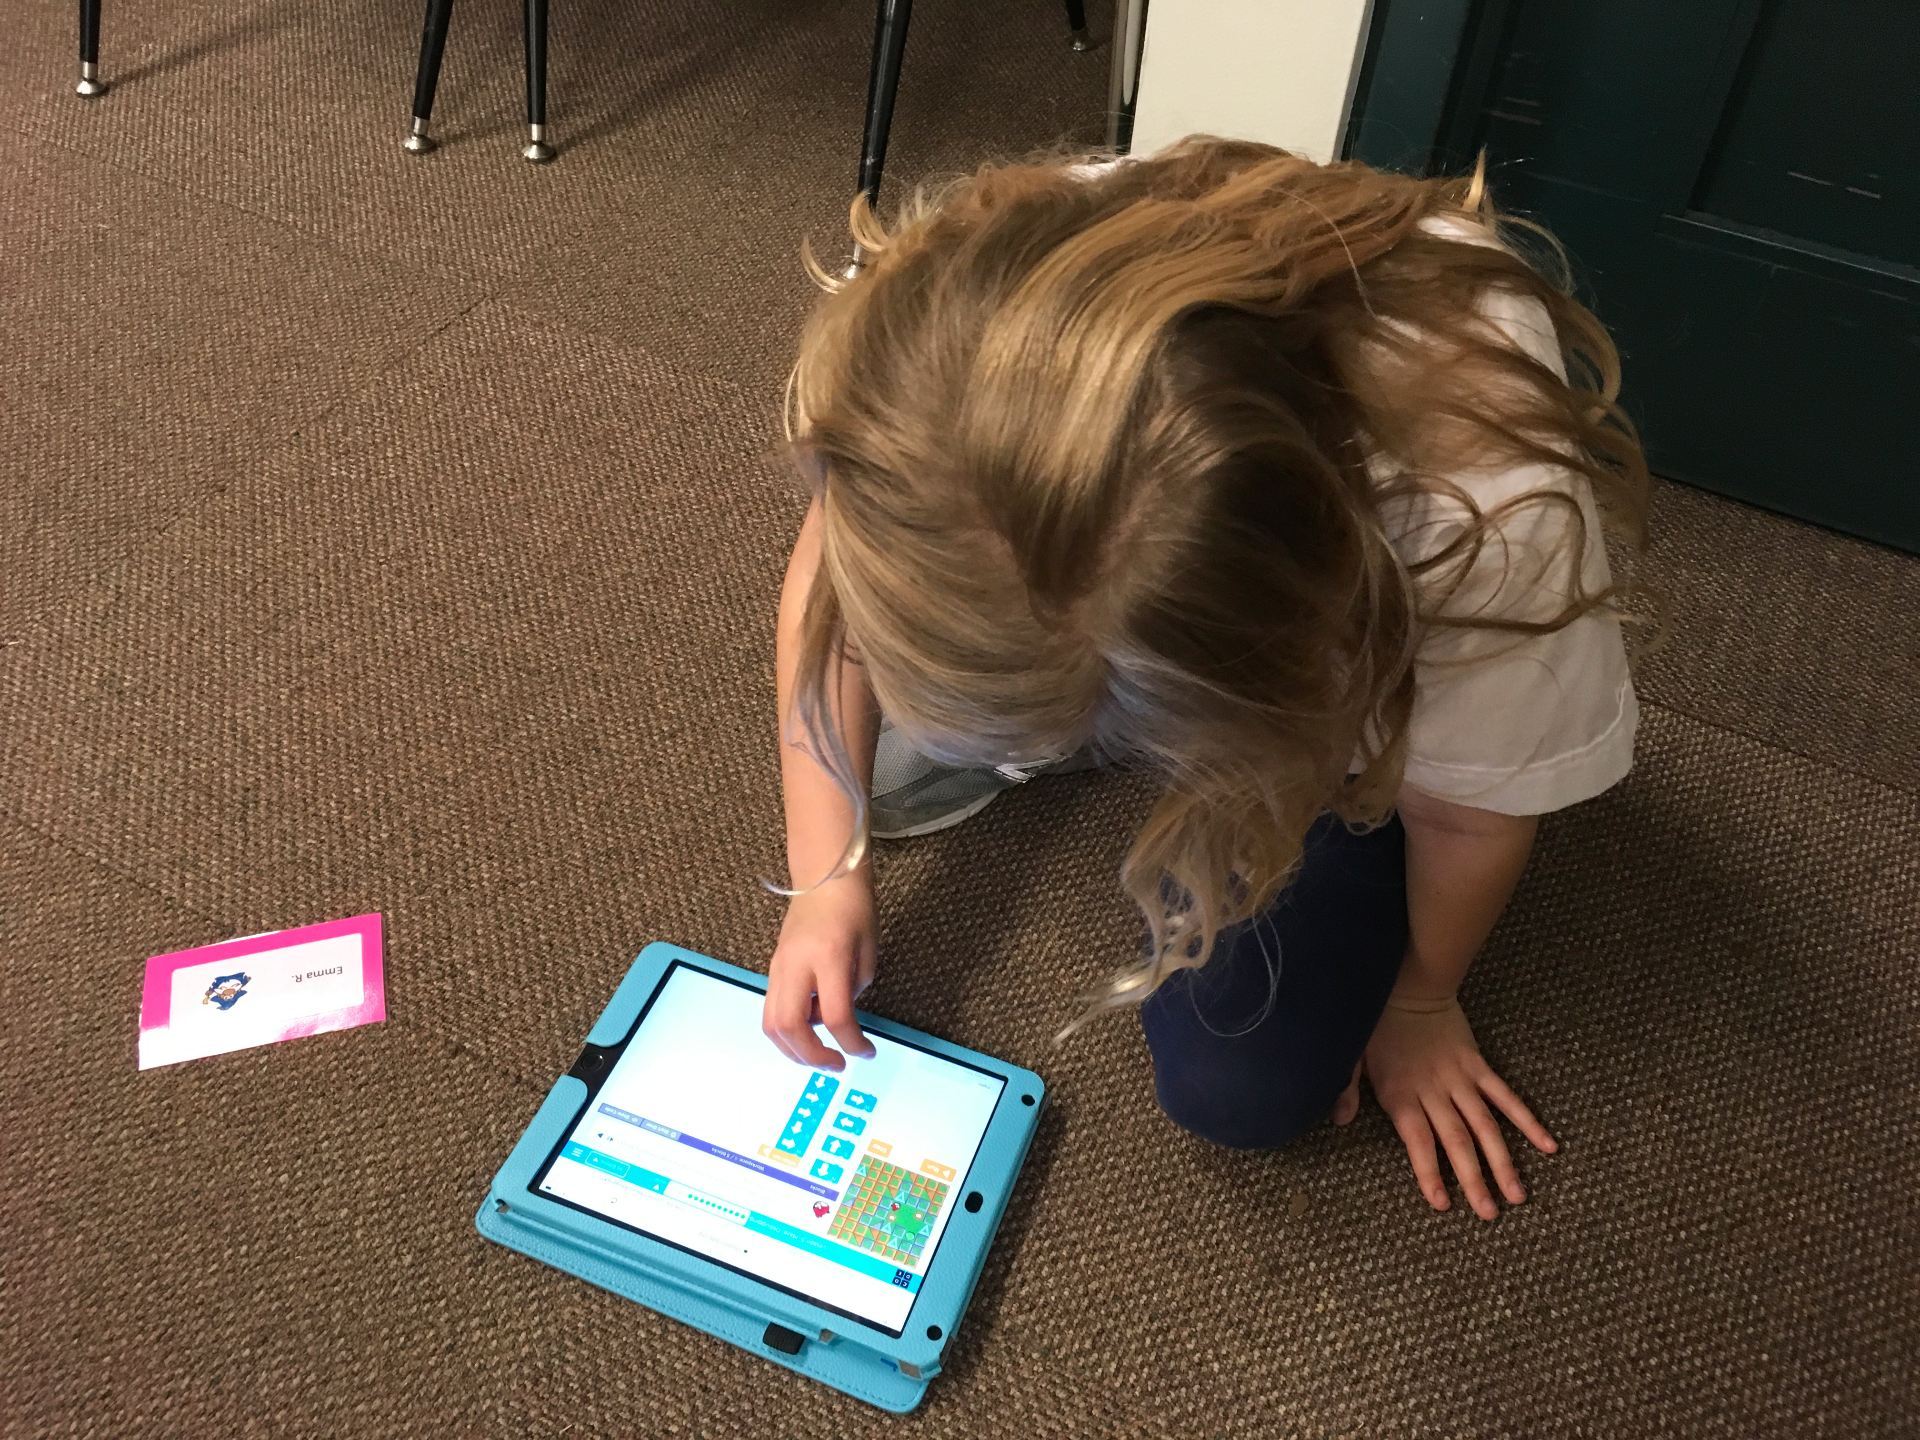
Thirty minutes is not a long time to introduce the Seesaw app (Seesaw Digital Portfolios) for the first time but these little ones did an amazing job!
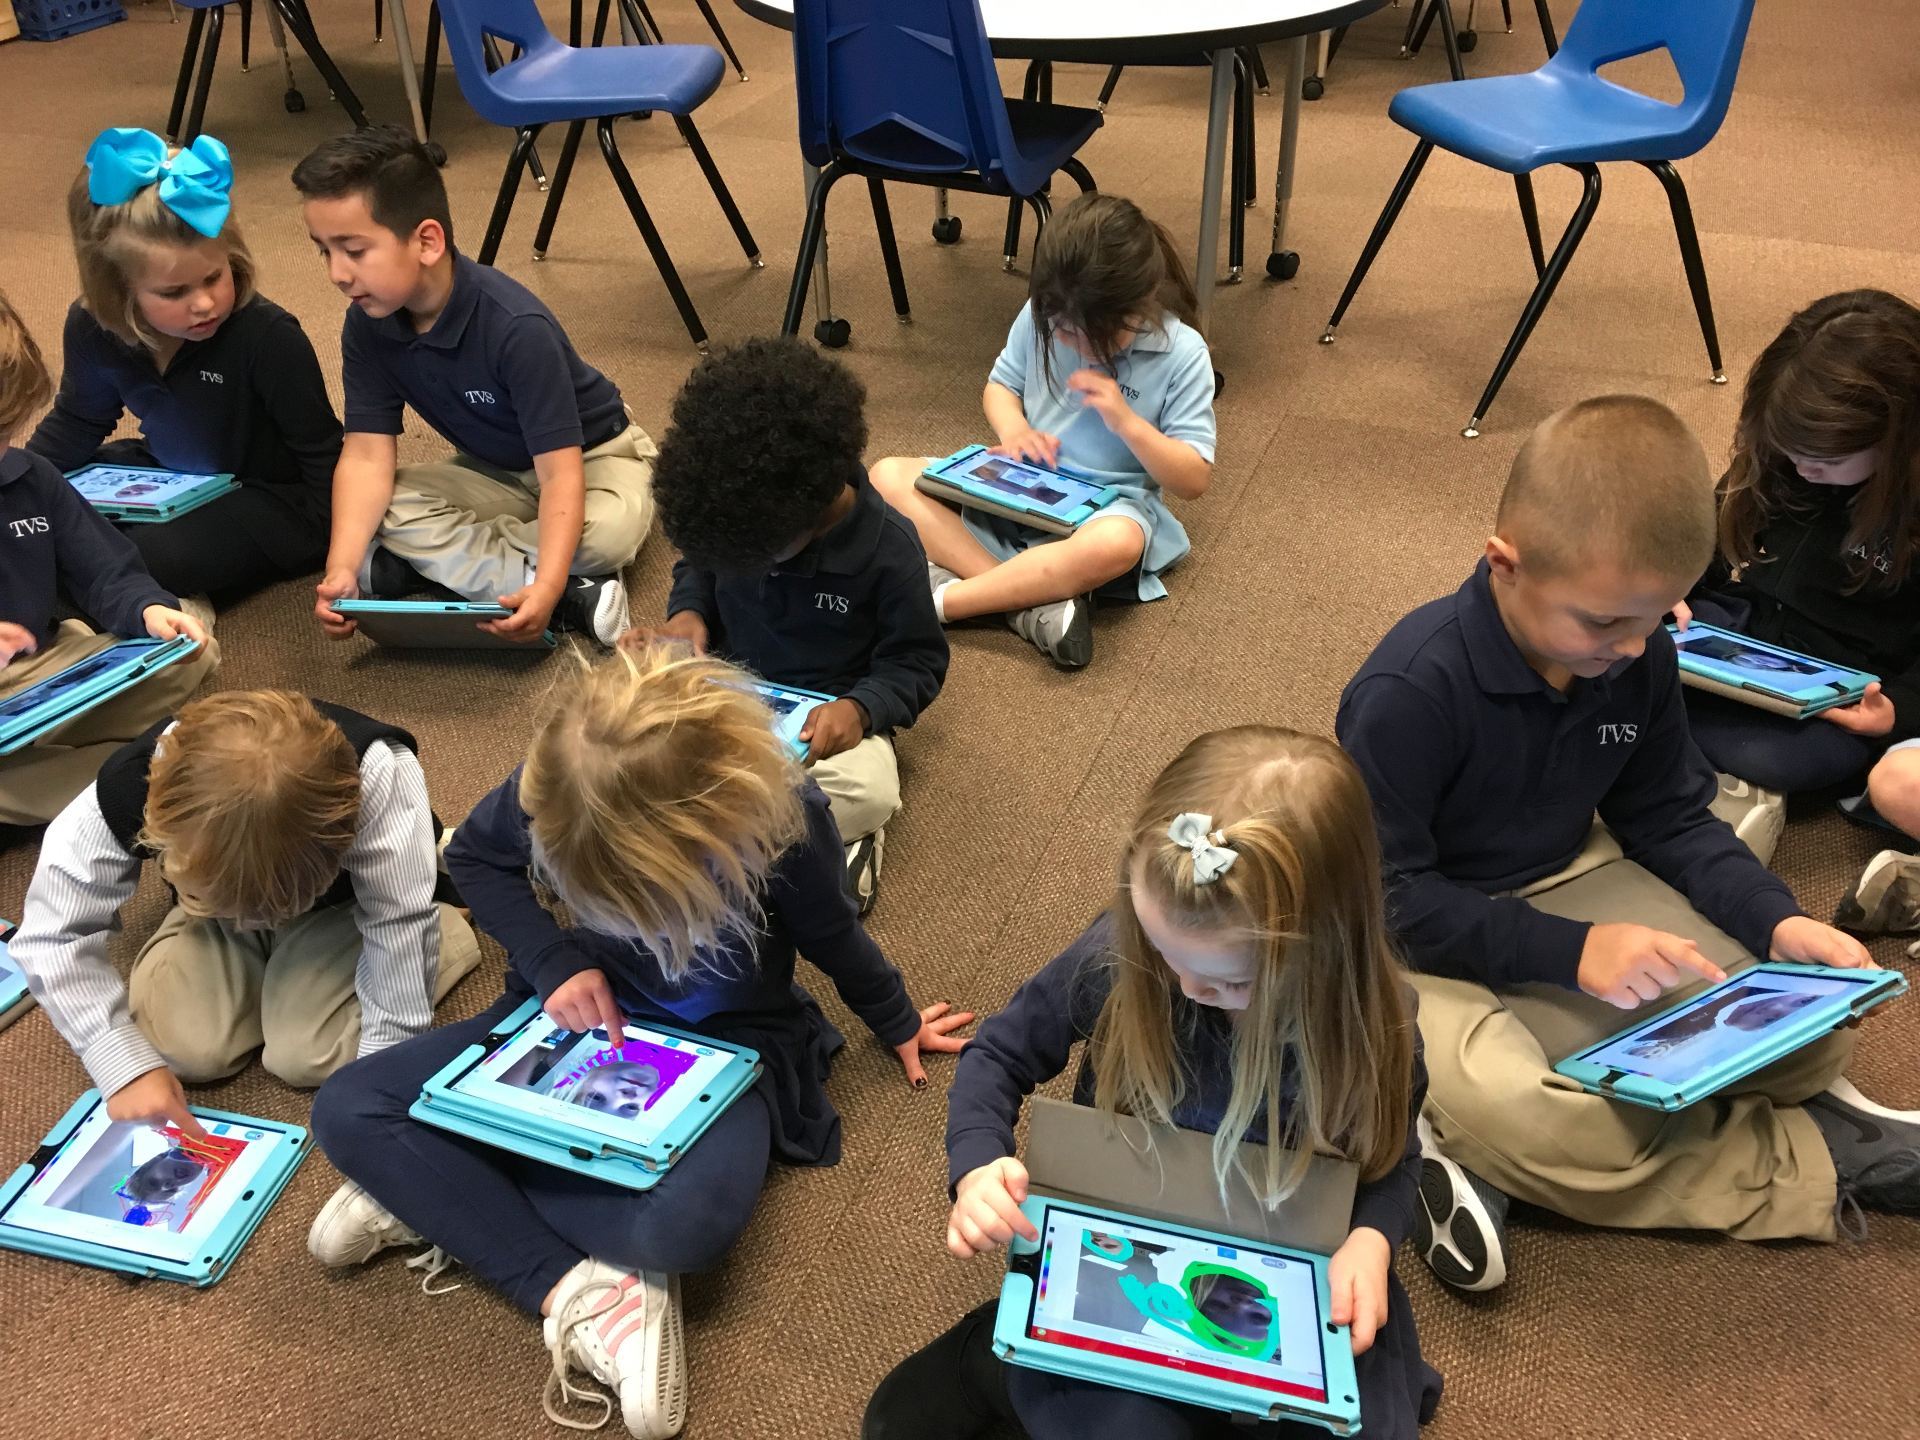
Since we had a slim chance of snow (flurries if you looked closely enough), I guided the children though the “Snowy Selfie” pre-made activity. Giggling when I asked who had ever taken a selfie, the students scattered to take their own photos. For most, it was the first time they had held an iPad themselves to tap the shutter button themselves. They were cute to watch as they moved their heads back and forth, trying to get it in just the right position on their screens.
Actually, the selfies were the hardest part! But, they did it! Then, the decorating began.
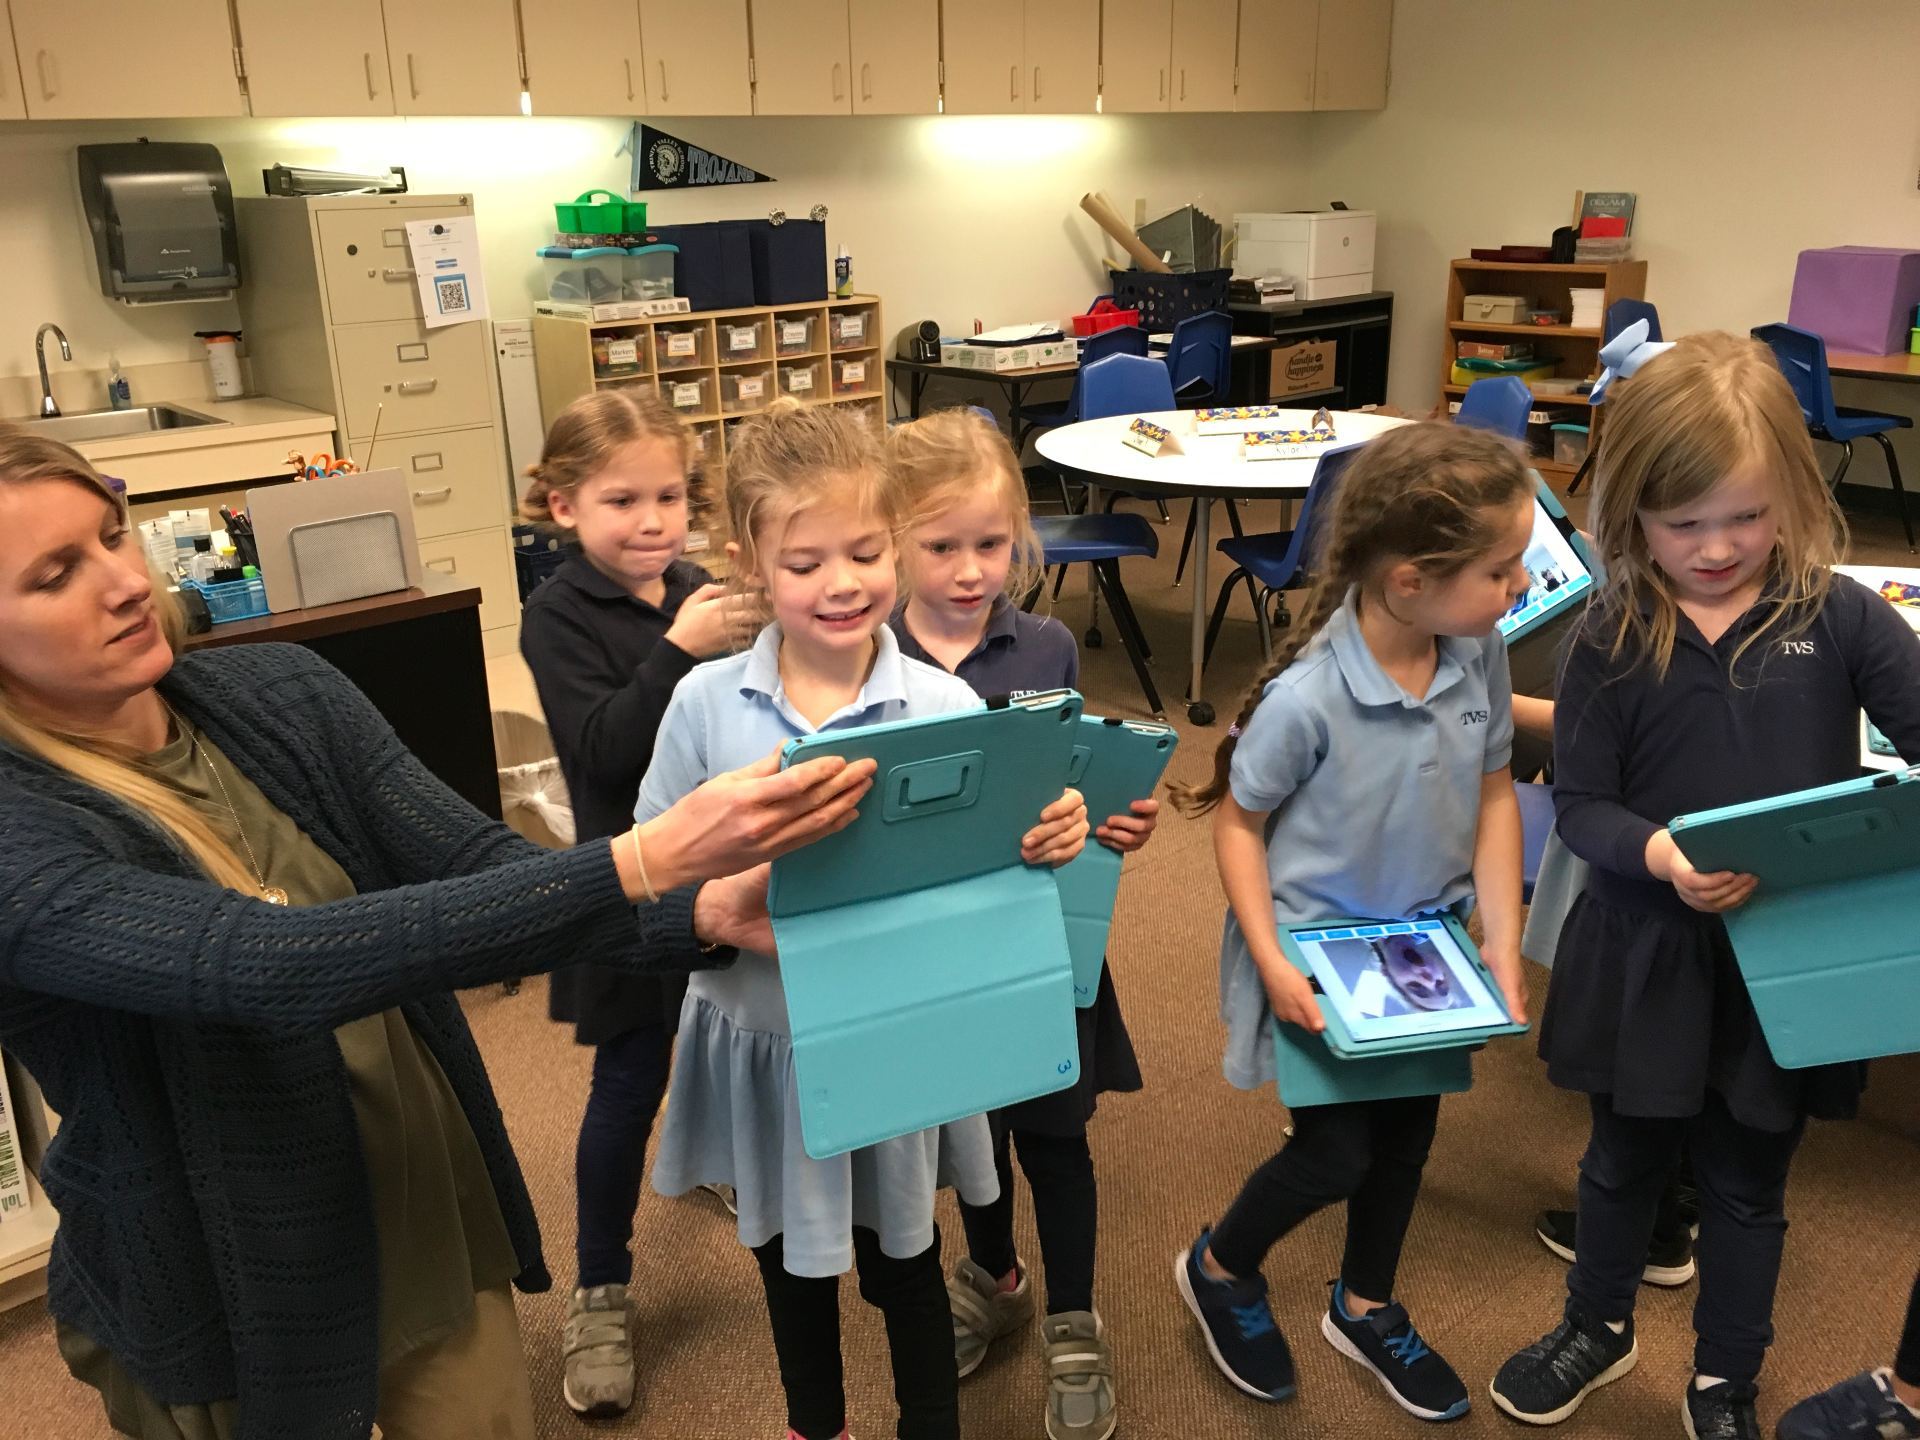
Even the teachers had fun making their Snowy Selfies!
The students were excited to show off their finished pictures.
What a fun project to introduce the little ones to Seesaw! Western Day is coming us in a couple of weeks. I’m thinking we’ll create Western Selfies then.
How do you introduce Seesaw to your kindergartners?
I’ve compiled information from the Seesaw website for our teachers and placed it in one place to make it easier to find basic information. The Seesaw developers have a wealth of information which can be a bit daunting so these are some of the basics.

 A few years ago, after reading a bit about genius hour, I decided to give it a try. Well, it didn’t go as expected – it was noisy and chaotic and I really struggled with, “Are the students really learning anything??” What that taught me was I needed to make sure expectations were clear to the students while still allowing freedom of choice.