Posts Tagged ‘3rd grade’
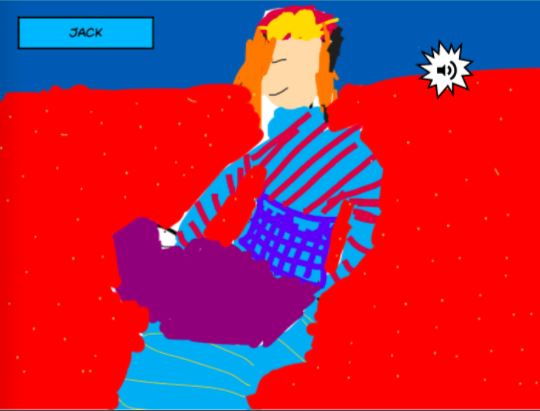
More than you think! I drew a squiggle in the Book Creator app, added an “About the Illustrator” page and airdropped the book template to each student iPad. When finished with their creations, the children airdropped their books back to me so that I could combine them into class books.
The directions were simple: Look at your squiggle. What could it become? You can rotate it and copy it if you want. Make something recognizable from your squiggle.
The students provided so many interesting and creative interpretations of their squiggle! I love this one from Jack, a 4th grader, who used what he had learned in art to create an illustration based on an artist named Mary Casssett from the 1800s who painted mothers and children. (To hear his narration, listen to Mrs. Wright’s class book.)
Click on the links to view the class books.
Tips:
- For the 4th graders, I told them they could resize and rotate their squiggle. A few children made the squiggle so tiny that it is barely recognizable! I made the mistake of not telling students to make sure the original squiggle could be seen. In several of the 4th grade illustrations, it’s very hard to tell what and/or where the squiggle was.
- As a result, I changed the directions for the 3rd graders. They could rotate the design but they couldn’t resize. I also told students to make sure the squiggle could be identified.
- Some of the designs were created from making copies of the squiggle. Those turned out really well!
- I asked that the squiggle be seen in the picture. Some did that but others covered it up with another color.
- It’s helpful to lock the squiggle once it’s decided where it will be on the page.
I used to do this all the time when I was little (on paper, of course!). It’s fun to watch the students create digitally!
I am absolutely loving the ability to publish on Book Creator’s site. Here are some of the books we’ve created so far this year.
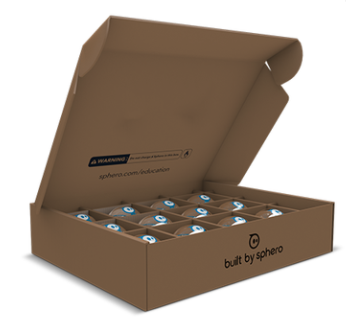
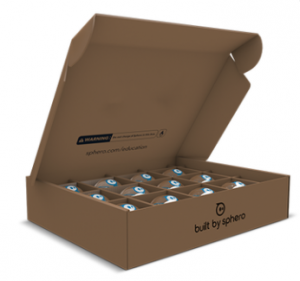 We have a fantastic Parents’ Club at our school. Each year we are given the opportunity to apply for Grants for Greatness. My request this year was a class set of the Sphero SPRK+ robots.
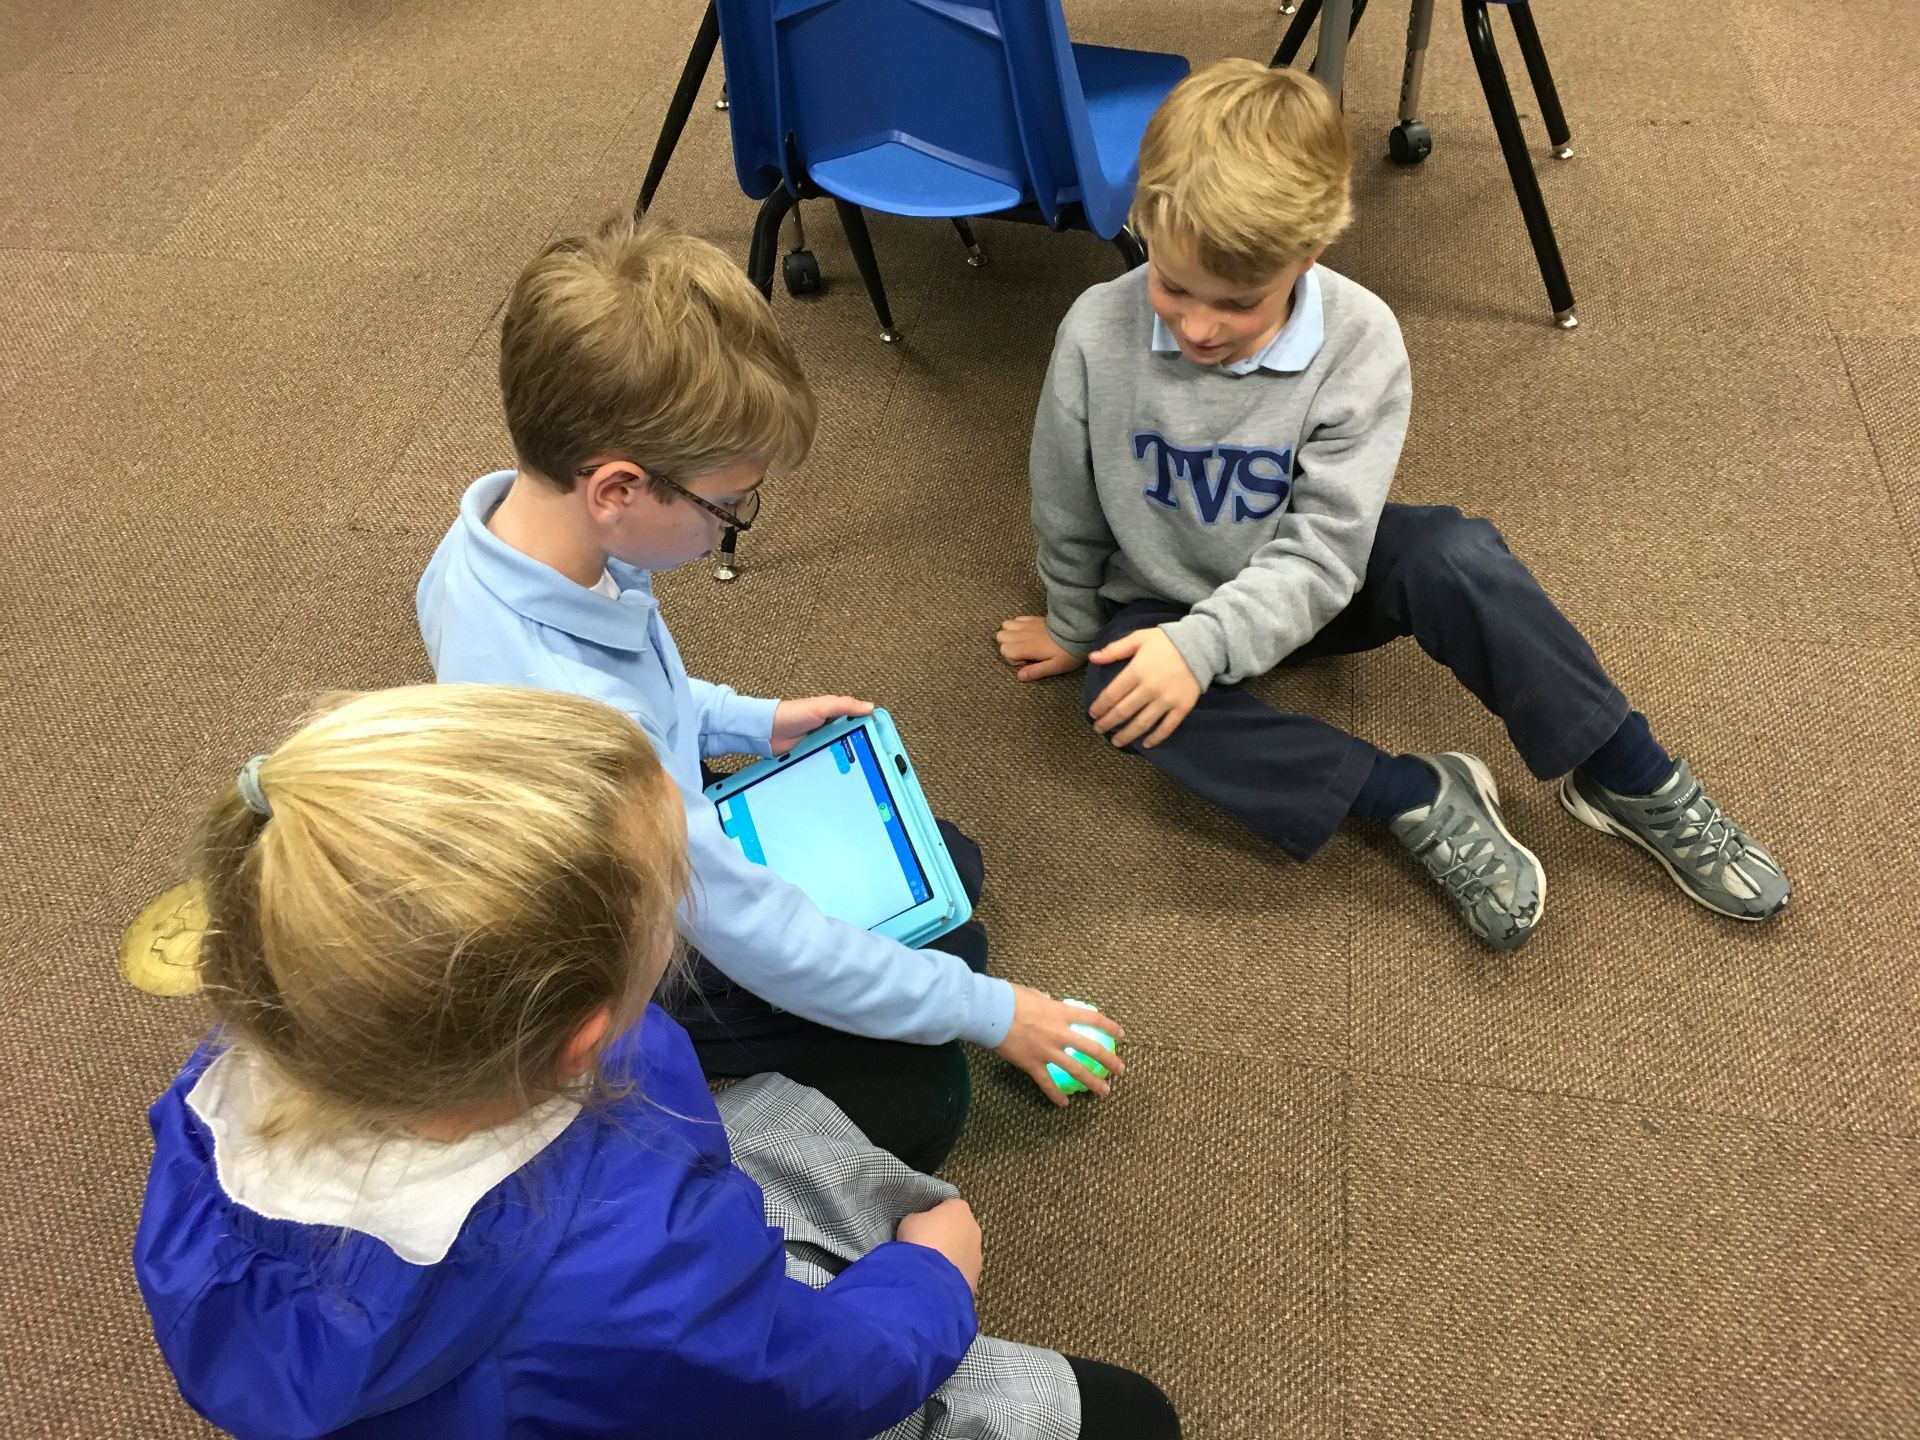
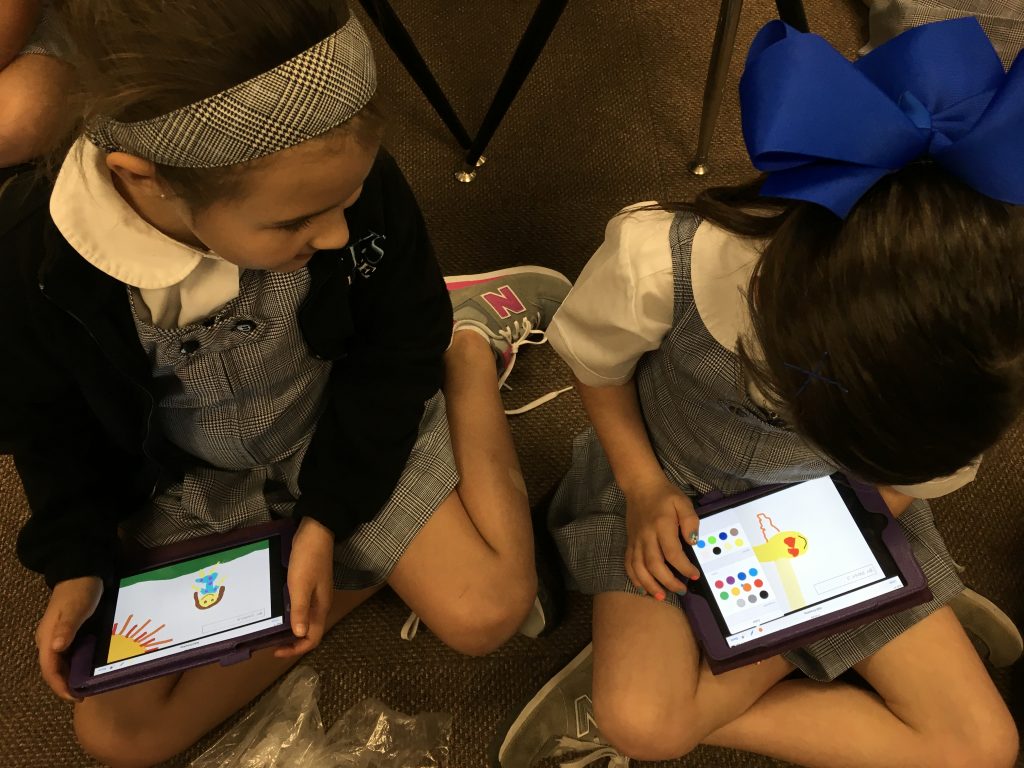
Our third graders were the first to experience the Spheros using the Sphero EDU app. The app is block-based programming with all kinds of blocks available to challenge students. There were a few students who had their own Spheros at home so they were eager to provide help to those trying them out for the first time.
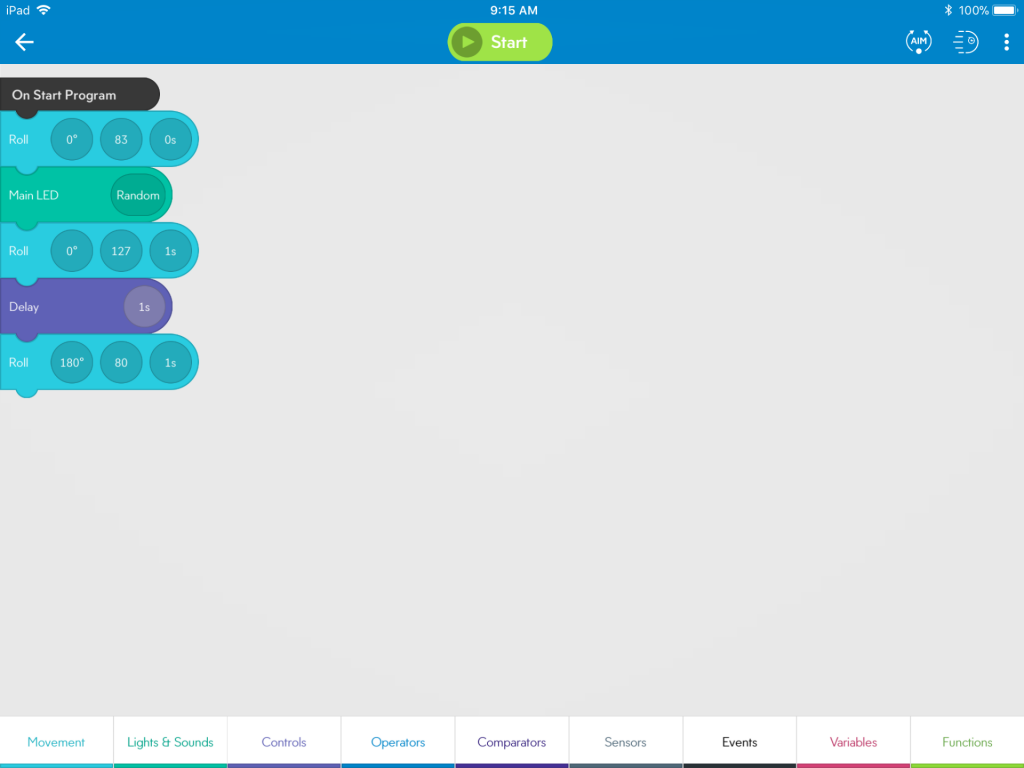
 To begin, I introduced the app to the students and told them some helpful tips. For example, it’s really important to aim the Sphero. If you don’t, Sphero won’t do what you expect! We went over the tabs at the bottom of the screen. For the first session, I suggested that they focus on movement, lights & sounds, and controls only.
Then, I gave them the challenges:
- Make Sphero roll in a straight line away from you.
- Have Sphero roll back to you.
- Add lights as Sphero rolls.
- Add sound.
- Program Sphero to roll around the perimeter of a carpet square. (We had a great discussion about right angles for this one!)

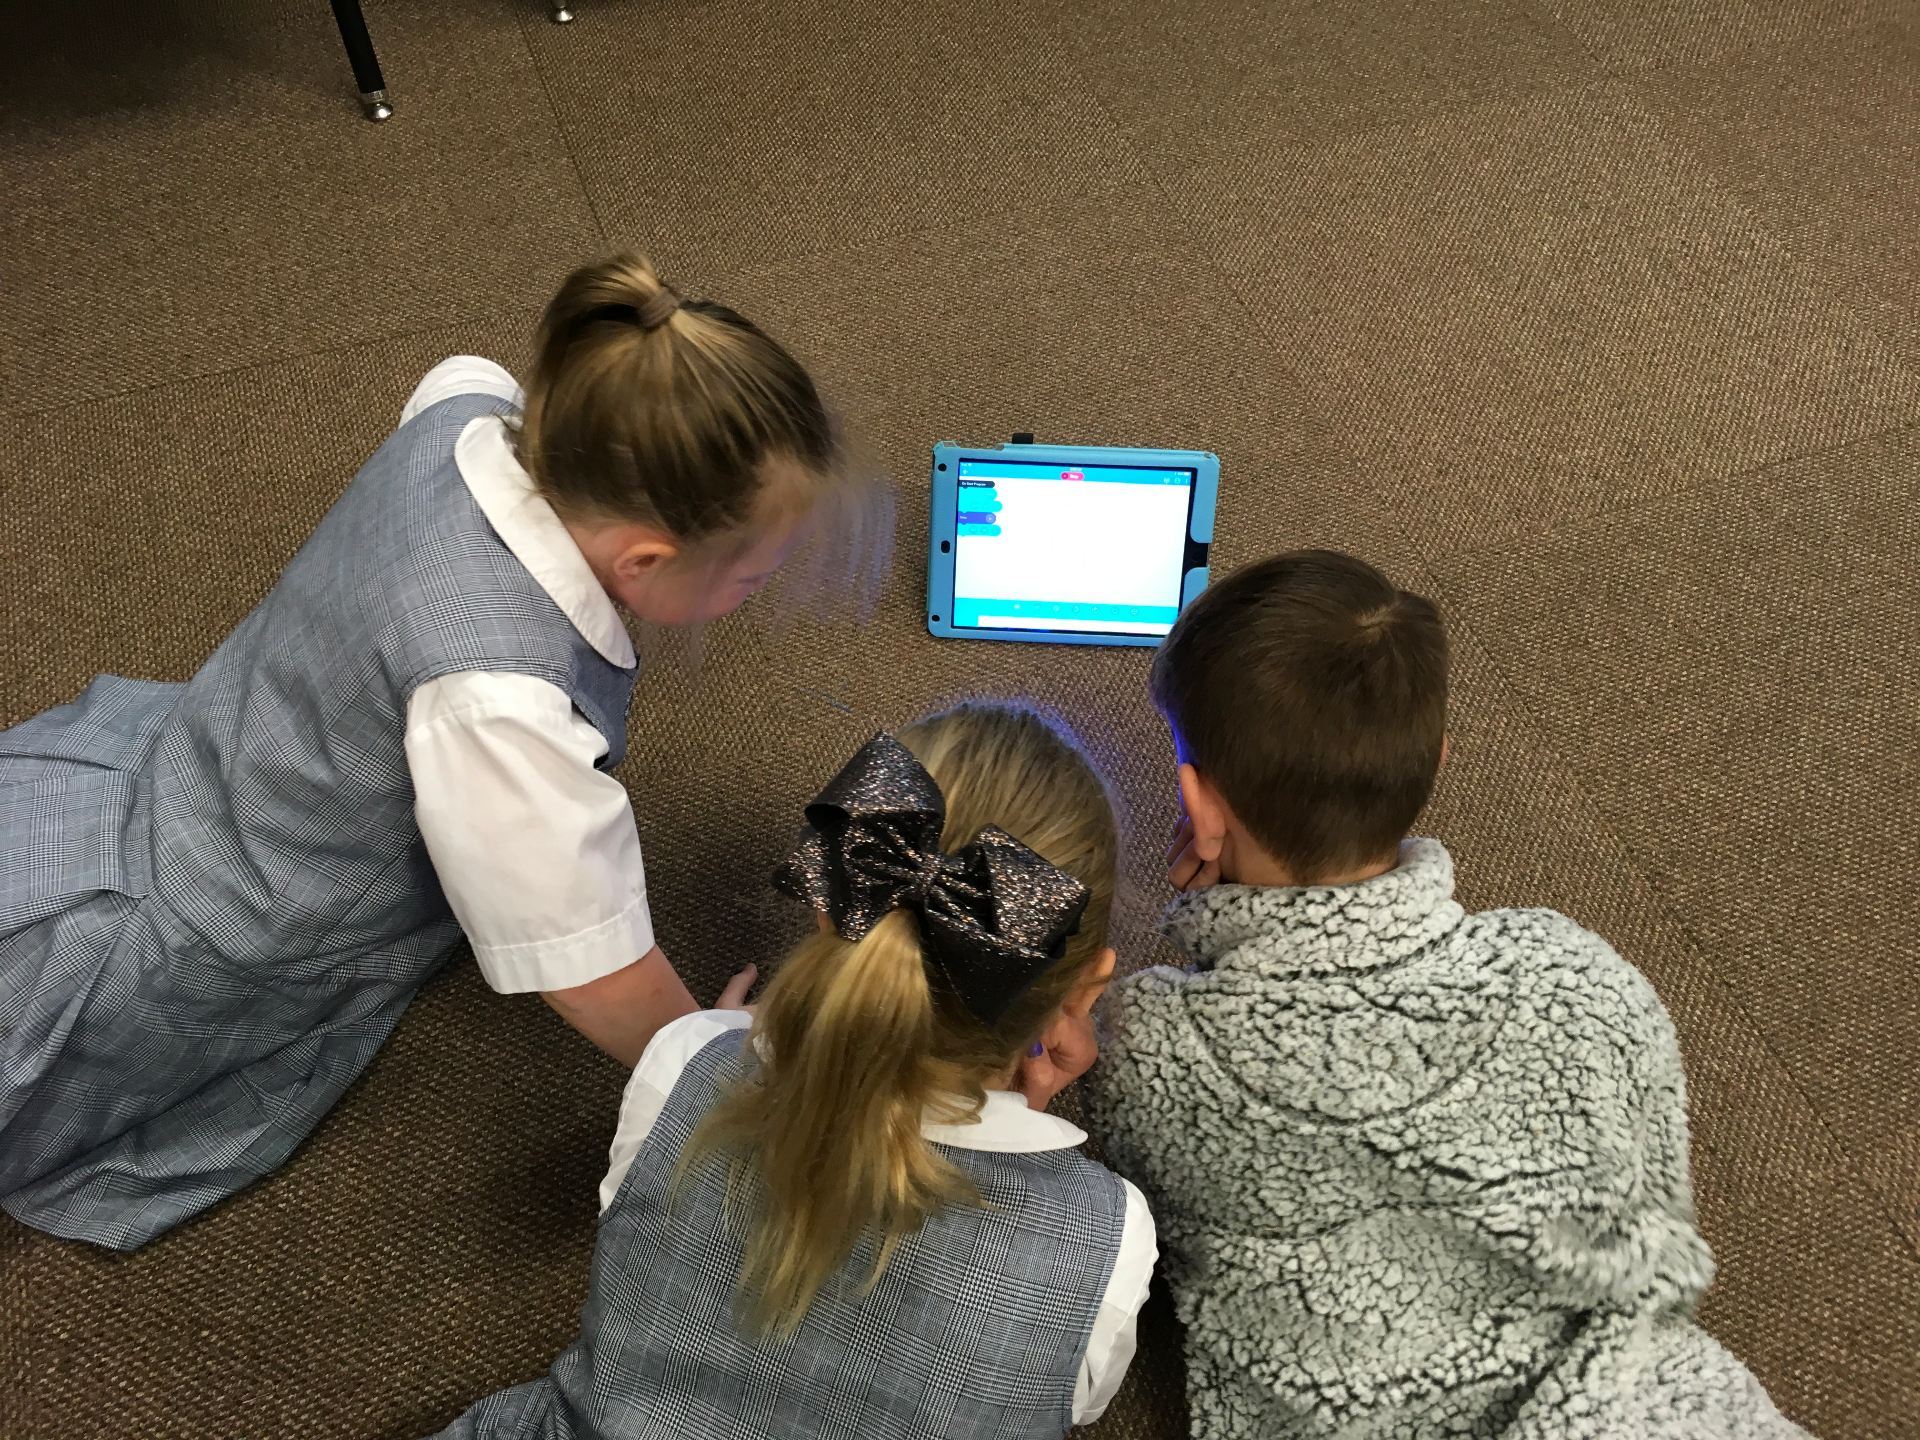
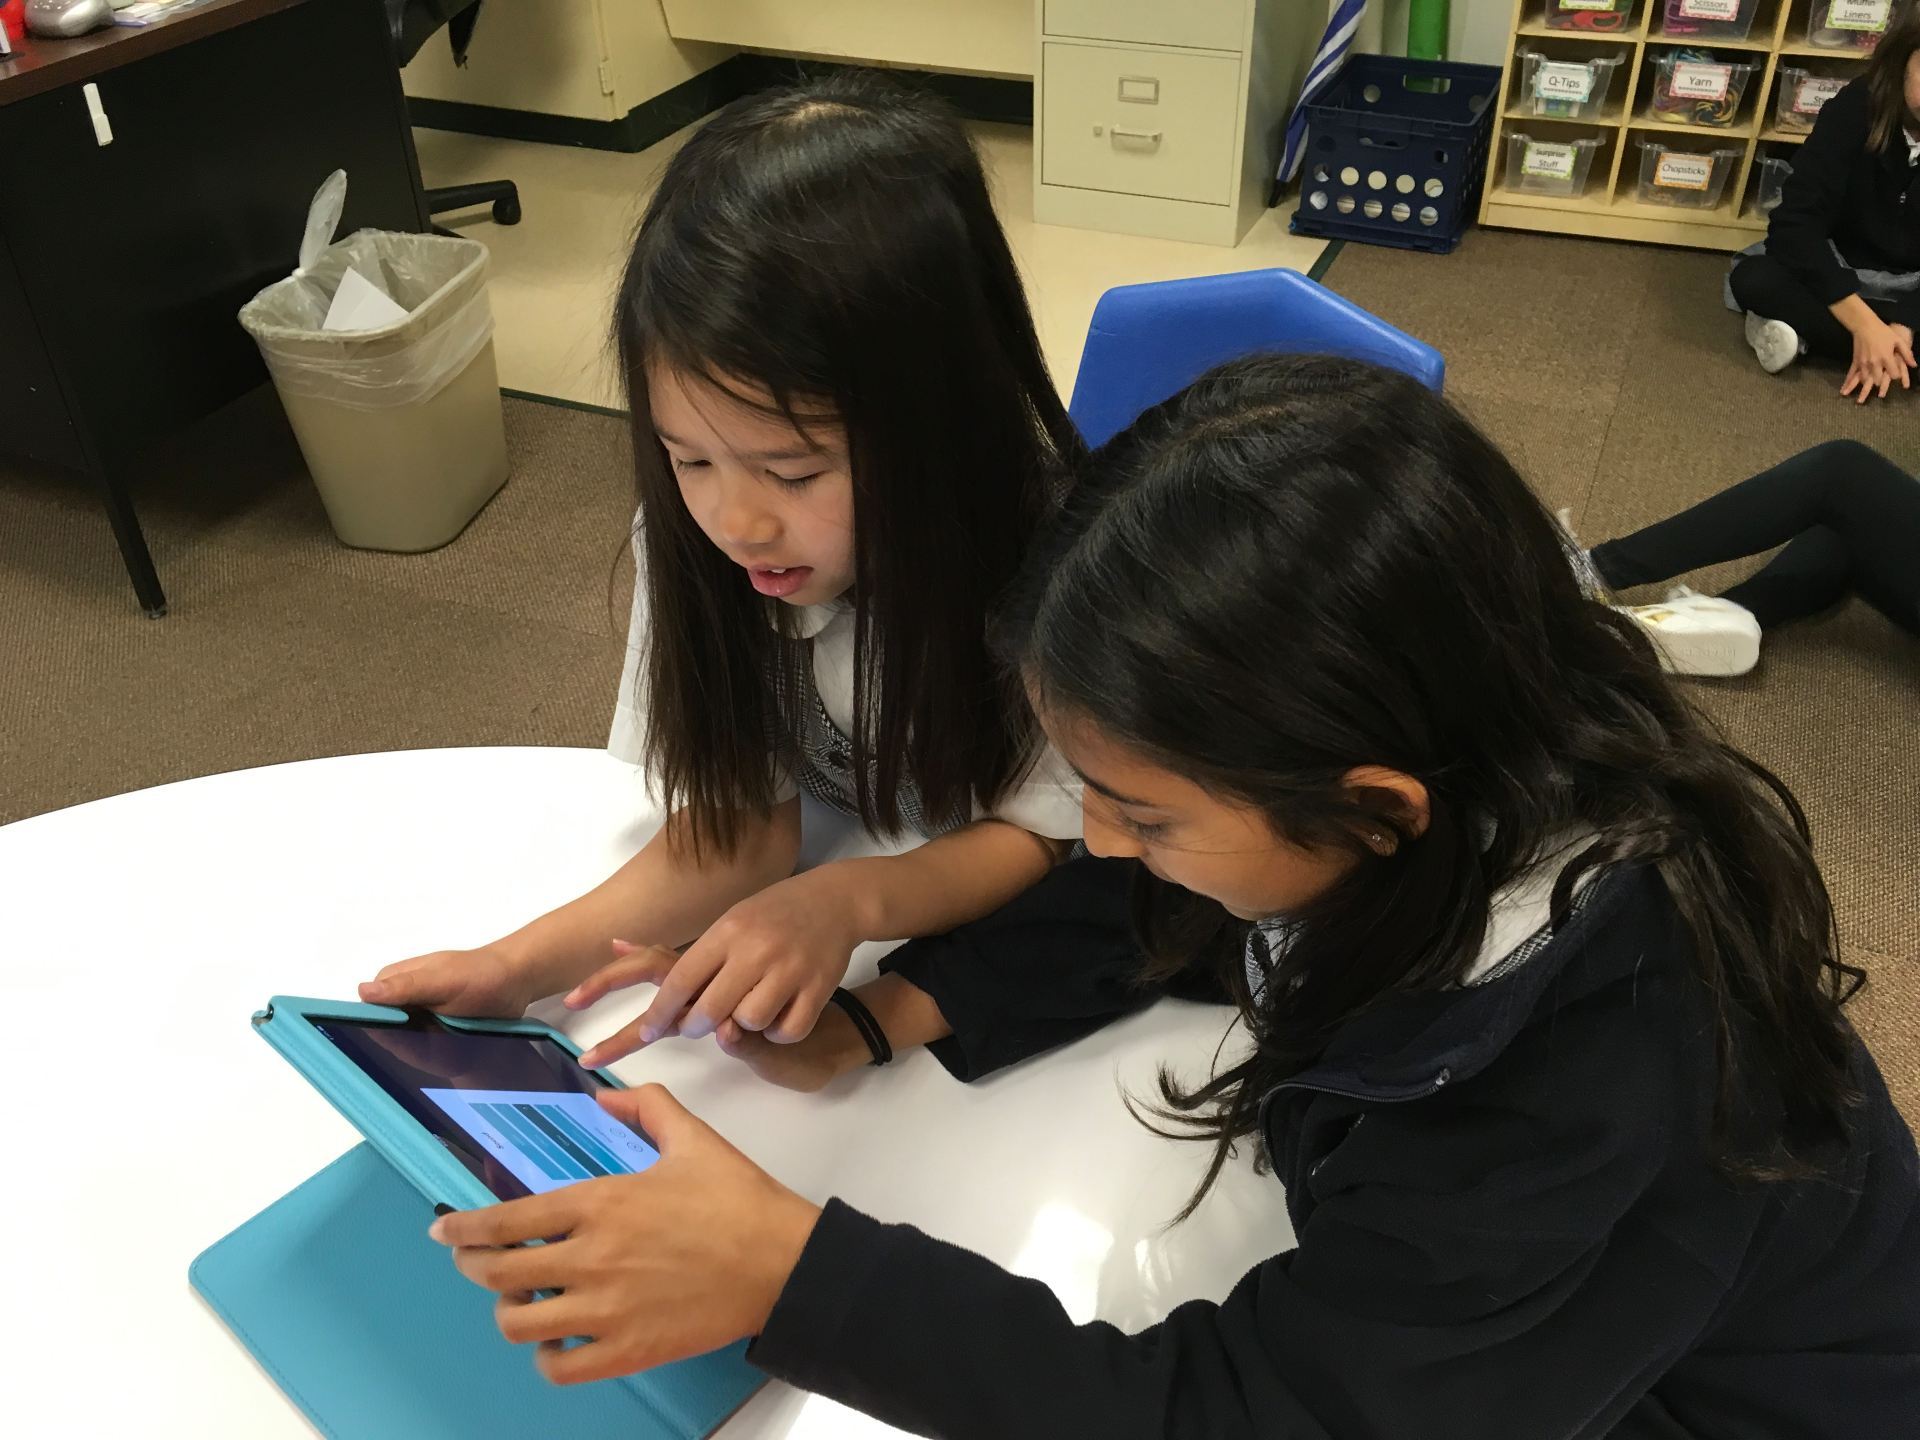
Spreading out, the challenges began. Students experimented with speed and timing as the little balls went speeding past legs. Every once in a while, we’d hear, “Watch out for my Sphero!” Getting the robots to roll back was often figured out as they rolled behind desks and the printer!

There were questions such as, “Why didn’t the lights show up as it rolled?” That led to discussions on order of blocks – it does make a difference!

No one accomplished the last challenge of driving around the carpet square but some came really close!


As we wrapped up the lesson, several of the Sphero owners said they didn’t know about the app we used; there’s another app that just drives the robot – no programming involved. They were eager to go home to download Sphero EDU.
What did we learn?
- computational thinking
- debugging (what didn’t work as expected and why)
- problem solving
- Math!
- collaboration
Next time, we may just set up an obstacle course!
Recently, I came across some fantastic Seesaw Activities compiled by Carrie Kunert, Beaverton School District Innovation Specialist. WOW! What a wonderful resource for all ages and subjects!
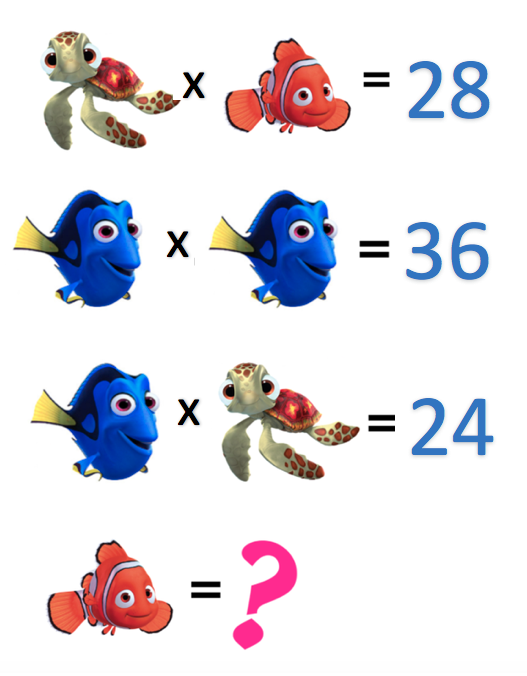
I’d been asked by a third grade teacher to review Seesaw with the students because some seemed to be unsure about the sequence of posting to their journal. Wanting to do something with math, I was excited to come across Carrie’s collection. For the first class, I chose an addition algebraic puzzle. I thought we’d breeze through this and move on to multiplication.
 Puzzles from http://mashupmath.com/%5B/caption%5D
They quickly caught onto the process needed to determine the values. It just took longer than expected to record the steps needed to solve. For the next two classes, I redid the above puzzle, changing it to multiplication but using the same symbols.
I was a bit surprised at some of the explanation, especially since everyone knew the answers. But, thinking about it, how often to we ask children to explain their thinking? It definitely takes practice! Below are a couple examples of those who had no trouble solving; they just found it difficult to put it into words.
Here are samples of students who understood the sequence of events when explaining – that the second sentence MUST be solved before any other values can be determined!
The more I ask students to reflect or explain, the more I realize the importance of doing this. If a child can explain the process, chances are his/her understanding is solid.
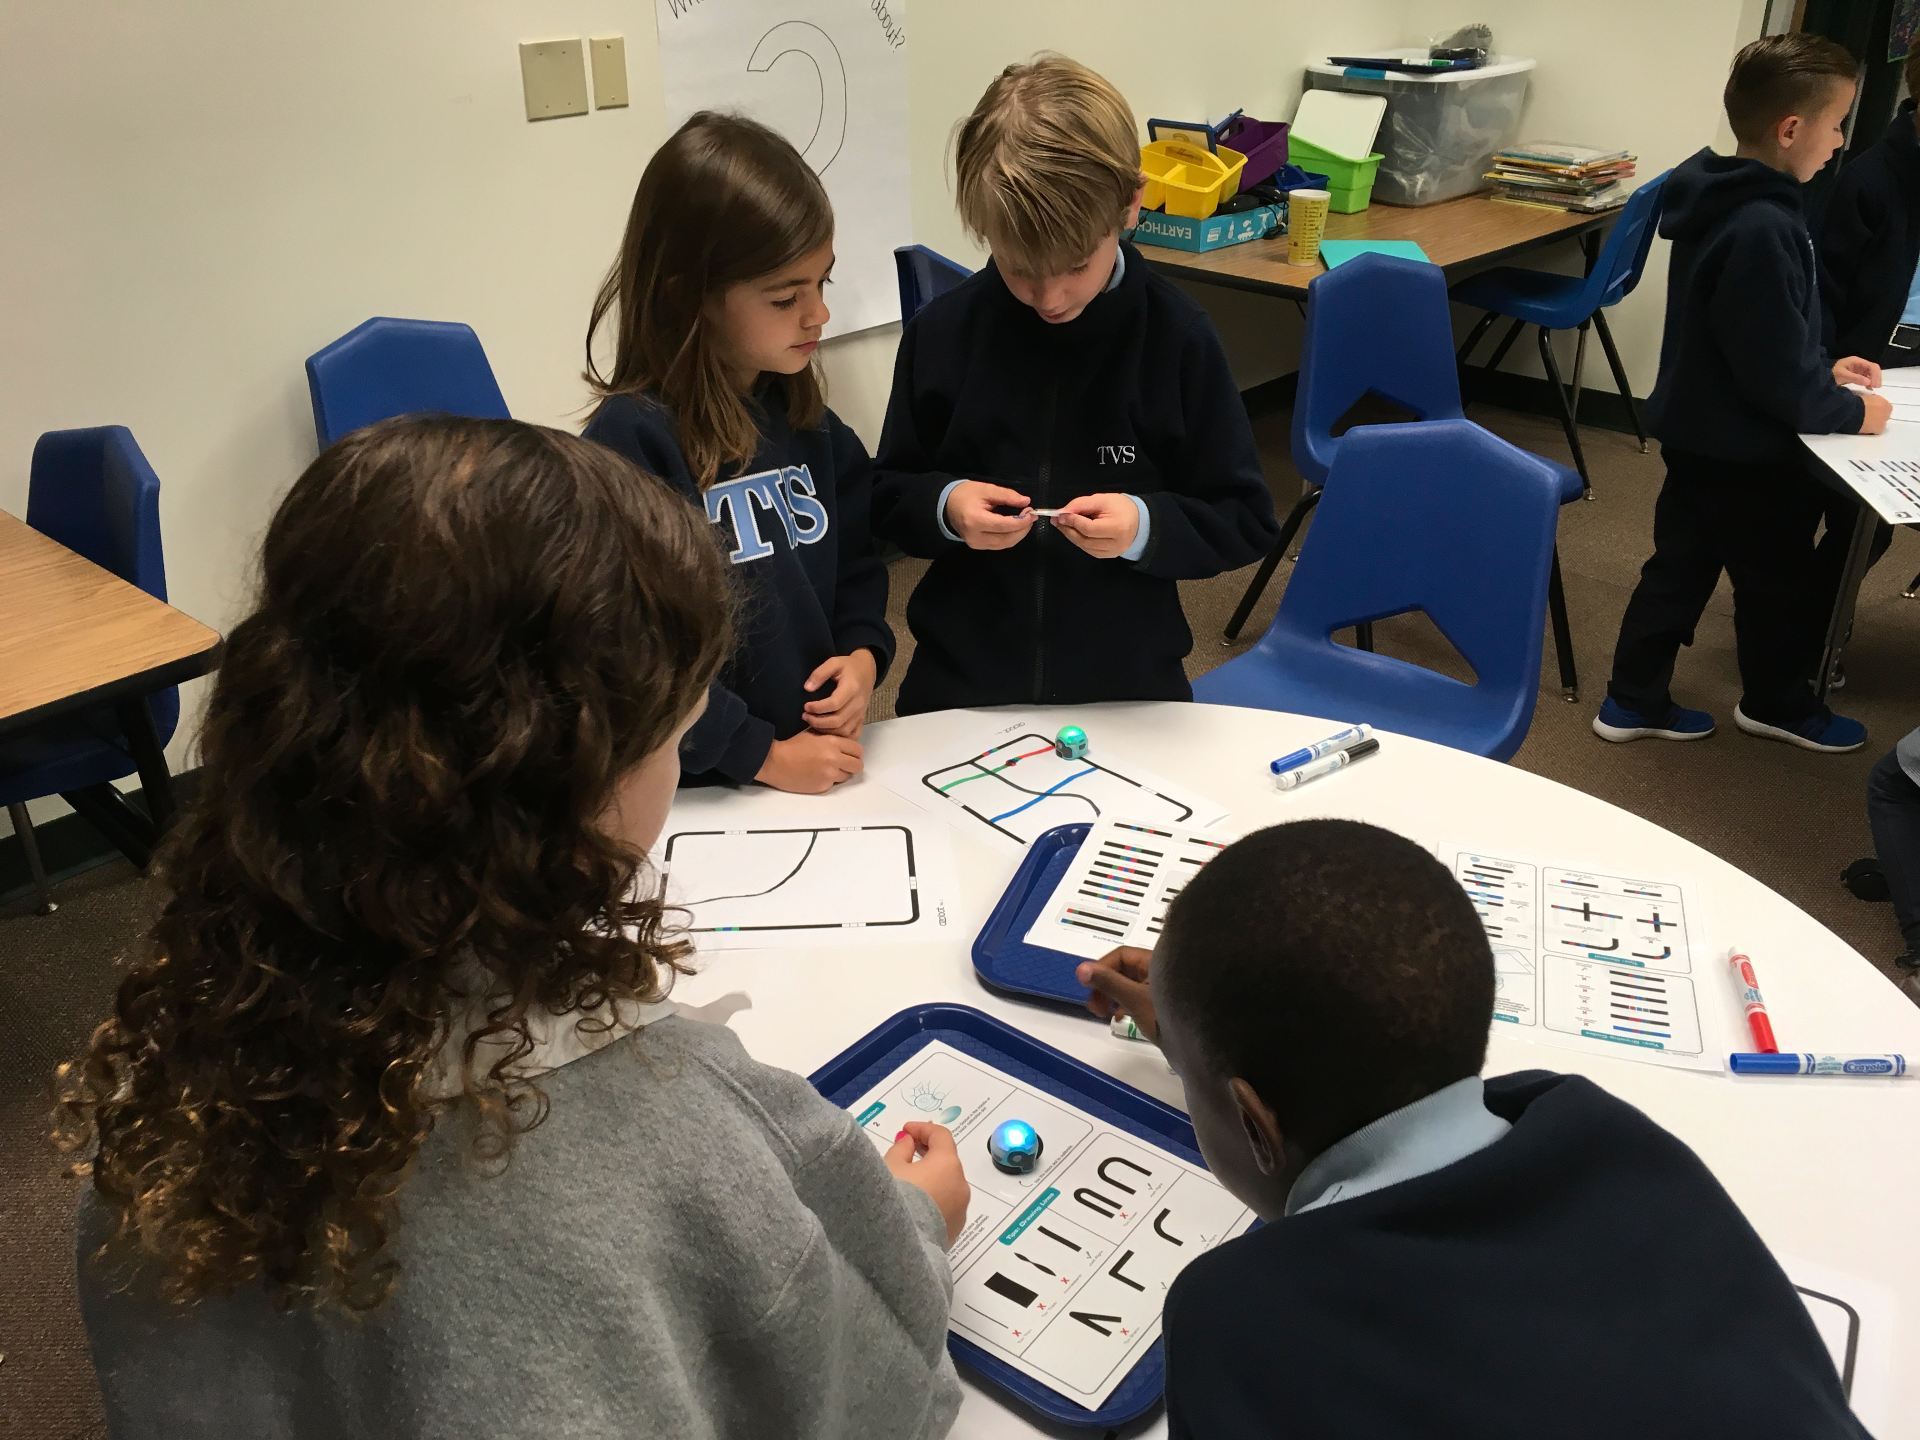
What a hit! The students absolutely LOVE programming the tiny Ozobots! These are small robots that are programmable using color codes, the Ozobot app or the online Ozoblockly block-based program. What I love about these is that they can be adapted to several ages.
One first grade class entered the room, immediately noticed the Ozobots on each table, and suddenly I heard, “Oh, Oh, Oh, we get to do Ozobots!” This little boy was practically dancing with excitement; even rushing over to give me a hug.
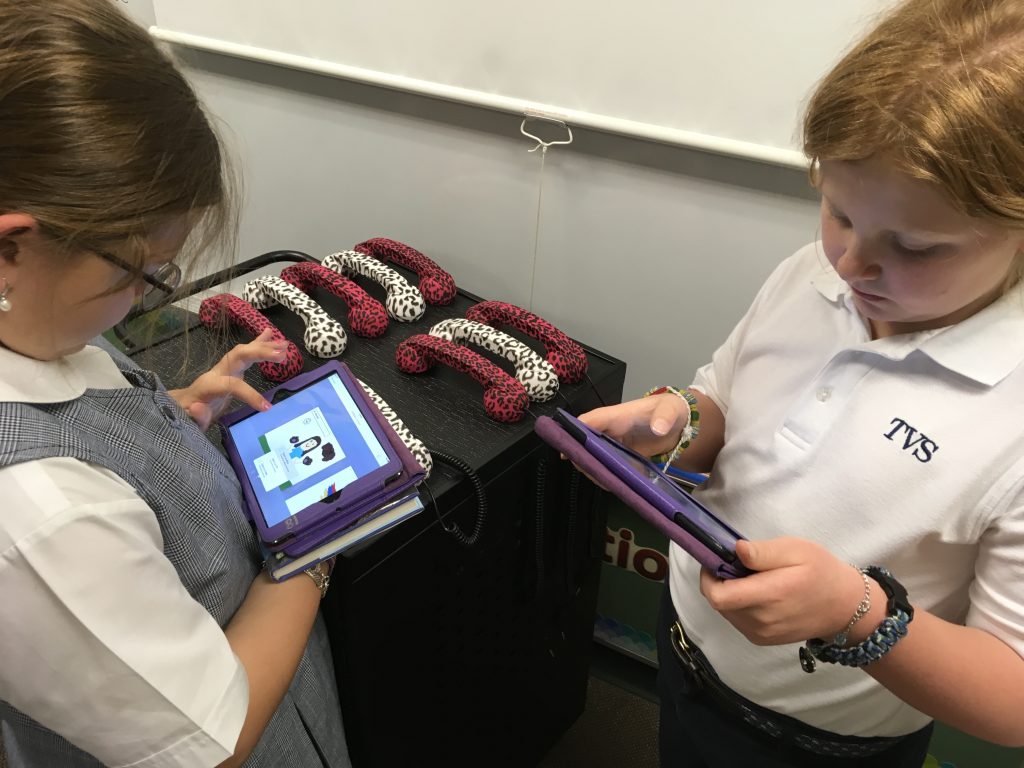
 Some of the second, third, and fourth grade classes were asked to video their paths and codes to upload to Seesaw journals while explaining what Ozobots are and what they do.
Here’s an example:
These fourth grade students did a fantastic job with their explanations. I see a future in sales!
Ozobots are a fun and easy way to introduce computational thinking to children. It’s easy to adapt these robots to any age.
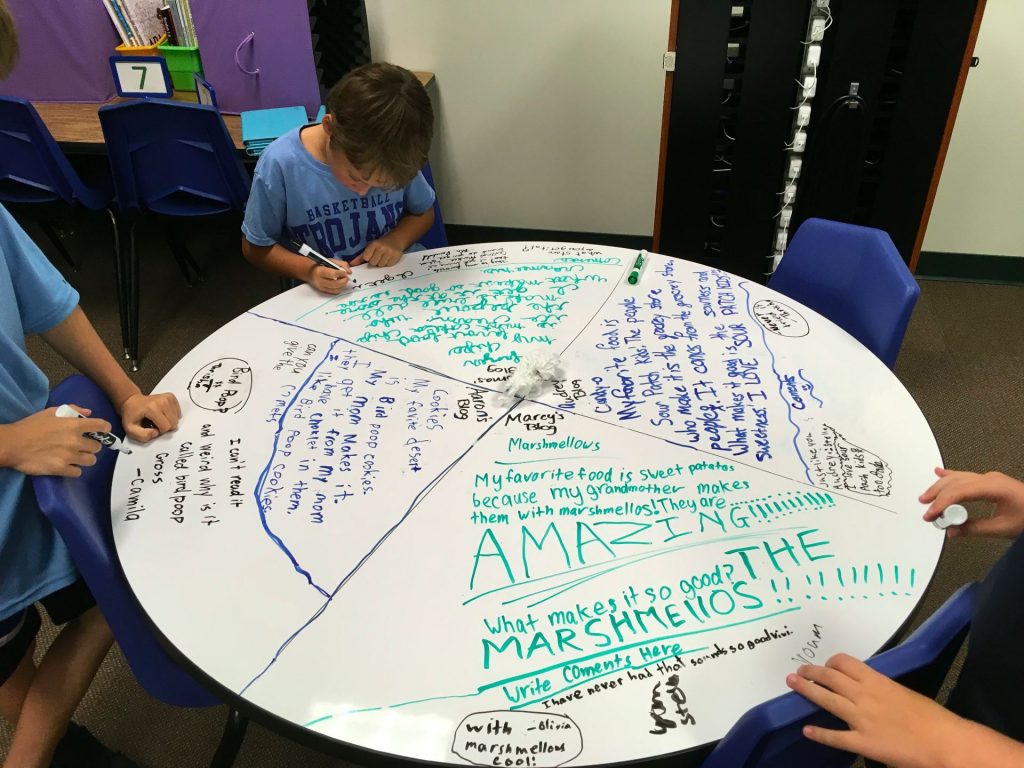
What is more fun than writing on a table? You sure can’t do that at home – at least it probably shouldn’t be done!. This year, new round tables with a whiteboard surface were purchased for the Digital Learning Lab and the students could not wait to start writing!

To take advantage of the desire to write on the tables, we chose table blogging as a way to prepare for our online blogs.
First, we brainstormed traits that make a post one that people will want to read. 
The topic, because everyone enjoys food, was: Favorite Food. Students were to consider these questions as they wrote:
- Why do you like this food?
- Where is the best place to get it? or “Who makes it”
The students set to work, making everyone hungry in the process!
When all were finished, we moved on to comments. Several years ago, I heard someone talk about penny vs dollar comments. Just as a penny doesn’t buy anything, a penny comment is basically worthless. It may be only one or two words. It doesn’t provide any feedback for the author. What we want to do as a commenter is to continue the conversation. A dollar (and up!) comment provides helpful feedback (I always have to say that does not mean you correct spelling!), asks questions, makes connections. It’s more than just a sentence!
To comment, we play a quick version of musical chairs. The students walk around then sit as soon as I have them stop. They are told to read the post as well as any comments that have already been written before writing anything. We do this about three times. Finally, they return to their seat to read their comments. I ask them to reply to at least one of their comments.
To wrap up everything, we discuss the types of comments received (without naming names). I want the students to determine the “value” of the comment mentioned and, if worth a penny, how it could be improved to become worth a dollar.
We hope this exercise will transfer to online blogs!
Here’s a sample of 4th graders working on their blogs and comments.
More Table Blogging Videos:
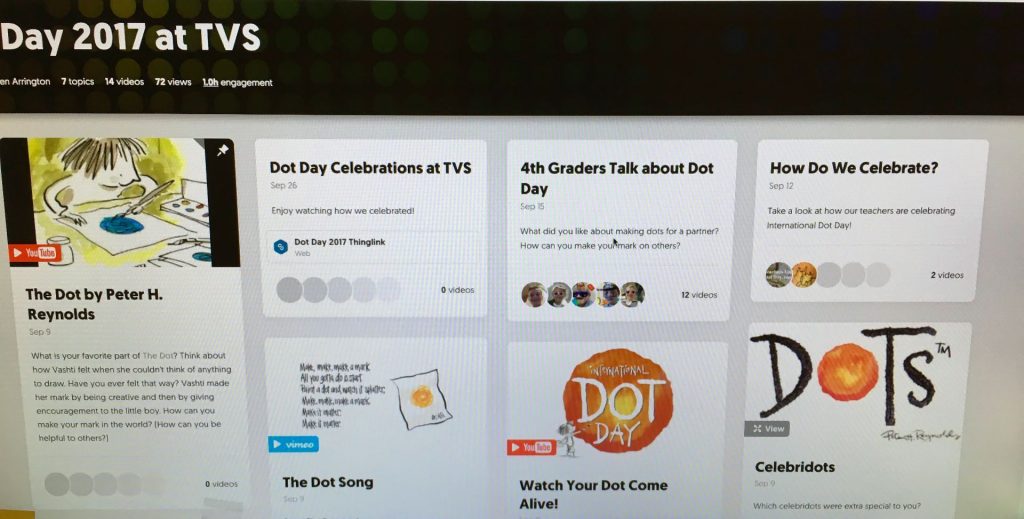
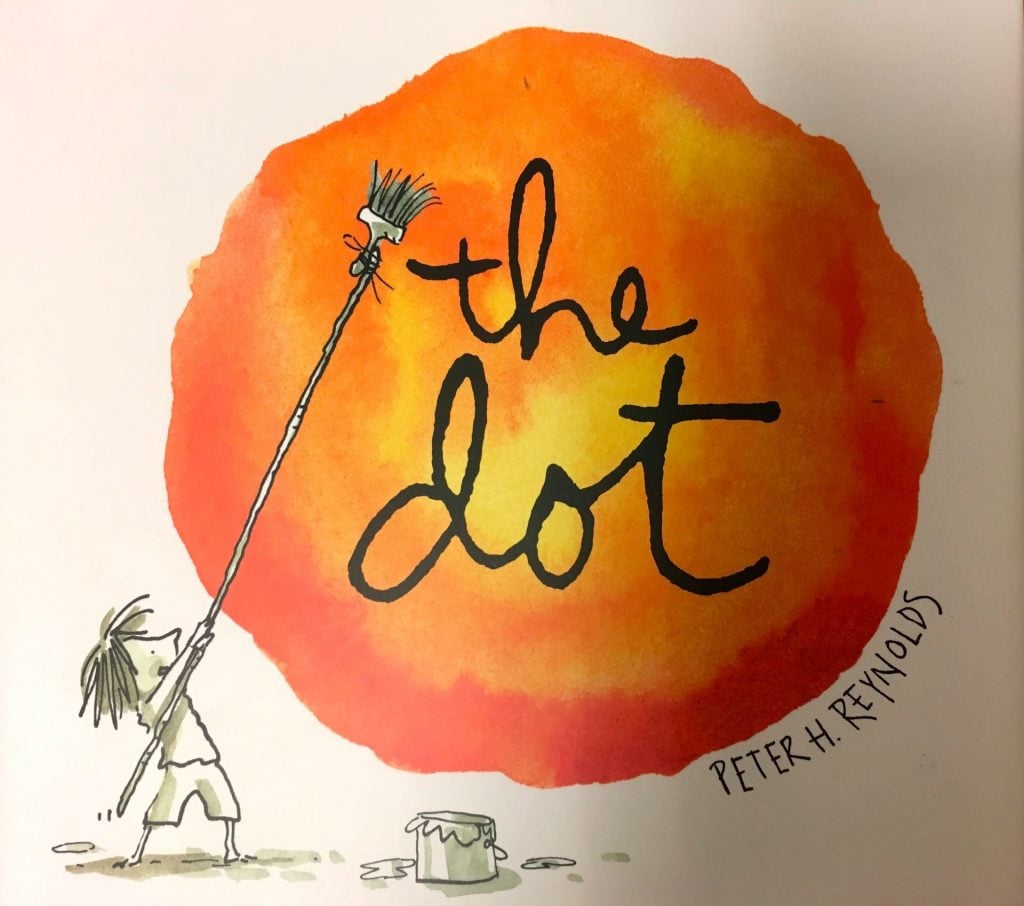 What a whirlwind week we had as we celebrated International Dot Day 2017! As students are beginning the school year, it’s such a fun way for them to remember that we ALL are creative in our own way and we can also “make our mark” in so many ways.
I’ve compiled quite a few Lower School activities in Thinglink, TVS Celebrates Dot Day 2017. Below, I’ll provide more detail than you’ll find in the above link.
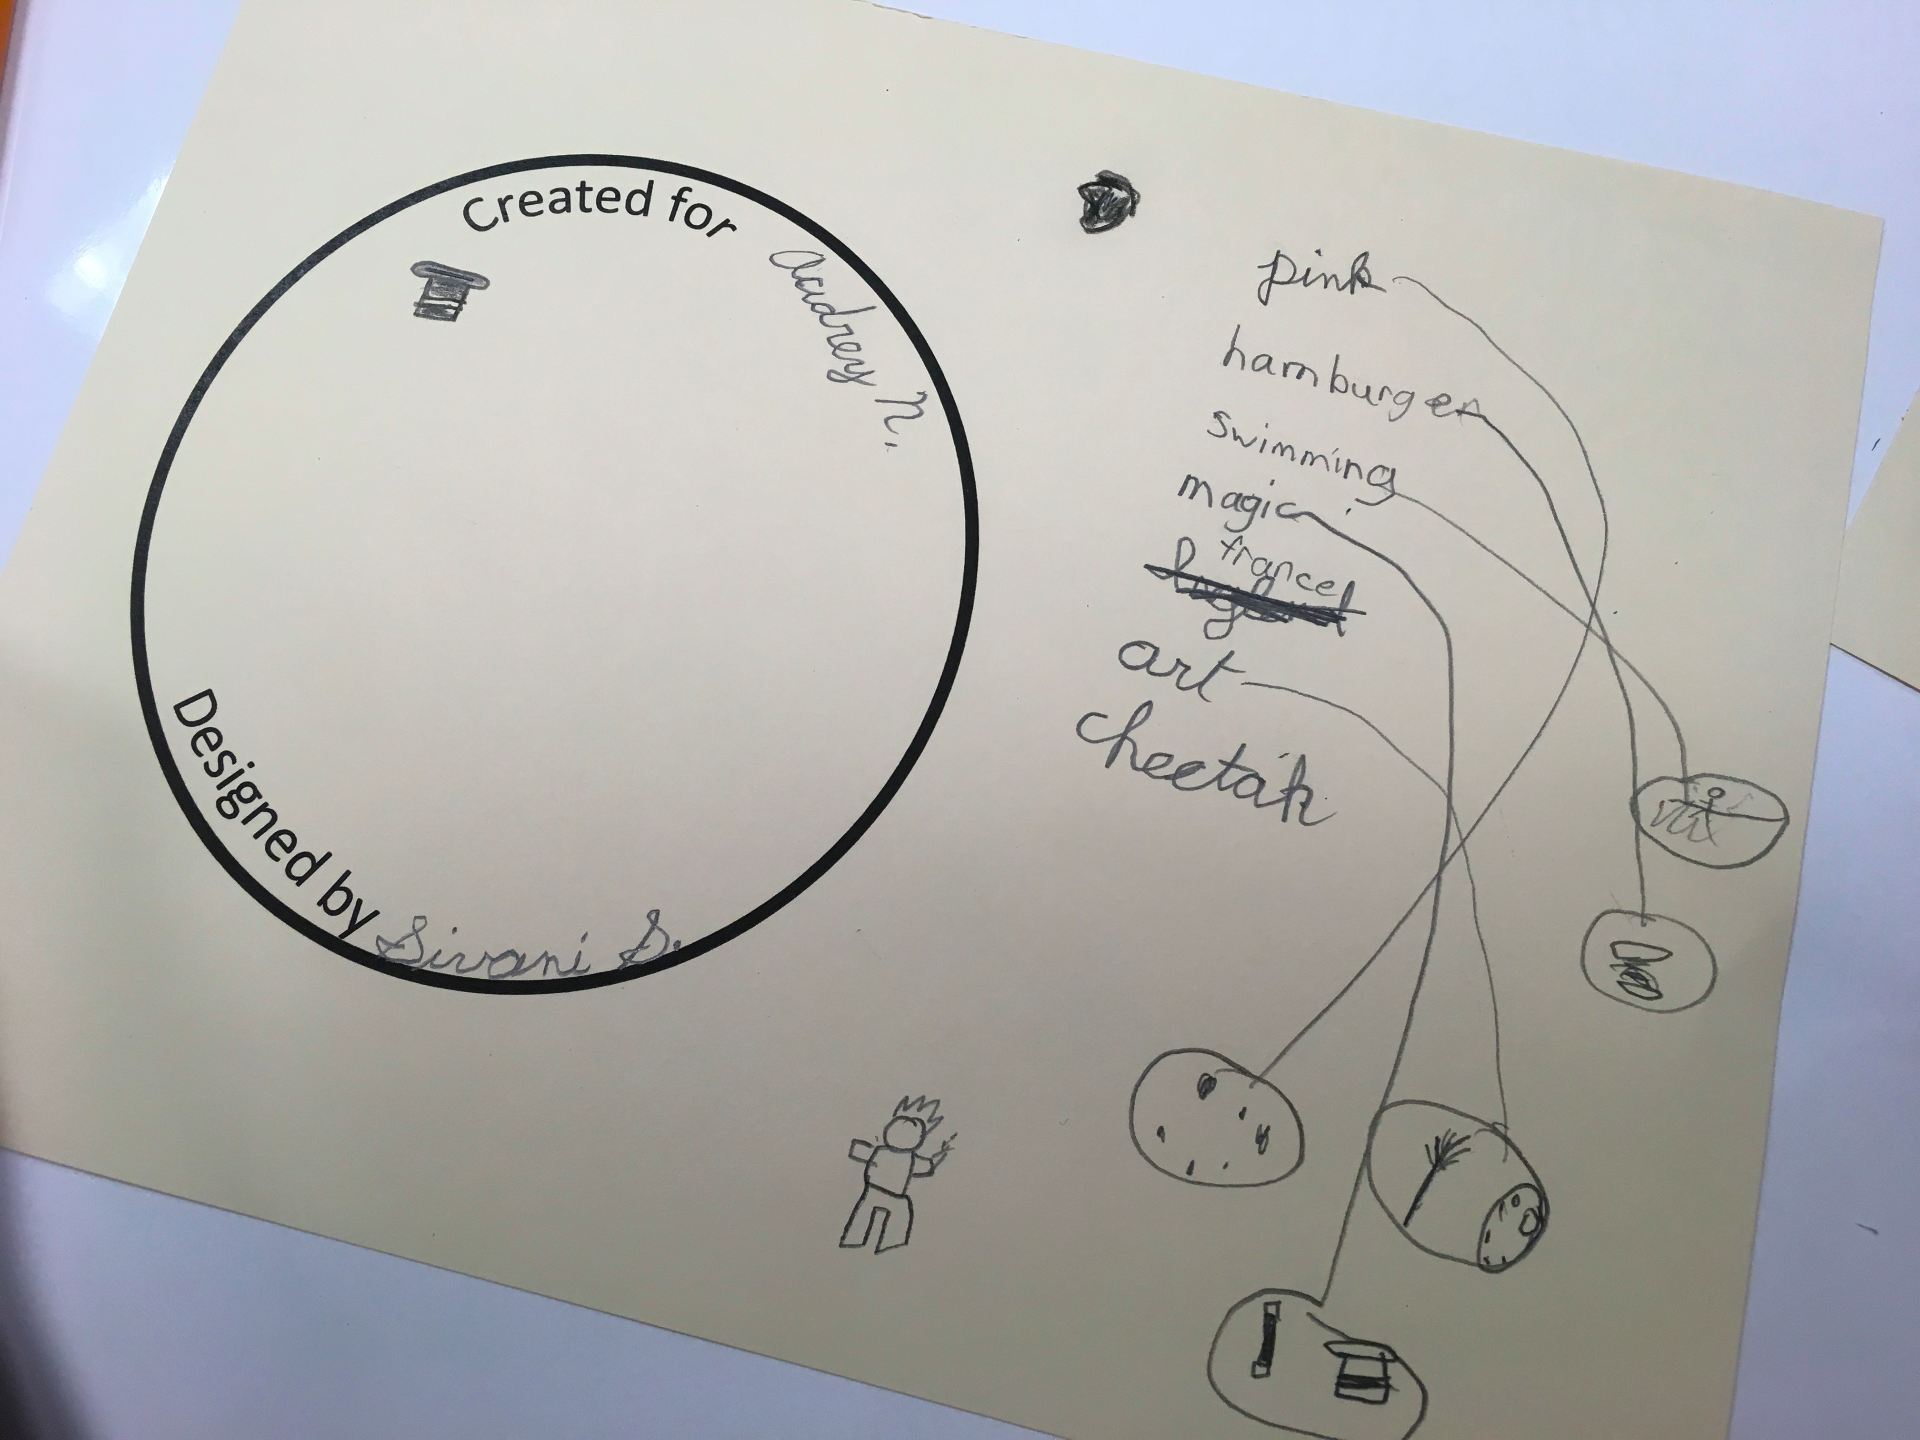
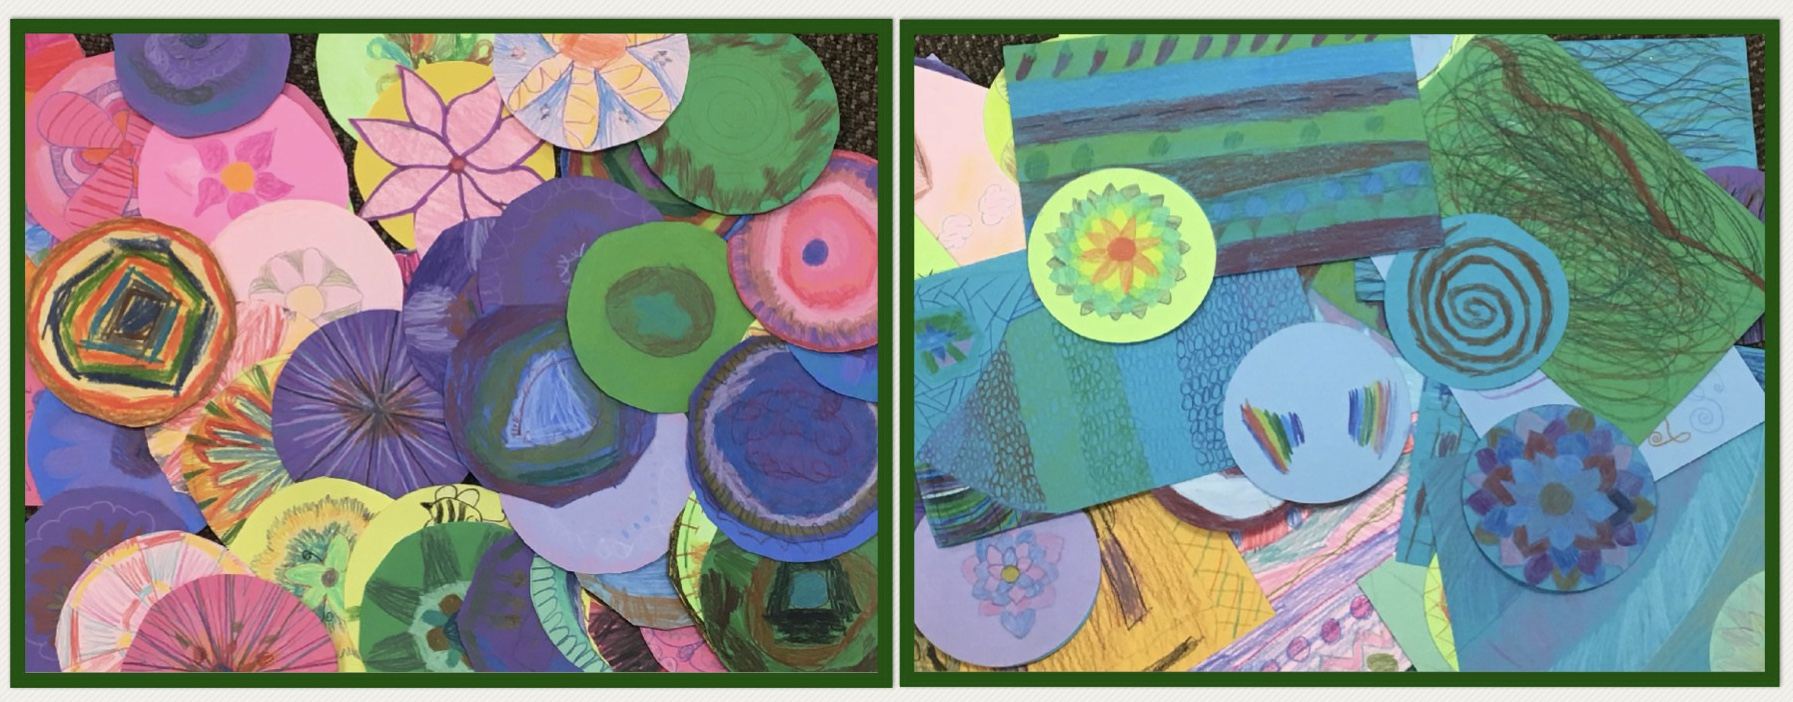
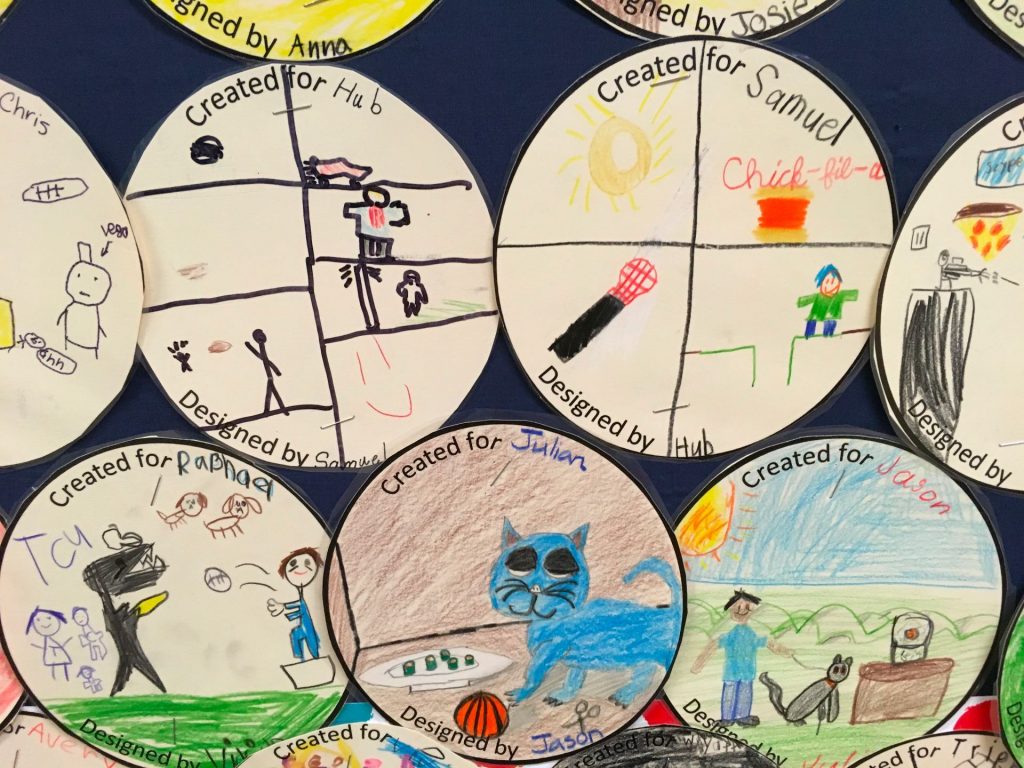
Design Thinking and Dot Day in Grades 2 – 4: Like last year, I used The Launch Cycle, as a framework for a Dot Day Design Thinking project. Students were given a blank circle on a paper and partnered with a classmate. They were to interview each other and then design a dot for their partner that described that person. My goal in doing this was to get students to look outside of themselves. Sure, it’s easy to create something for yourself. It requires good listening skills to create for another person! (Click here to get a much more detailed explanation of the process.)

To be honest, I was a bit concerned that the children would complain that they did this last year and wouldn’t want to do it again. Over and over, though, I discovered that not only were they excited about repeating the activity, they remembered exactly WHO their partner was last year. AND, they could describe precisely WHAT their partner designed for them! I was amazed!!
One pair had worked together last year and somehow managed to end up as partners again. When I discovered that, my response was, “Oh dear! I’m so sorry that I didn’t catch that!” In a very matter-of-fact voice, one of the two replied, “That’s okay. We’ve changed in the past year so we’ll have different answers!” WOW!!
Another class came in rather loudly and I was having a some trouble getting their attention. I told them that we didn’t have to do the Dot Day activity. From the back of the room came a small voice, “Noooo! We have to do this!” I was amazed that one activity from a year ago made such an impression!
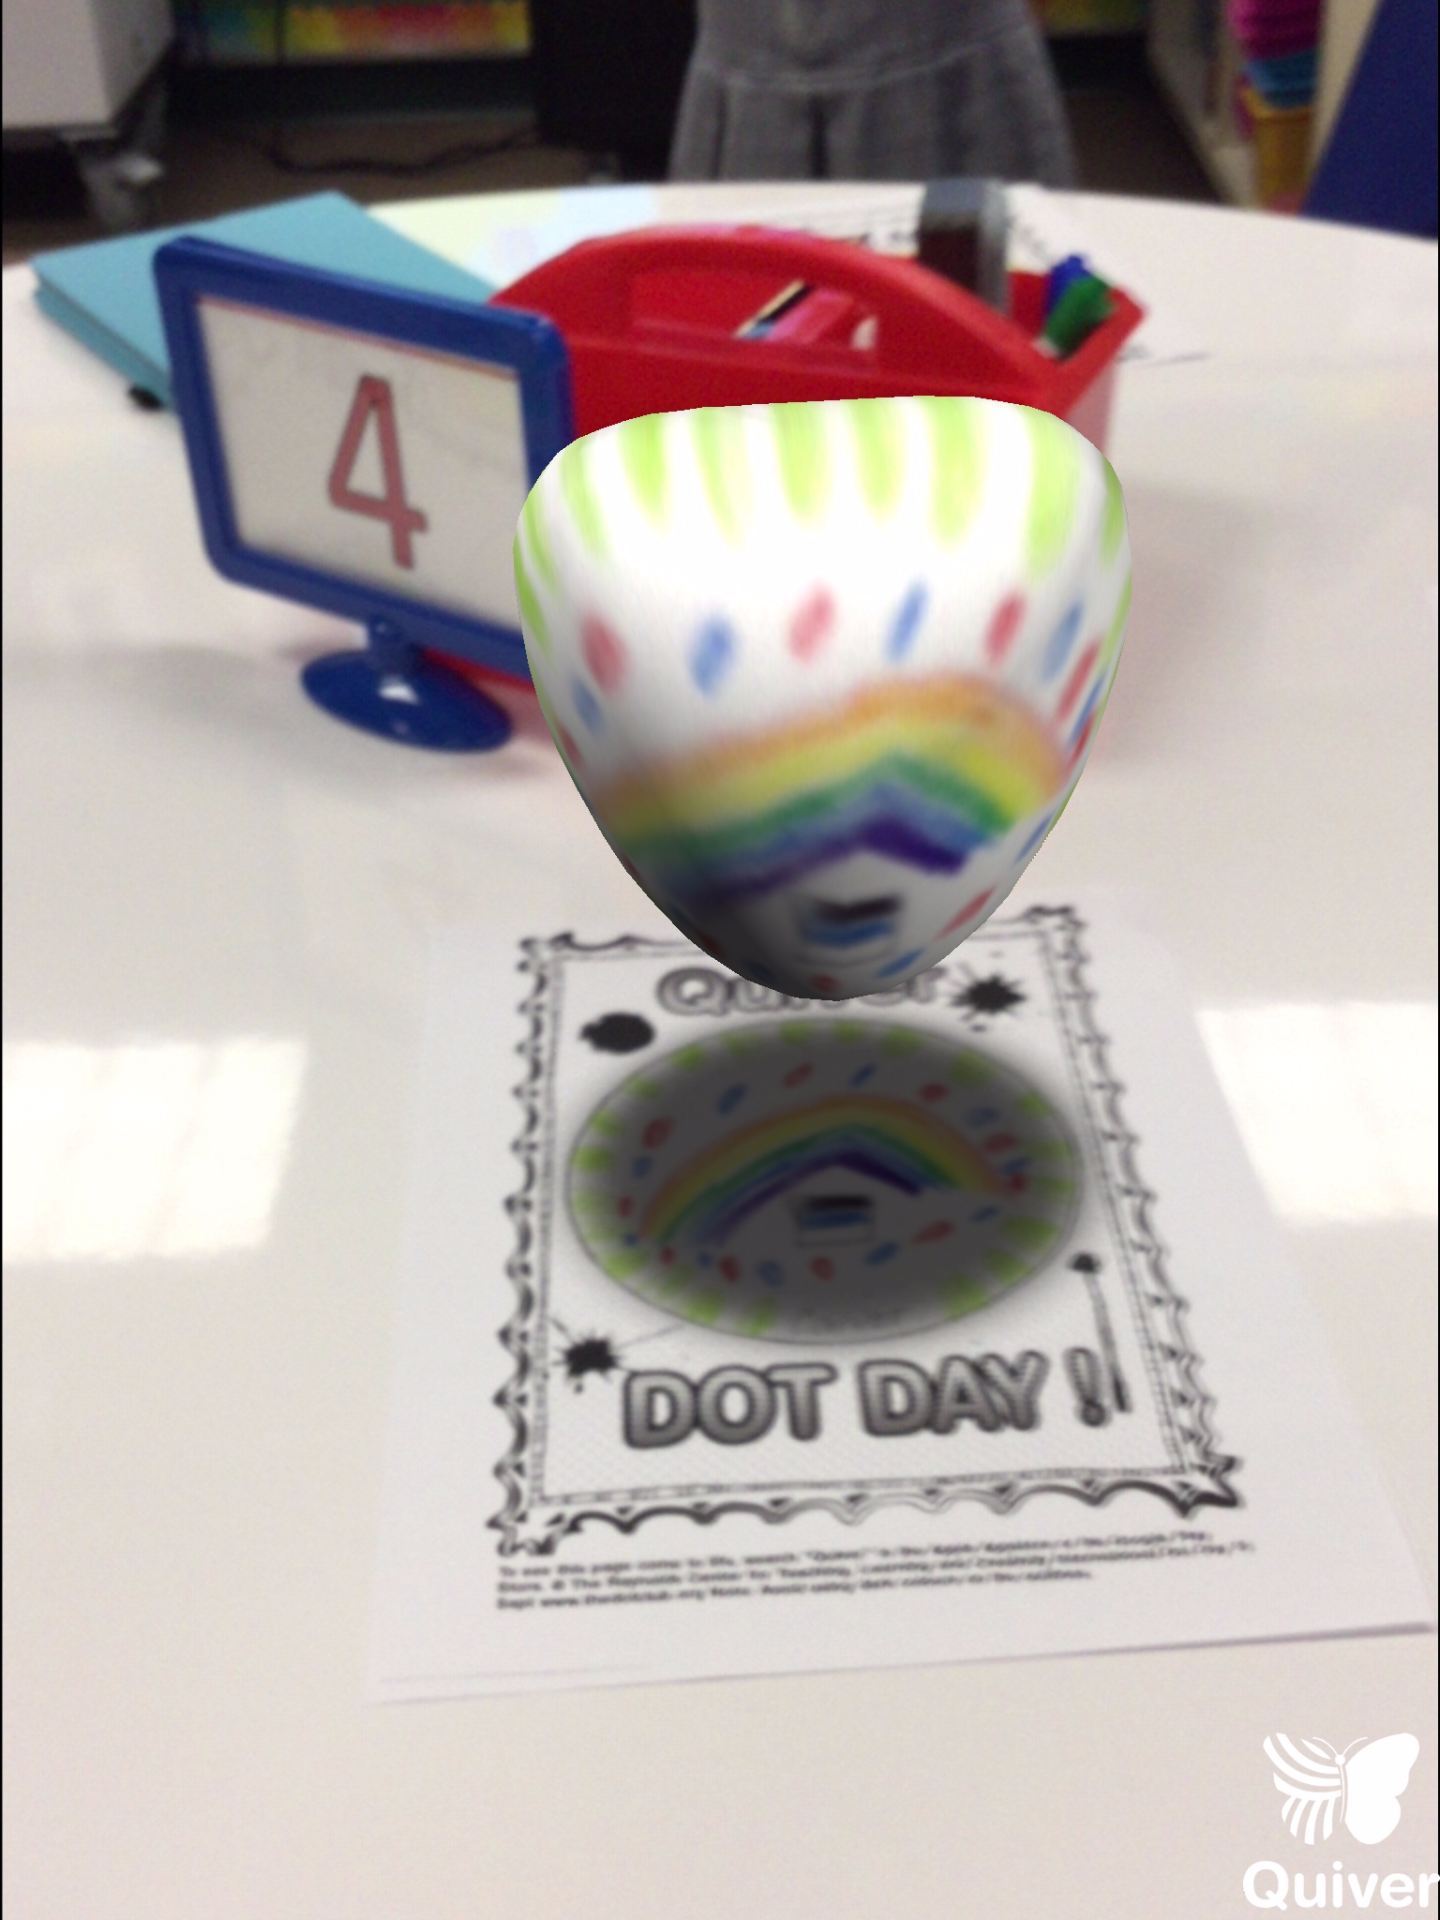
Making Dots Come Alive with the Quiver App:
Our first graders used the Quiver app for their Dot Day activity. Because it’s difficult to color the dot and use the app in just 40 minutes, the children did their coloring before coming to class. When they arrived, we talked about how to use the app and I demonstrated with a dot I’d drawn. As the quiver app brought my picture to life, there were lots of oohs and aahs and they couldn’t wait to get started! I asked the children to do two things:
- Take a photo of the dot.
- Video the dot moving around.
Both are really easy to do within the app. Later, we uploaded the videos to their Seesaw portfolio to share with parents.

Flipgrid:
A latecomer to Flipgrid, I’d just started exploring it when International Dot Day rolled around so I really didn’t get to do as much with it as I’d hoped.
A few of our fourth graders added a video telling what they liked about Dot Day.
“Hi, my name is Julian and I loved the dot day project because you get to meet new friends and learn more things about them.” ~ comment from a 4th grader on our Flipgrid Dot Day grid.
Día Internacional de Puntos:
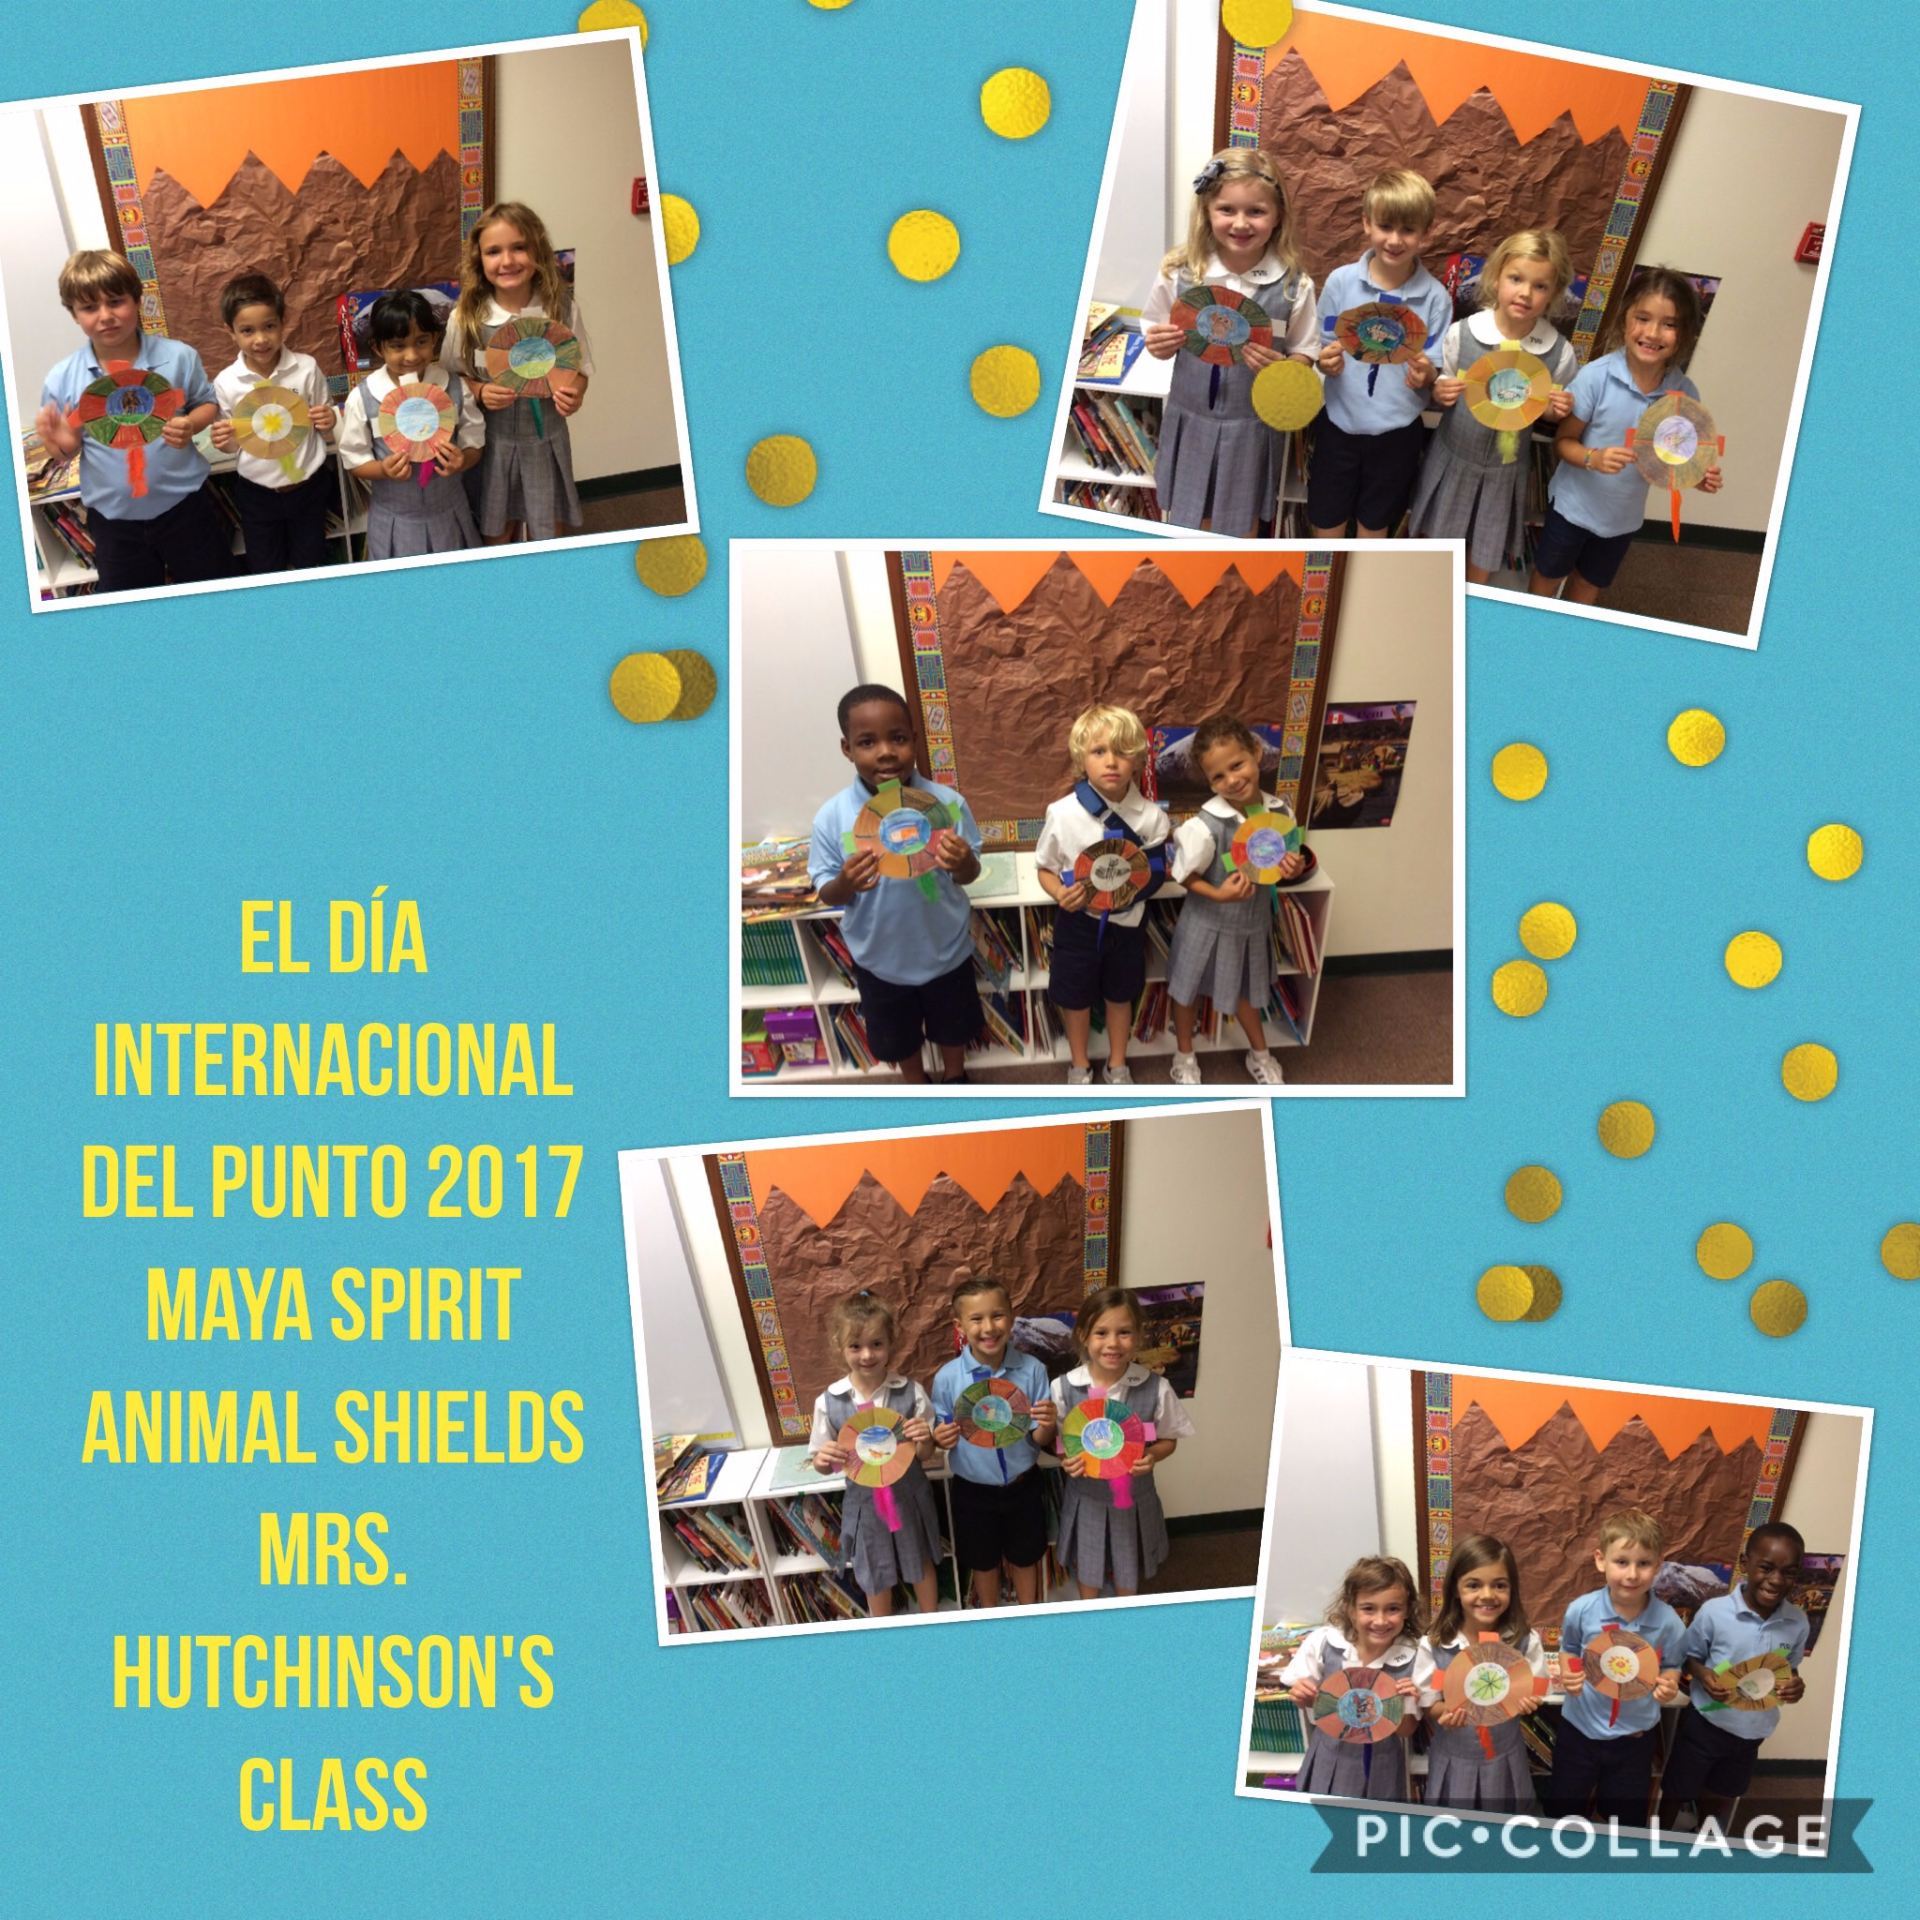
 Once again our Spanish teachers incorporated Dot Day in their lessons. Sra. Ross worked with first graders creating Maya Spirit Animal Shields.

Using an idea from the Painted Paper in the Art Room blog, Costa Rican Oxcarts, Sra. Nedrelow guided her fourth graders to design oxcart wheels. Third graders designed beautiful flores!
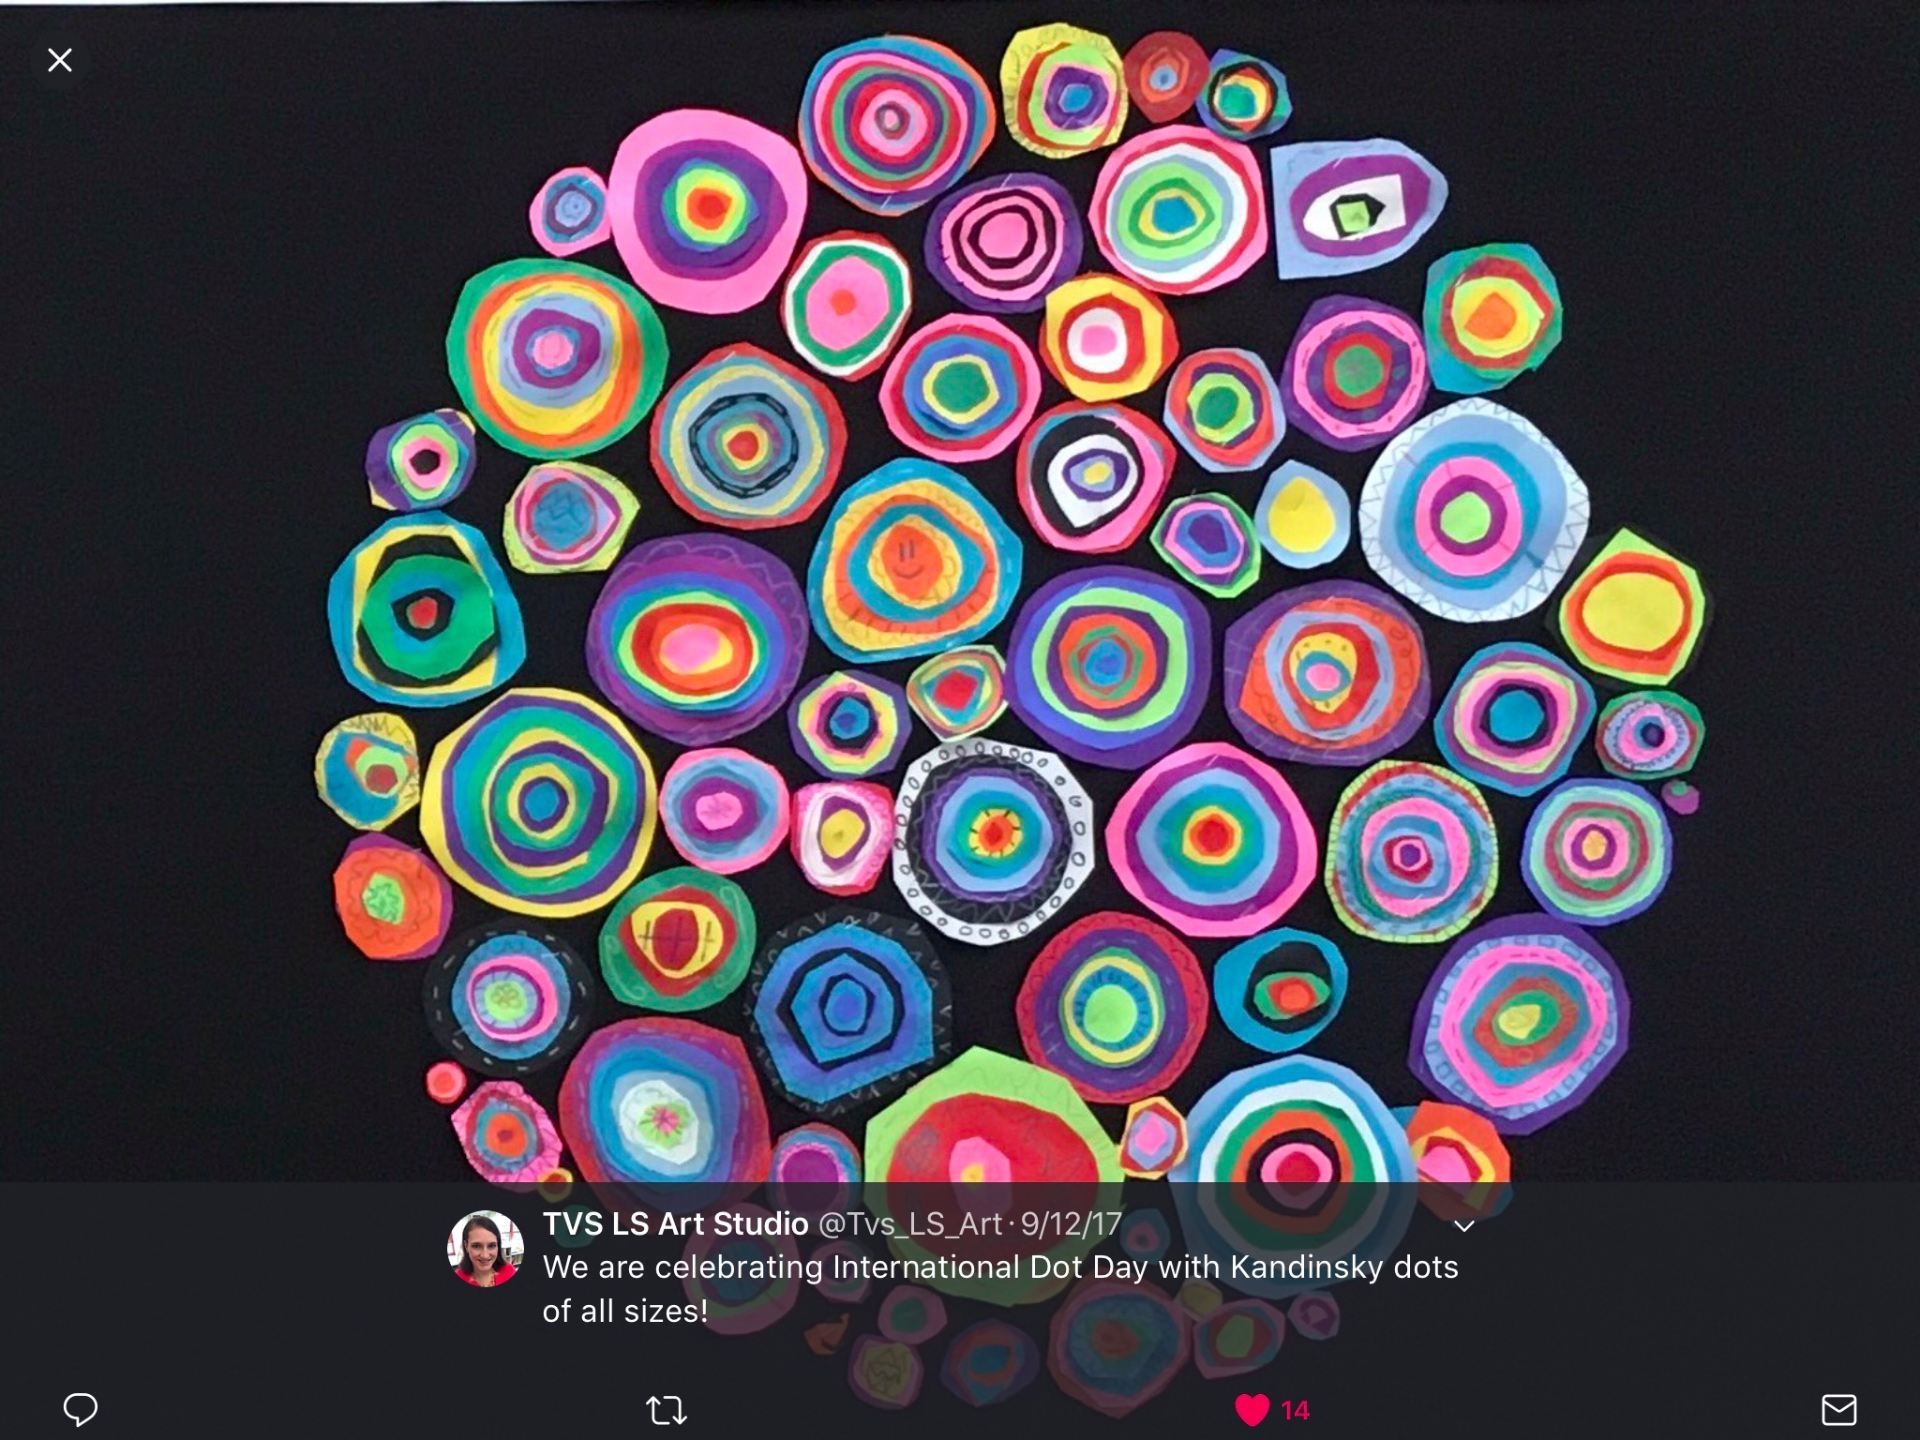
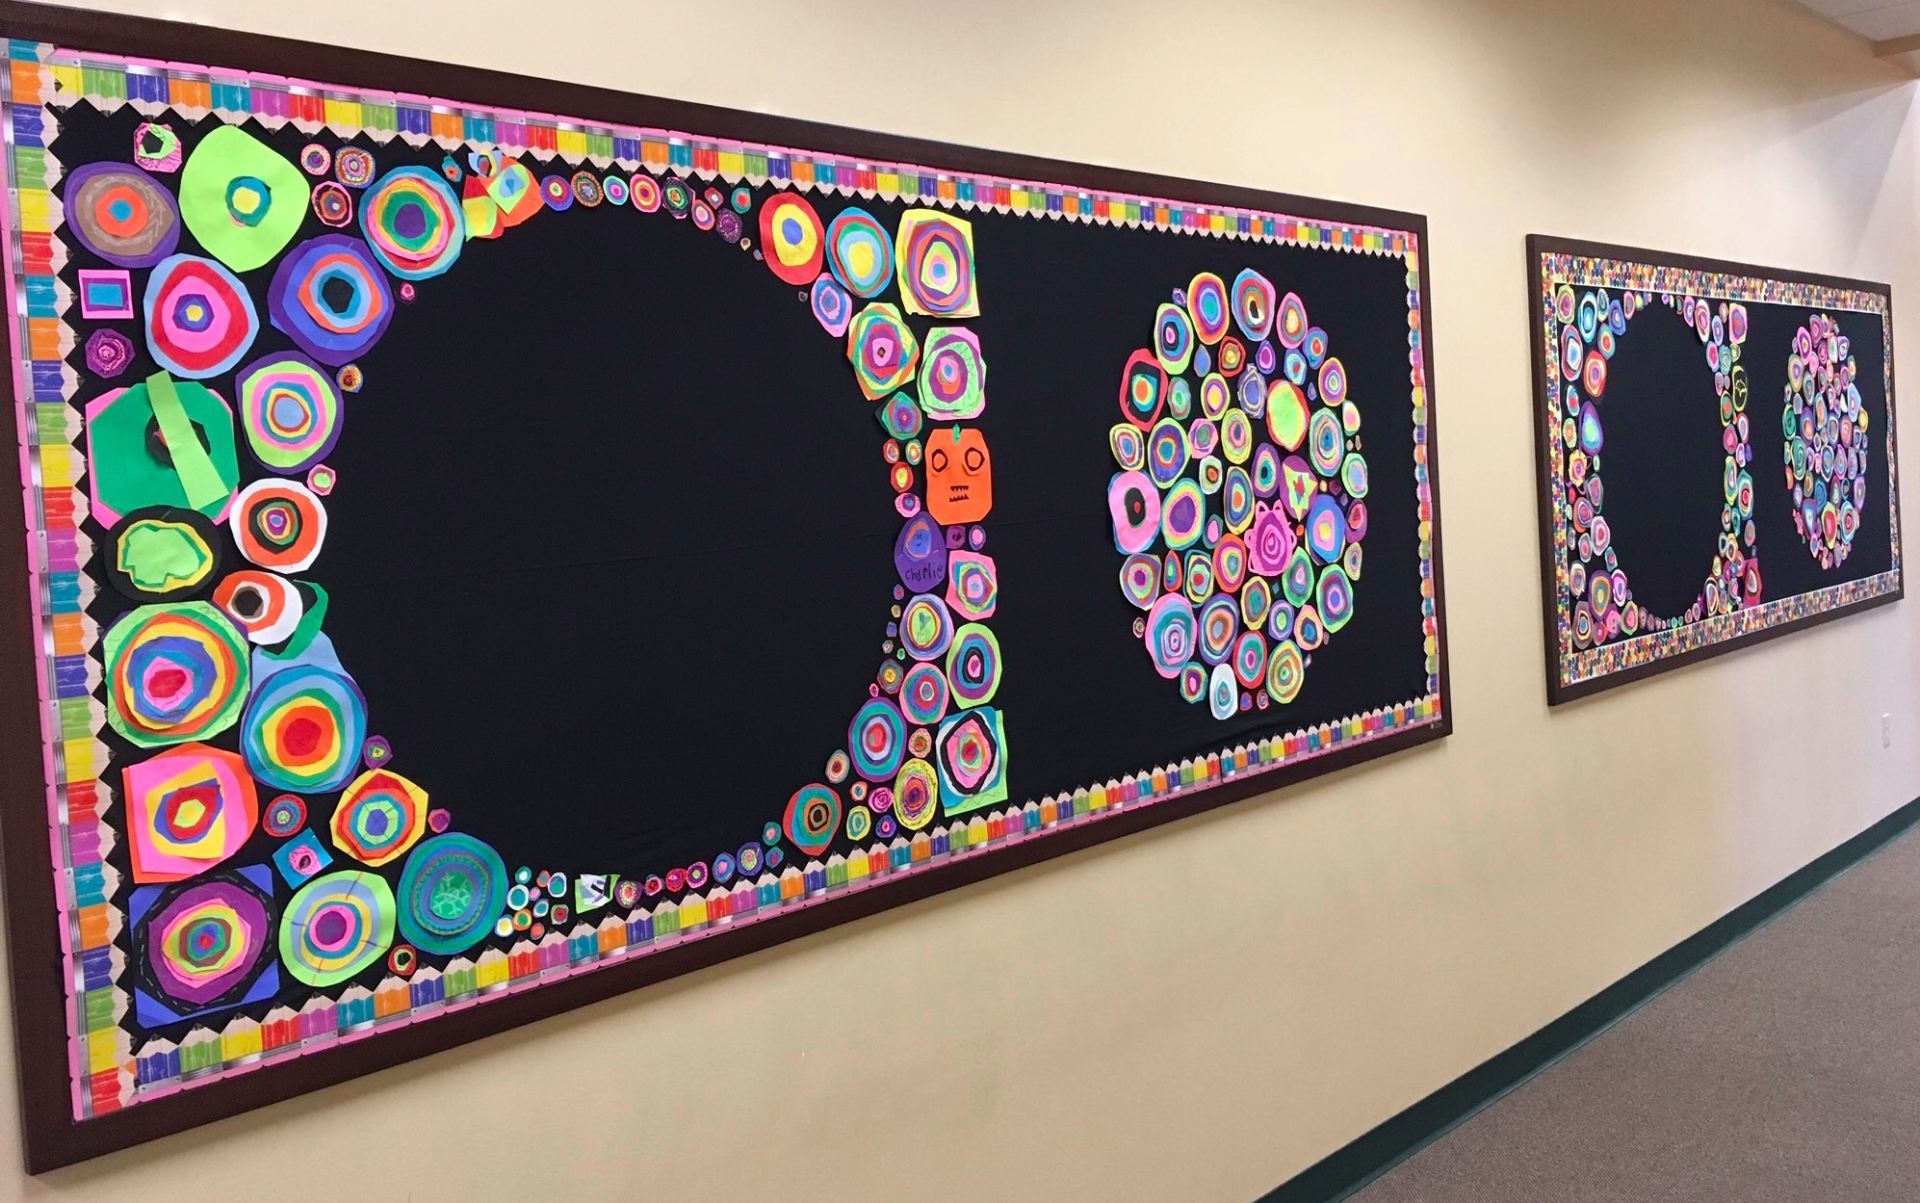
Kandinsky Dots in Art:

Mrs. St. John, our art teacher, even had students create dots based on the work of Wassily Kandinsky. Her bulletin board displays were gorgeous!

There are SO many more activities that were done by our teachers! Be sure to view the Thinglink, TVS Celebrates Dot Day 2017, to see videos and more!
We LOVE celebrating International Dot Day!
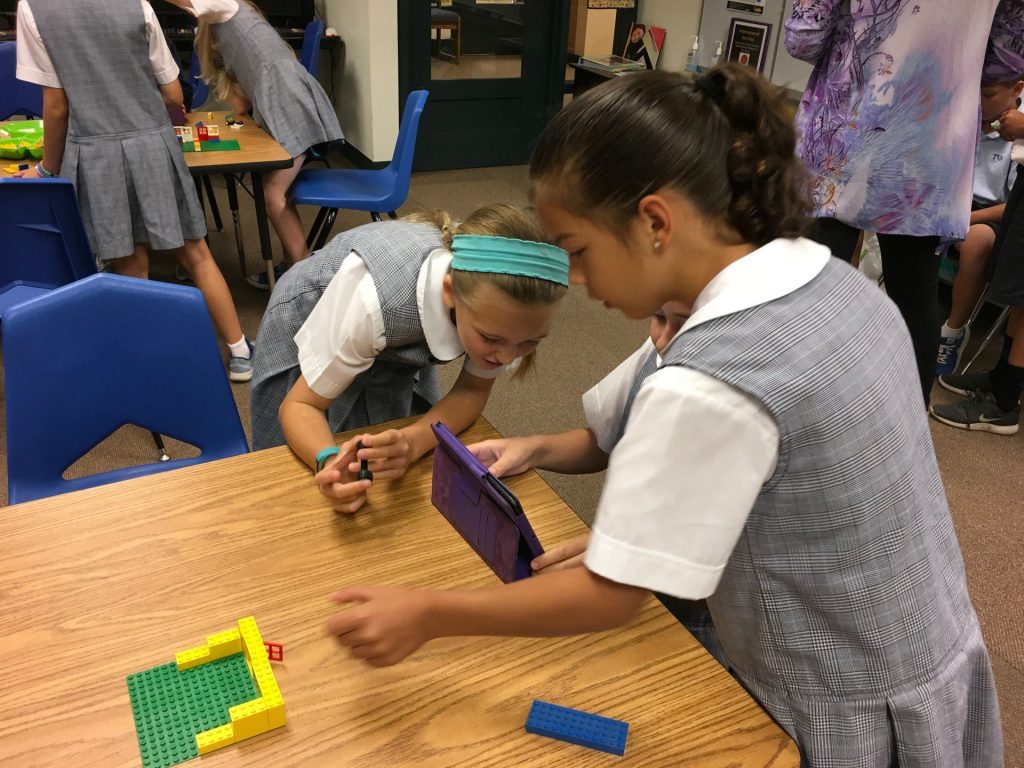
 Who doesn’t like Lego Building? Add in MyCreate app for making a stop-motion video and you’ve got instant creativity!
Our second and third graders were given a challenge to photograph each stage of their Lego building process and create a stop-motion video. If time allowed, they could even add sound effects! All this had to be accomplished in 35 minutes. (Enter groans of “No, that’s not enough time.”) It’s amazing how ideas come together when there’s a deadline!
The MyCreate app is super easy to use. The hardest tip to get across to students is to keep the iPad in the same place. We talked about how the smoothest videos created are when the camera doesn’t move. The app makes it easy to line up the subject if the iPad accidentally shifts. Photos are taken within the app and the frames per second can easily be changed. The more photos you have, the better. The only issue we had was with one iPad that wouldn’t save the video to the camera roll. We tried everything but it never did save for one group. What was strange is that it had just worked for a previous class.
 Some groups decided to build cars, planes, buildings and then start taking the photos. Others started from scratch, constructing garages, houses, and more.

 This was a fun activity designed to show the students how to use the app. However, there could be lots of curricular uses.
- Storytelling/Creative Writing
- Math Problem acted out
- A Historical Moment
Here’s a sample from Mrs. Weth’s class of the process and the stop-motion videos:
Click to see other second and third grade videos.
How do you use stop-motion in your classroom?
Save
Save
Aren’t Dr. Seuss books fun? His whimsical illustrations and storytelling create wonderful opportunities for students to enter a world of silly make-believe, while still having a life lesson for children (and adults).
Our second graders listened to The Foot Book as they designed their own foot or shoe in the Book Creator app. I loved seeing all kinds of interesting feet or shoes such as the ones that spouted crayons or confetti.

As the students completed their drawings, they recorded what these new feet or shoes could do. Each child air dropped their book to me so that I could combine them into a class book.
Here’s a video of one of the second grade books:
Zabriskie The Foot Book from Trinity Valley
Our third graders read I Wish that I Had Duck Feet. This book is about a boy who wishes he had different animal parts – duck feet, whale spout, elephant’s trunk, and so on. He thinks of all the fantastic things he could do with these parts. However, there’s always a downside to each one.

The students were asked to think of an animal part that they would like to have. They were to draw a picture in Book Creator, record the pros and cons of the part, and air drop the book to me so that I could create the class books.
It was so much fun listening to what they chose. A few even tried to write in rhyme like Dr. Seuss.
Here’s one of the third grade stories saved as a video.Gramentine Dr. Seuss and Duck Feet Stories from Trinity Valley School on Vimeo.
Enjoy all of our books and videos!
If you are downloading the ePub books, remember that you need to click on the book link while on an iOS device having the iBooks app. Choose download and open in iBooks. (We had several children absent on the day that we made the books. If you don’t see your child’s work, that is the reason.)
Mrs. Garcia’s Foot and Shoe book
Mrs. Shapard’s Foot and Shoe book
Mrs. Zabriskie’s Foot and Shoe book
Mrs. Gramentine’s “I Wish I Had . . .” book
Mrs. Prescott’s “I Wish I Had . . .” book
Mrs. Weth’s “I Wish I Had . . .” book