After a successful bridge building experience with second graders, I decided to give it a try with the third graders. The idea (from Playground Park Bench blog) is based on the book, 21 Elephants and Still Standing, a true story about the building of the Brooklyn Bridge. Click here to read the last post for information on the process.
This time I added pool noodles to the supplies. By the second class, it was apparent that those made the building process too easy. As a result, the last class didn’t get that option!
Notice how close the supports are in this video. The students forgot they needed room for boats to go under the bridge!
What surprised me was that the second graders actually had more detailed drawings in their design process. But, the older students had the vocabulary with much talk about supports, beams, etc.
Here’s a look at the process.
It’s interesting to see how each age approaches the challenge. Listening to their planning processes is amazing! I absolutely LOVED how respectful the students were to each other as they planned, built, and made changes. I’m eager to try this with first graders!
Any kind of activity that’s open-ended and encourages creativity/problem-solving is something I love to use to challenge students. I came across this video from John Spencer and decided to try it with our third graders. Click here to view more of John’s videos!
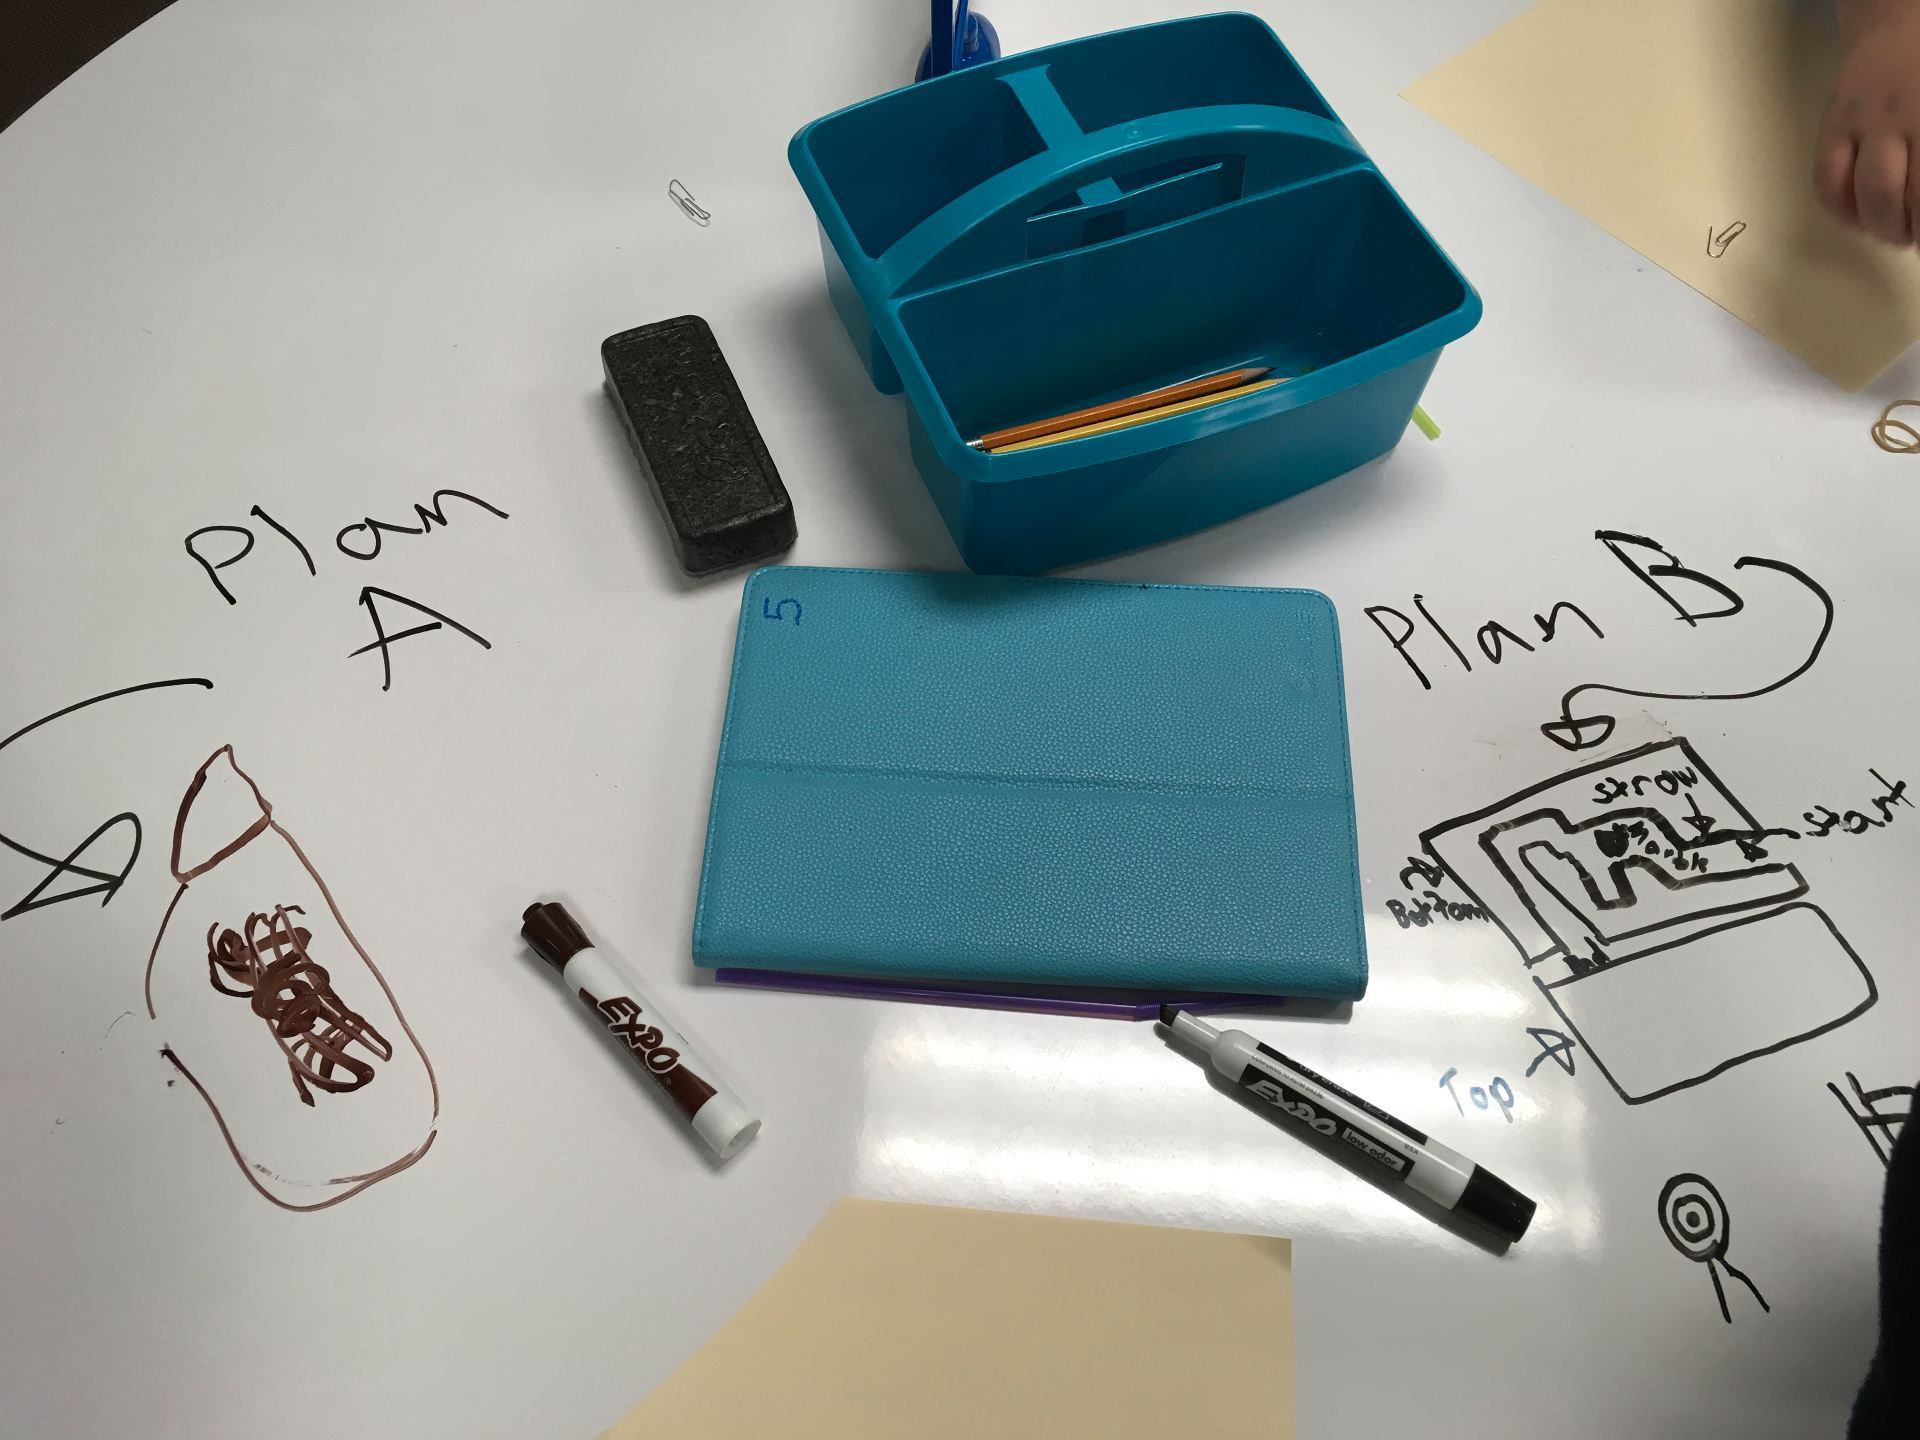
The Challenge: Using the following supplies, create something that has a use.
2 pieces of paper
3 straws
1 marble
a few paper clips
a few rubber bands
8 or 9 inches of masking tape (Tape isn’t on the original supply list but, after watching the first class struggle, I decided to provide some tape.)
What I love about the video is how Spencer stresses that there is NO bad idea!
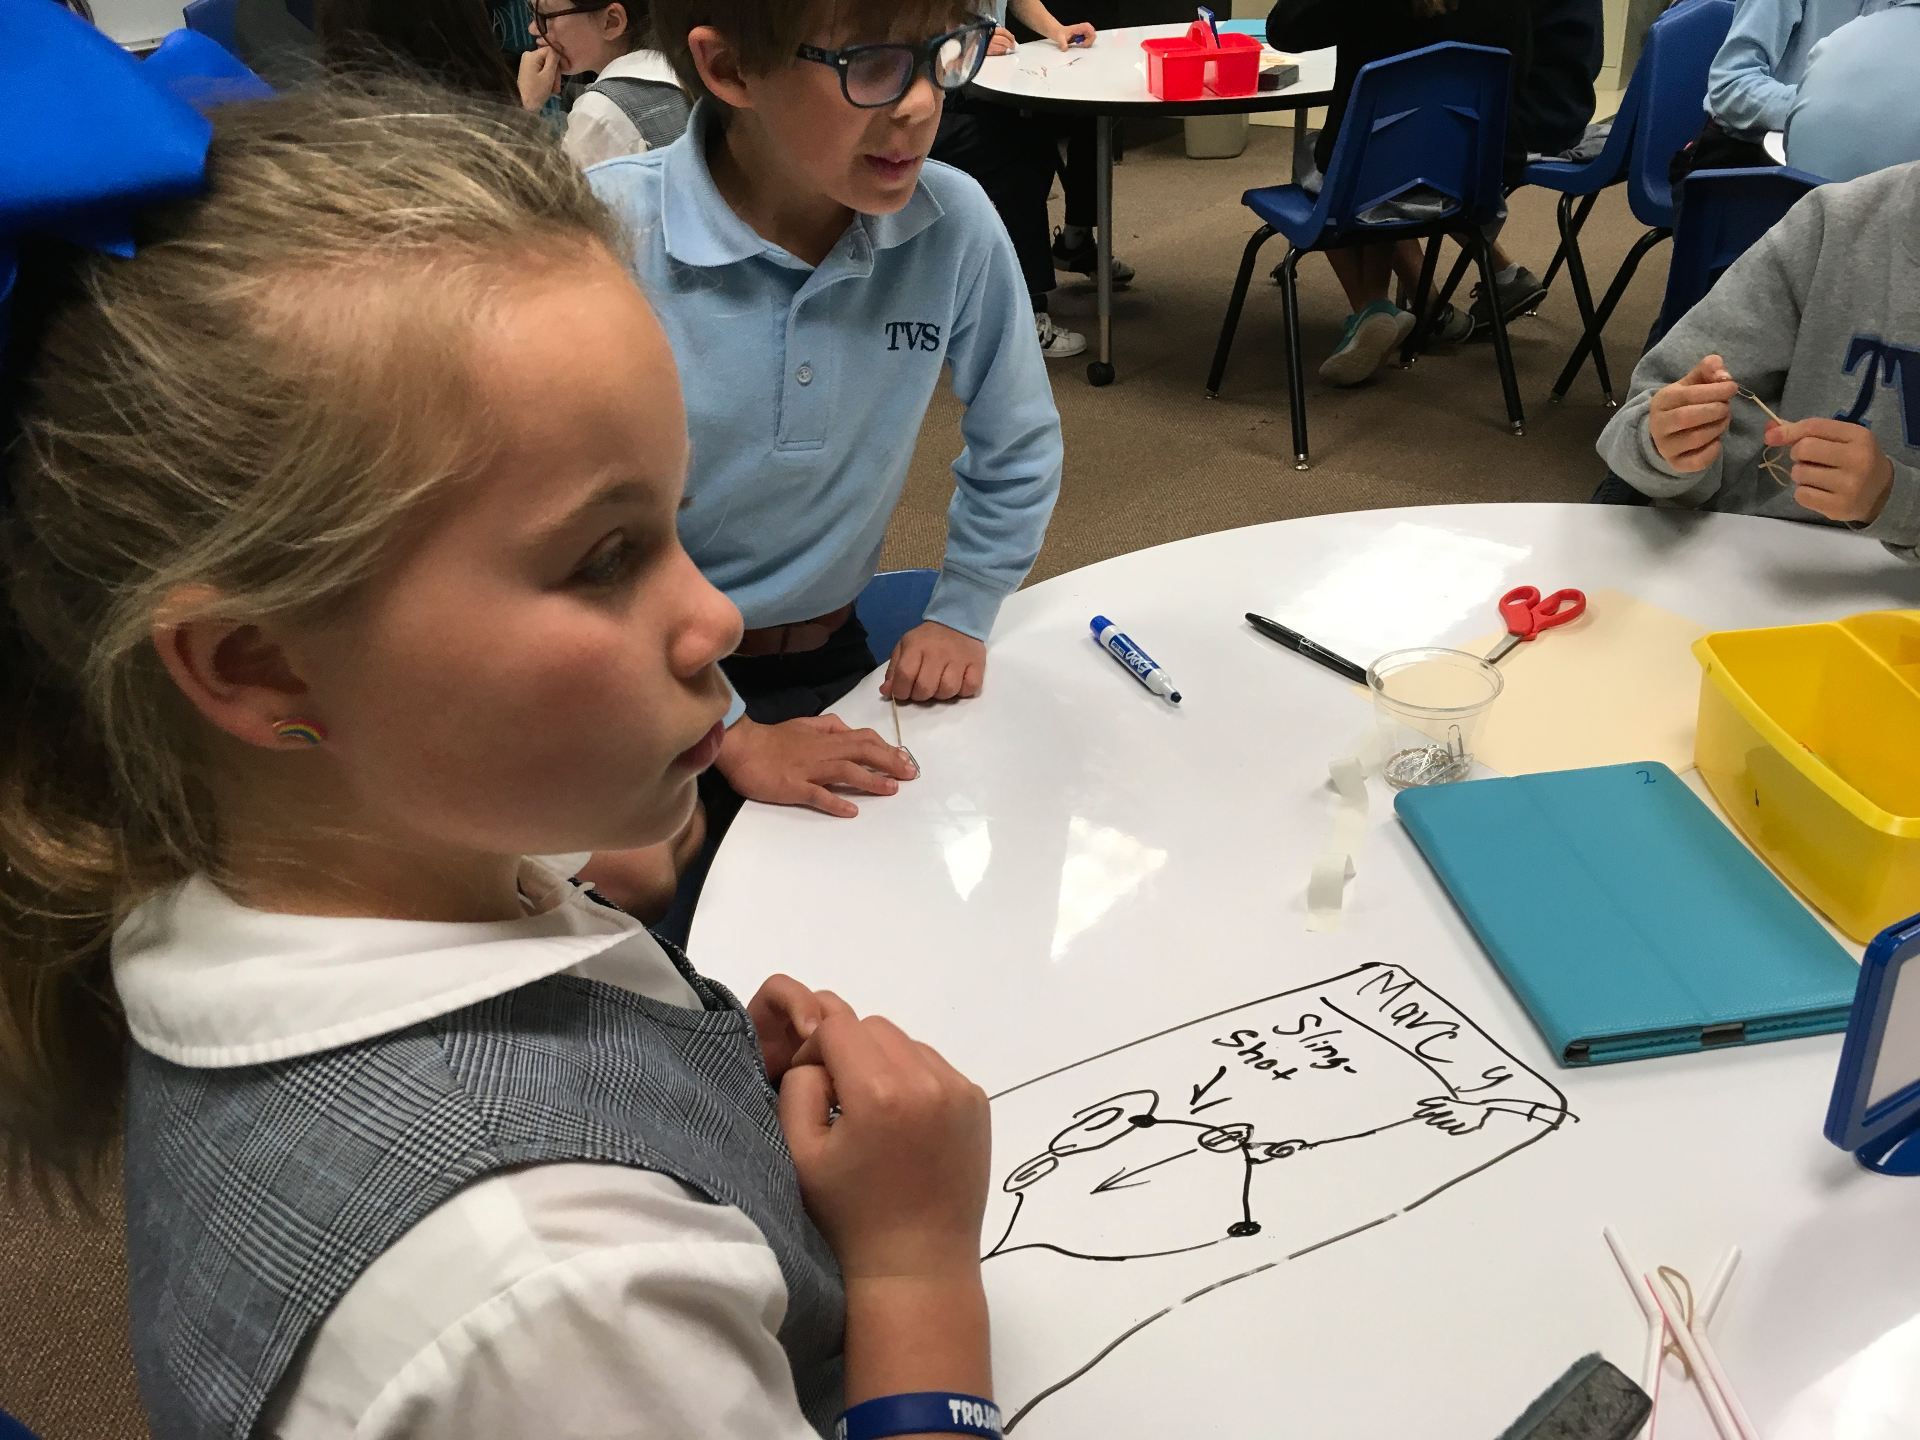
We began with asking students to brainstorm on their own. They could jot down ideas or draw them. I only gave them 60 seconds or so; usually students are so excited that they can’t keep quiet for too long! They’re very eager to get started!
The next step was for the group to discuss all ideas and then come up with a decision on what to create. Most groups did fine with this, although a very few struggled. It’s difficult to practice the give-and-take that is needed to collaborate but, it’s an extremely important skill to learn!
What was so interesting is that each class approached the challenge in different ways. With one class, every single group had the same idea – a slingshot! Granted, they were all different – but still, the same idea?!
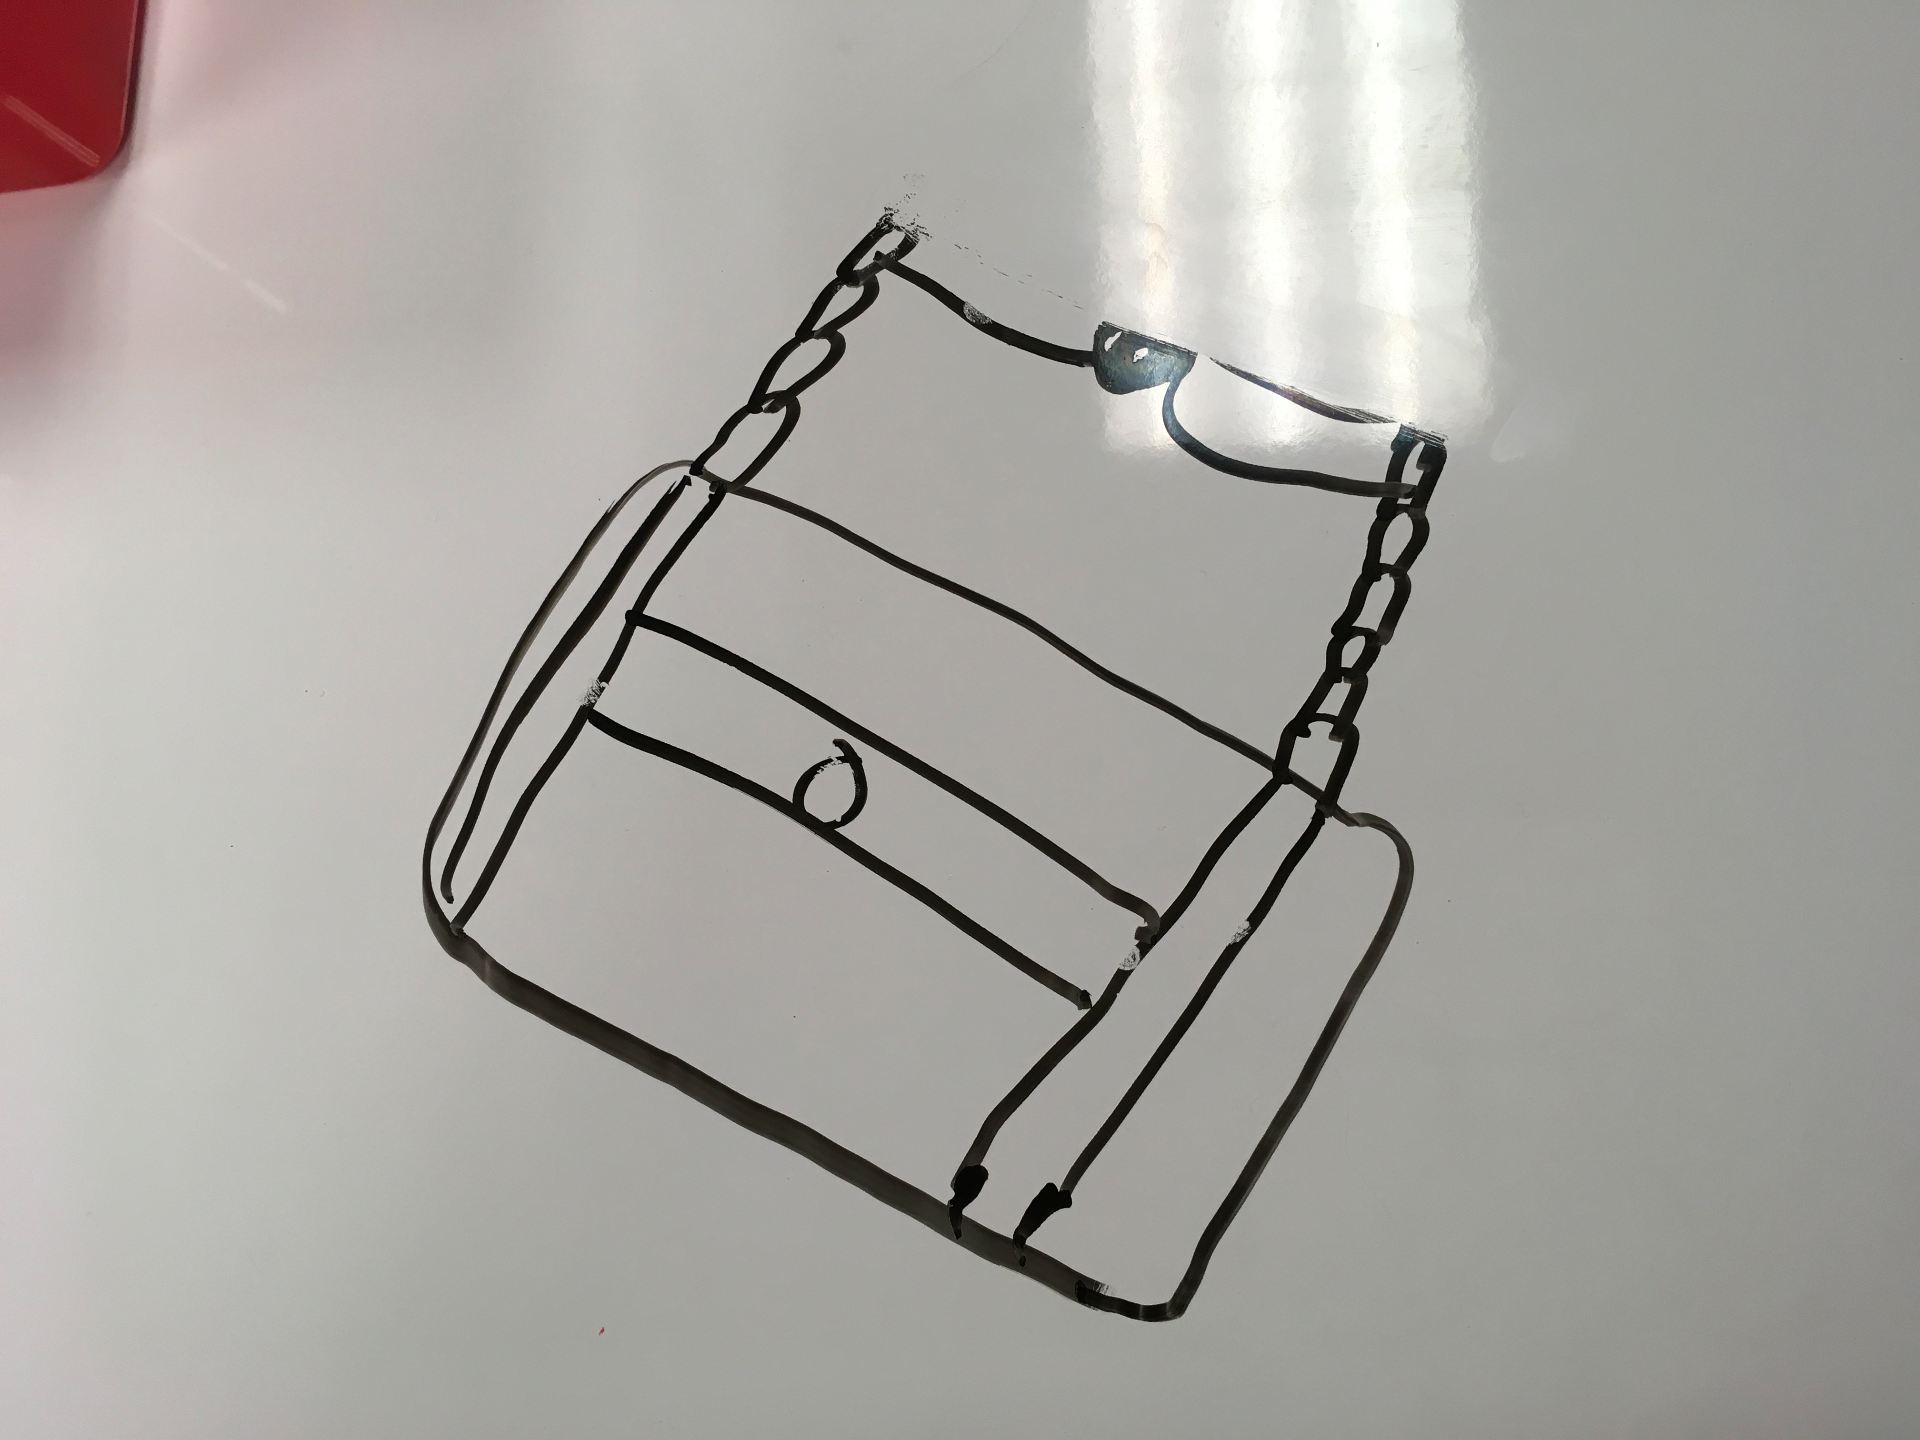
The other classes provided more variety with their designs. One group designed a purse for their teacher. I wasn’t quite sure what role the marble played in the design, but was quickly told it went inside to check to see if the purse could actually hold things.
Here are a few other creations.
I wish the above group had explained more about their process. They built a bridge out of paper for the marble to roll on, but, what they discovered was that it rolled off the bridge every time. I overheard a member of the group exclaim, “We are ALL geniuses. We’re definitely NOT idiots!” That’s when the ideas really seemed to flow! The students came up with the idea of lining the bridge with paper clips. This provided a “railing” that kept the marble on the bridge.
This was hard for third graders! The type of supplies along with the limited number of items that could be used really was a stretch for the children. Even though some of the designs were similar and/or not too complicated, each group worked through the design process by planning, discussing, making changes, and sometimes, even starting over. The entire process was excellent practice and I have no doubt it will get easier as more challenges are presented!
After attending a Design Thinking workshop this summer (see previous post), I thought a perfect way to weave this into the curriculum would be an International Dot Day activity.
Based on the book, The Dot, by Peter H. Reynolds, the story tells about a young girl (Vashti) who thinks she can’t draw. Her art teacher tells her to “Just make a mark and see where it takes you.” Vashti jabs the paper with a dot and then signs her name as requested by her teacher. As the story moves on, Vashti discovered that she really can be creative. And, as a little boy looks at all her paintings, she encourages him just as her teacher encouraged her. International Dot Day, celebrated September 15th-ish, is a day to help children (and adults) focus on how to “make their mark.”
Enter Design Thinking! The empathy part of the process is what grabbed me so here is what we did.
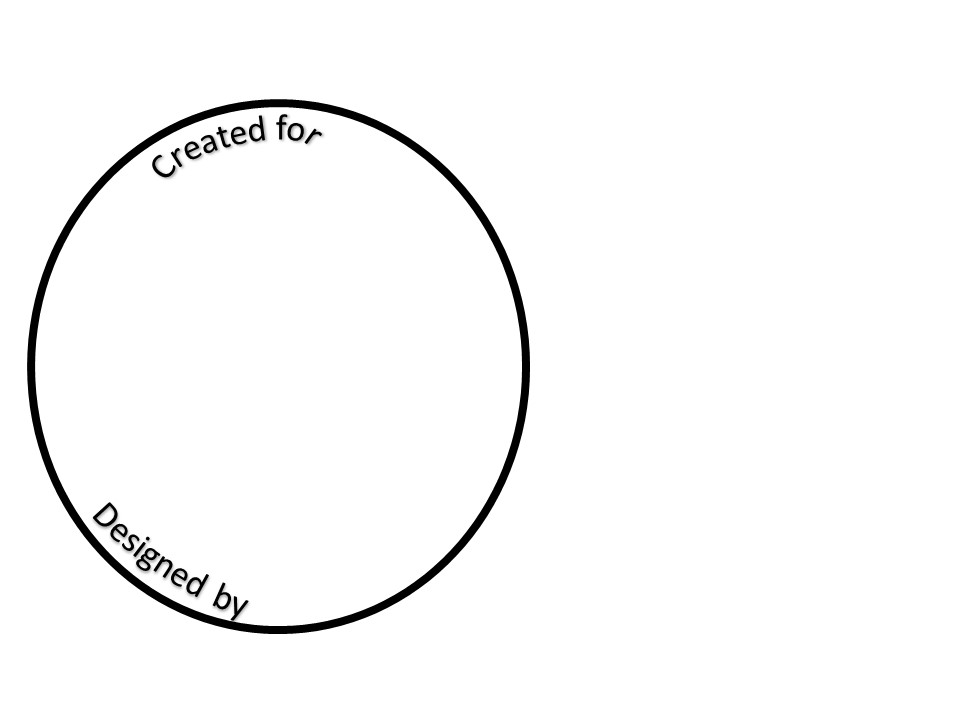
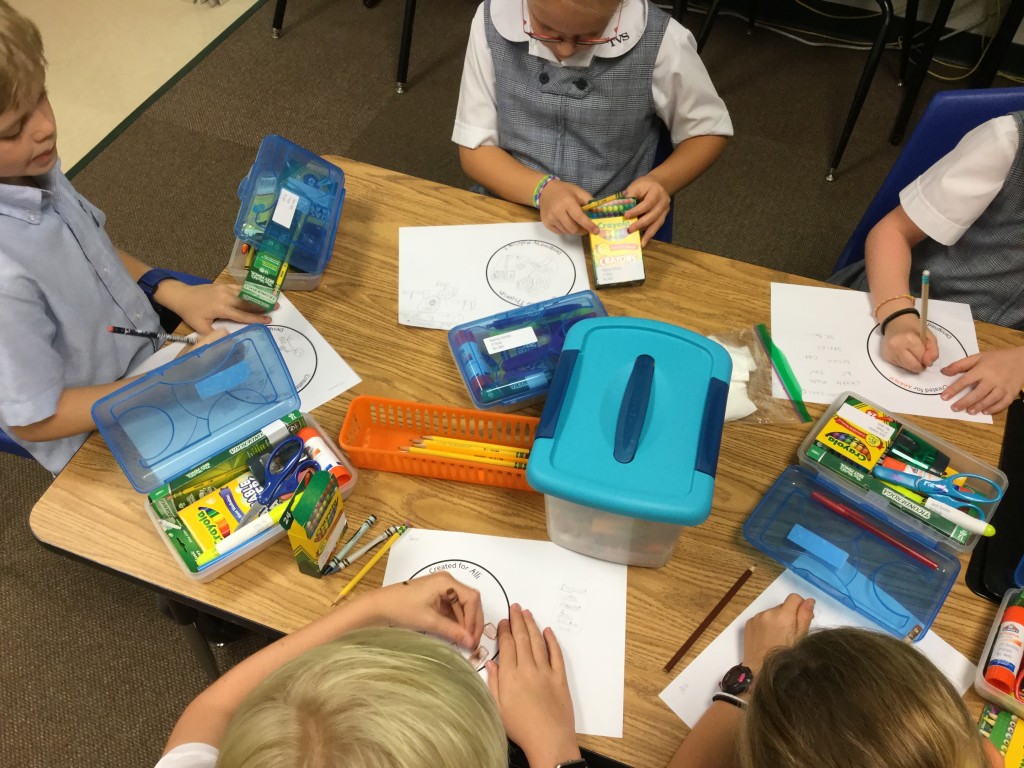
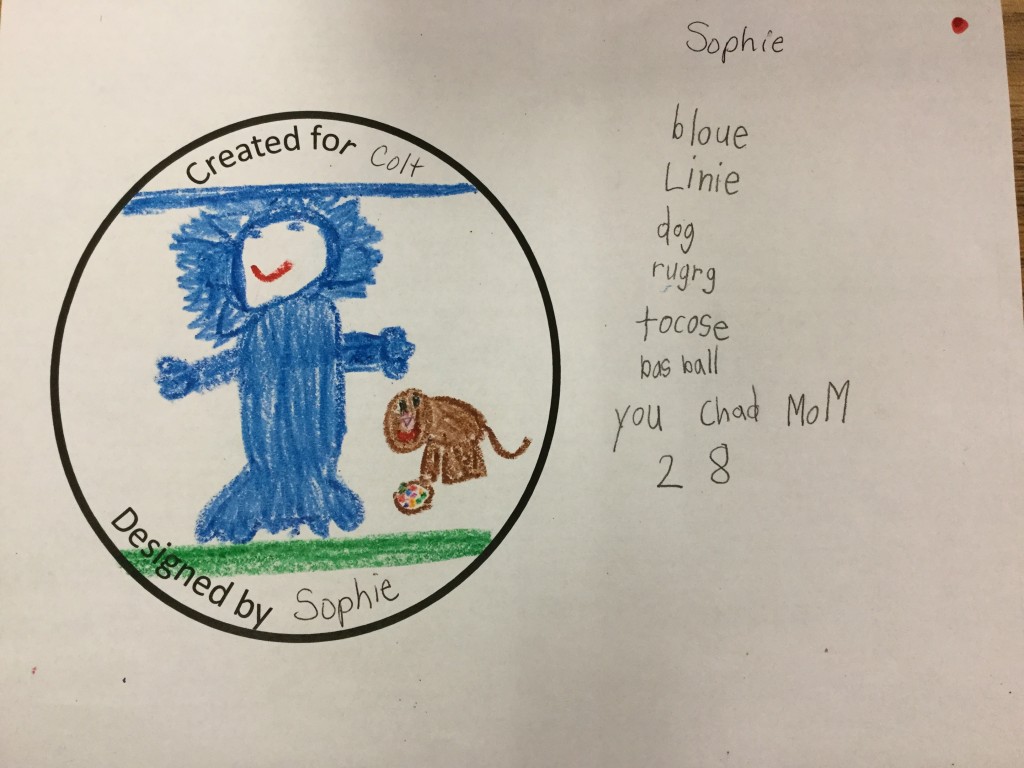
Each student received a design-thinking-dot-activity sheet with a large circle drawn on it. The dot is drawn off-center to allow for jotting notes. The children were told to choose a partner who was not their best friend – I wanted them to learn something new about someone they didn’t know quite as well.
I started the lesson by telling students that I’d taken care of the “L” for them.
L – Look, Listen, and Learn: This is looking for a something to create, fix, make better . . . The problem the students had to solve was to create a dot that told about their partner.
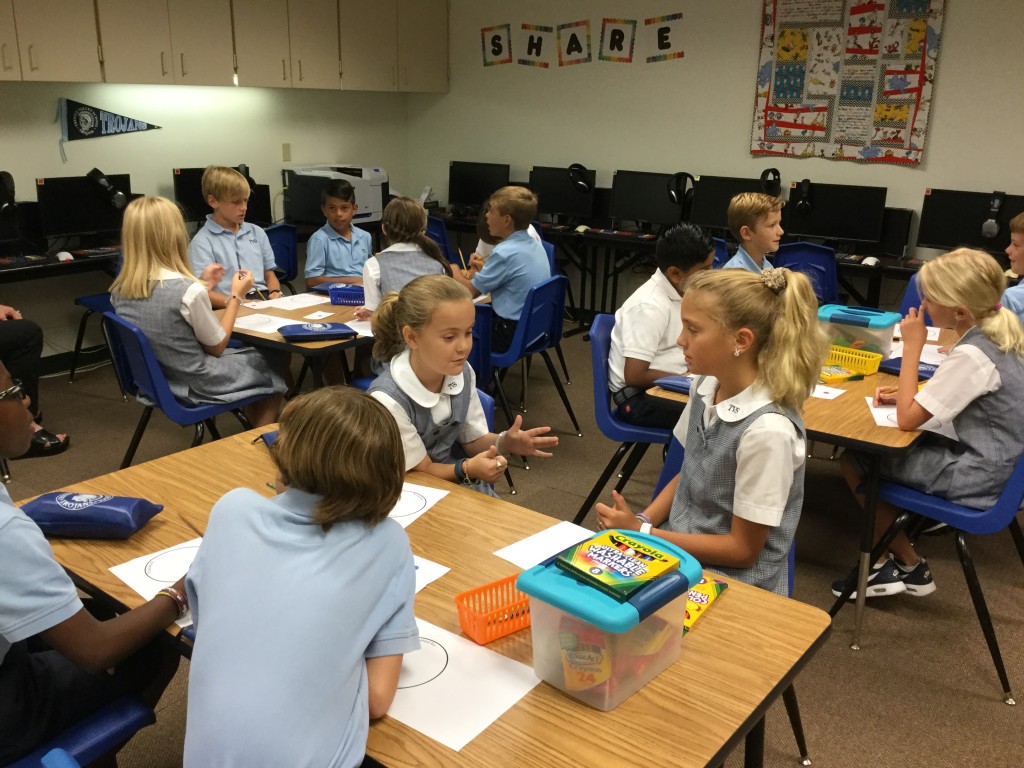
A – Ask tons of questions:We brainstormed a few questions that students could ask their partner such as, “What are your favorite foods, colors, sports? What places to you like to visit?” Students were given 2 minutes each to ask questions. They were to jot down answers in the space next to their circle. What was funny is that every time the timer went off, you could hear the groans – “That was too fast!” “I’m not finished!” I assured them they would get another chance.
U – Understand the problem or process: This is where students had the chance to ask additional questions of their partner. If they couldn’t think of anymore to ask, they could always say, “What else would you like to tell me?” For this, I gave the students 1 minute each to wrap it up.
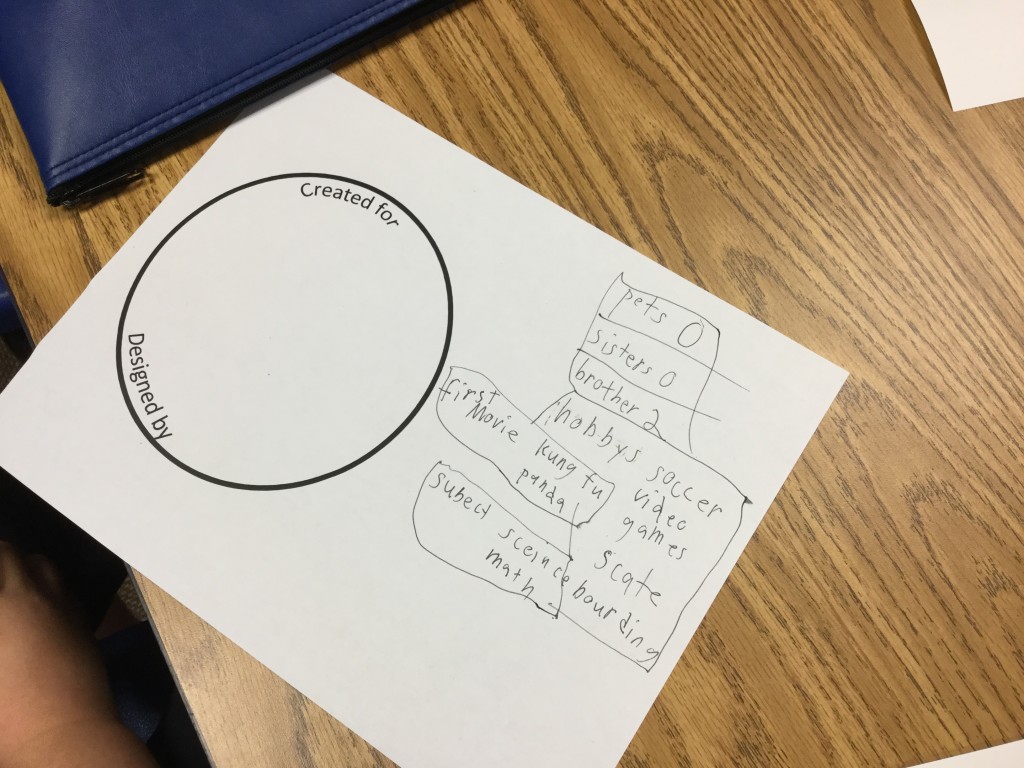
N – Navigate ideas: We discussed what navigate means; for example, making connections to a phone’s navigation system. I told the students they had to navigate through all they had learned and then decide how they would decorate the dot in a way that told about their partner. This was the hardest part because it was 1-2 minutes (depending on age) of quiet thinking time! They could sketch ideas outside of the circle but no questions were allowed and they couldn’t start drawing inside the dot! I was amazed at how focused the students were as they just sat there and thought! As I walked around during a 1st grade class, I heard a gasp from a little girl. I leaned over and asked if she had suddenly had an idea. “Yes!” she said, as she grinned and excitedly nodded her head.
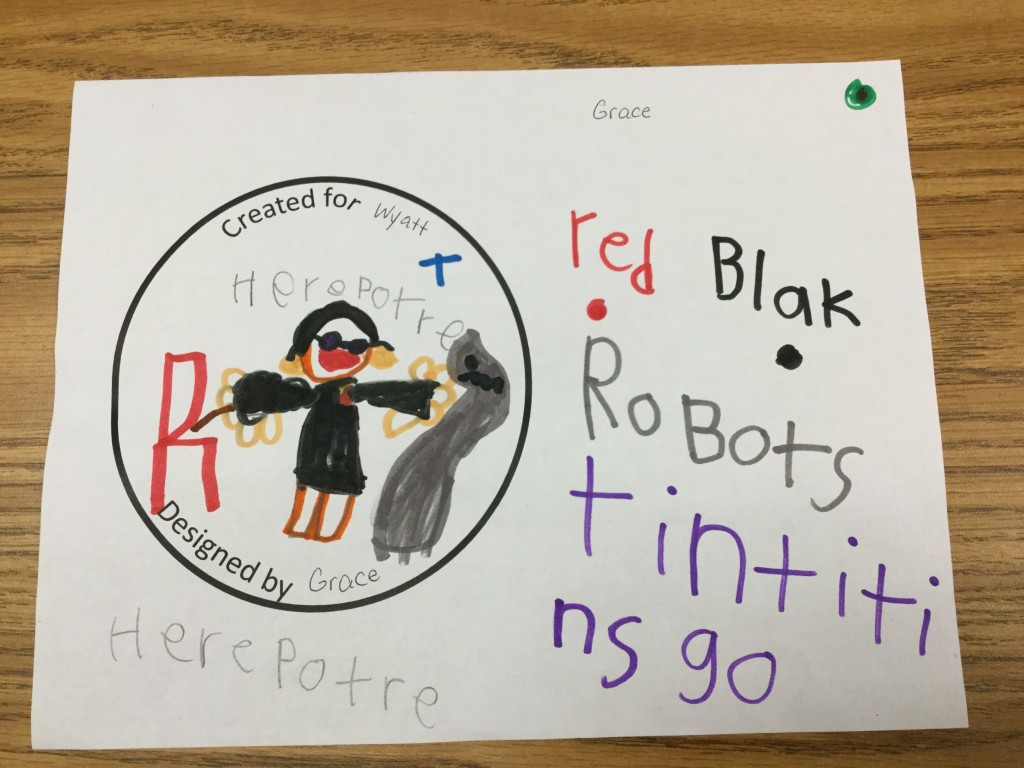
C – Create: Only after going through the above steps were the students ready to draw. I reminded them that they were NOT to draw something they liked; it had to be for and about their partner. No using the designer’s favorite colors! A comment from a first grader confirmed that she “got it” – as I announced it was now time to start creating, I heard a voice call out, “But, I’m still on the U. I’m not ready for C yet!”
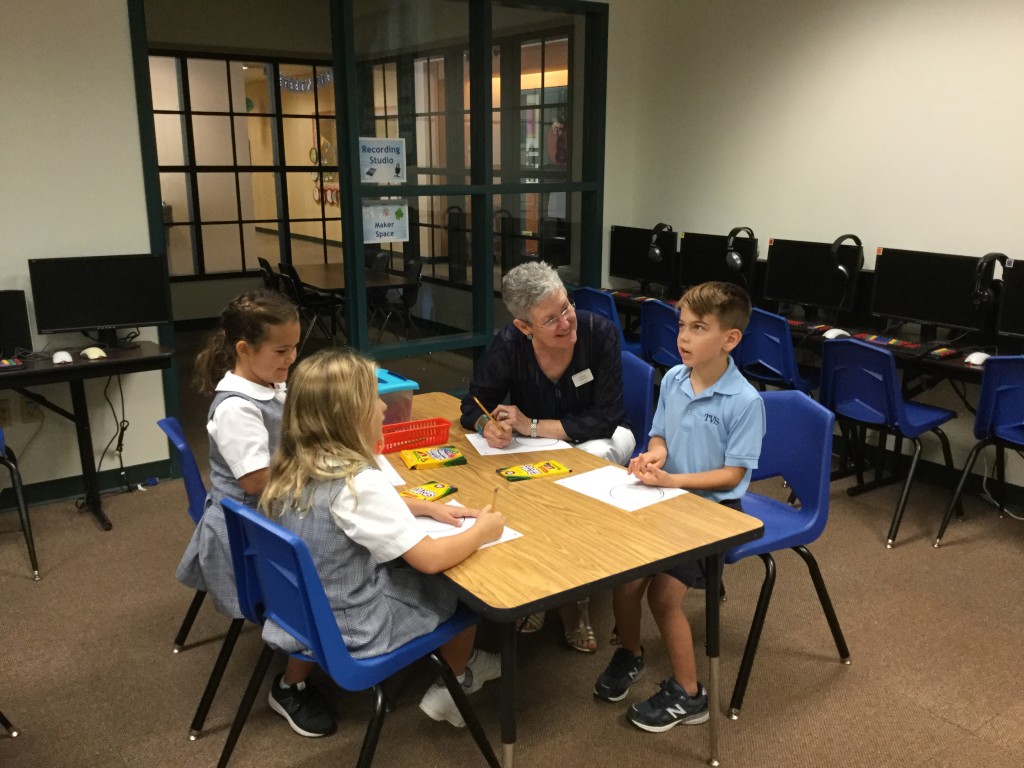
H – Highlight and fix:After 10 minutes or so, I asked everyone to stop where they were because we needed to move to the “H” step. This involved checking with the partner to get their opinion. Was the designer drawing what the partner had in mind? Was there anything else the designer needed to add? I absolutely LOVED listening in on these conversations! These were some of the most thoughtful discussions I’ve ever heard from entire groups of students. Not one person said anything negative! I heard conversations like, “Are you going to add the food I like?” “Yes, I was planning to do that next.”The video below shows a 4th grade teacher working with a student. The audio isn’t good but you can still see how they are talking through what changes they can make and what they like.
LAUNCH! Our launch was a simple one; the students shared their dots by describing what their partner liked. Then they were placed on the bulletin board.
I was amazed at how well this lesson went – for every single age group (1st – 4th)! All I did was guide the process and the students took off! It was great to see the teachers involved. Design thinking is new to them, too, but they eagerly joined in. Some of their comments:
“You know, this design thinking can be used in other areas, too. I’m thinking writing for sure and maybe even math.”
“Today’s lesson was so therapeutic.”
Another teacher told me, “I was a bit stressed about drawing. Who’s going to see this? What if it’s not good enough?”
Sometimes it’s hard for teachers to “let go” but when we do, the work students produce is incredible! I almost decided not to do this with first graders; just wasn’t sure if they could grasp the concept. Wow! Was I ever wrong!! It didn’t matter one bit that they couldn’t spell what their partner told them. These little ones were able to jot down symbols, pictures, whatever it took to remember their partner’s answers.
I am so excited to continue my journey of learning about implementing design thinking into the curriculum!
On International Dot Day, as we discussed how students could “make their mark” (both artistically and by helping others), the 3rd graders were asked to draw a dot using the Drawing Pad app. They could make their dot any way they chose. The next step was to brainstorm what they could do to help someone else; whether it be a family member, a teacher, a classmate, etc.
The children then pulled their drawing into the ChatterPix Kids app. This is a super-easy app that allows the user to record short narration, add text/stickers, and save to the camera roll. The students drew a “mouth” on their dot and recorded how they would help others. Each video was air dropped to the teacher iPad where all were combined to create a class video in iMovie.
Here are a couple of student samples:
This was a fun way to help the students practice their creativity on International Dot Day!

 After a successful bridge building experience with second graders, I decided to give it a try with the third graders. The idea (from Playground Park Bench blog) is based on the book, 21 Elephants and Still Standing, a true story about the building of the Brooklyn Bridge. Click here to read the last post for information on the process.