My favorite app happens to be Book Creator – I absolutely love how easy it is for students of all ages to use! And, I am a HUGE believer in having kids write in all types of genres. Students are thrilled when their book is “published” for all to see.
The videos are great but I thought that our younger children would love to read an interactive alphabet book at their own pace! So I pulled the ChatterPix videos into the Book Creator app. What a fun way this will be for the 4th graders to share their alliterations with the younger grades!
Click here (or on the picture) to download the book to your iOS device. Then choose to open in iBooks.
Mrs. Wright’s fourth graders came to the lab for their music/art/computer rotation this week and had their turn creating alphabet alliterations! (see previous post describing the activity)
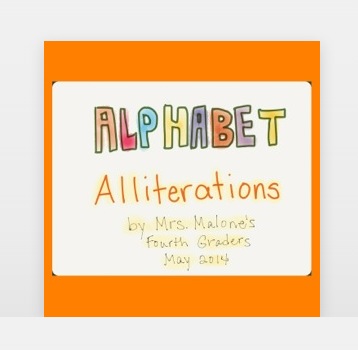
Mrs. Malone’s fourth graders came to the lab for their music/art/computer rotation last week and they went all out on the alphabet alliteration creation! (see previous post describing the activity)
Mrs. Malone’s class has truly enjoyed having genius hour this year. In fact, the previously scheduled hour turned into a genius week! That’s the nice thing about having the students in the lab – I have much more flexibility with the curriculum.
Because of the music, computer, art rotation, last Friday was the final time that Mrs. Malone’s class came to me. So I decided another genius hour was needed!
I gave more parameters this time because I wanted the focus to be on coding. But they still had several choices:
Only one student asked to do something different – she really wanted to draw and that was okay. For the others, I provided any materials they needed and let them go. They did a great job!
I was especially thrilled to watch the ones who chose Makey Makey. I was available to help but let them make all the necessary connections. The response of one student was, “I really want one of these to do at home.” That’s what makes this worthwhile! ☺
We are a K-12 private school divided into three divisions. Our 4th graders are at the “top” of their division and will be moving on to middle school very soon.
As a “Good-bye to Lower School” project, I ask the students to think back over their past years at our school (whether they’ve been here just for one or two years or they’ve attended since kindergarten) and illustrate their favorite memories. I then ask the children to look ahead to the future and illustrate what they would like to do for a career. We discuss how ideas may change in the coming years but it’s fun to look back when they go off to college to see if their career plans are similar or completely different!
We used Microsoft’s Paint program for the illustrations. These were uploaded to my Picasa Web Albums – that allowed the students to save their pictures to an iPad. Then they could import the pictures into Explain Everything to record their thoughts. The completed videos were combined into class movies using the iMovie app.
Unfortunately for me, I didn’t check video size limitations to upload to Vimeo! Each video was much too large so I split each class into parts one and two!
I’ve been wanting to try a genius hour with our 4th graders for awhile. The problem is that I’m the technology teacher and the students are with me for such a a short time! But, I was determined to give it a try.
So, early last week I talked to the students about the plan. I told them we’d be doing some things at the beginning of the week but I wanted them to be thinking about what they could do for their genius hour. We talked about passion.
“What is important to you?”
“What do you want to learn more about?”
“What do you know a lot about that you could share with others?”
“If you were given time to learn or create something, what would it be? How would you do it?
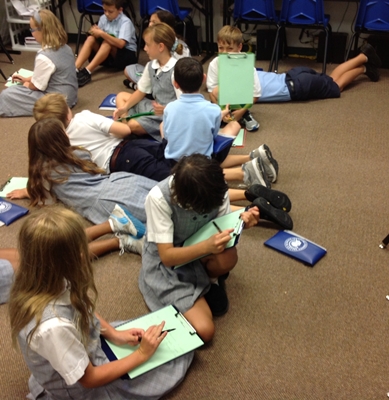
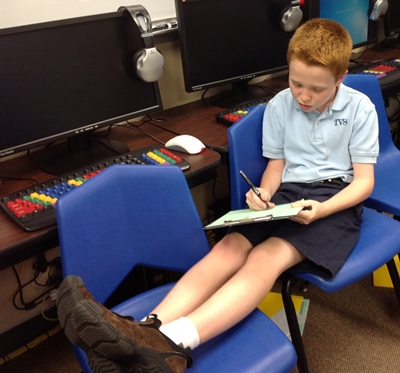
The students were to share whatever they did but other than that requirement, as long as they were productive, they could create in any way they chose. Several asked questions about what they could do; throwing out ideas and checking to see if it was okay. By talking about this early in the week, interest built day by day! The idea was to have Genius Hour on Friday but by Wednesday afternoon it was obvious that we would need to start on Thursday. I have NEVER seen students work so diligently to complete their assignments!
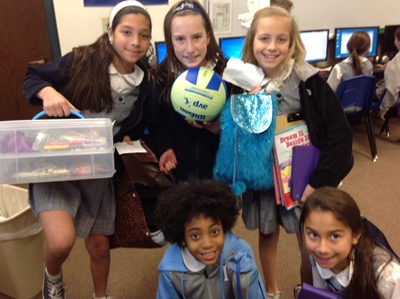
By class time on Thursday, excitement had built to epic proportions (Well, maybe that’s an exaggeration but there was definitely more excitement than I’ve seen in quite awhile!). Several arrived toting all kinds of props.
Mrs. Malone’s students with their props
Here are some of the projects students chose:
Khan Academy – writing code
Explaining how to do a PowerPoint
Making “how-to” soccer videos
Practicing the passion of drawing
Creating cartoons
Finding ways to explain different types of dance
Khan Academy – coding
Observations for the first Genius Hour:
This was hard for some students. Often children are so used to being told what they will be doing that, when given a choice, they get “stuck” and don’t know where to start. A couple questioned me over and over, “Are you sure this is okay to do?” “Can I do this?” This was really thinking outside the box for these children but they’ll get more comfortable the more we do activities like this.
The other observation concerned me – I discovered that it was hard for me to let go! I had students doing all kinds of activities, inside and outside of the lab, and they didn’t need ME! I was a coach/guide and that’s what they needed – not someone to tell them exactly what to do! It was a change but something that I need to make sure I continue to do.
I’d like to say that there were completed projects in our two days of Genius Hour, but there weren’t! But that’s just fine! I have never seen such “focus-ness” in our 4th graders. They were in charge of their own learning and most were doing an awesome job planning, creating, discussing, and doing. It was amazing to watch! Next time this class comes to the lab, we will continue with Genius Hour so that they can share what they have accomplished with their classmates. And, we’ll definitely be doing more Genius Hours (or days) this semester!
I believe it’s important for students to be able to share their writing with others; not just their teachers and parents. Over the years we’ve done this in a variety of ways but when the 4th graders saw a “gami” I’d made with the Tellagami app, they could not wait to give it a try! I knew we needed to come up with something that was worth sharing using this app.
Since the students had drawn self-portraits earlier in the year using Microsoft’s Paint program, we decided to use these for the background for a bio-poem. There are several variations of this type of poem but here’s the format we used (not sure where I got this but have used it for over 20 years):
Name
4 describing words
Related to ____________
Who cares deeply about __________
Who feels ___________
Who needs ___________
Who gives ____________
Who fears ___________
Who would like to see ___________
Resident of ______________.
Since the self-portraits were drawn on the computer, we had to get them to the iPad and into the Tellagami app. What worked for us was for me to upload the illustrations to my Picasa photo album, have the students go to Picasa on the iPad, and then save to photos.
During our first 40 minute session in the computer lab, I had the students get the self-portrait into Tellagami and then create their avatar. Wow, did they enjoy that! We had avatars beside the faces, sitting on shoulders, . . . Next step was to write the bio-poem.
The next day, I demonstrated how to record (super easy; they didn’t really need instructions). I had the students send their finished “gami” in two different ways. One was to email to me from the app. This leads to a link on the Tellagami website. Here is Ava’s gami.
However, I wanted to combine all of the gamis to make a class video. So I also asked the students to save their gami to the camera roll and then email the video to me. I then pulled the videos into the iMovie app. Each video ends with a shot saying, “Created with the Tellagami app” – I didn’t want that after each bio-poem so I deleted that segment on all but the last one. For an intro, I created a slide using Haiku Deck, a presentation app. Next step was to upload to our Vimeo account.
It sounds like a lot of work but it really wasn’t. Once the students had emailed their gami to me, it didn’t take long at all to pull them together in iMovie.
This was a fun way to share writing with others. Not one student complained about writing a poem; that sometimes happens since I’m not their “writing” teacher! By sharing with our teachers authentic ways to use technology, my hope is that they’ll find ways to use it to modify and redefine learning in their classrooms. (Can you tell we’ve been discussing the SAMR model in Lower School?)
I will preface this by saying that paper blogging is not my idea! It’s one of those, “Wow! Why didn’t I think of that!” activities.
A couple of years ago, desperately wanting to take student blogging to a level past the “Hi. How are you? What are you doing?” stage, I started searching for ideas – and came across a wealth of information!
The following resources introduced me to paper blogging.
Who would have thought that students coming to a computer lab would become so engrossed in writing that they never once asked when they would get on the computers! Now, even though the students have blogged for the past few years, I always start with this unit – just to make sure students refocus on the intent of our blogs: To share their learning in a positive and meaningful way.
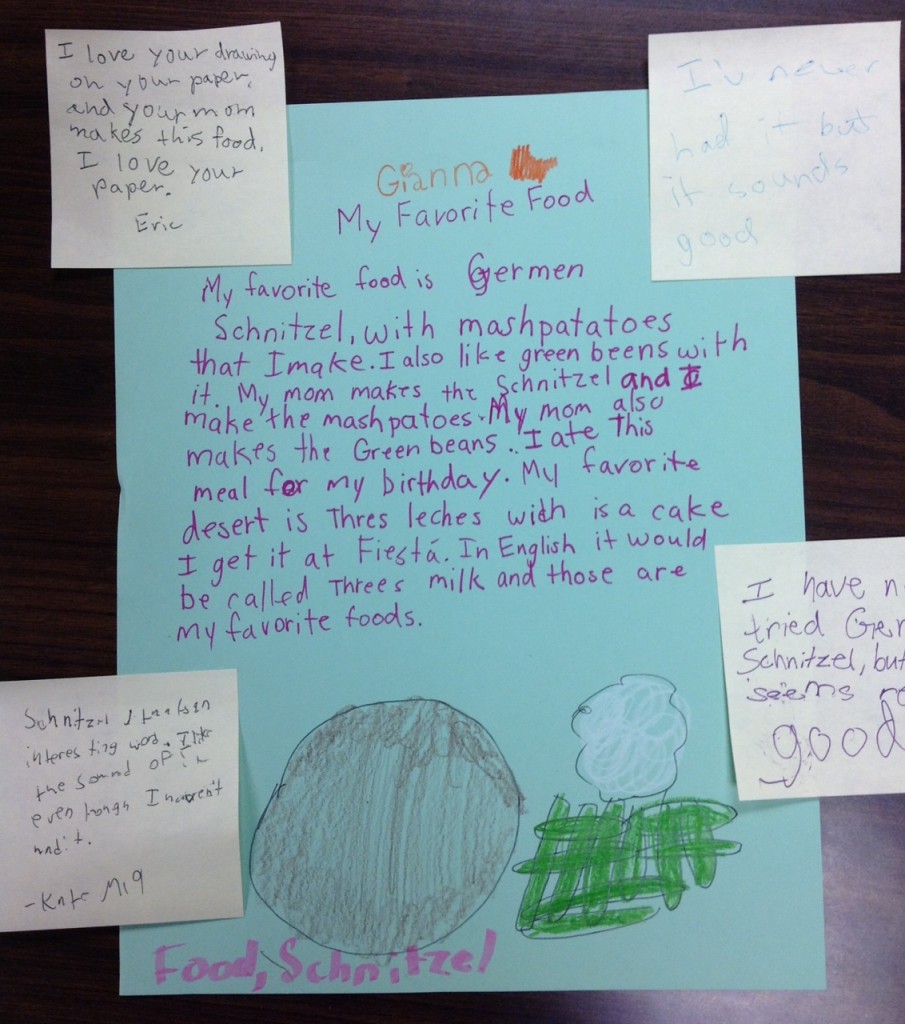
Taking the food idea from Leonard Low’s Workshop Activity: Paper Blogs, I asked students to raise their hand if they liked to eat. Of course, that brought an enthusiastic response! I told them that they would be writing a blog post on paper and the following day would be spent writing comments using sticky notes.
The instructions were to write about a favorite food – it could be from a restaurant or something made by parents, relatives, or anyone else. They needed to write something that would paint a picture for the reader – use details! Pictures always spruce up a post so illustrations were strongly encouraged.
The paper was distributed and we worked together to include the basics of a post:
First name at the top (good place to talk about keeping personal information private; no last names)
Tags – This was a good review for students. What is your post about? Everyone could add “food” as a tag. As you write, you’ll think of other tags to add that would help readers find all posts about specific subjects . . .
Title – every post needs a title!
Then the students scattered in the small room to find a space to write. At first there were murmurings about their topic and how delicious their chosen food was (and how hungry they were becoming just thinking about it . . .), but soon all you could hear were pencils and pens scratching across the paper.
The next day was commenting day. I had folders on the keyboards and 6 sticky notes on the folders ready for students when they walked in. Using information from Mrs. Yollis’ third graders on How to Write Quality Comments, we discussed what kinds of comments would encourage a conversation as opposed to those that would stop the discussion. We discussed how important it is to avoid comments such as: Cute! Wow! That’s awesome! because these didn’t further the conversation.
I am pretty sure that the idea of penny and dollar comments comes from Silvia Rosenthal Tolisano and we use this often. (If not, I sincerely apologize and ask that you let me know!) This is where you compare a penny to a comment – you can’t buy anything with just one penny so it’s basically worthless. On the other hand, you ARE able to buy a few things with a dollar simply because it’s worth more.
That’s the way comments are. Penny comments are pretty much worthless. They really don’t tell you anything. They are often just a word or two OR they are completely unrelated to the post. But a dollar comment offers so much more! It acknowledges the author, asks questions, gives details, relates to the writer. In this day and time, though, we don’t just talk about dollar comments. With inflation, our students decided that $20 and up comments were much better than a measly dollar!
After the discussion, instructions were given. Students were to leave their paper blog at their computer but take the sticky notes with them. I had them stand behind their chair then told them to count 4 chairs clockwise. They were to stop at that spot, read the blog and write a comment (being sure to put their first name on the sticky note).
When finished with the first comment, students were told that from now on they would need to read the post AND all comments. It’s important to do that so that they don’t repeat someone else’s responses.
We continued to make the rounds until there was only one sticky left. At that point, students were instructed to return to their own blog, read all comments, and then choose one to write a response.
After that we regrouped to reflect. Some things that were brought up included:
Legibility – Of course, handwriting can be hard to read at times but even when writing on the computer, colors and font need to be considered. Can it be easily read?
Anonymous comments – It’s more meaningful to know who is doing the writing. (Besides, I don’t approve anonymous comments!) Even though students were told to write their names on the sticky notes, some forgot – perfect teaching moment.
Penny vs more valuable comments – Without telling who wrote comments, students shared ones they thought weren’t helpful to furthering the conversation. They also shared the dollar and up comments they received.
I have to say this is my all-time favorite activity! The students really get into paper blogging and I have NEVER had anyone complain that they came to the lab but never got on the computer! This is such a worthwhile activity to do to prepare students for online blogging. I can’t wait to get them going in KidBlog!
Blogging Guide from Silvia Rosenthal Tolisano – Silvia is one of the most creative and knowledgeable people I’ve come across. She has an amazing ability to create flyers and write posts filled with the most awesome and helpful information!
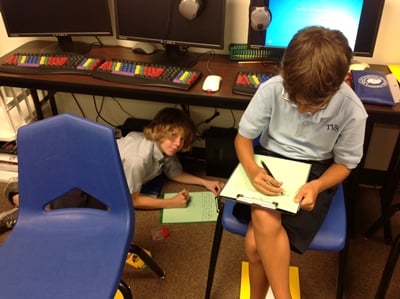
A few months ago, my mom emailed to tell me that she had heard about a teacher who gave each of her students a key and asked them to write a story about what that key might open. She then told me that she had plenty of keys (mostly antique) and asked if I would like them. Teachers refuse nothing so of course I jumped at the chance to add to my collection of stuff!
Wanting to have the 4th graders do a writing activity and try out the Book Creator for iPad app’s newest features of emailing a book then combining several to make one class book, I decided to have the students pair up and write a story about a key.
When the students arrived for computer lab at the beginning of the week, I described the assignment:
Choose a key and work with a partner to write a short story. Answer questions such as:
What could the key open?
What use did it have?
Where might it lead?
Illustrate the story, type it in the Book Creator app, and then record it. Finally email the book to me so that I would be able to combine all into one class book.
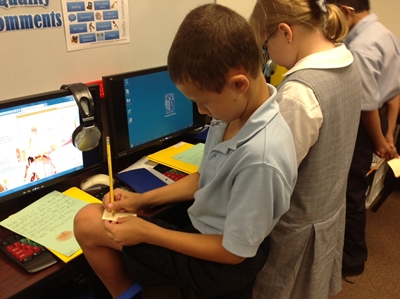
I was amazed at the interest in the keys – students said they’d never seen the various shapes of keys from the past! After much examination, each group finally chose one! Then they went to work brainstorming what to write. The story was typed in Microsoft Word. Illustrations were done either on the computer (Microsoft Paint) or on the iPad (using one of the following apps: Drawing Box, Art Set, or Color Box HD). The students also used the iPad camera to photograph their key which was to be used in some place in the story.
It was interesting to watch the students work; to see the collaboration as they talked about their ideas. Some finished quickly while others weren’t finished after their five days with me. Considering we only had 40 minutes a day, I was amazed at the progress – writing, illustrating, learning the apps. We were not able to spend as much time revising as I had hoped so some of the stories aren’t as “polished” as we would like.
The students really enjoyed writing and recording a “key” story. Some gave up recess to have extra time to work. The app was easy to use and the idea that they will have a finished product that can be read on an iPad or iPhone was extremely appealing!
Link to the class book:To read the ePub book, you must click on the book link below while on an iOS device with the iBooks app (i.e. iPad, iPhone, iTouch). The book will not open on a PC. Downloading instructions are below the book links. We hope you enjoy the students’ work!
You will need the iBooks app installed on your iOS device.
Click on the book link above.
Tap on the download button.
Choose Open in . . . and then choose Open in iBooks
The book is now in iBooks.
Lessons Learned:
To get illustrations drawn in Microsoft Paint on the computer to the iPad, I uploaded them to my Picasa Album so the students could go there and save the image to their photos on the iPad.
When the books are combined, there is an extra page in front of the title. After discovering this with the first two finished books, I asked students to come up with an “About the Author” page. They loved posing for their authors picture!
It is important to pre-write before getting into the app. That gives students the chance to edit and revise; not the favorite aspect of the writing process but it’s what authors do!
Our 3rd and 4th grade Spanish teacher, Sra. Nedrelow, developed a wonderful lesson for Valentine’s Day in which the students made valentines and created an ePub book using the app, Book Creator.
The Book Creator app provides a simple way to create an ebook for the iPad. Images, text, hyperlinks, and recorded narration can be added to the pages to create an interactive reading experience.
Sra. Nedrelow photographed each student holding their valentine. The students then took turns recording themselves reading what they had written.
What a fabulous way for parents to listen to their child speak Spanish!
Links to the class books:To read the ePub book, you must click on the book links below while on an iOS device with the iBooks app (i.e. iPad, iPhone, iTouch). The books will not open on a PC. Downloading instructions are below the book links. We hope you enjoy the students’ work!

 My favorite app happens to be Book Creator – I absolutely love how easy it is for students of all ages to use! And, I am a HUGE believer in having kids write in all types of genres. Students are thrilled when their book is “published” for all to see.