Posts Tagged ‘4th graders’
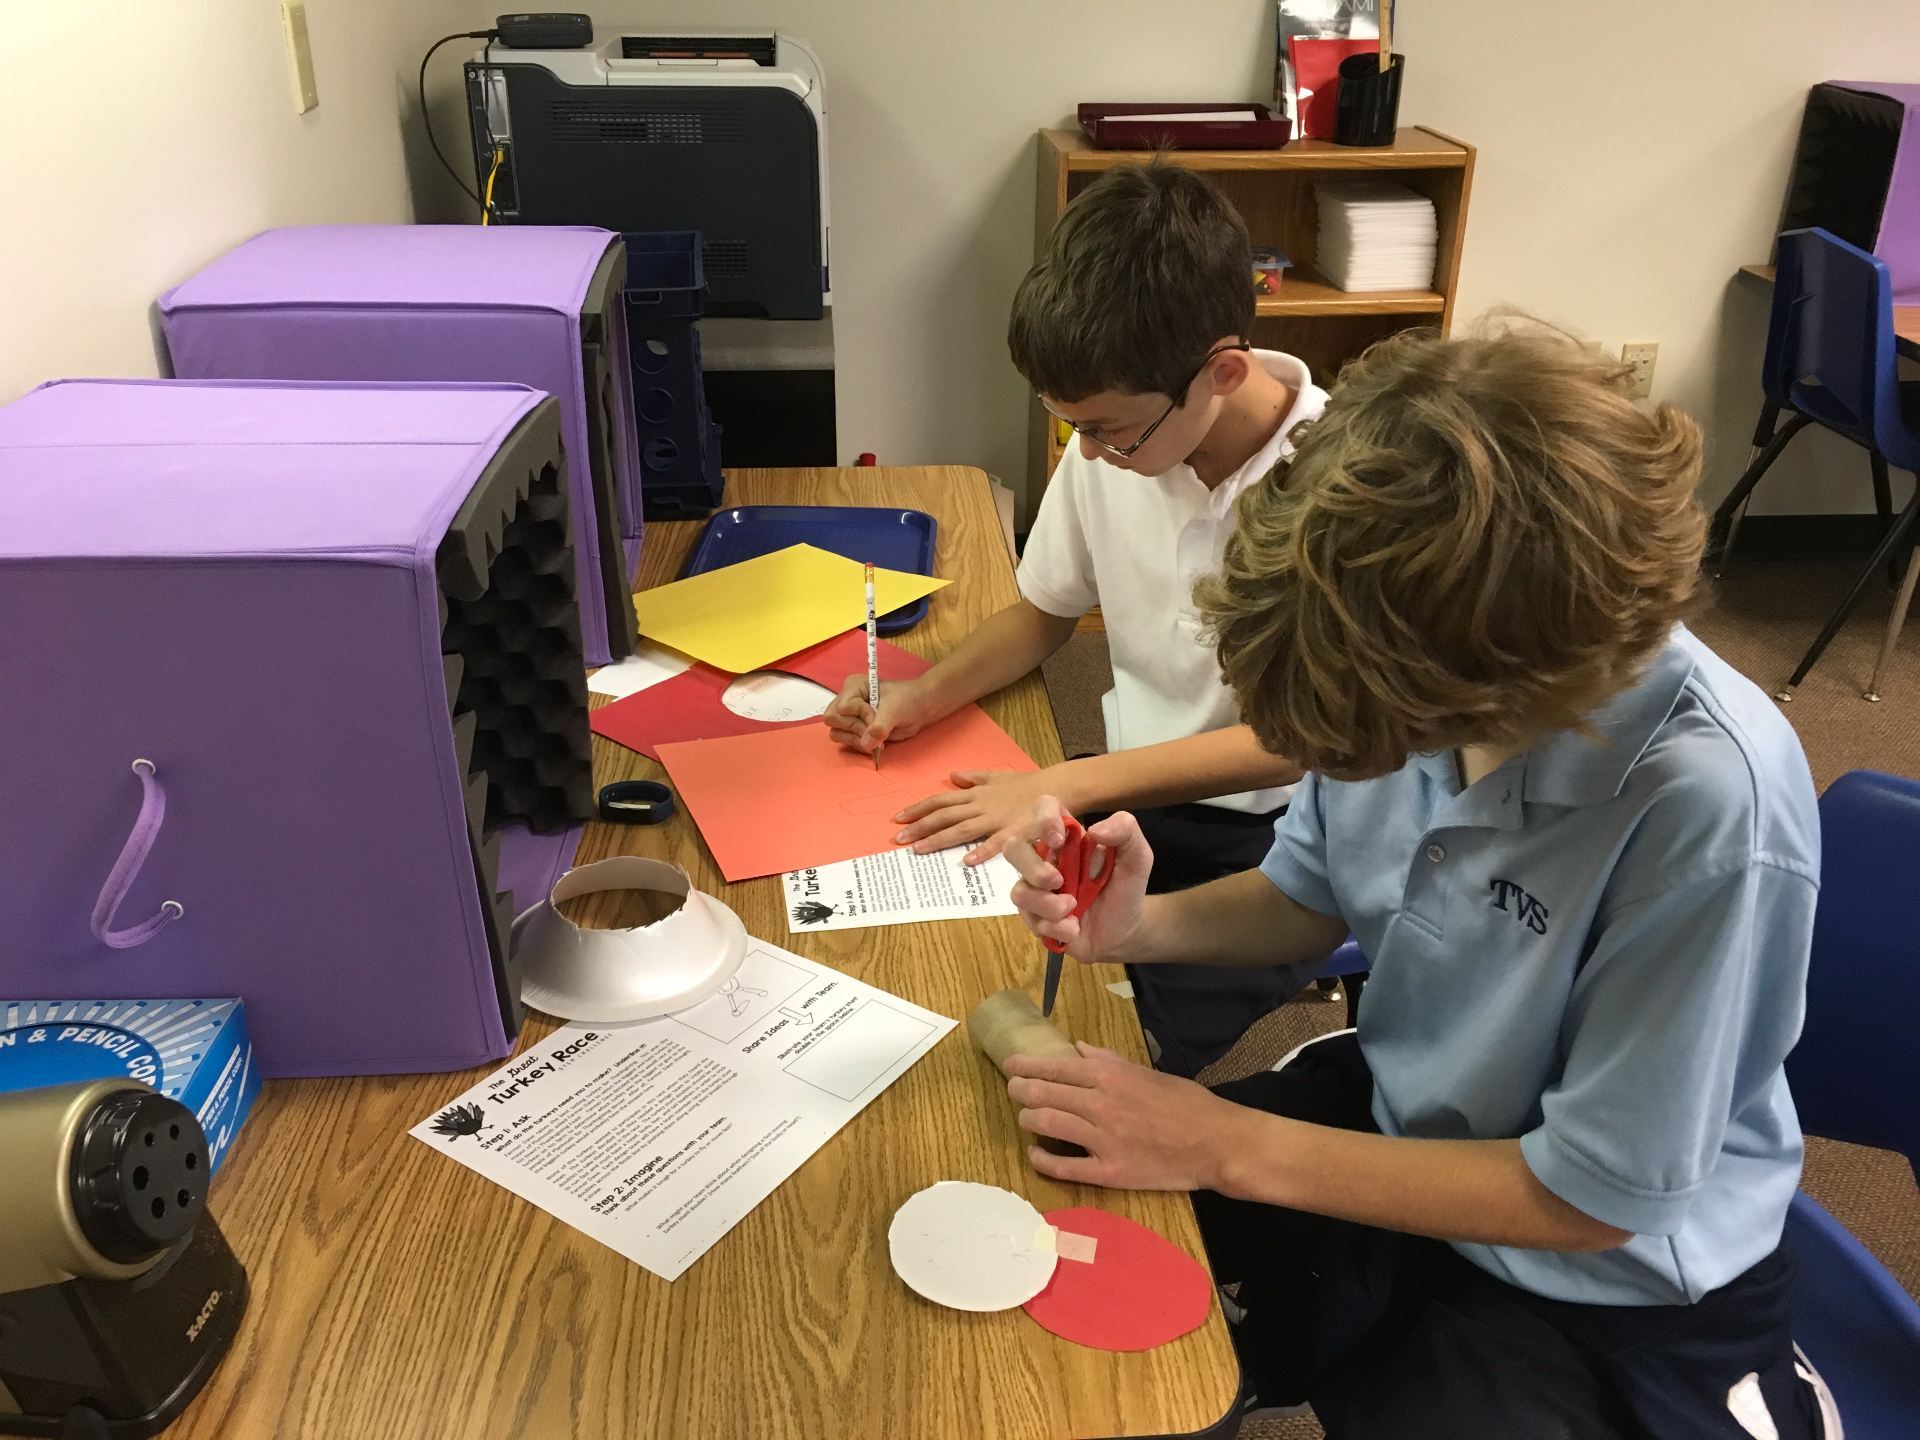
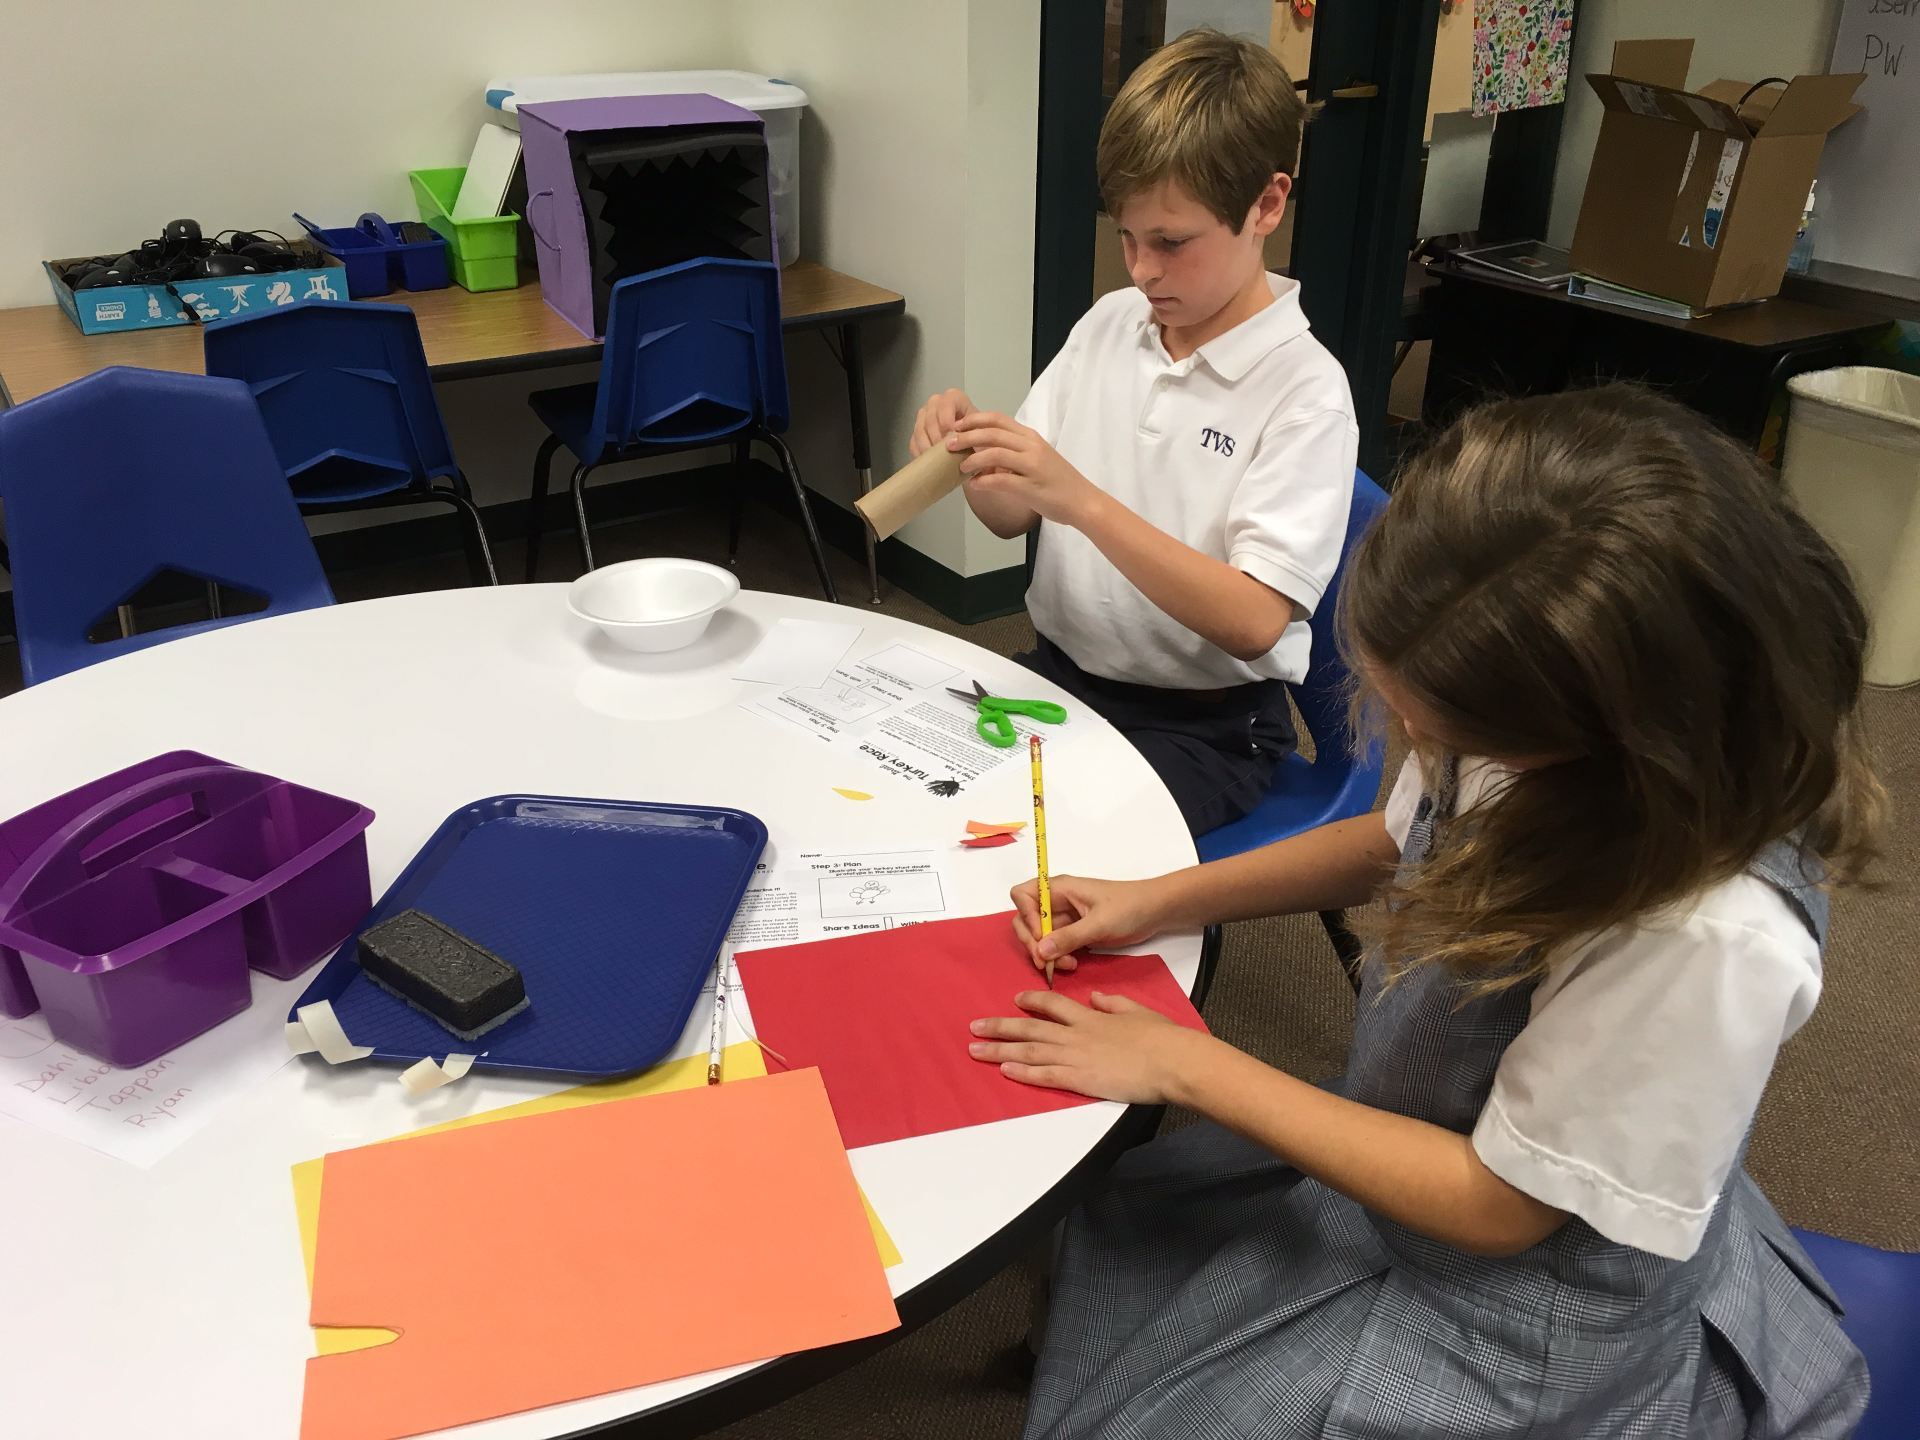
Wanting to do some kind of STEM activity with the 4th graders, I did some research and came across a blog post from Angela Willyerd, titled “The Great Turkey Race.” I did buy her packet and am glad I did – love how the design process is incorporated in the lesson!
The Problem: “Farmer Dave wants to choose the biggest and best turkey for his town’s Thanksgiving Feast. He decides to race them, assuming that the biggest turkey will be the slowest. Well, the turkeys get wind of this and decide to create a double because they don’t want to become Thanksgiving dinner!
The Challenge: The students have to create a turkey “‘double” using some common items such as styrofoam bowls, toilet paper rolls.
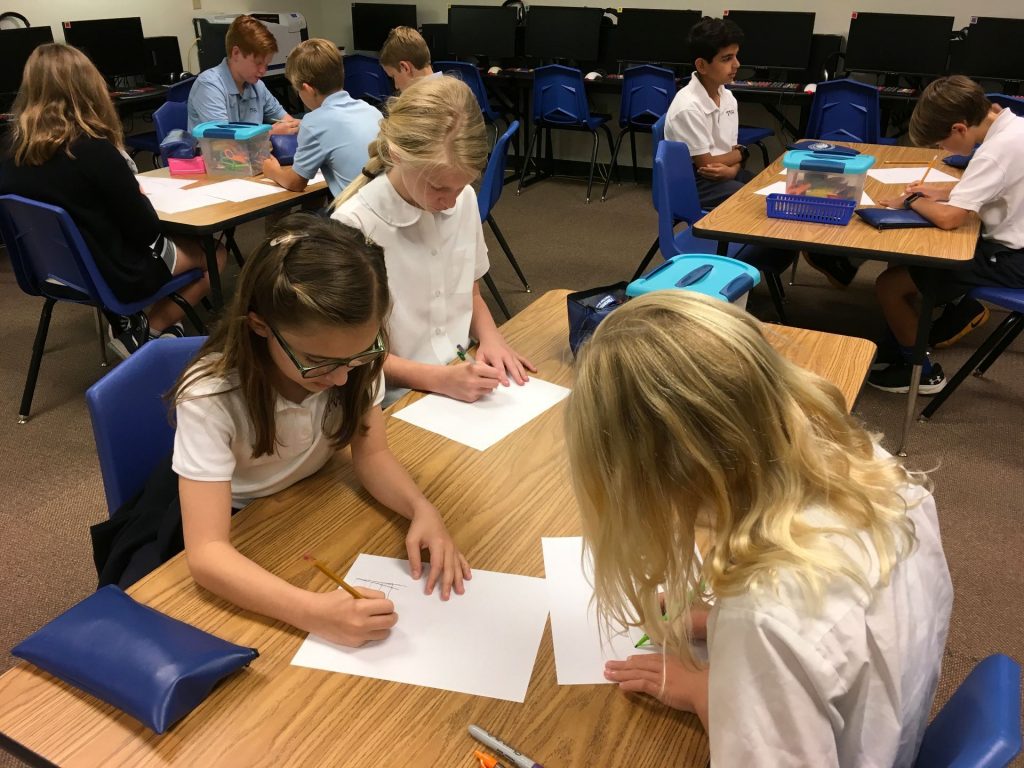
Angela has created a fantastic PowerPoint that walks the students through the process so we started with that. I told the class the materials they would have and what had to be included – head, body, feet, and tail feathers. Then, I asked them to sketch what they had in mind. The next step was to decide on a group design – not easy when each person is fond of their own!

The groups set to work creating some of the strangest turkey doubles I’d ever seen!

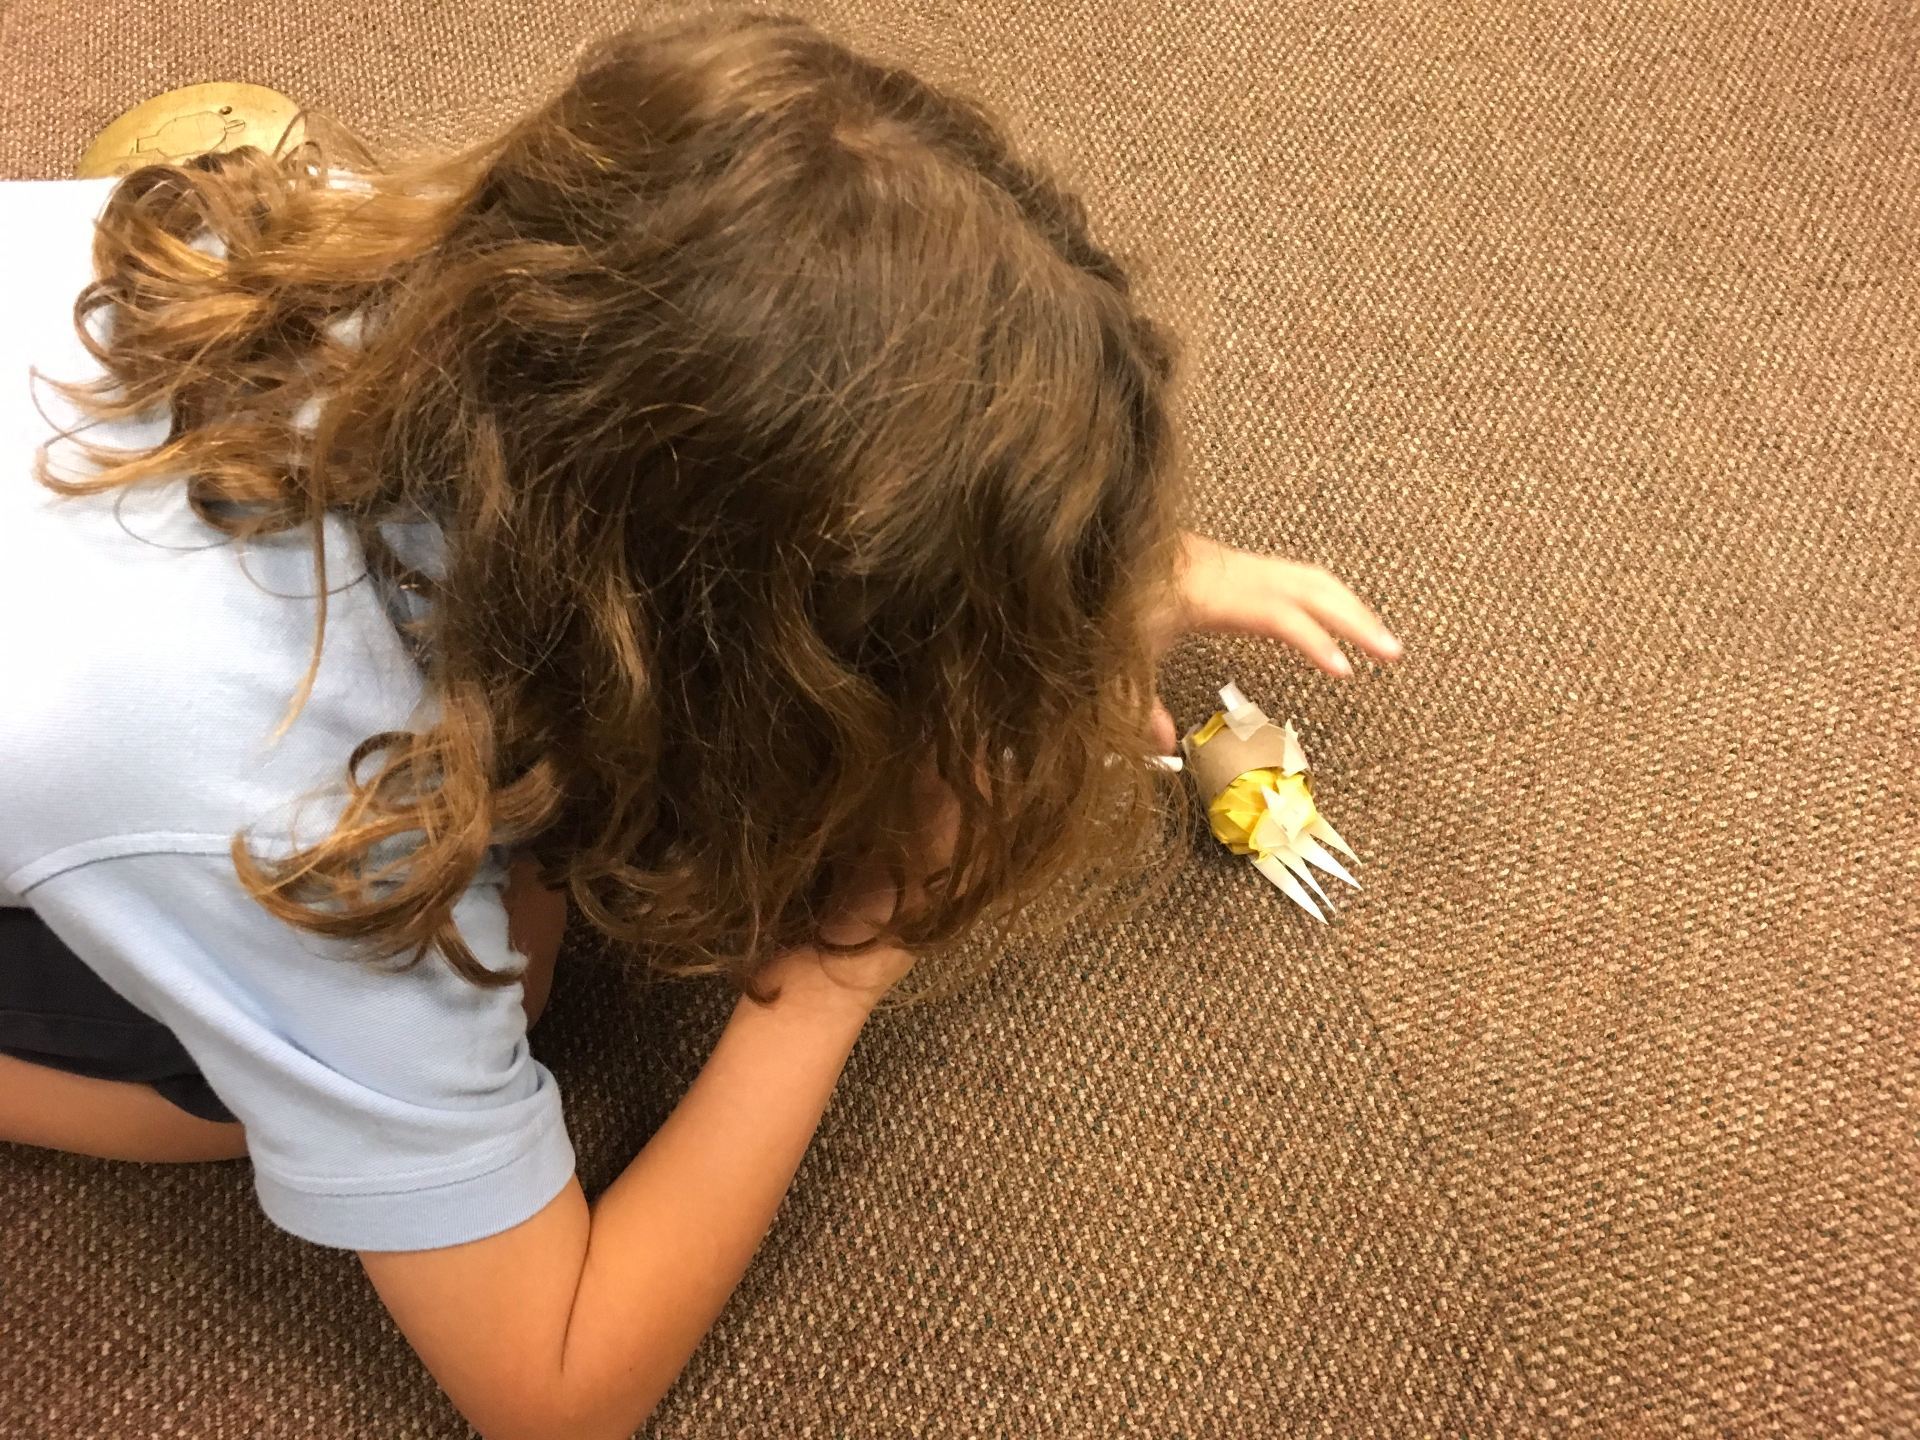
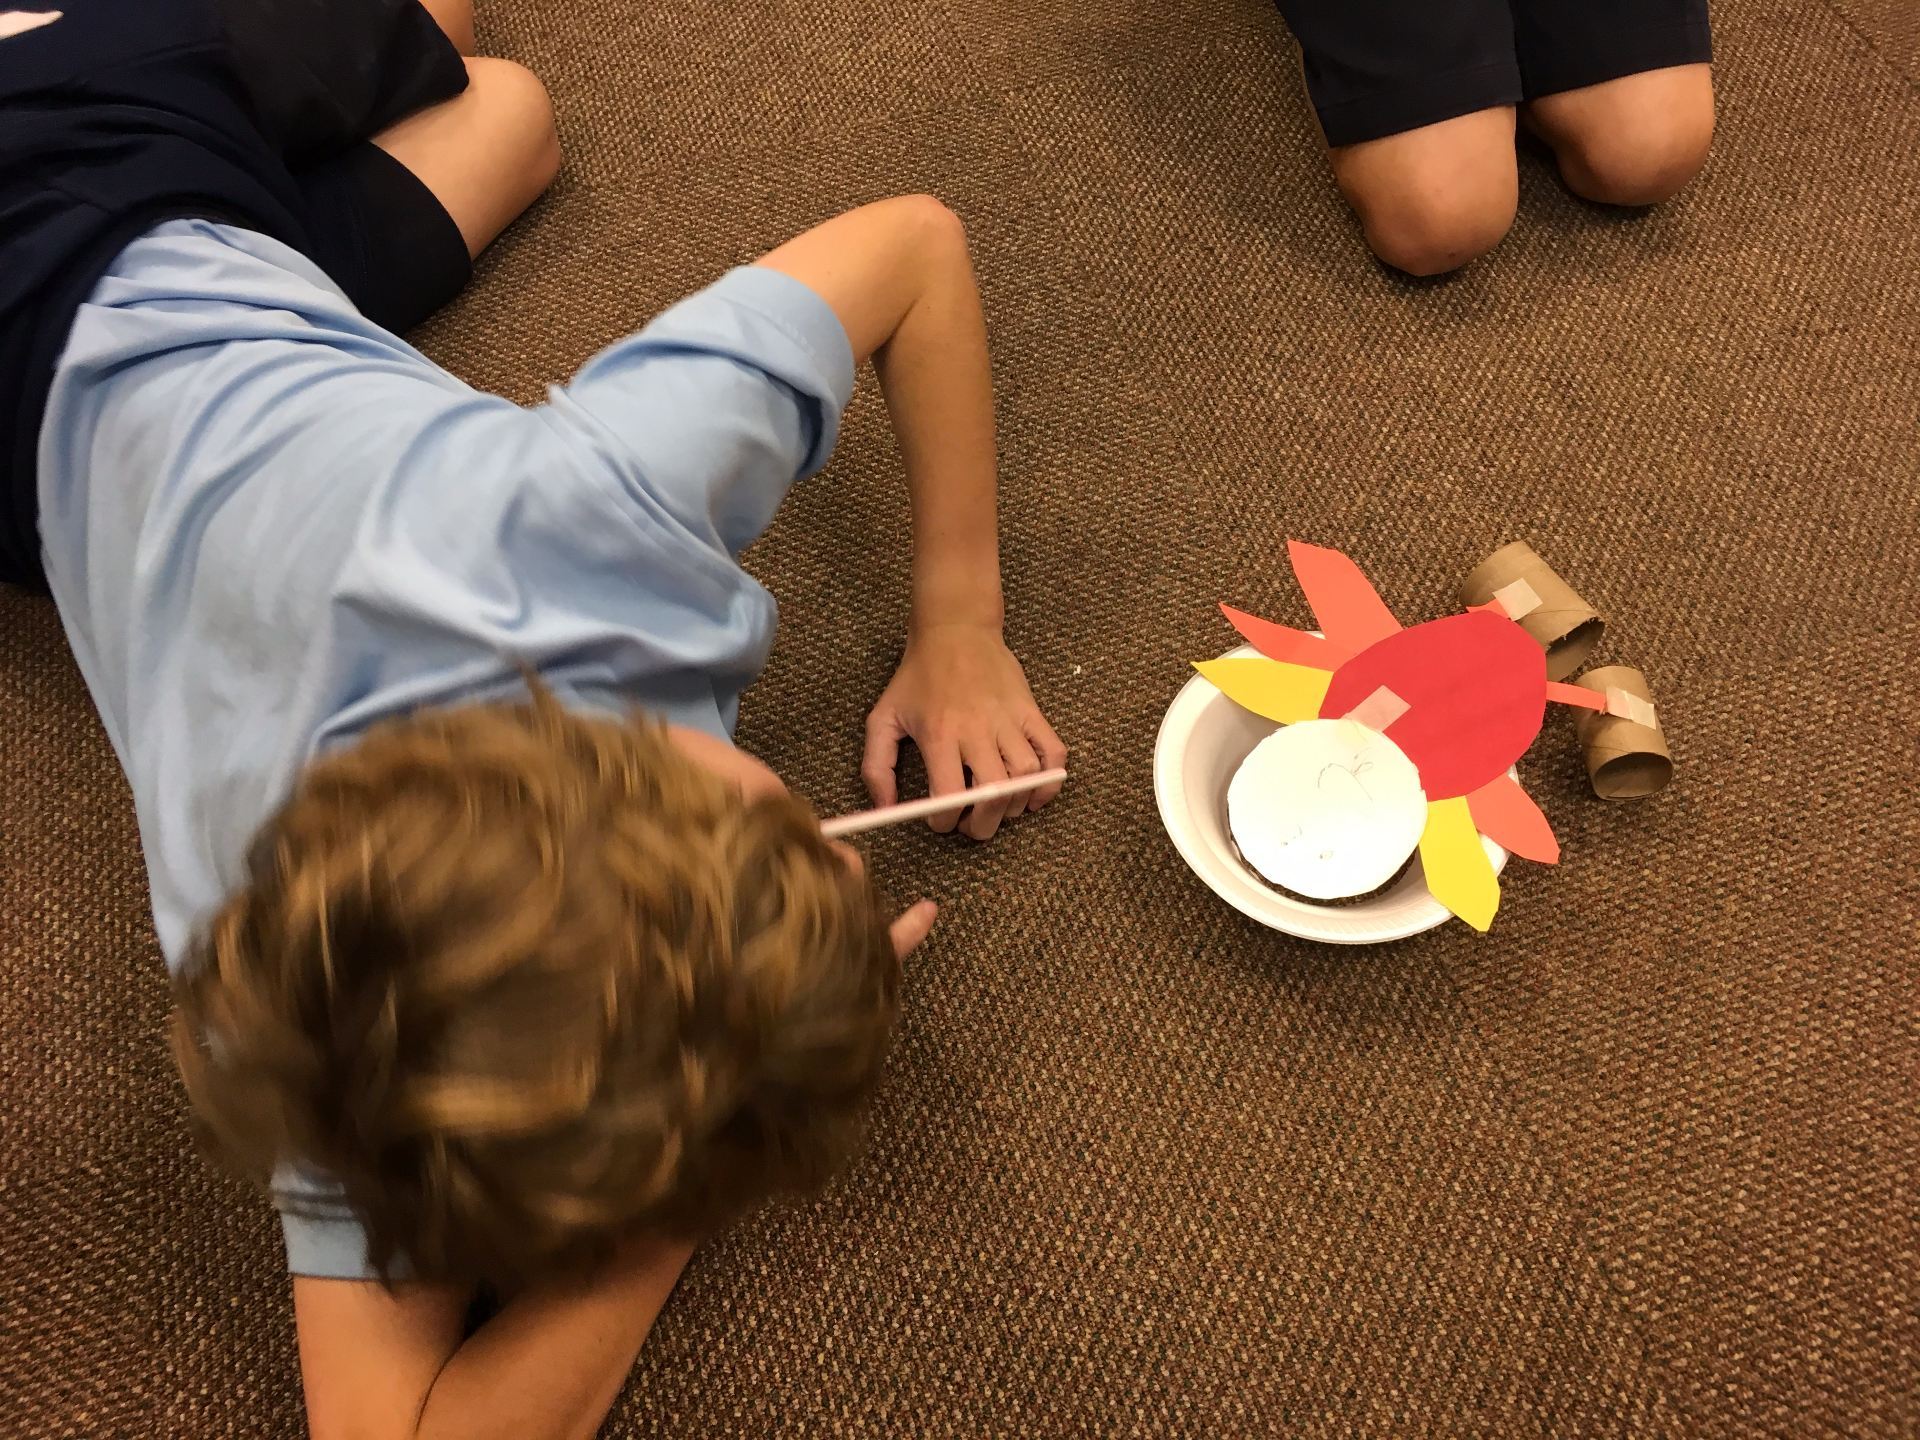
One group held up pieces of their styrofoam bowl and sheepishly asked if they could have another.
The test track had been marked by masking tape and as groups finished, the asked me to time their turkey.
This one actually rolled quite well but too many turkey parts were missing from the design!

This one was pretty cute but the team couldn’t get it to move.

They changed the design and tried again.
This was such a good challenge for learning that sometimes things don’t work they way you expect and changes need to be made. No one became frustrated; they quickly went back to their place and began to brainstorm how certain changes might affect the outcome.
Was it loud? Oh, my, yes! Were the students learning? Most definitely!
We may just continue Thanksgiving AFTER the break so that other classes have the opportunity to give this a try.
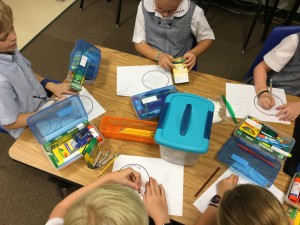
Students are unable to access their files and can’t work on what you had planned? Last night, we had an email warning that desktop folders had disappeared. Well, 4th graders have been working on self-portraits using MS Paint and they were unable to access them.
Perhaps that’s one reason I couldn’t fall asleep last night – my mind was working overtime to figure out the best thing to do with the students. Design thinking was at the forefront of ideas but what supplies did I have at school? That’s a bit hard to determine at 2:00 AM!

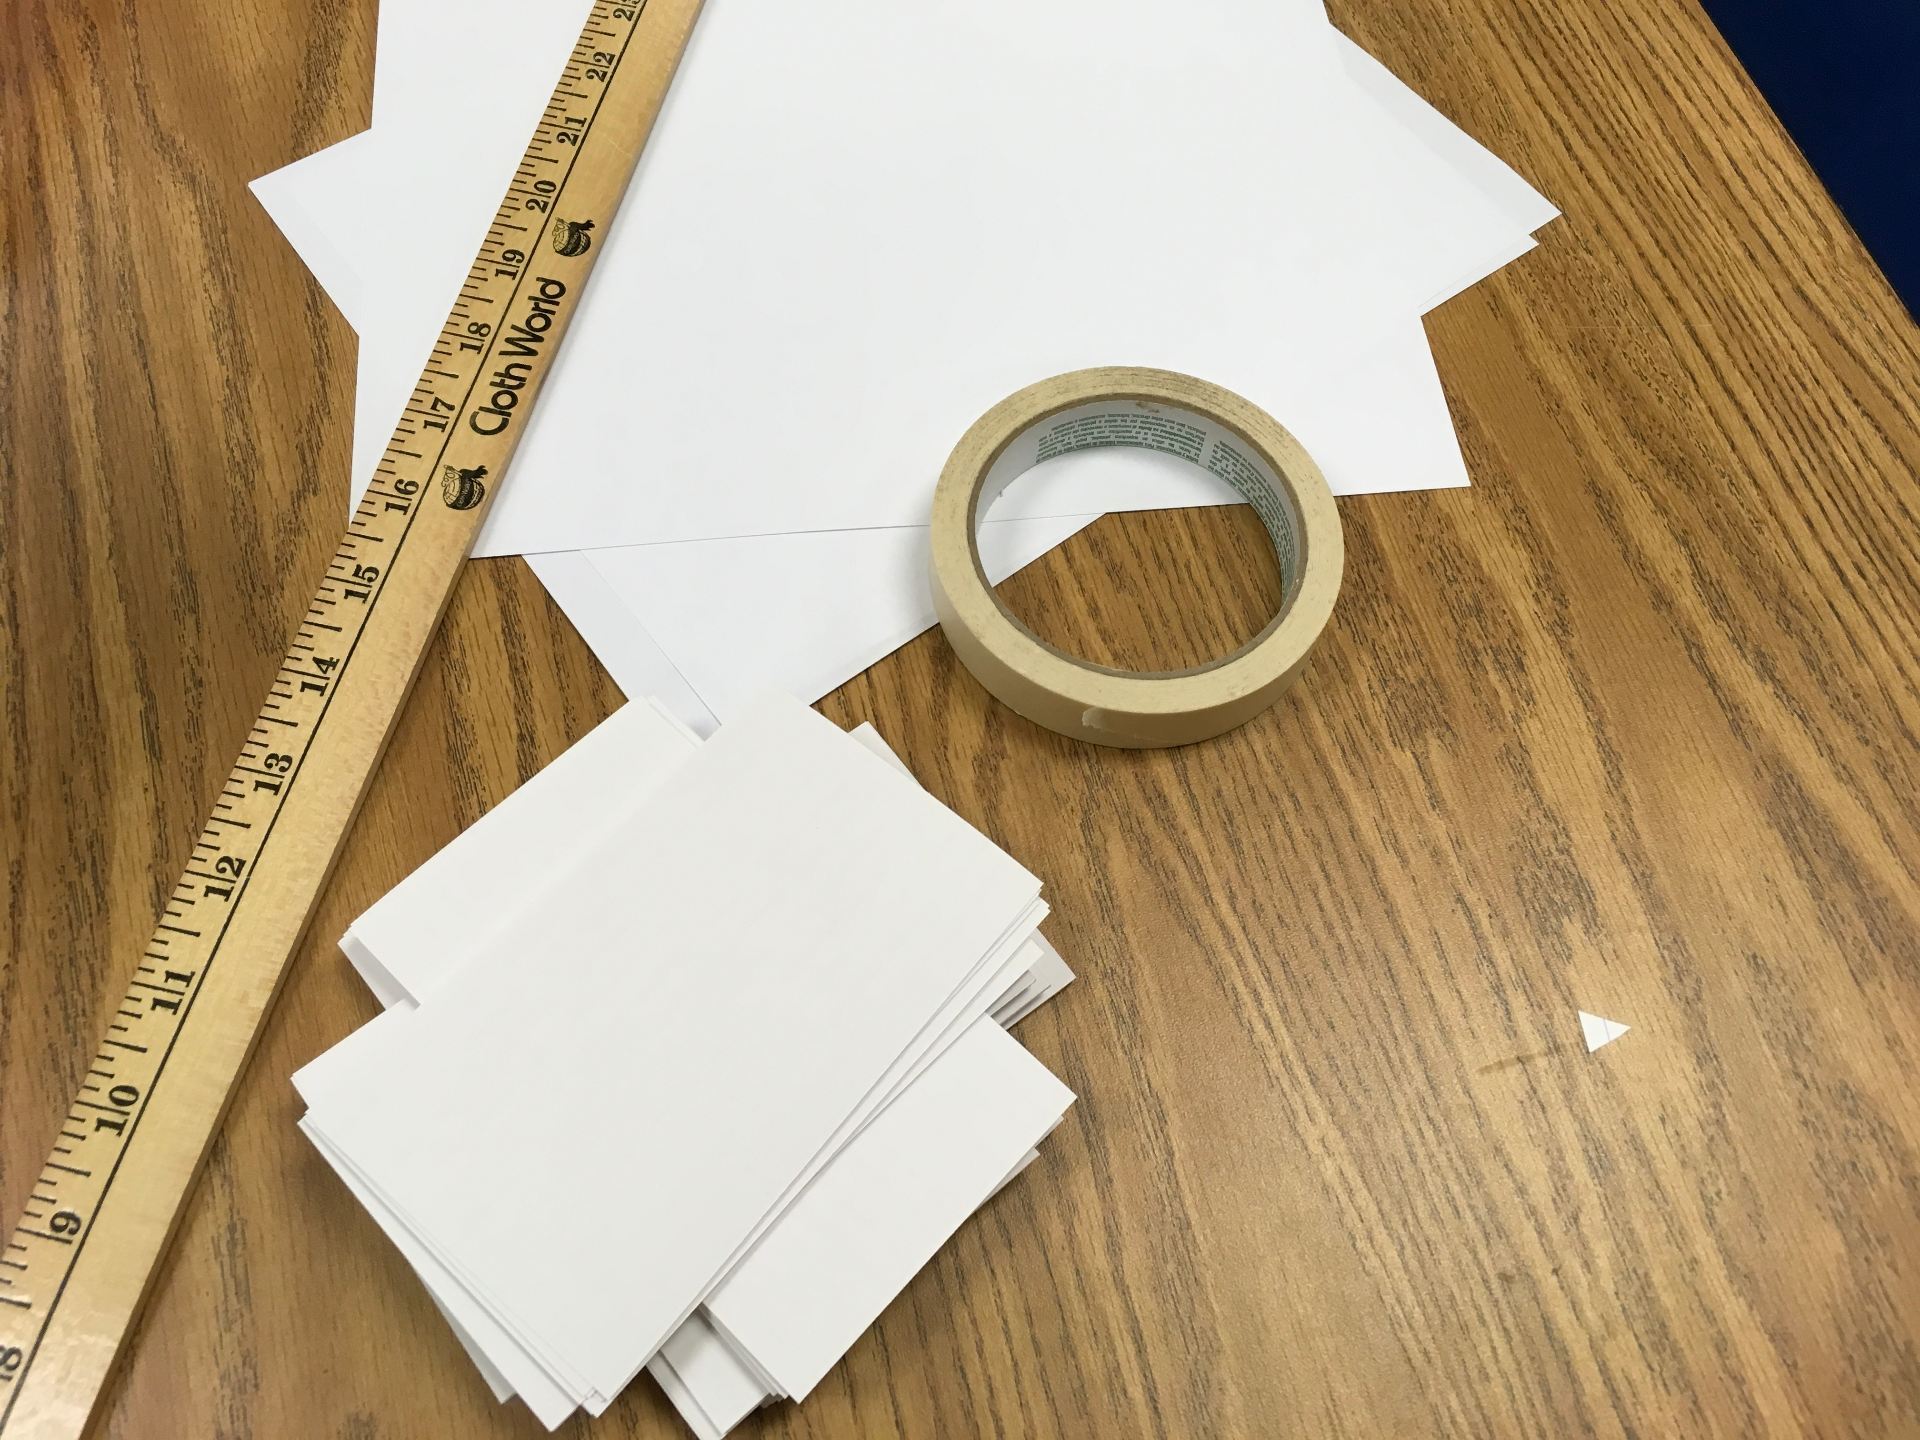
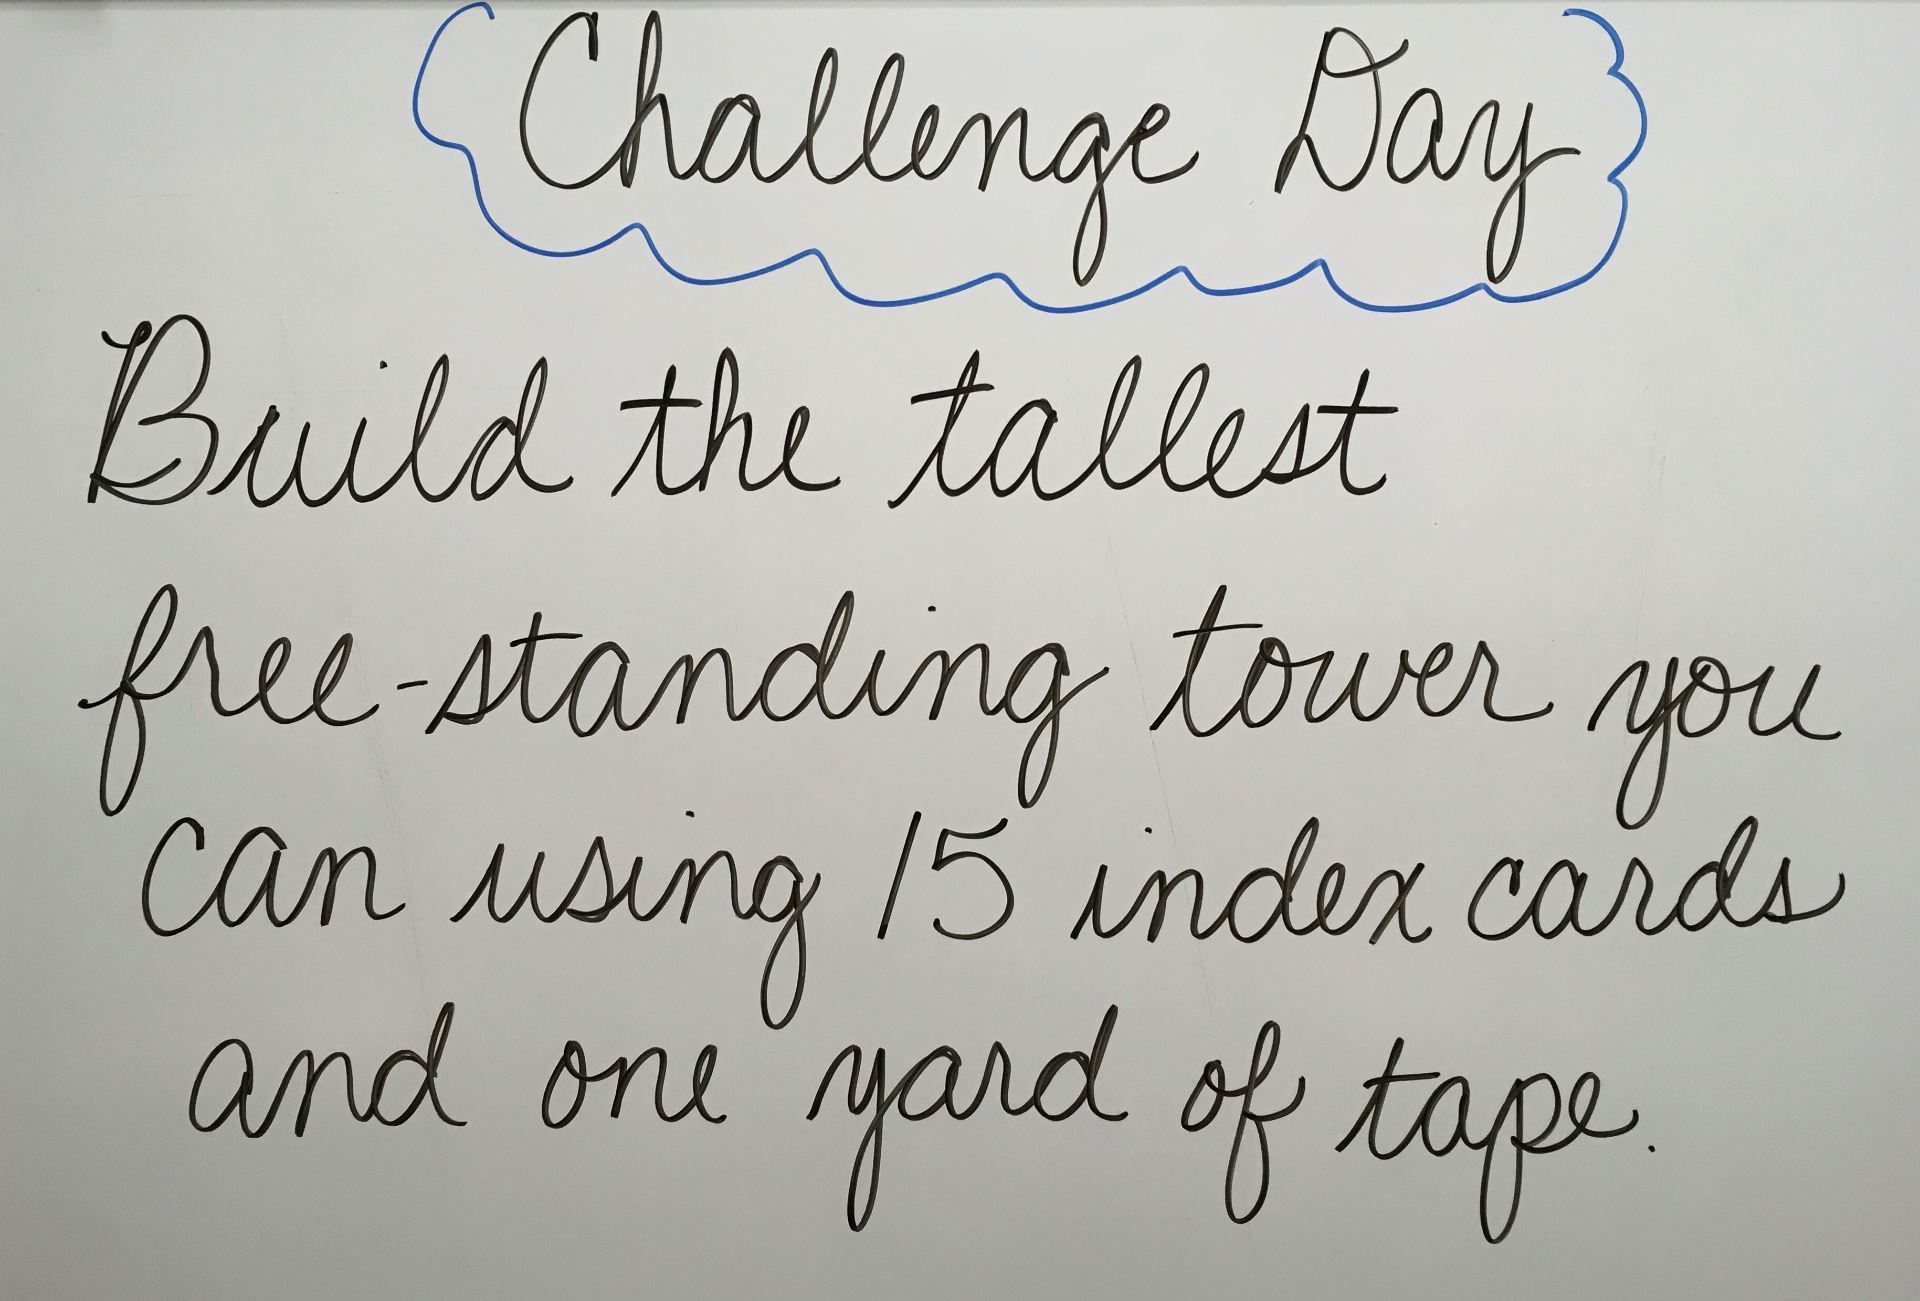
Index cards and masking tape turned out to be plentiful so that’s what we went with!
Challenge:
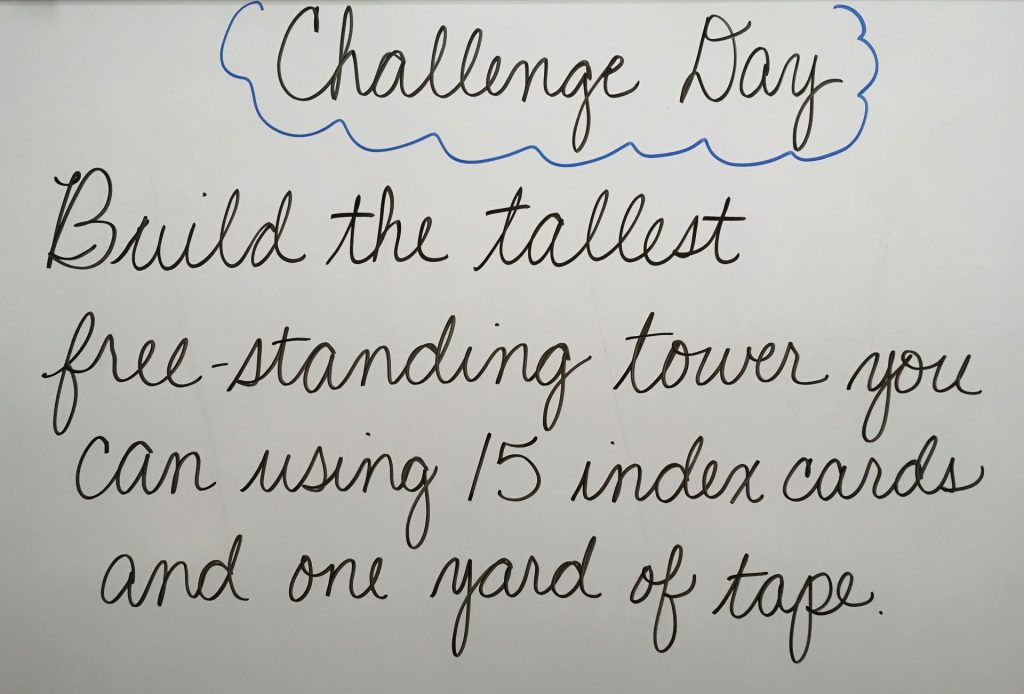
This changed over time after getting feedback from each group. The first group worked with only a half yard of tape. At the end of class, I told them they were my test group and I needed feedback for the other two classes. All agreed more tape was needed. The biggest request was duct tape, along with moans and groans that the masking tape wasn’t sticky AT ALL! Oh well, you work with what you have!
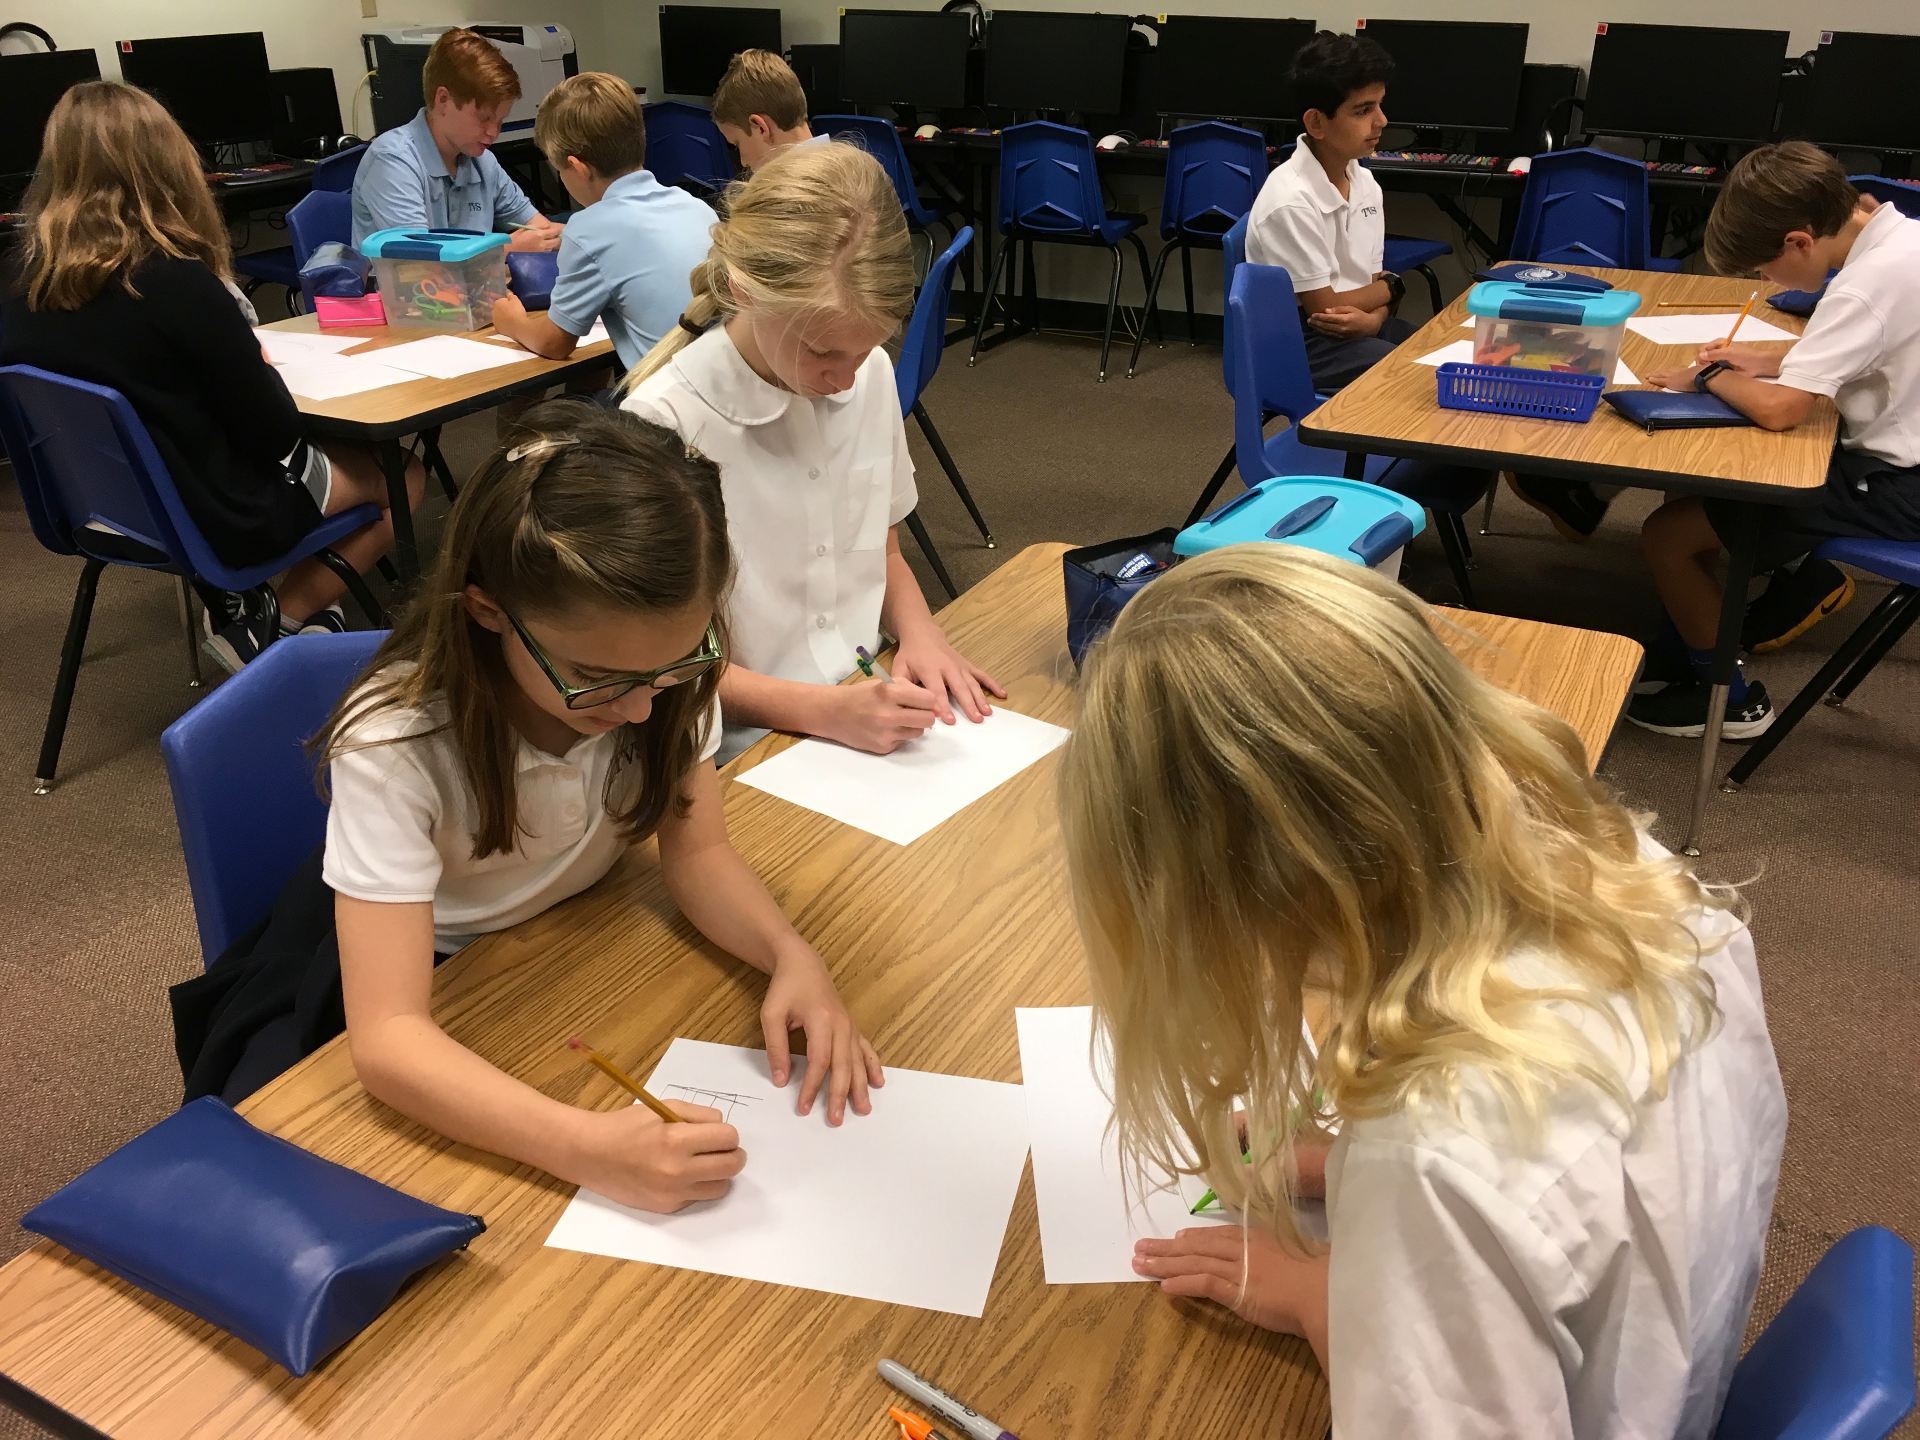
Using the Launch Cycle as a guideline, students were given one minute to listen to ideas from their group. Next, one minute to sketch ideas – no talking.
Then, another minute to decide how to incorporate designs into one to be used for the creation stage.

Yes, they were moved quickly through the process but I only have them for 30 minutes!
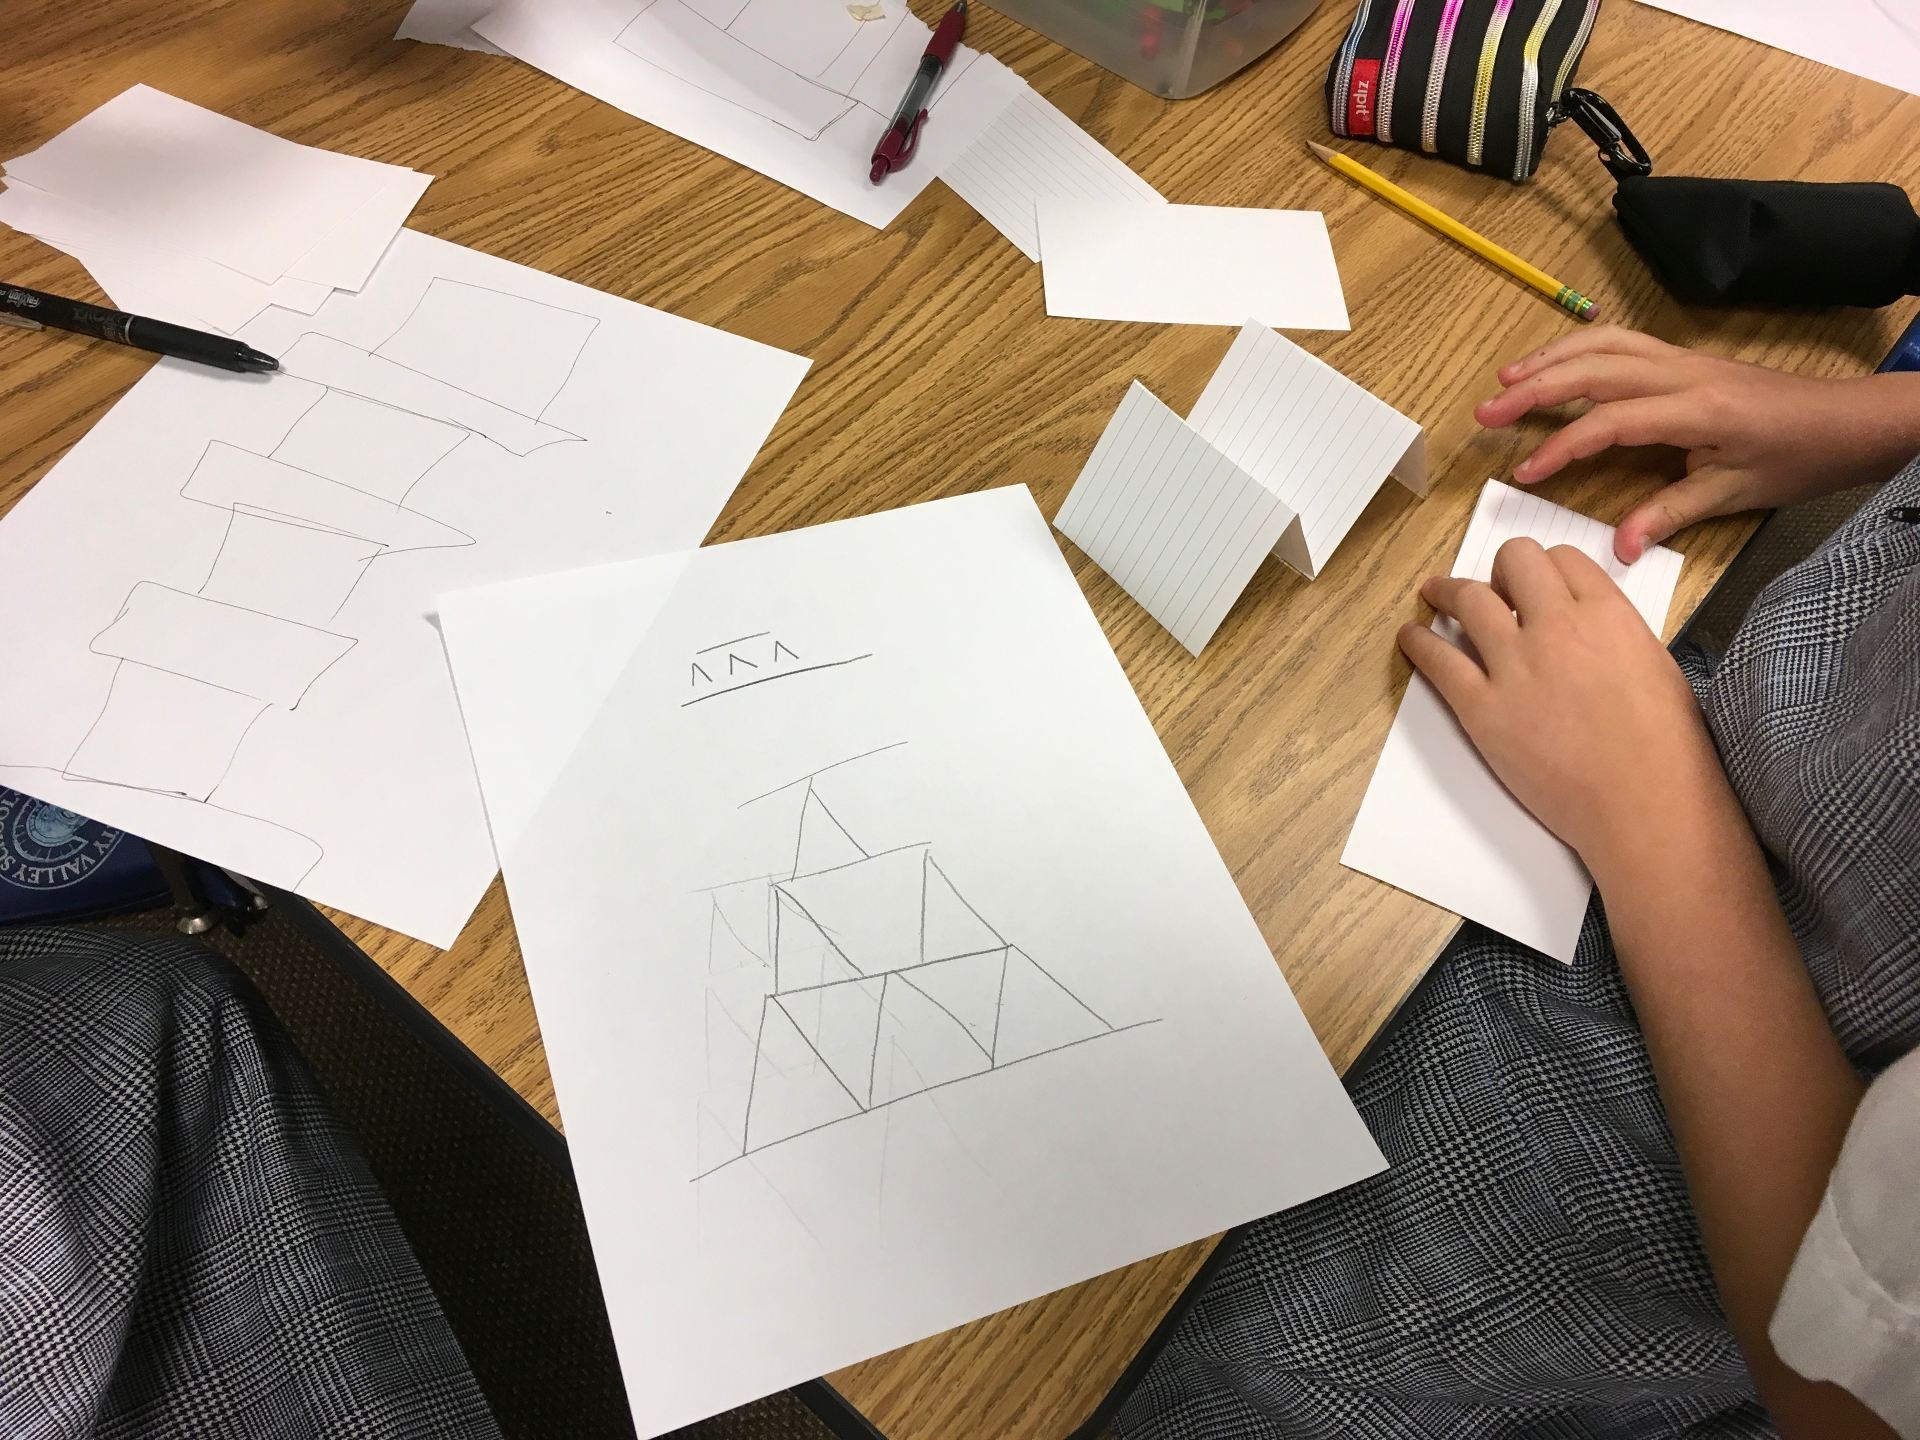
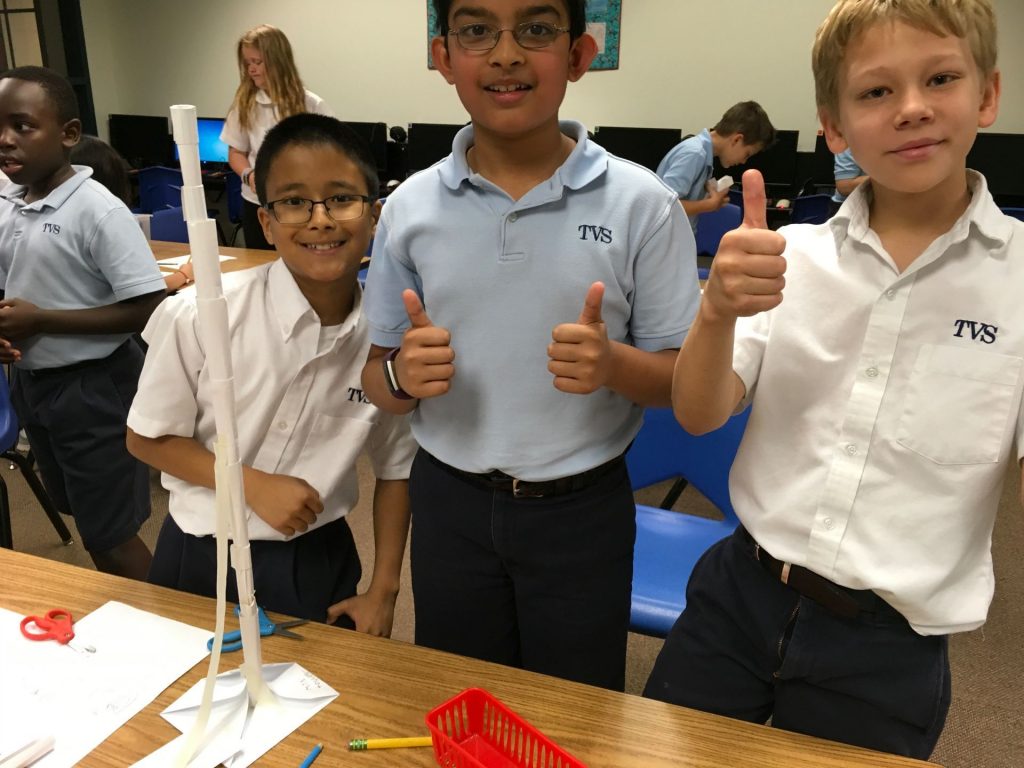
Building began and we had a huge variety of structures – some worked, others didn’t. Of course, the tendency for students is to build the highest structure possible without regard as to whether or not it can stand on its own! There were several “Leaning Towers of Pisa!”

The above pair worked so quietly and methodically, no one heard a peep out of them! The group below built straight up but definitely had a plan. One member kept his group on track with constant reminders “that the base has to be propped up.”
As we reflected, we talked about success and failure. Did the building proceed according to their sketches? What adjustments were made? Did you give up if something didn’t work the first time? (Yes, some groups did!) I even told the students that in an activity like this, failure was expected. Why? That’s the best way to learn!
Was it loud? YES!! Much louder that I like but every single person was on task. What I liked was watching students who are usually quiet or who don’t always feel secure in answering questions in front of the class, absolutely blossom in this environment! Will we do this again? You bet!
And, to think, not one child asked why we weren’t using technology in the tech lab!!
After attending a Design Thinking workshop this summer (see previous post), I thought a perfect way to weave this into the curriculum would be an International Dot Day activity.
 Based on the book, The Dot, by Peter H. Reynolds, the story tells about a young girl (Vashti) who thinks she can’t draw. Her art teacher tells her to “Just make a mark and see where it takes you.” Vashti jabs the paper with a dot and then signs her name as requested by her teacher. As the story moves on, Vashti discovered that she really can be creative. And, as a little boy looks at all her paintings, she encourages him just as her teacher encouraged her. International Dot Day, celebrated September 15th-ish, is a day to help children (and adults) focus on how to “make their mark.”
Enter Design Thinking! The empathy part of the process is what grabbed me so here is what we did.
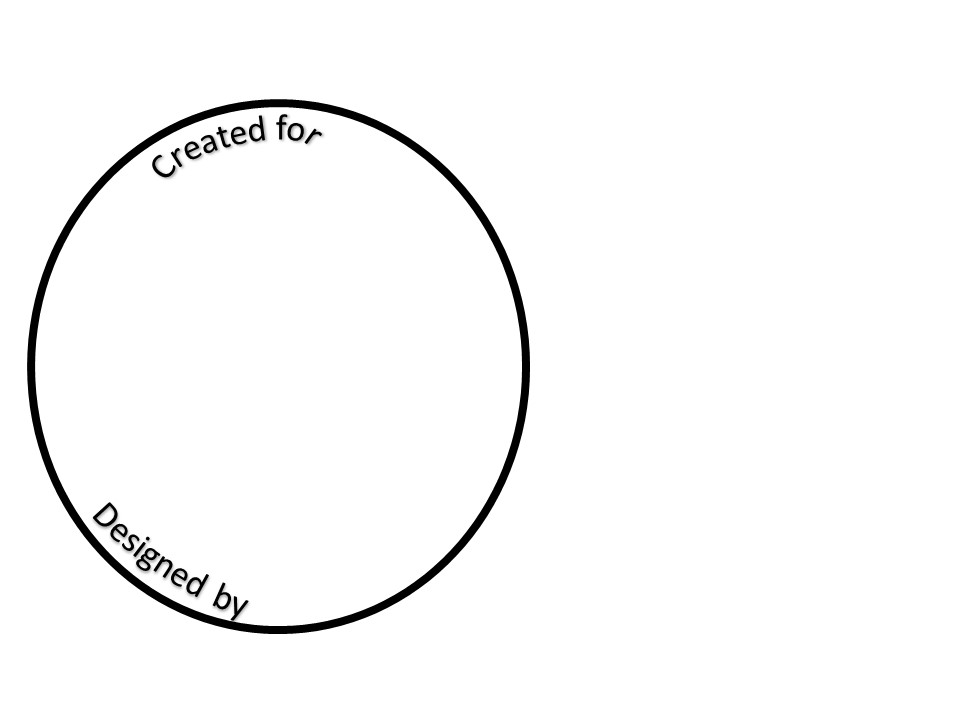
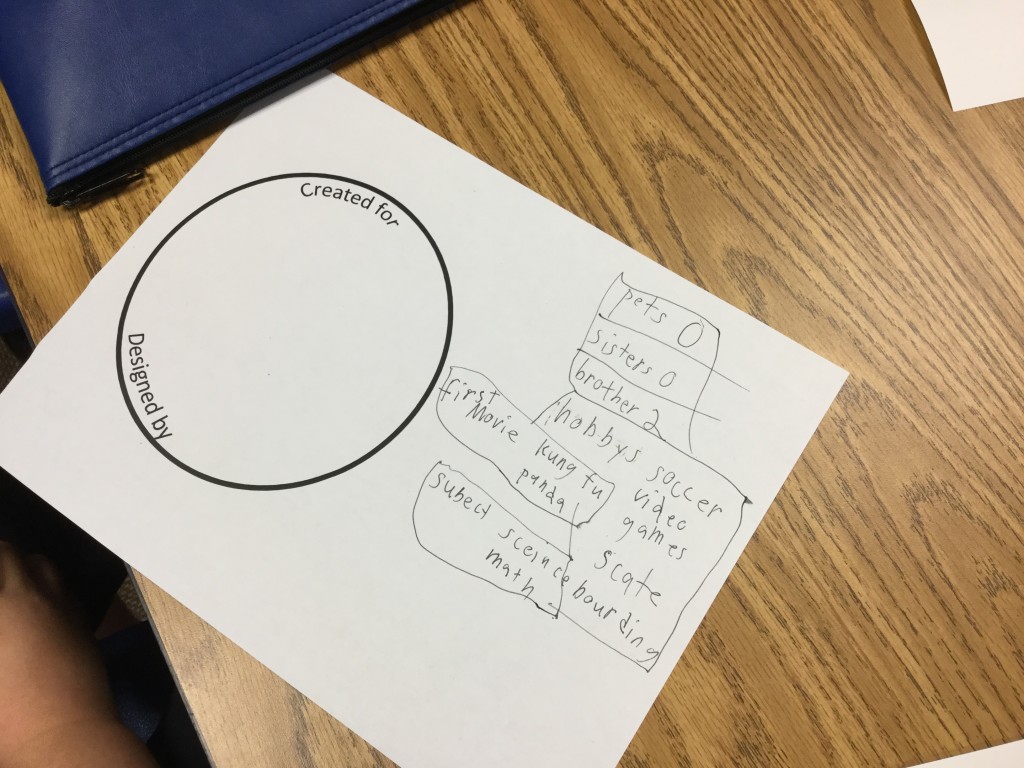
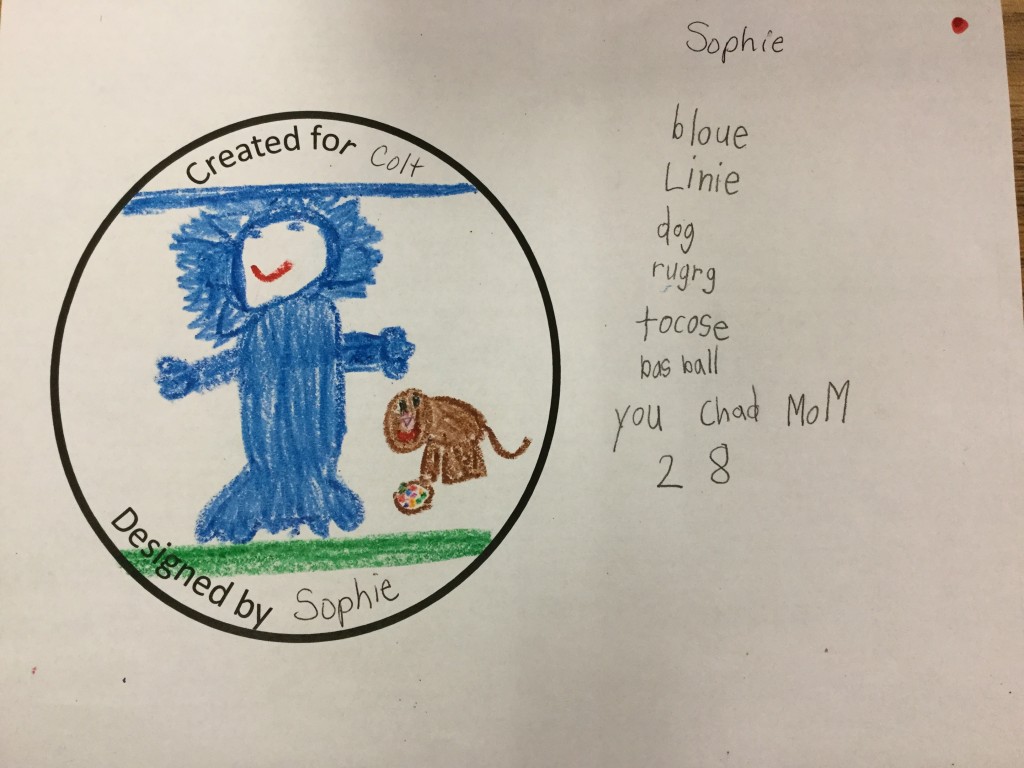
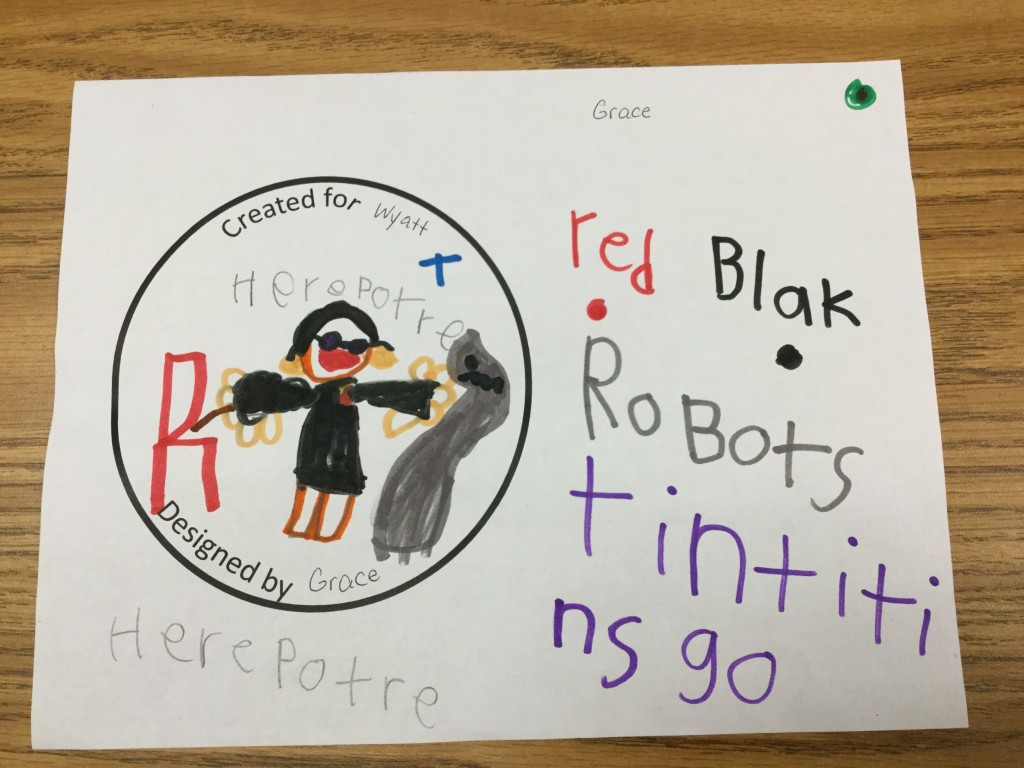
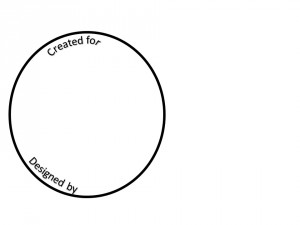 Each student received a design-thinking-dot-activity sheet with a large circle drawn on it. The dot is drawn off-center to allow for jotting notes. The children were told to choose a partner who was not their best friend – I wanted them to learn something new about someone they didn’t know quite as well.
 Having recently read Launch: Using Design Thinking to Boost Creativity and Bring out the Maker in Every Student, by John Spencer and A.J. Juliani, I decided to use the posters provided at their website. The authors have taken the design thinking process and made it into an easy-to-understand format for younger children.
I started the lesson by telling students that I’d taken care of the “L” for them.
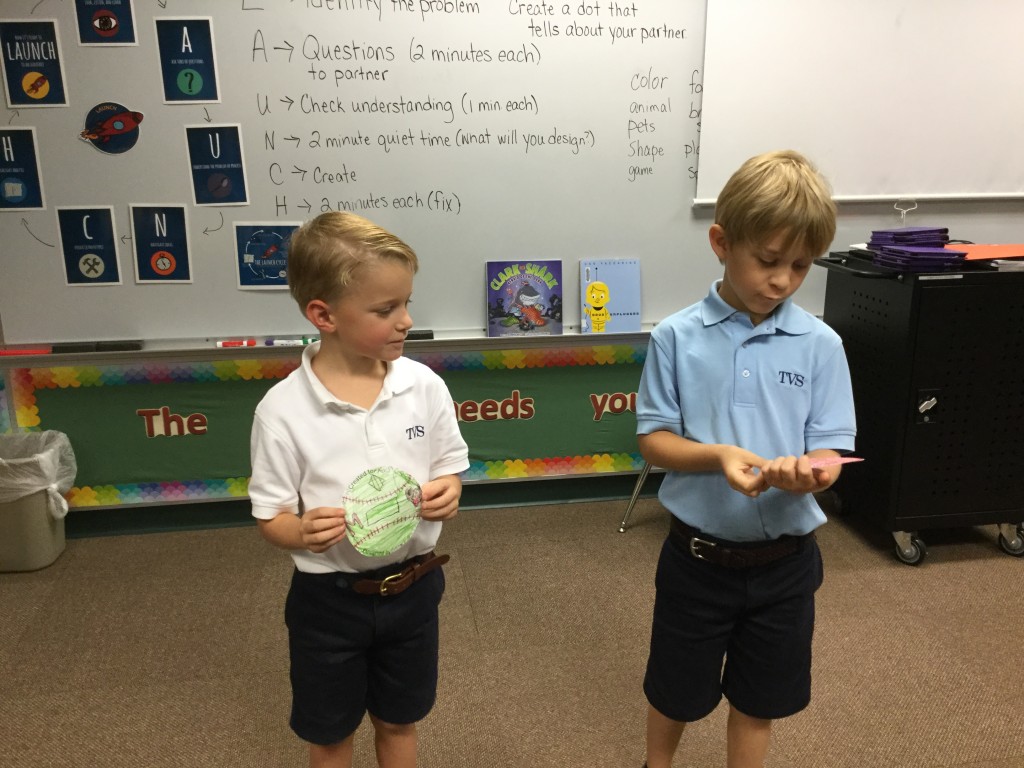
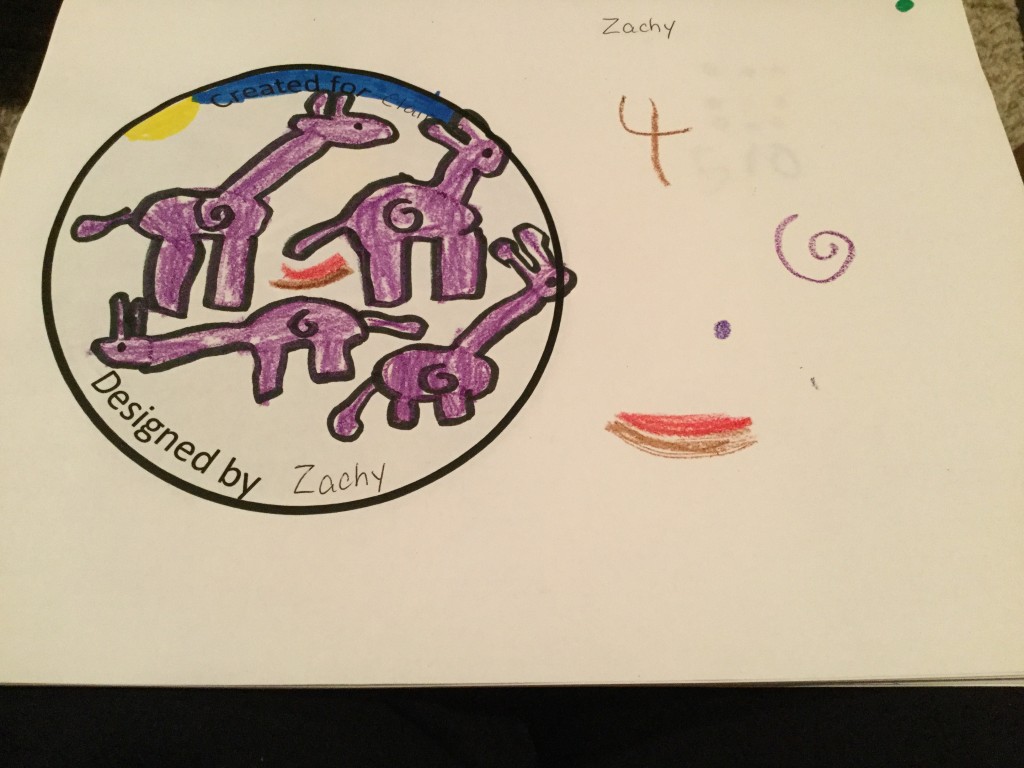
- L – Look, Listen, and Learn: This is looking for a something to create, fix, make better . . . The problem the students had to solve was to create a dot that told about their partner.
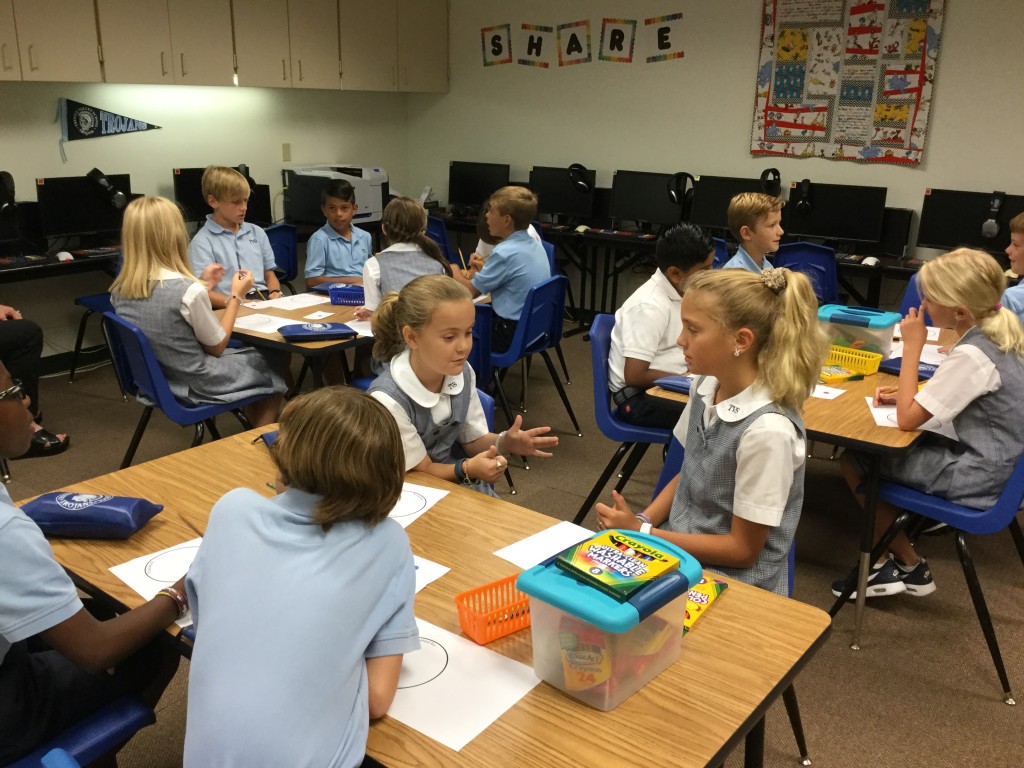
- A – Ask tons of questions: We brainstormed a few questions that students could ask their partner such as, “What are your favorite foods, colors, sports? What places to you like to visit?” Students were given 2 minutes each to ask questions. They were to jot down answers in the space next to their circle. What was funny is that every time the timer went off, you could hear the groans – “That was too fast!” “I’m not finished!” I assured them they would get another chance.

- U – Understand the problem or process: This is where students had the chance to ask additional questions of their partner. If they couldn’t think of anymore to ask, they could always say, “What else would you like to tell me?” For this, I gave the students 1 minute each to wrap it up.

- N – Navigate ideas: We discussed what navigate means; for example, making connections to a phone’s navigation system. I told the students they had to navigate through all they had learned and then decide how they would decorate the dot in a way that told about their partner. This was the hardest part because it was 1-2 minutes (depending on age) of quiet thinking time! They could sketch ideas outside of the circle but no questions were allowed and they couldn’t start drawing inside the dot! I was amazed at how focused the students were as they just sat there and thought! As I walked around during a 1st grade class, I heard a gasp from a little girl. I leaned over and asked if she had suddenly had an idea. “Yes!” she said, as she grinned and excitedly nodded her head.

- C – Create: Only after going through the above steps were the students ready to draw. I reminded them that they were NOT to draw something they liked; it had to be for and about their partner. No using the designer’s favorite colors! A comment from a first grader confirmed that she “got it” – as I announced it was now time to start creating, I heard a voice call out, “But, I’m still on the U. I’m not ready for C yet!”


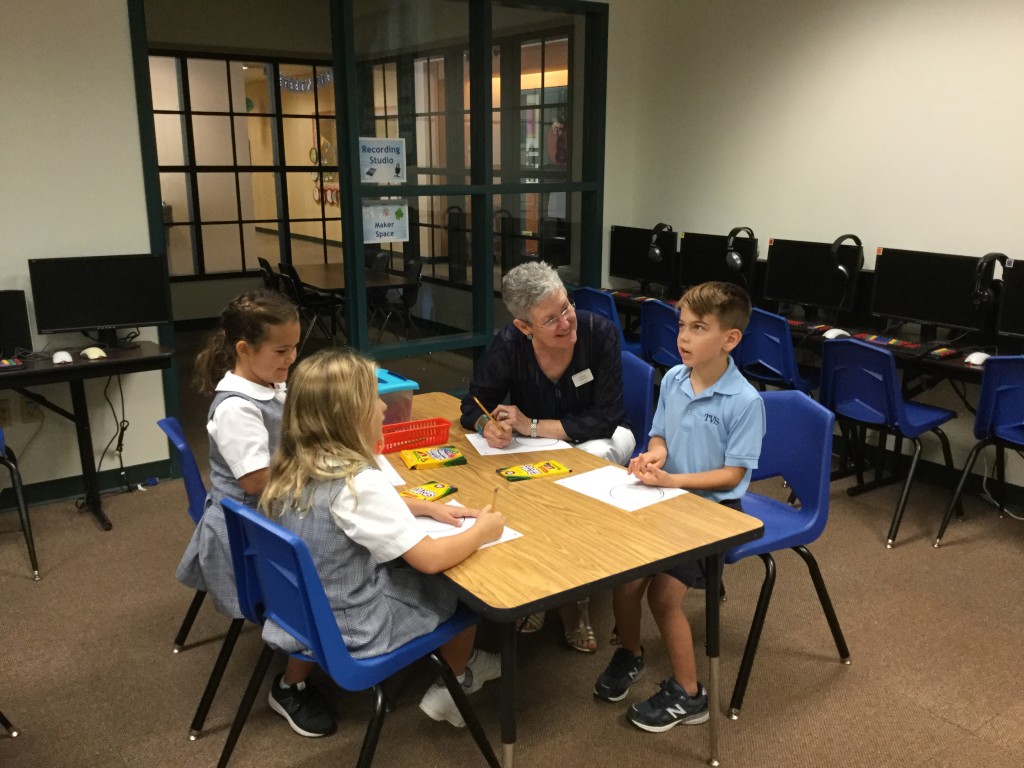
- H – Highlight and fix: After 10 minutes or so, I asked everyone to stop where they were because we needed to move to the “H” step. This involved checking with the partner to get their opinion. Was the designer drawing what the partner had in mind? Was there anything else the designer needed to add? I absolutely LOVED listening in on these conversations! These were some of the most thoughtful discussions I’ve ever heard from entire groups of students. Not one person said anything negative! I heard conversations like, “Are you going to add the food I like?” “Yes, I was planning to do that next.” The video below shows a 4th grade teacher working with a student. The audio isn’t good but you can still see how they are talking through what changes they can make and what they like.
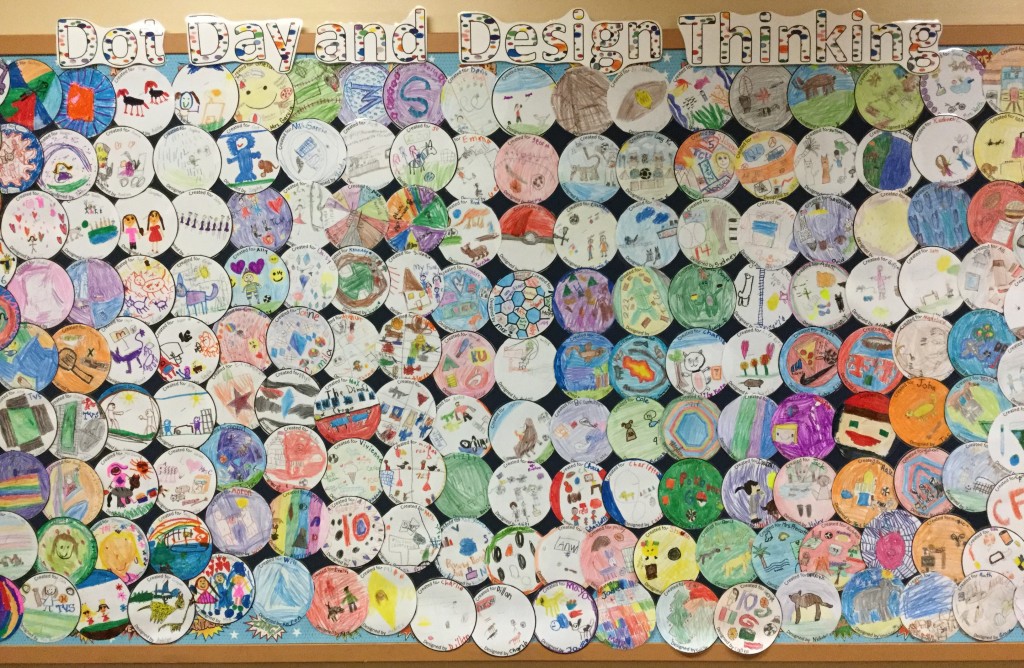
- LAUNCH! Our launch was a simple one; the students shared their dots by describing what their partner liked. Then they were placed on the bulletin board.
I was amazed at how well this lesson went – for every single age group (1st – 4th)! All I did was guide the process and the students took off! It was great to see the teachers involved. Design thinking is new to them, too, but they eagerly joined in. Some of their comments:
- “You know, this design thinking can be used in other areas, too. I’m thinking writing for sure and maybe even math.”
- “Today’s lesson was so therapeutic.”
- Another teacher told me, “I was a bit stressed about drawing. Who’s going to see this? What if it’s not good enough?”
Sometimes it’s hard for teachers to “let go” but when we do, the work students produce is incredible! I almost decided not to do this with first graders; just wasn’t sure if they could grasp the concept. Wow! Was I ever wrong!! It didn’t matter one bit that they couldn’t spell what their partner told them. These little ones were able to jot down symbols, pictures, whatever it took to remember their partner’s answers.
 I am so excited to continue my journey of learning about implementing design thinking into the curriculum!
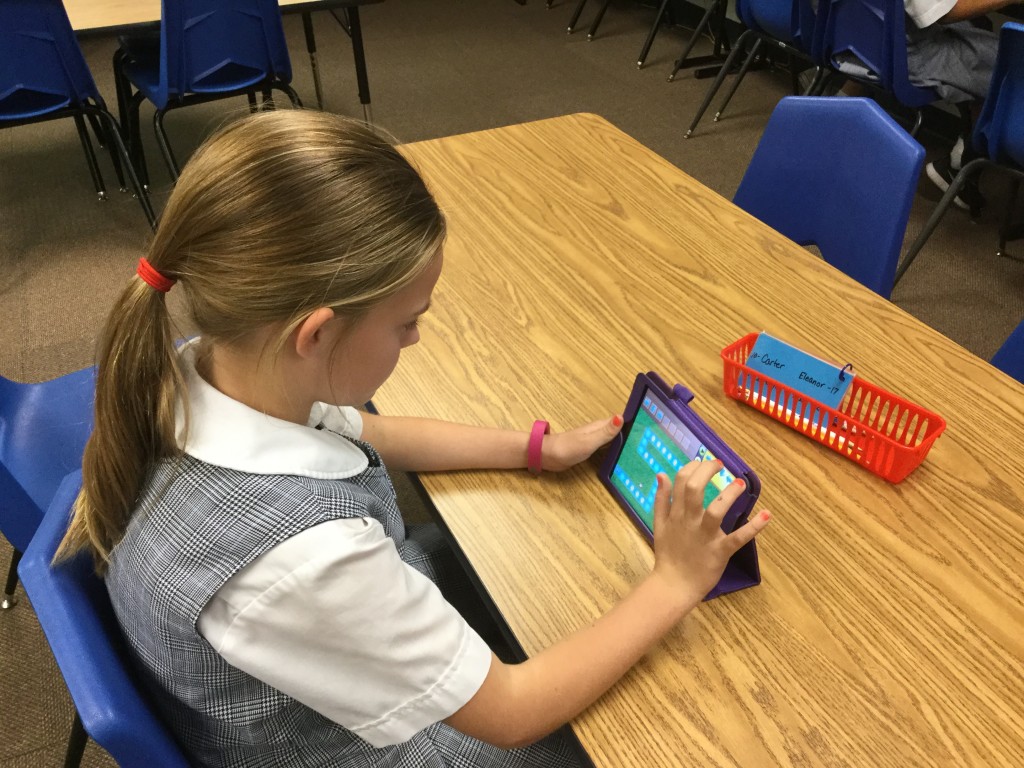
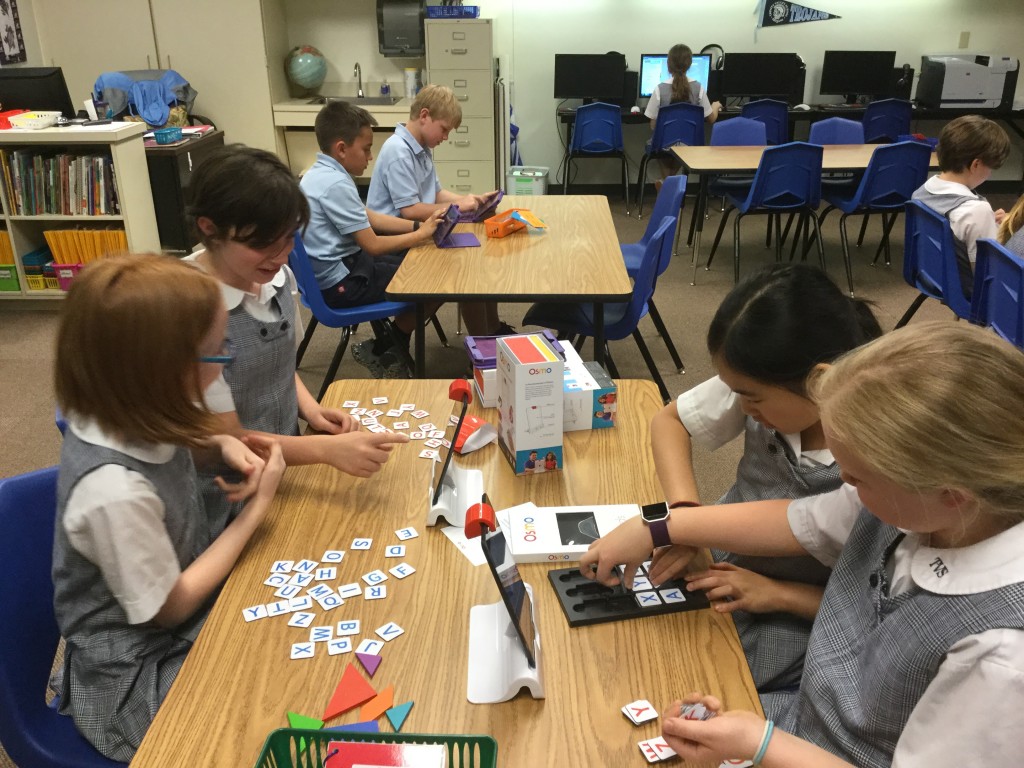
Last week I started something new with the 4th graders – Fantastic Fridays. On the board, I wrote a list of activities. Some were things they’ve done before but never seemed to get tired of it. Others were completely new.
- Osmo – a unique way to physically interact with the iPad
- Ozoblockly – drag and drop programming to use with Ozobots
- Kodable – programming curriculum for elementary students
- Know Your States – an excellent interactive game to learn where the states are located.
- Sugar, Sugar – a fabulous problem-solving activity

The students were SO engaged! Yes, there is a time when you have to teach skills but choosing your learning is critical! We, as teachers, must make time for that as well. Be sure to walk around and listen in on conversations – the dialog, the problem-solving, the planning is amazing!

The girl who was using Ozoblockly even returned after school so that she could show her sister what she’d done in class.
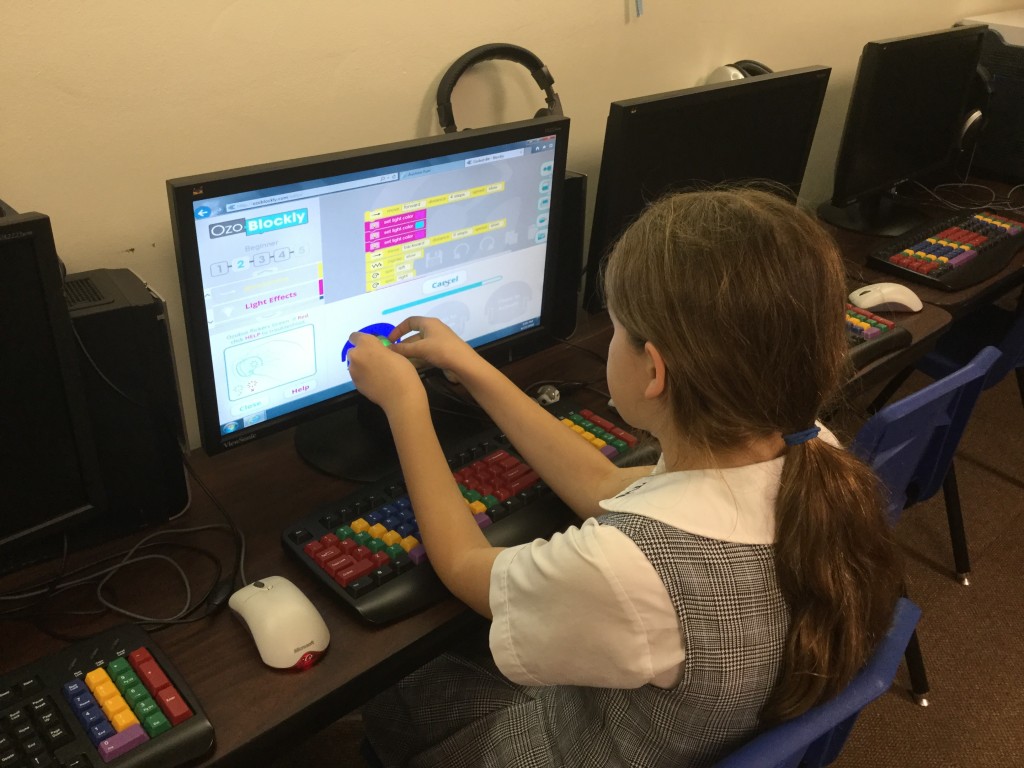
She also wanted me to video her Ozobots dancing in tandem. Here they are:
The last question the students asked as they exited the lab was, “May we please do this again?”
And, yes, we most definitely will!
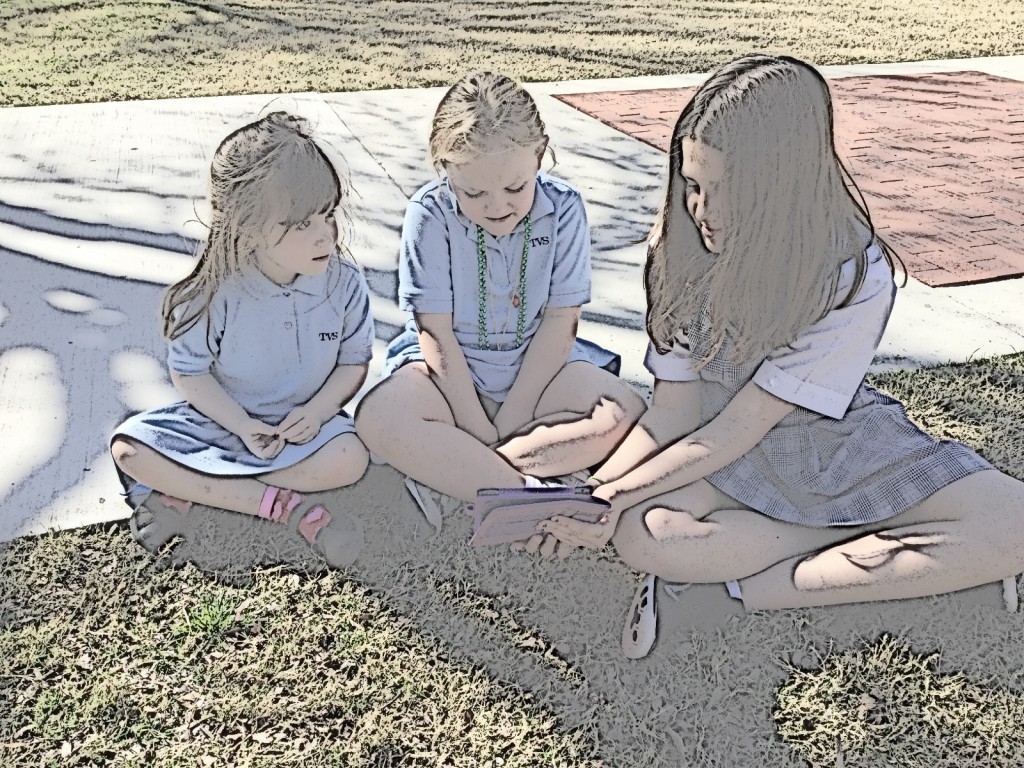
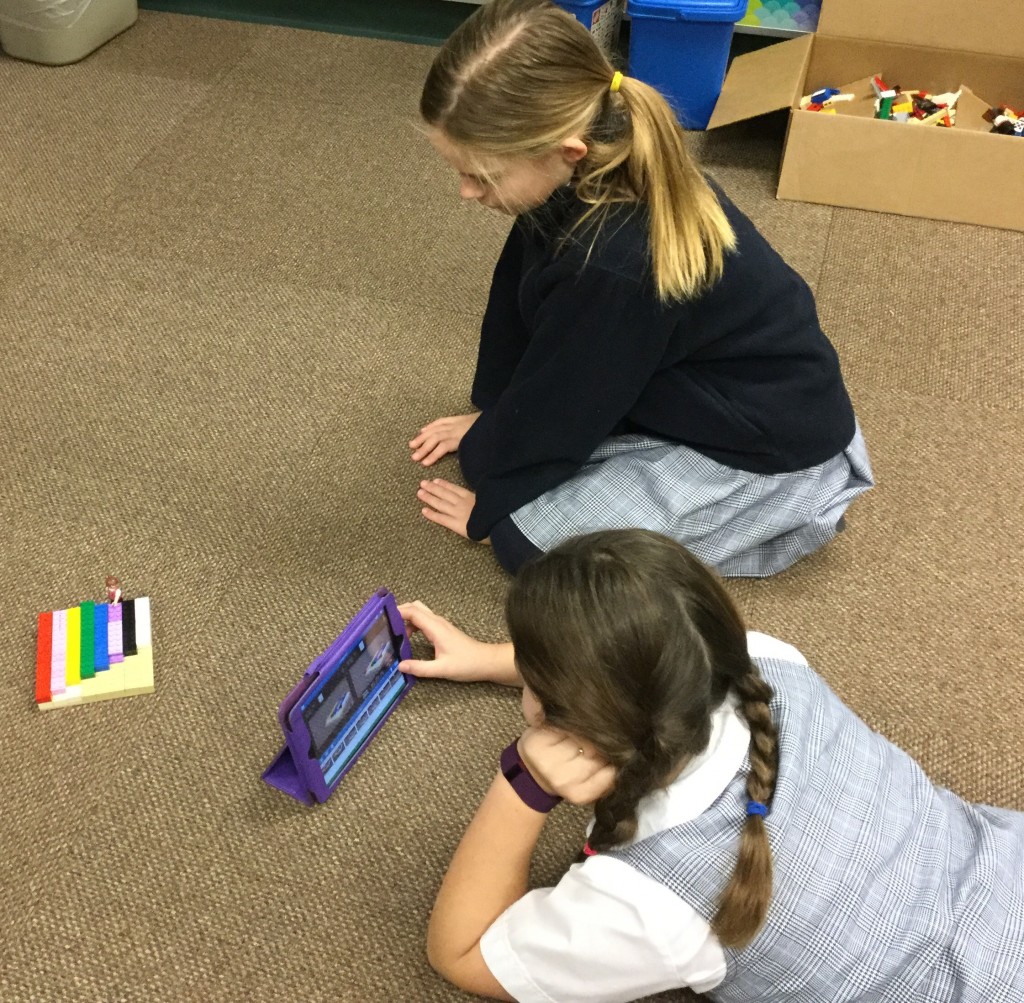
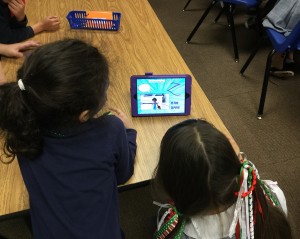
Recently the fourth grade classes worked in small groups to create a Lego ABC book to share with kindergarteners. (Click here for post about making the book.)
Our sharing took place on a beautiful afternoon so we gathered the iPads, the kinder students chose a “big” kid for a partner, and off we went. The little ones were enthralled with the 4th graders but what surprised me is how well the older students did with their young charges!
While the big kids weren’t too eager to hold hands with the little ones (that was my suggestion that fell flat!), they were great at keeping them entertained with the book, talking to them, asking about their interests.

The only problem we encountered was getting too far away from buildings and then we’d lose Wi-Fi. But, that was an easy fix.
We returned to the lab with a few minutes to spare. That allowed time to finish viewing the Lego Book and share other apps.
It was a really good experience for our oldest Lower School students to interact with our youngest ones! Looking at the smiles on faces makes these kinds of activities worth every minute.
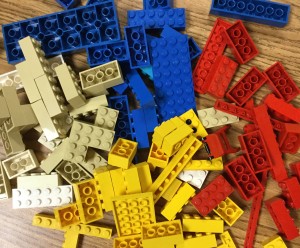
Who would have guessed that Legos would be such a hit with students!?! A few weeks ago, I presented the fourth graders with a challenge – Create an ABC book made with Legos (and the fantastic Book Creator app) to share with our Kindergarten students. I was amazed at the excitement this idea generated! (Although I’m thinking the excitement was from getting to create with Legos, not from sharing the book.)
This was a joint project with all three of our fourth grade classes so we had to divide the alphabet letters between everyone. I asked the students to get into groups of two or three and write their top three letter choices.
After handing out assignments, we discussed what needed to be included on each page.
- The alphabet letter (large and obvious!)
- Picture of the Lego creation(s) that correspond to the alphabet letter
- Text that labels the Lego objects
- Recorded voice stating “(Name of letter) is for . . .”
- Optional: some type of video to show the making of the object or to highlight the letter
For the video component, I suggested the following apps:
Surprisingly, no one chose Tellagami or ChatterPix! I think most liked the idea of the stop motion animation. What excited me is that several incorporated app-smashing – on their own! They would bring their MyCreate video into iMovie for editing, to add music, etc.
Fortunately we had plenty of Legos – I raided my grown-up son’s stash, bought a few more buckets, and had some very sweet girls donate some of their collection.
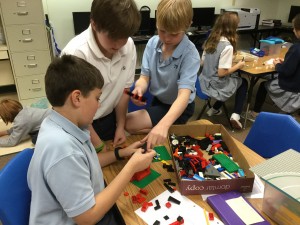
Planning and building

Using the MyCreate app
I have never seen such excitement about a project! Except for a couple minor squabbles, the students worked well together. They all learned the importance of sharing ideas and compromising. The students absolutely loved having the opportunity to create in their own way. And, they did a great job pulling everything together to create their letter page.
The book isn’t perfect and sometimes it’s a stretch to figure out how the Lego structure goes with the letter. As chief editor, I did omit some videos that really had nothing to do with the letter they were trying to represent. We had a few groups who were more interested in making iMovies about themselves. However, when it was pointed out that this is a book for young children, they made some adjustments.
Here is the link to the ebook: Lego ABC Book
Tips for downloading the ABC Lego Book:
- Click on the above link while on an iOS device with the iBooks app installed.
- Download then choose open in iBooks. The file is very large so please be patient!
If you are unable to download the ebook, click here to view the video (same content as the book).
Here’s a look at the process of making the book.
The project took longer than anticipated. What I learned is that a week of 40 minute sessions with each 4th grade class wasn’t long enough! Most groups built and rebuilt till they had the “perfect” structure. They HAD to finish the building part in a week’s time so that the next group could start. Otherwise, we wouldn’t have had enough Legos! Putting the book together didn’t take more than a couple of days.