
Coding Unplugged: Great Ways to Introduce Concepts
I found the best tool at a teacher supply store last summer – magnetic arrows!
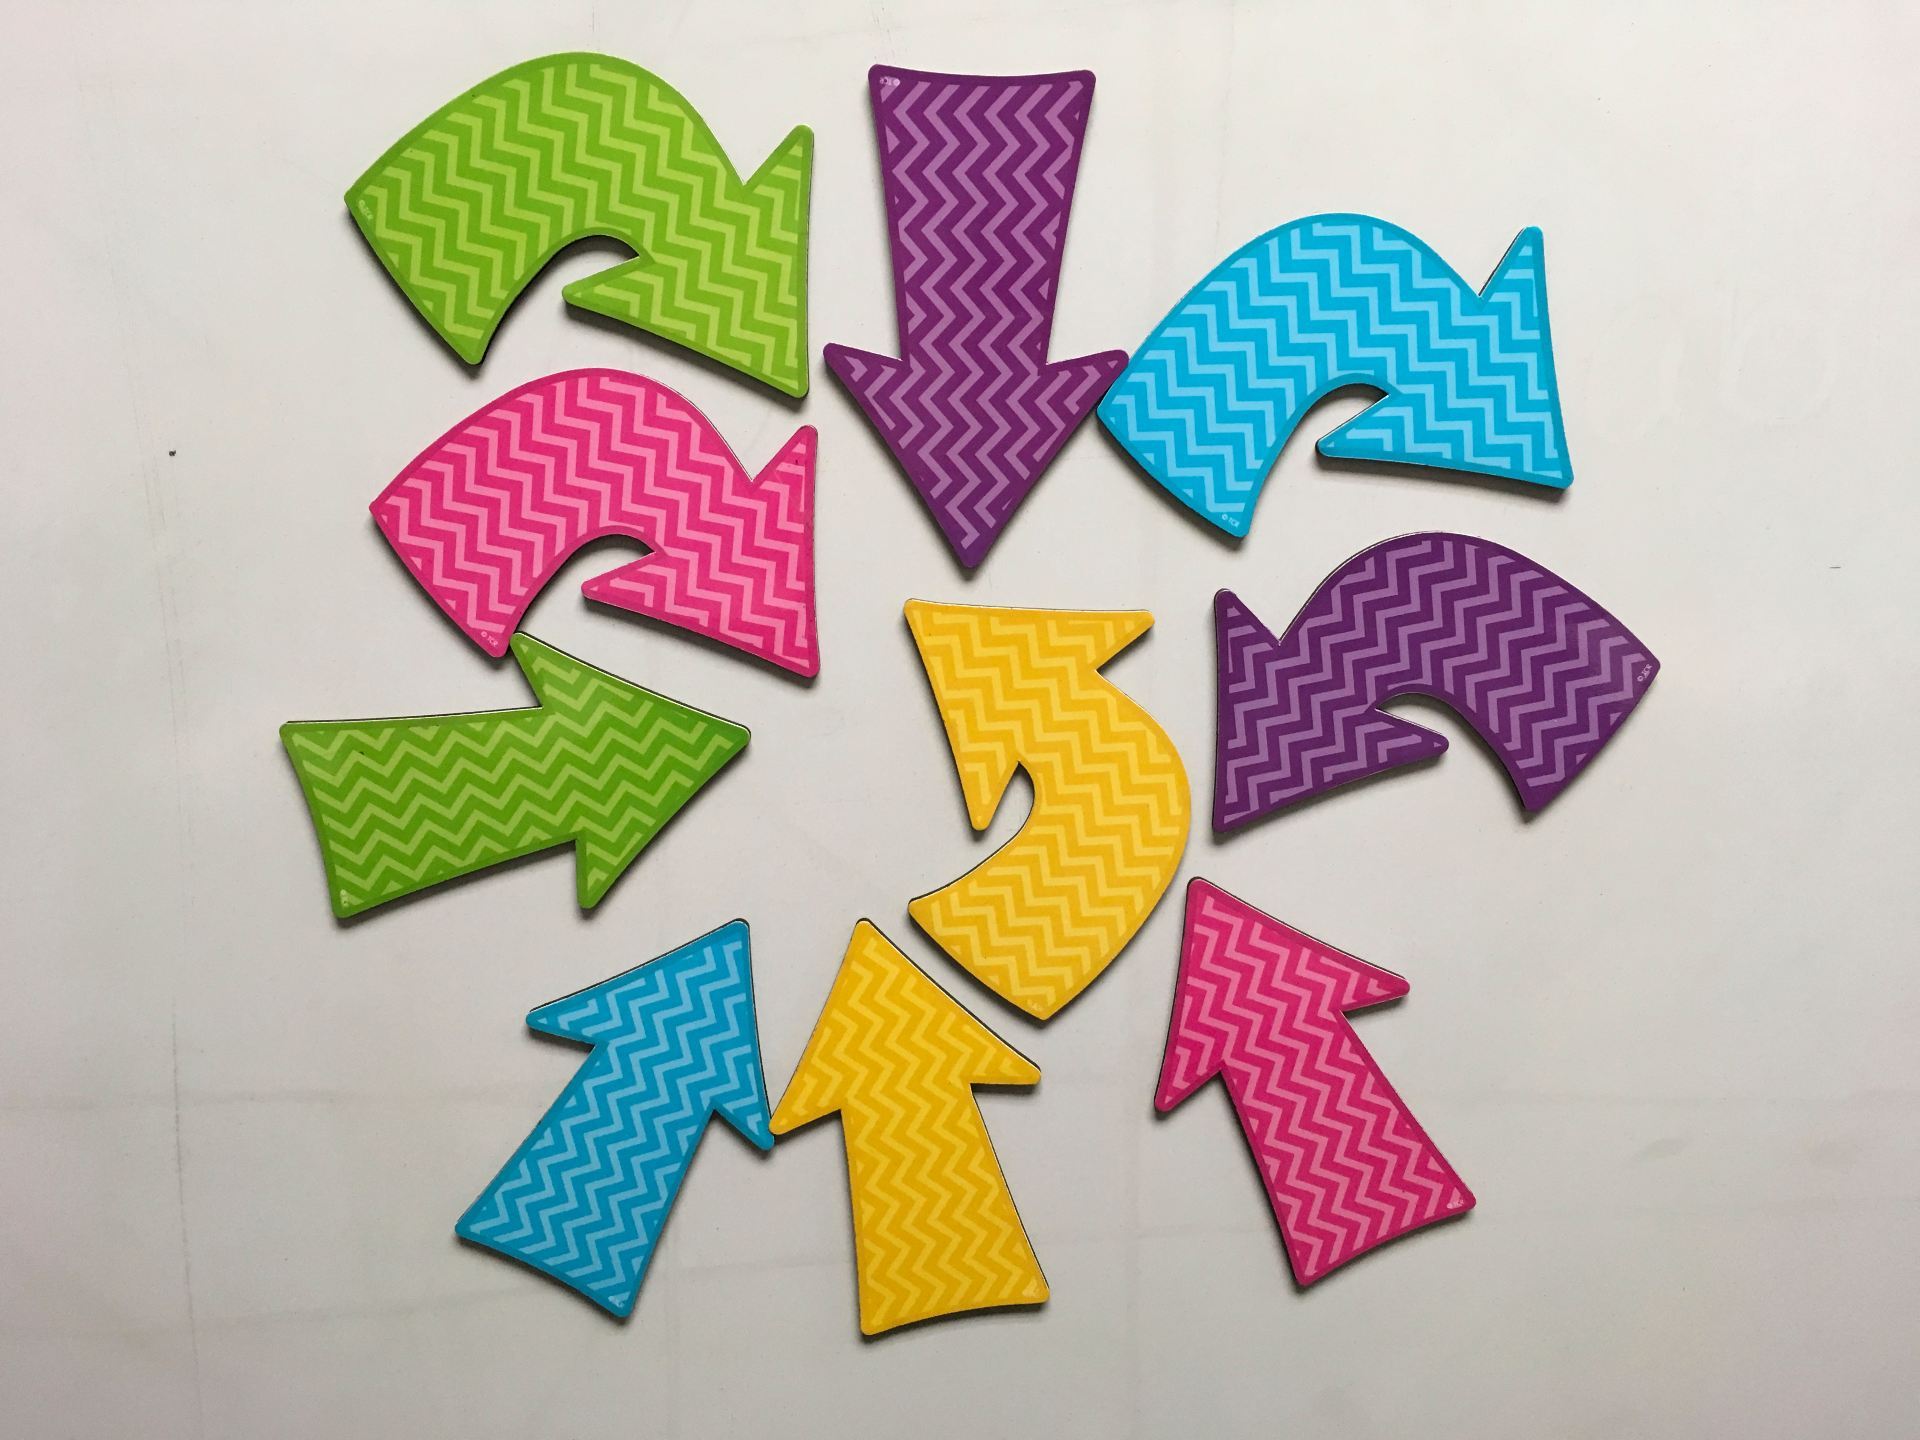 I’m not sure what the maker had in mind for these, but they are absolutely PERFECT for practicing coding movements on the board!
One of the best and most comprehensive (and free) coding curriculum is from code.org. There are many excellent programs and apps available but I highly recommend this be a integral part of a coding program, especially for elementary ages. Besides the student activities, there are numerous resources available for teachers. One such resource is called “Happy Maps” where students tell Flurb (see below) which way to go to get the fruit.
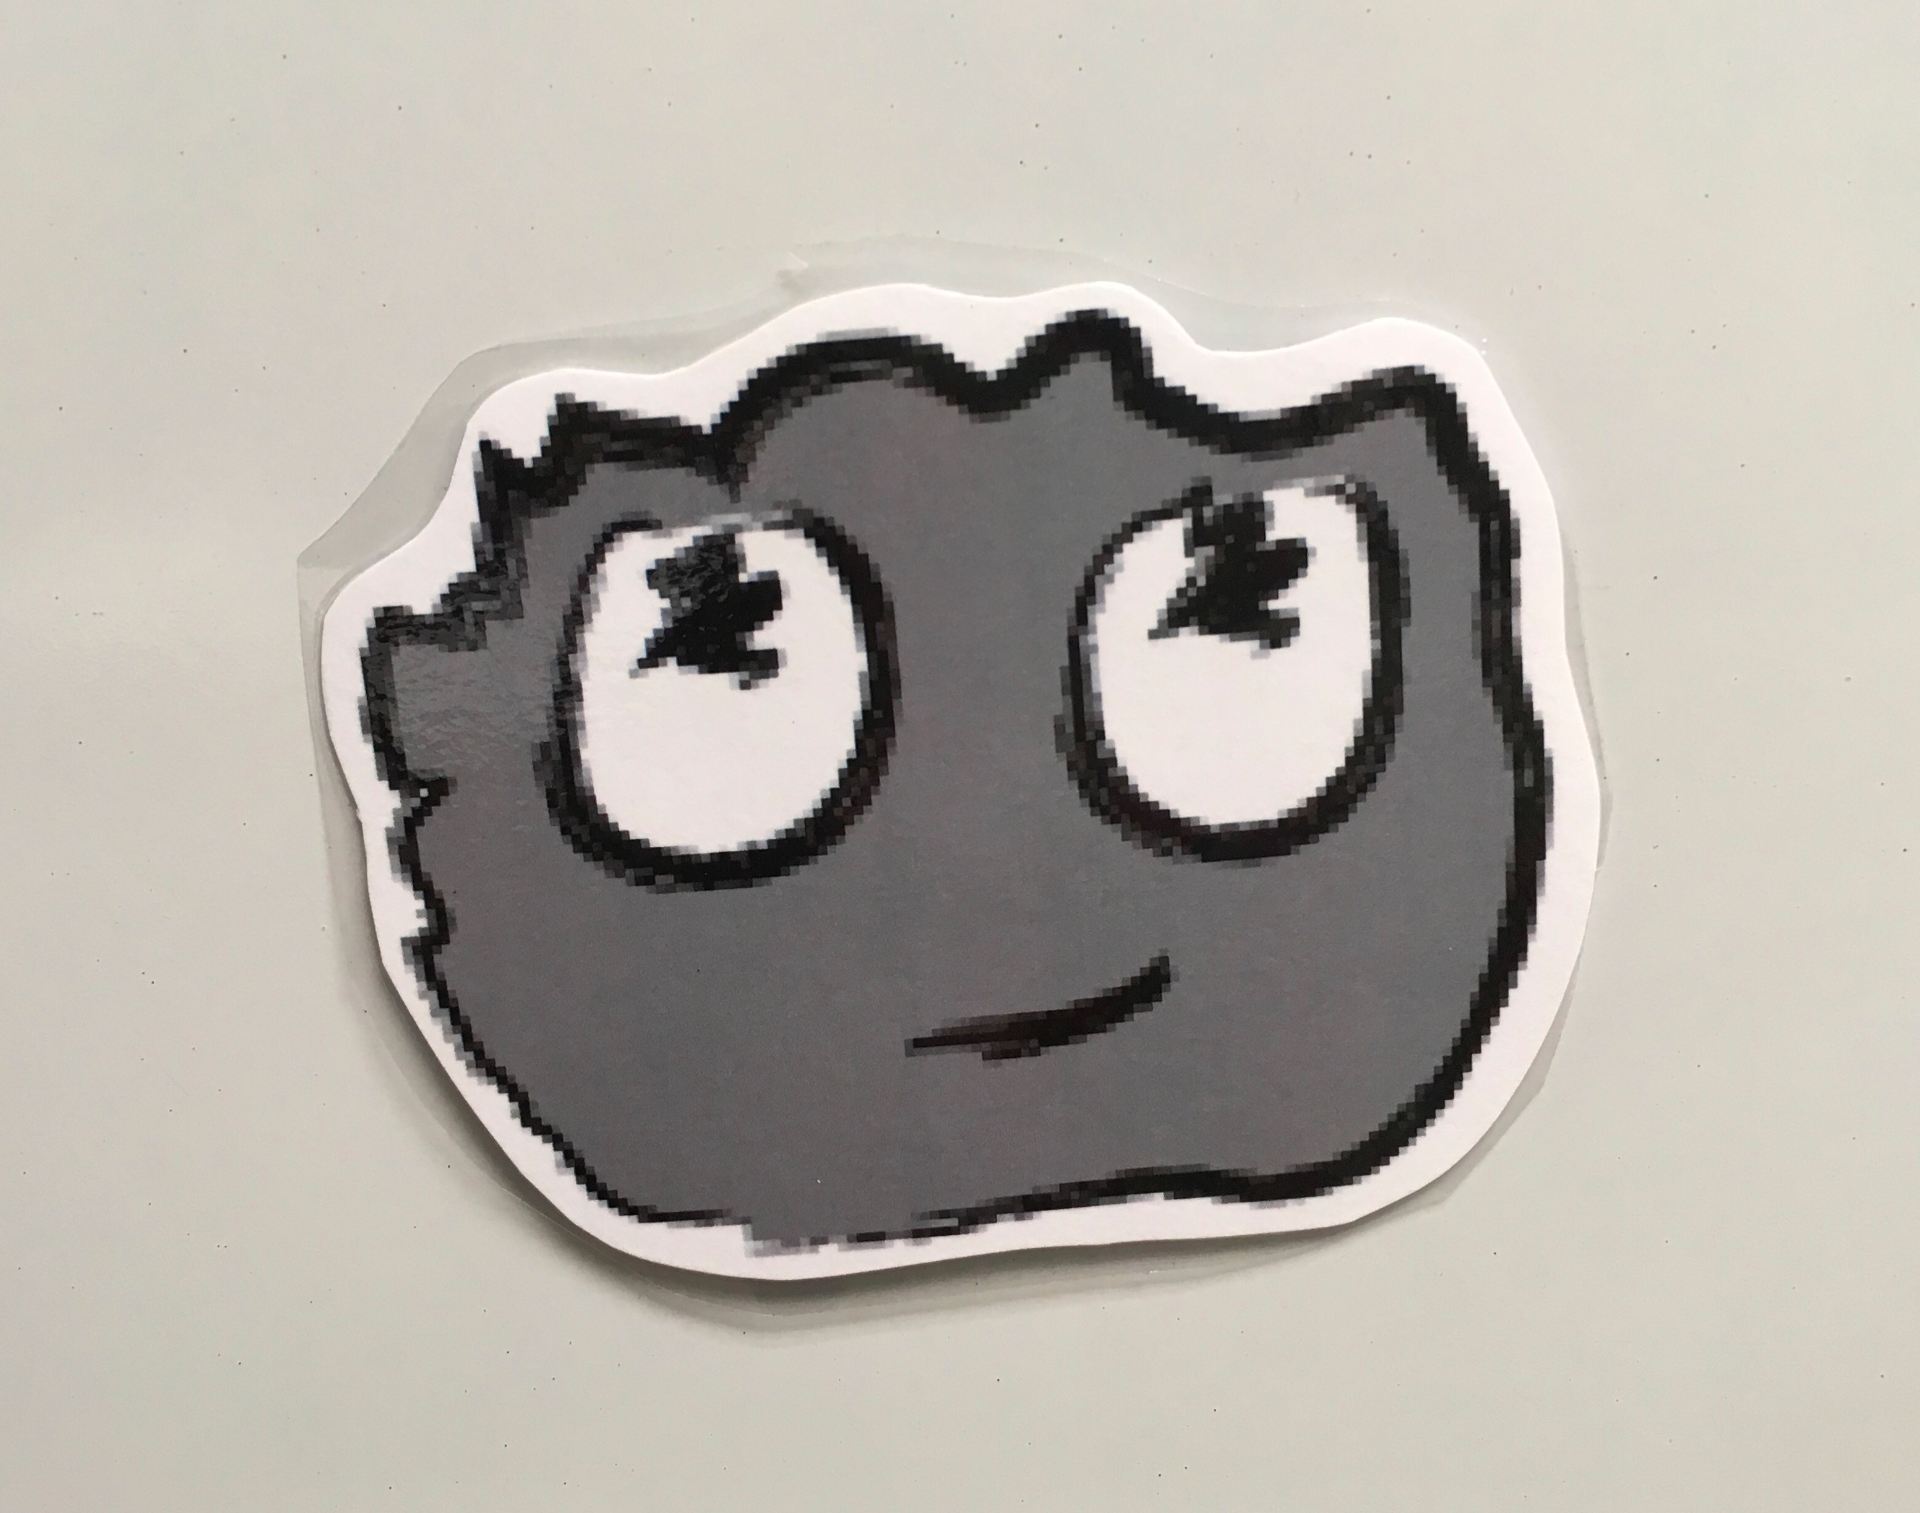
Meet Flurb!
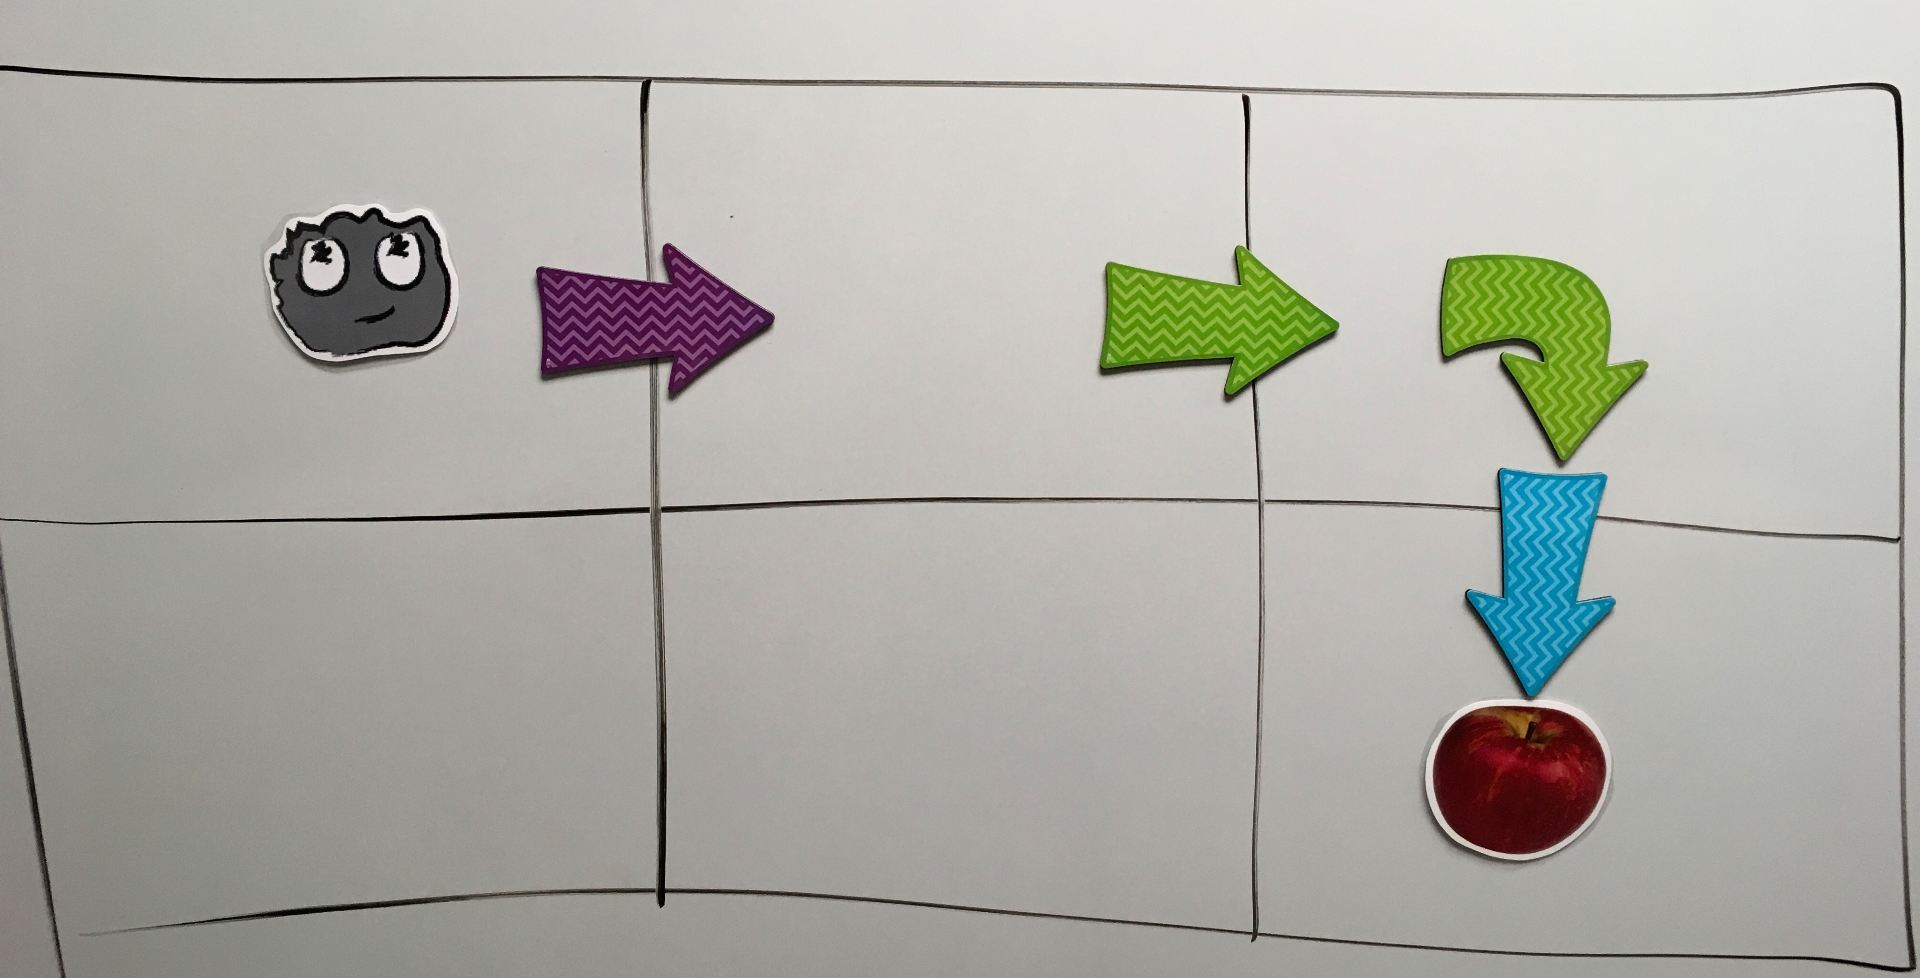
Last year, we used arrows to point the directions to move. The magnets I purchased have a turn arrow which is great for truly showing the sequence of steps necessary to reach the fruit.
 After reviewing the vocabulary:
- algorithm – a list of steps that you can follow to finish a task
- program – an algorithm that has been coded into something that can be run by a machine
I ask how Flurb can get to the apple. With all the volunteers, we could spend the entire time moving arrows!
 After one child has placed arrows and moved Flurb, I ask if there is another way to reach the apple. We spend a lot of time talking about being able to have several solutions to get to the same result. Of course, fixing and trying again (debugging) are extremely important parts of the computational thinking process.
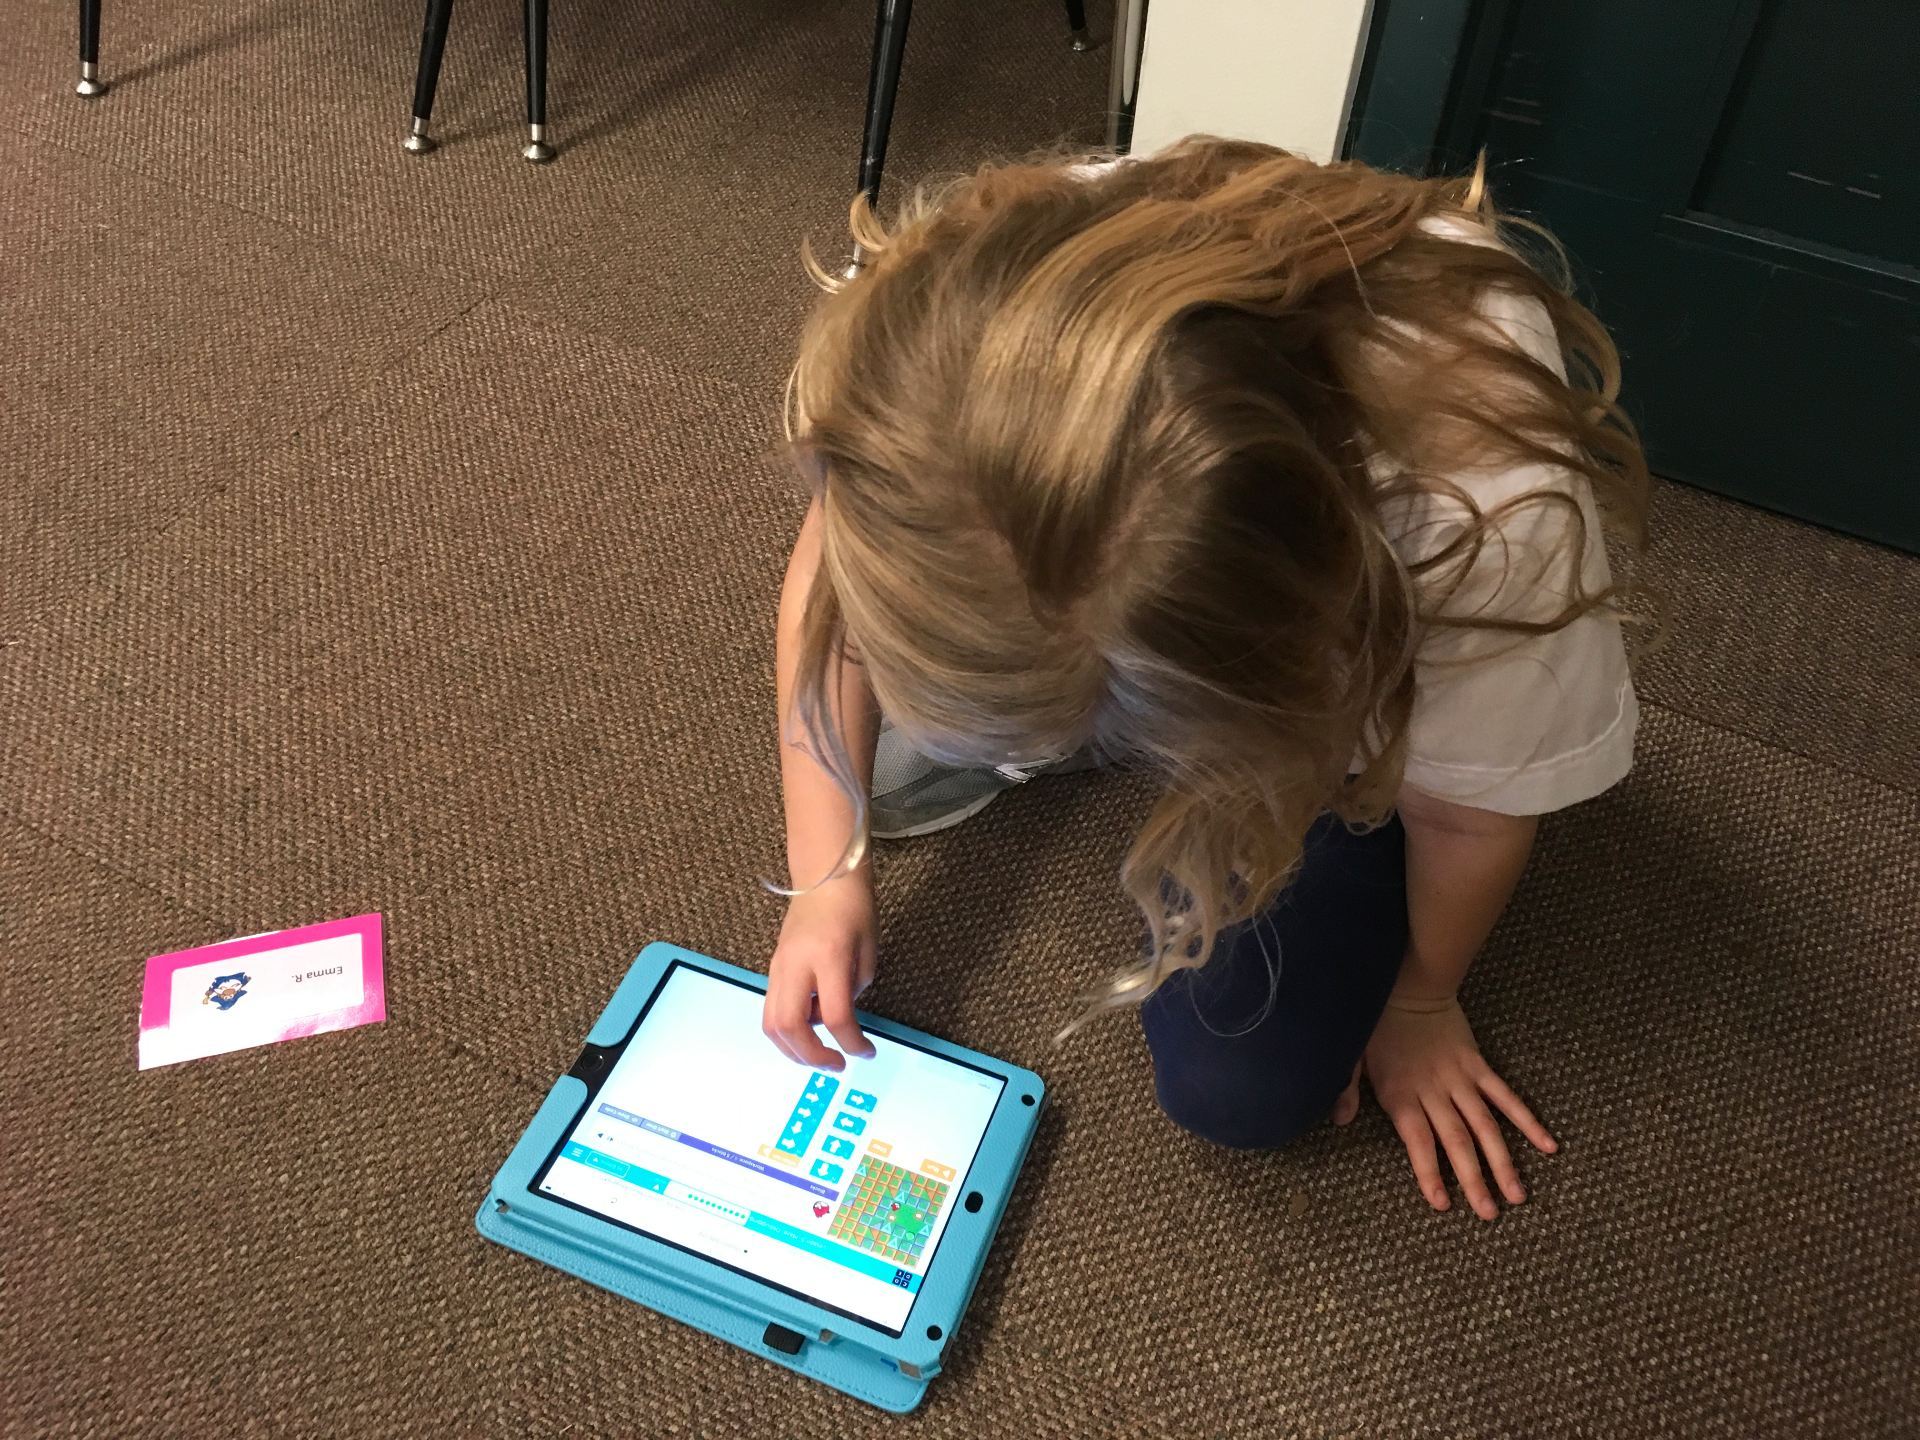
After a few students have tried progressively harder puzzles, we move to the iPads and code.org. I encourage students to “walk out” the solution when they get stuck. We’ll hold the iPad together and walk in the directions they need to go. Some students (me included!) need that extra kinesthetic approach. I always love watching children do just that – they talk quietly as they walk the steps they should take:
one step forward > turn right > two steps forward

 As we wrap up the lesson, I always ask, “Did anyone get stuck?” A few hands slowly go up, as if they are unsure that they want anyone to know. Then I tell the children, “You know what I noticed? When you got stuck, not one person complained and said they couldn’t do it; that it was too hard. You didn’t give up. You kept trying. That’s what coders do!”
And, isn’t that what we do everyday in life?!?


