Posts Tagged ‘kindergarten’
 I’ve never started making books so early in the year with our kindergarteners but, as Book Creator was perfect for what I wanted to do with them, I was eager to give it a try. My challenge was: Have our littlest ones illustrate AND record using an app they had never seen before, all in a 30 minute session! Challenges don’t scare me! Although, I have to admit, I did warn the teachers that I had no idea how this would turn out!
I’ll just say, children never cease to amaze me! These young students did a fabulous job in their creations and I am very proud of all that they accomplished! Here’s what we did . . .
 I came across the book, I Need My Monster, by Amanda Noll. It’s about a child who creates a “comfortable” monster that lived under his bed; one that helps him overcome his fears. One day, the boy discovers a note from his monster saying that he’d gone fishing and would be back in a week. The little boy goes through a series of “substitute” monsters before his returns.
I thought the story would be perfect for a class book about silly monsters and how we wish they might help us. With only 30 minutes with students, it was important to do as much preparation as possible before class. Since we have shared iPads, I created a template and airdropped to each of our iPads, one for each class. Often, I’ll go ahead and add each child’s name to the name of the book but this time I color-coded the books so that each student just had to find the color of the “name” box that matched their class. For example, Mrs. Monroe’s class looked for the green box.

(more…)
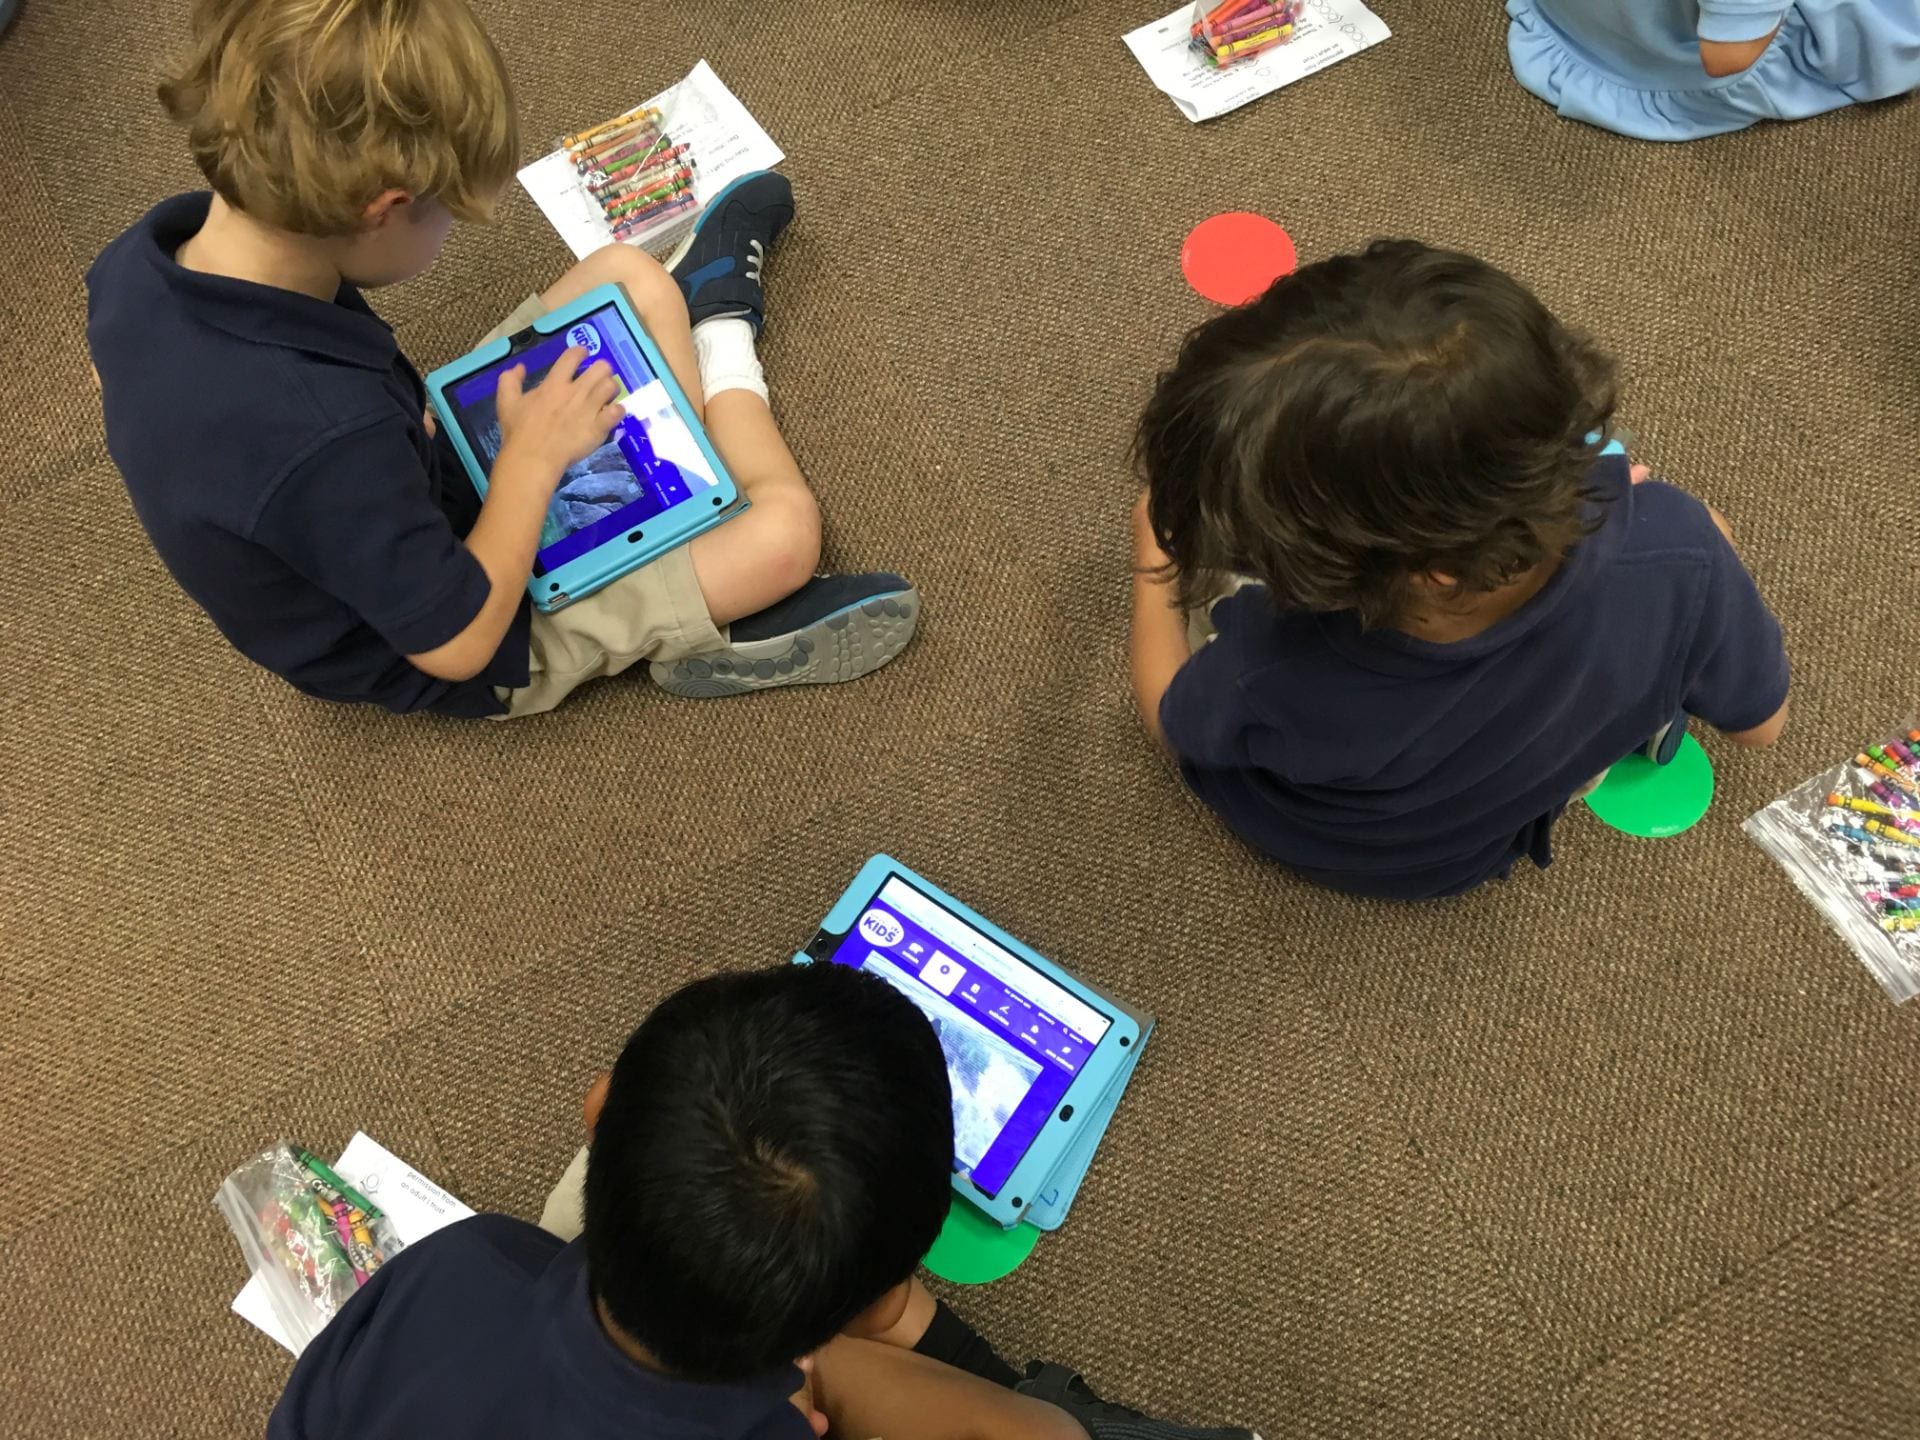
Our little ones visited the lab for the first time this week so we started with learning about “just right” sites.
Using a combination of two Commonsense Media lessons, Going Places Safely and Staying Safe Online. Looking at websites was compared to a traffic signal so I drew that on the board and used my large red, yellow, and green magnets as the “lights.”
- RED – Stop! Red sites contain information that isn’t right for younger children. It may be inappropriate or it might just be a site geared toward adult or older students with language that’s too advanced for little ones.
- YELLOW – Caution! Be sure to ask an adult before going on yellow sites. These sites may ask for personal information and may be more difficult for this age group.
- GREEN – “Just right” sites that are perfect for kindergarteners. These sites have appropriate words and fun activities for their age. Green sites don’t ask for personal information.
The sites I used for students to explore were posted on TVS TechnoWizards, my website for our students.
The children explored the websites for a few minutes then we came together to discuss why these were GREEN sites.


Then we used the traffic signal worksheet that comes with the Staying Safe Online lesson. I’d wanted to play the Red Light, Green Light game in the lesson but we just ran out of time.
Commonsense Media has excellent resources for teachers. What lessons have you used with your students?
After a couple of weeks learning all kinds of fantastic animal information, I asked the little ones to illustrate and tell about their favorite animal. Since they had learned about classifications, I also asked that they tell what the animal was and whether it was a mammal, fish, bird, etc and why.
We used the Book Creator app for this project. It’s the perfect app for students to illustrate, write, and record – all in one place. To show how intuitive this app is, this was the first time the kindergarteners had used Book Creator. In a 30 minute session, they were able to learn the basics, draw their picture, record, AND airdrop their book to me! Pretty amazing!

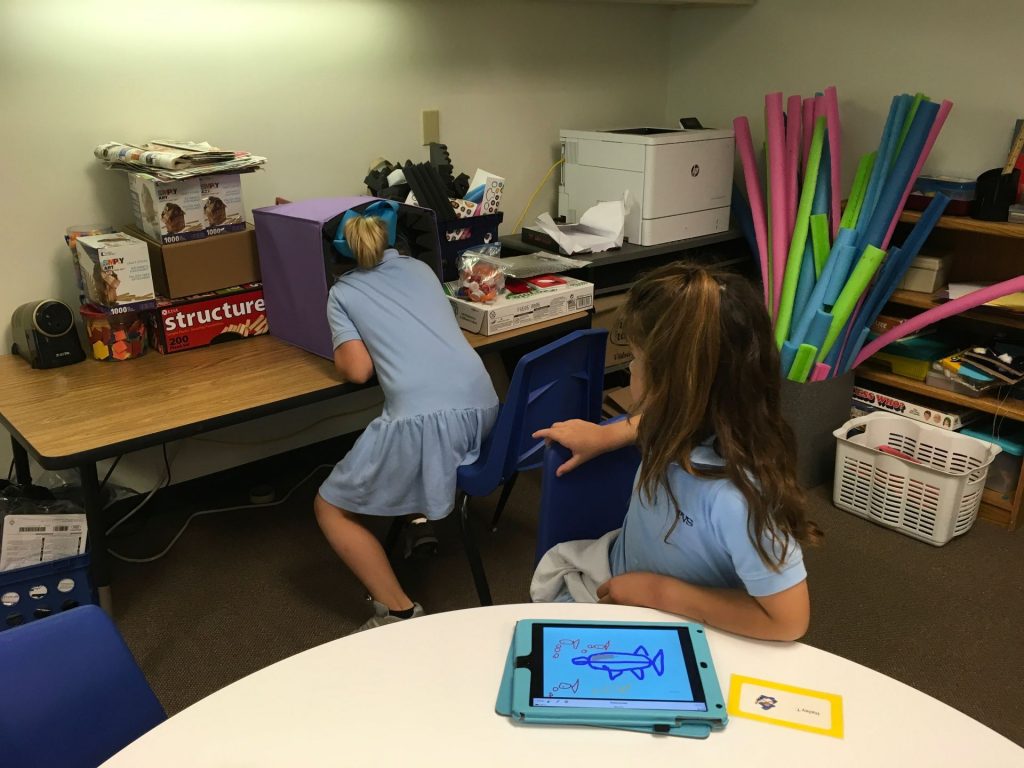
After deciding that dinosaurs and unicorns weren’t the best choice for this particular book, the students began their illustrations. They did such a fabulous job filling up the page with their animal and adding details that showed its habitat.

As students finished drawing, they scattered to find a quiet place to record. Some even wrote a script before recording!


The final step was to airdrop to me so that I could combine all individual books into one class book.
As I listened to the pages, I couldn’t help but chuckle at some of the recordings. Did you know that, “A pig is the most rare animal in the world?” and “Humpback whales can weigh over 300 million pounds?” One boy remarked, “My cow looks orange and they are supposed to be brown and actually black. I know that but I couldn’t find the brown. I’m sorry. So let’s just deal with it as a cow! Okay?” So, not all the facts are quite correct but they really had LOTS of information in their heads and shared it the best they could! 🙂
Here are links to their books. Enjoy!
Collaboration with teachers is SO much fun! Our kinder students just started learning about animals and their teachers wanted to have the students share their learning by creating videos.
A few weeks ago, Tony Vincent visited our school and taught a first grade lesson using the website, Unite for Literacy. Although the book choice isn’t huge on this site, there are several animal books. The nice thing is that students can choose to listen to the book as they read so they don’t get bogged down with harder vocabulary.
We decided to split the lesson into two 30 minute parts since there was quite a bit involved. Students needed to read their story. Then, they were to use ChatterPix Kids (free) to tell about their animal.
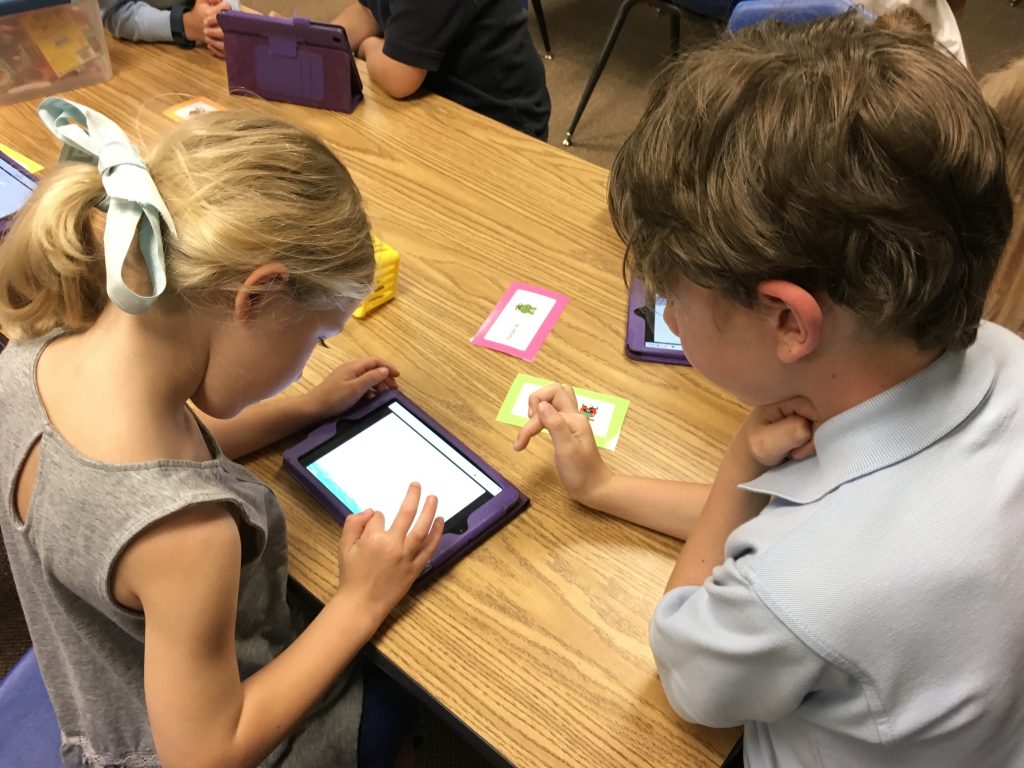
 For the first session, we started with practicing how to take a screen shot since we wanted a photo of a favorite picture from the book to upload to ChatterPix. Next, the students were given an animal card with a QR code that took them directly to the book they were to read. Once scanned, we went on a picture walk through the book – we didn’t take time to read or listen to the story. The goal was to find a favorite image and screen shot it. Then, we asked the children to listen to the story two times. Each child received a piece of paper where they could write the name of their animal and jot down facts they wanted to share. You should have seen the little ones taking notes!
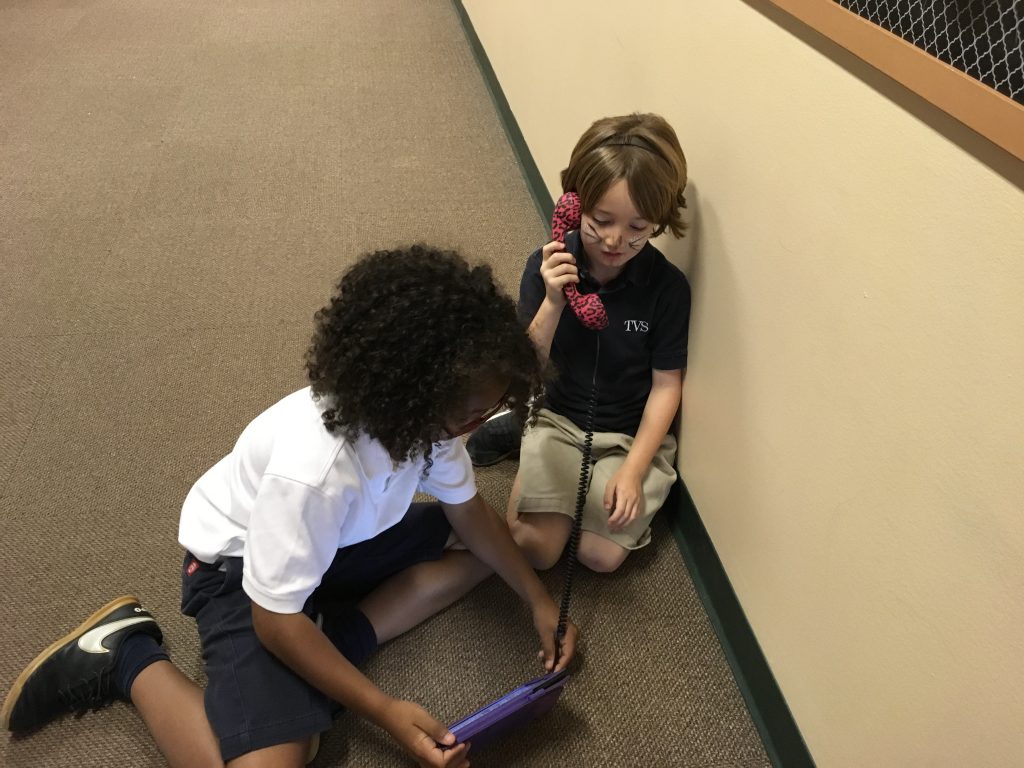
 The next day the students returned to the iLab. Armed with their notes and iPads, we walked through the ChatterPix for Kids app, getting everyone to the point where their photo from the previous day was uploaded and ready to record.

For this project, we only allowed students to add their name. Kids can get carried away with the stickers available in ChatterKid. Since those served no purpose, they were off-limits for the day!
After all the videos had been airdropped to me, I pulled them into Thinglink, onto a map where I tried to place the link where the animal lived. Thinglink is a fabulous way to add links, annotations, videos, etc to an image.

Here are links to the Thinglinks for the other two classes:
Our two sessions were super busy but the students were amazing in how they approached the task – listening intently to learn about their animal and then sharing what they learned. I was able to take several photos from Mrs. Rea’s class to show the process of what the children did.
Carrie Kunert, Beaverton School District Innovation Strategist, has compiled a huge selection of Seesaw Activity Links that she has graciously made available to anyone who would like to use them. In looking through the holiday section, I found one by Beth Saunders called Egg Decorating that I thought would be enjoyed by our younger students.
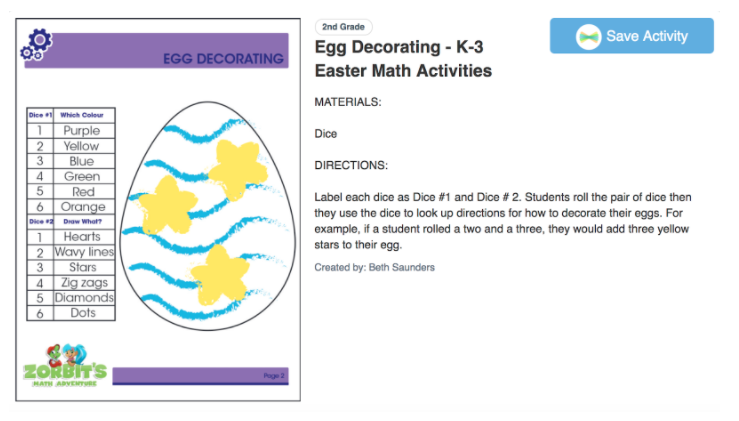
The directions are a bit small to read but the students were to roll a pair of dice that determined how they would decorate the egg.
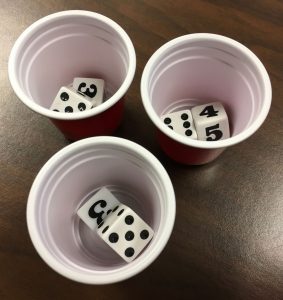
In searching through my dice collection, I discovered traditional dice with the dots as well as dice with numerals. The students were placed in groups of two and they shared the dice. Then I added some instructions that differed slightly for each grade level.
Kindergarten:
Students took turns rolling. The idea was to have one child roll and both would draw what each person rolled. They started out doing that but ended up having the person who rolled the dice as the one who drew on their own egg. The hardest task was drawing stars – that’s difficult for this age. What was funny is that if stars were rolled, some students would roll again to get something easier to draw!
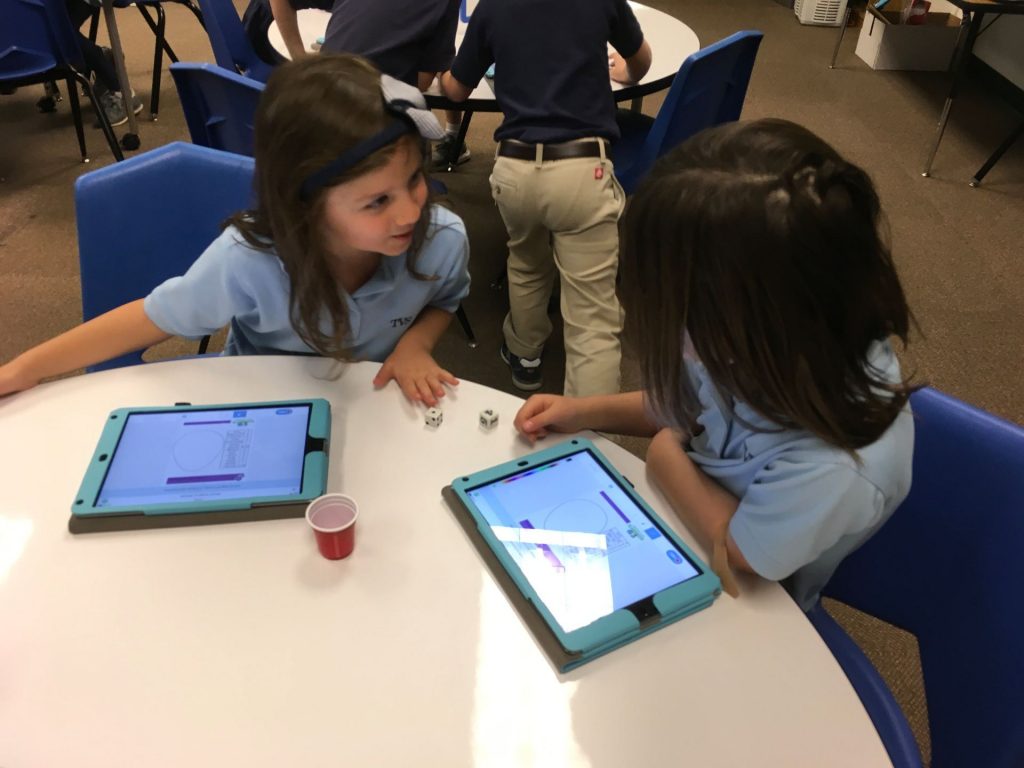
I had told the students that if they finished early, they could talk about their eggs. Below are a couple:
As one class left the lab, a little boy came to me to say, “I just loved decorating the egg. I LOVE coming to the lab almost more than ANYTHING!” That certainly made my day!
First Grade:

The directions I gave this grade were that they had to roll the dice for their partner; the partner would then draw what the dice indicated. They did a fantastic job working together, taking turns, and even agreeing on rule changes so that they ended up rolling favorite colors and decorating with what they wanted to draw.
It’s funny how something so simple can turn out to be so engaging! Don’t tell the students, but there was also quite a bit of learning going on:
- listening to and following multi-step directions.
- working with a partner and working out differences.
- sharing and taking turns.
- fine motor skills (drawing in small spaces).
- communication and collaboration.
- verbal expression for those that recorded.
- even working through frustrations if they didn’t get the color they wanted!
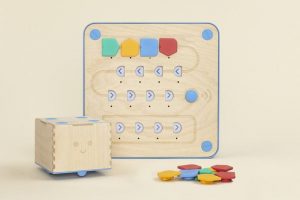 Cubetto, a robot created by Primo Toys, is a cube-shaped robot that is programmed by adding shapes to a control board. This description is from their web site: “Meet Cubetto: the friendly wooden robot toy for kids aged 3-7, chosen by 20000 parents & teachers to guide kids on coding adventures without screens.“
Having discovered Cubetto from another educator on Twitter, I started researching it and decided this would be an excellent tool for teaching the basics of coding to our younger students. I shared the information with our Chief Technology Officer and our Middle and Upper School programming instructors who were equally excited. Our CTO even found some extra funds to purchase one!
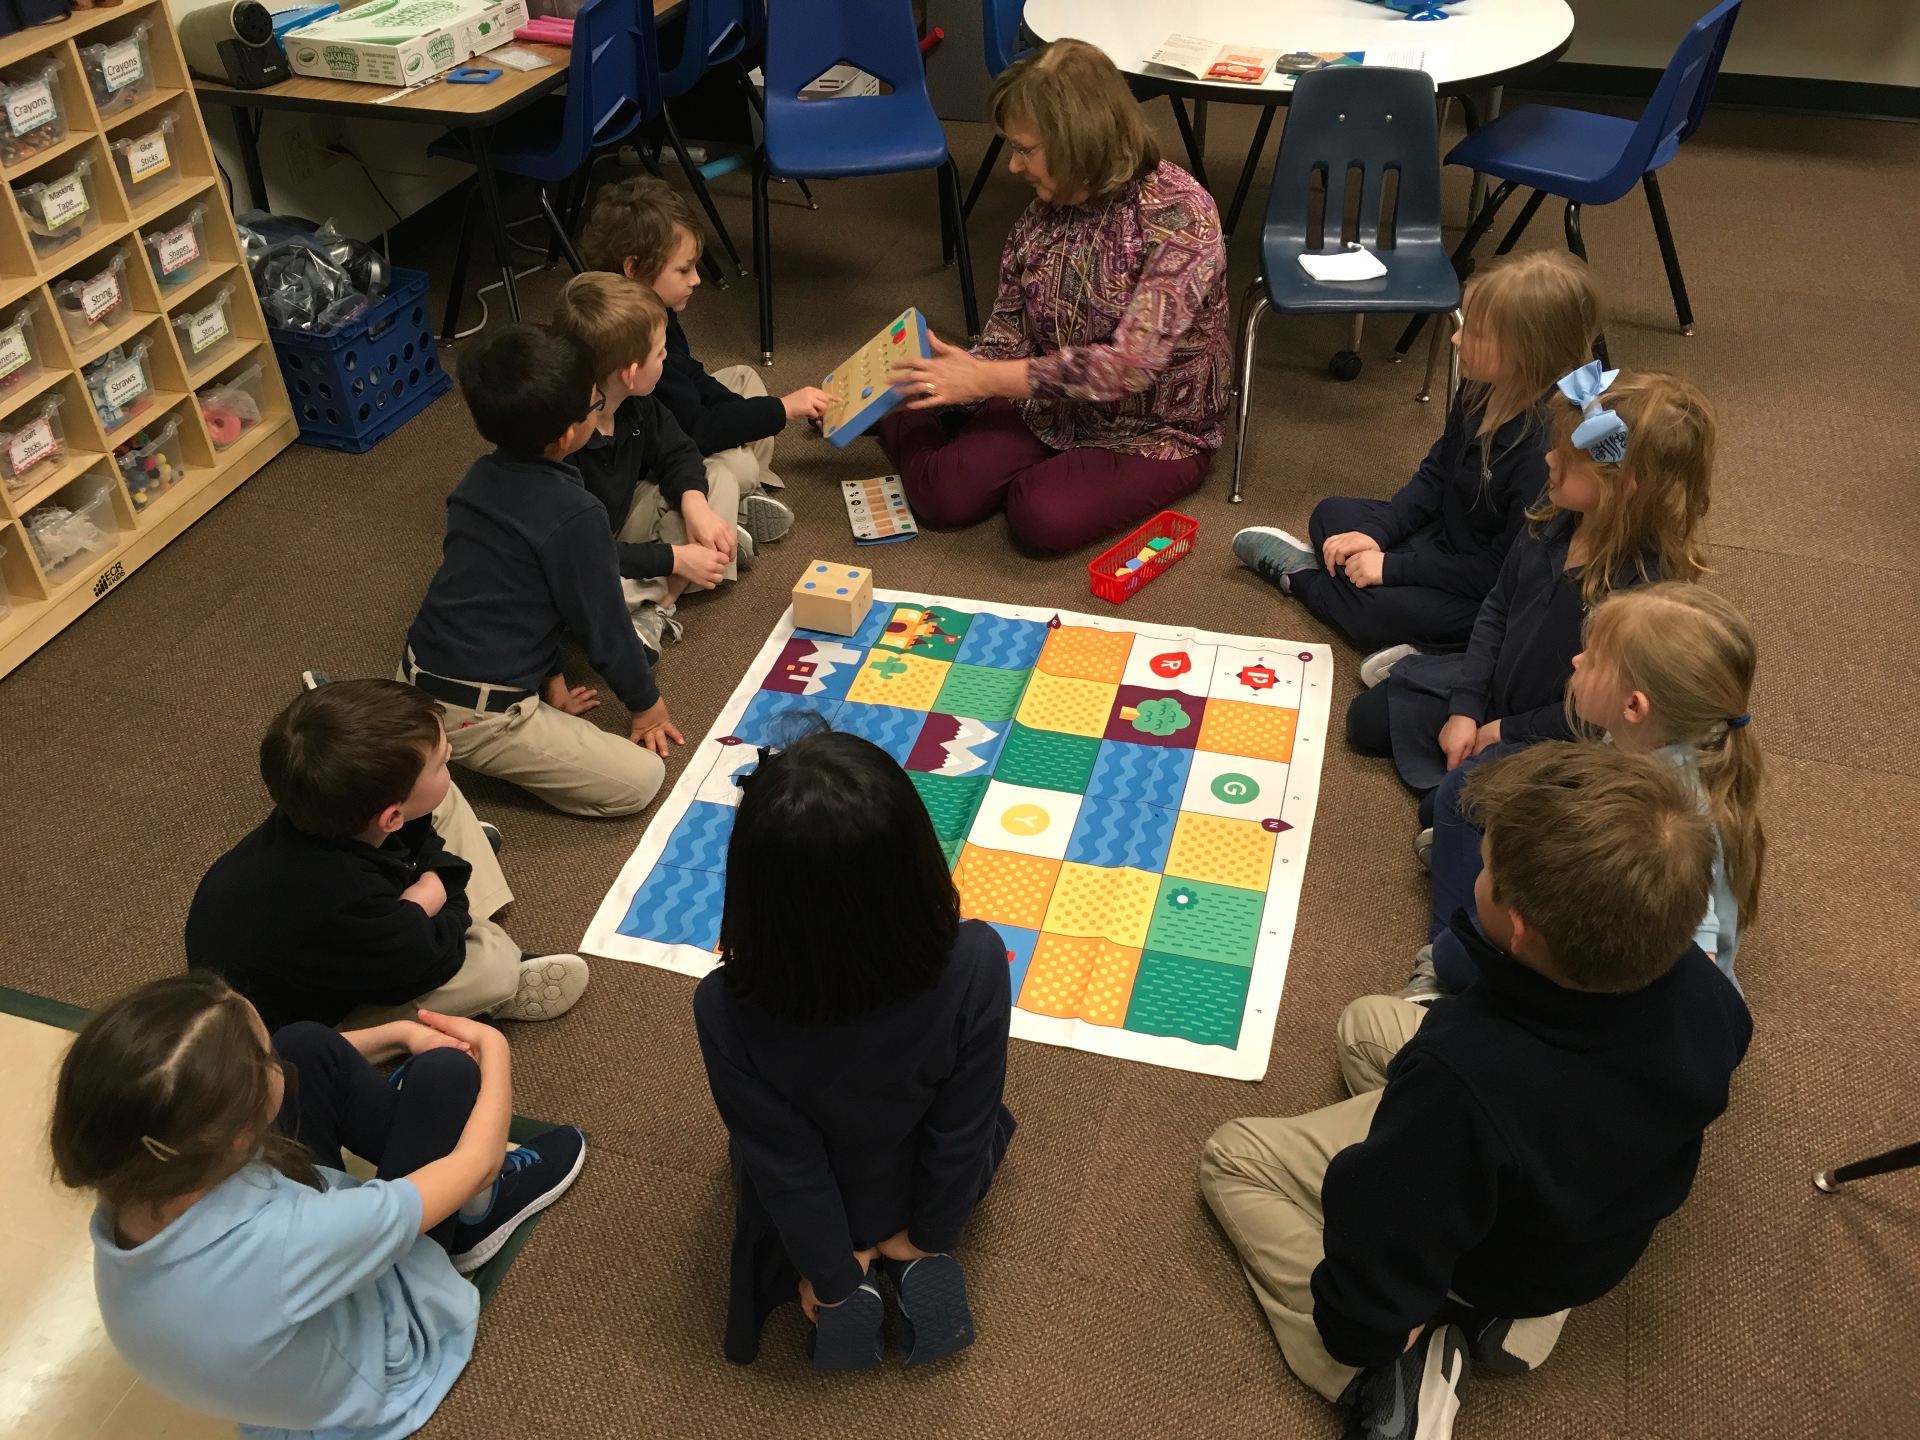
A couple days later, Cubetto was introduced to our Kinder students. As you can see, the mats are small. There is no way you can fit an entire class around one so I asked the teachers to split their class into two groups each. One group worked on the Lego Wall while the other explored Cubetto. We switched after about 15 minutes.
 We started by discussing the mat – geographical features, compass rose. It turned out that the students had spent the week learning about maps so this fit perfectly into their curriculum. The blocks were introduced by letting the students try them one a time to see how the robot responded. The function block brought puzzled expressions! By itself, of course, it does nothing. To a young child, the first reaction is that it doesn’t work! Later, they were able to see its benefits.
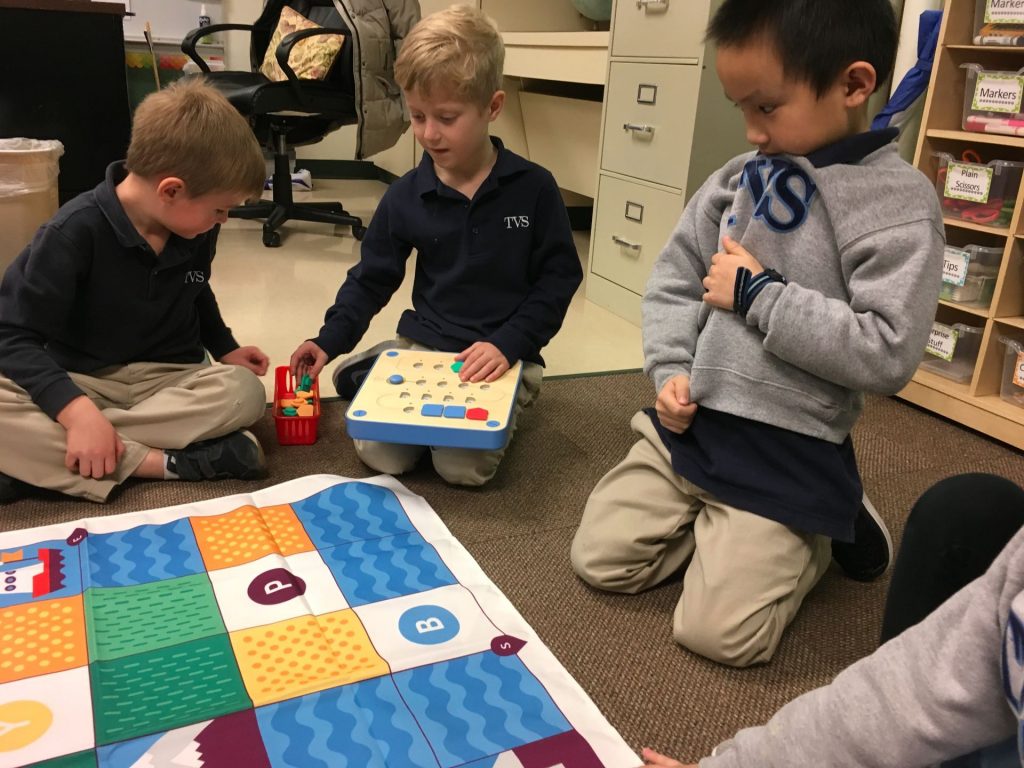 Then I gave a challenge – “Cubetto wants to travel to the mountains. How do we program it to get there?” As the control board was passed around to each child, we talked through blocks to choose. Then, we pointed to each block as Cubetto followed the commands. Of course, there were some “bugs” to work out which produces great problem-solving. Using the function blocks is necessary because there aren’t enough “go straight” blocks. That’s a hard concept for little ones but it will come with practice. You can see in the picture below that we were using the function blocks to represent 4 go straight blocks.
 Everyone worked together quite well. A couple of the students really caught on quickly; you could practically see their analytical minds working! Some children were hesitant to make a decision about the type of block to insert but classmates were eager to offer advice and encouragement.
During the last group, it seemed to be taking longer than any other group to go around the circle so that everyone had a turn to add a block. Turned out, this group was actually larger than the first – one little boy apparently enjoyed Cubetto so much that, instead of going to the Lego wall, he just joined the new group to work with the robot again!
Judging from the reactions of the students, the Cubetto robot was a HUGE hit!
What I Like about Cubetto:
- A lot of thought went into the making of Cubetto which means all types of learning is going on – directions, map skills, basic coding skills including function, geography, math.
- Easy to use and perfect for small hands.
- The hands-on nature of Cubetto provides excellent visual learning for students as they explore computational thinking.
What I Wish:
- The basic kit comes with only one map and limited coding blocks (directions and 2 function). It would have been nice to have more blocks, including the logic ones.
- The kits are expensive! You can buy extra mats and blocks, but at $29 each, that adds up.
- For a classroom you will need at least 2 kits because only 6 or 7 students can comfortably around the mats. Three or four is even better but that gets expensive!
- Cubetto is a very slow-moving robot compared to others I have. A bit faster would have been nice but we can certainly handle the slowness!
Would I Buy it Again?
YES!! This is an excellent tool for helping young children understand the concepts of coding!
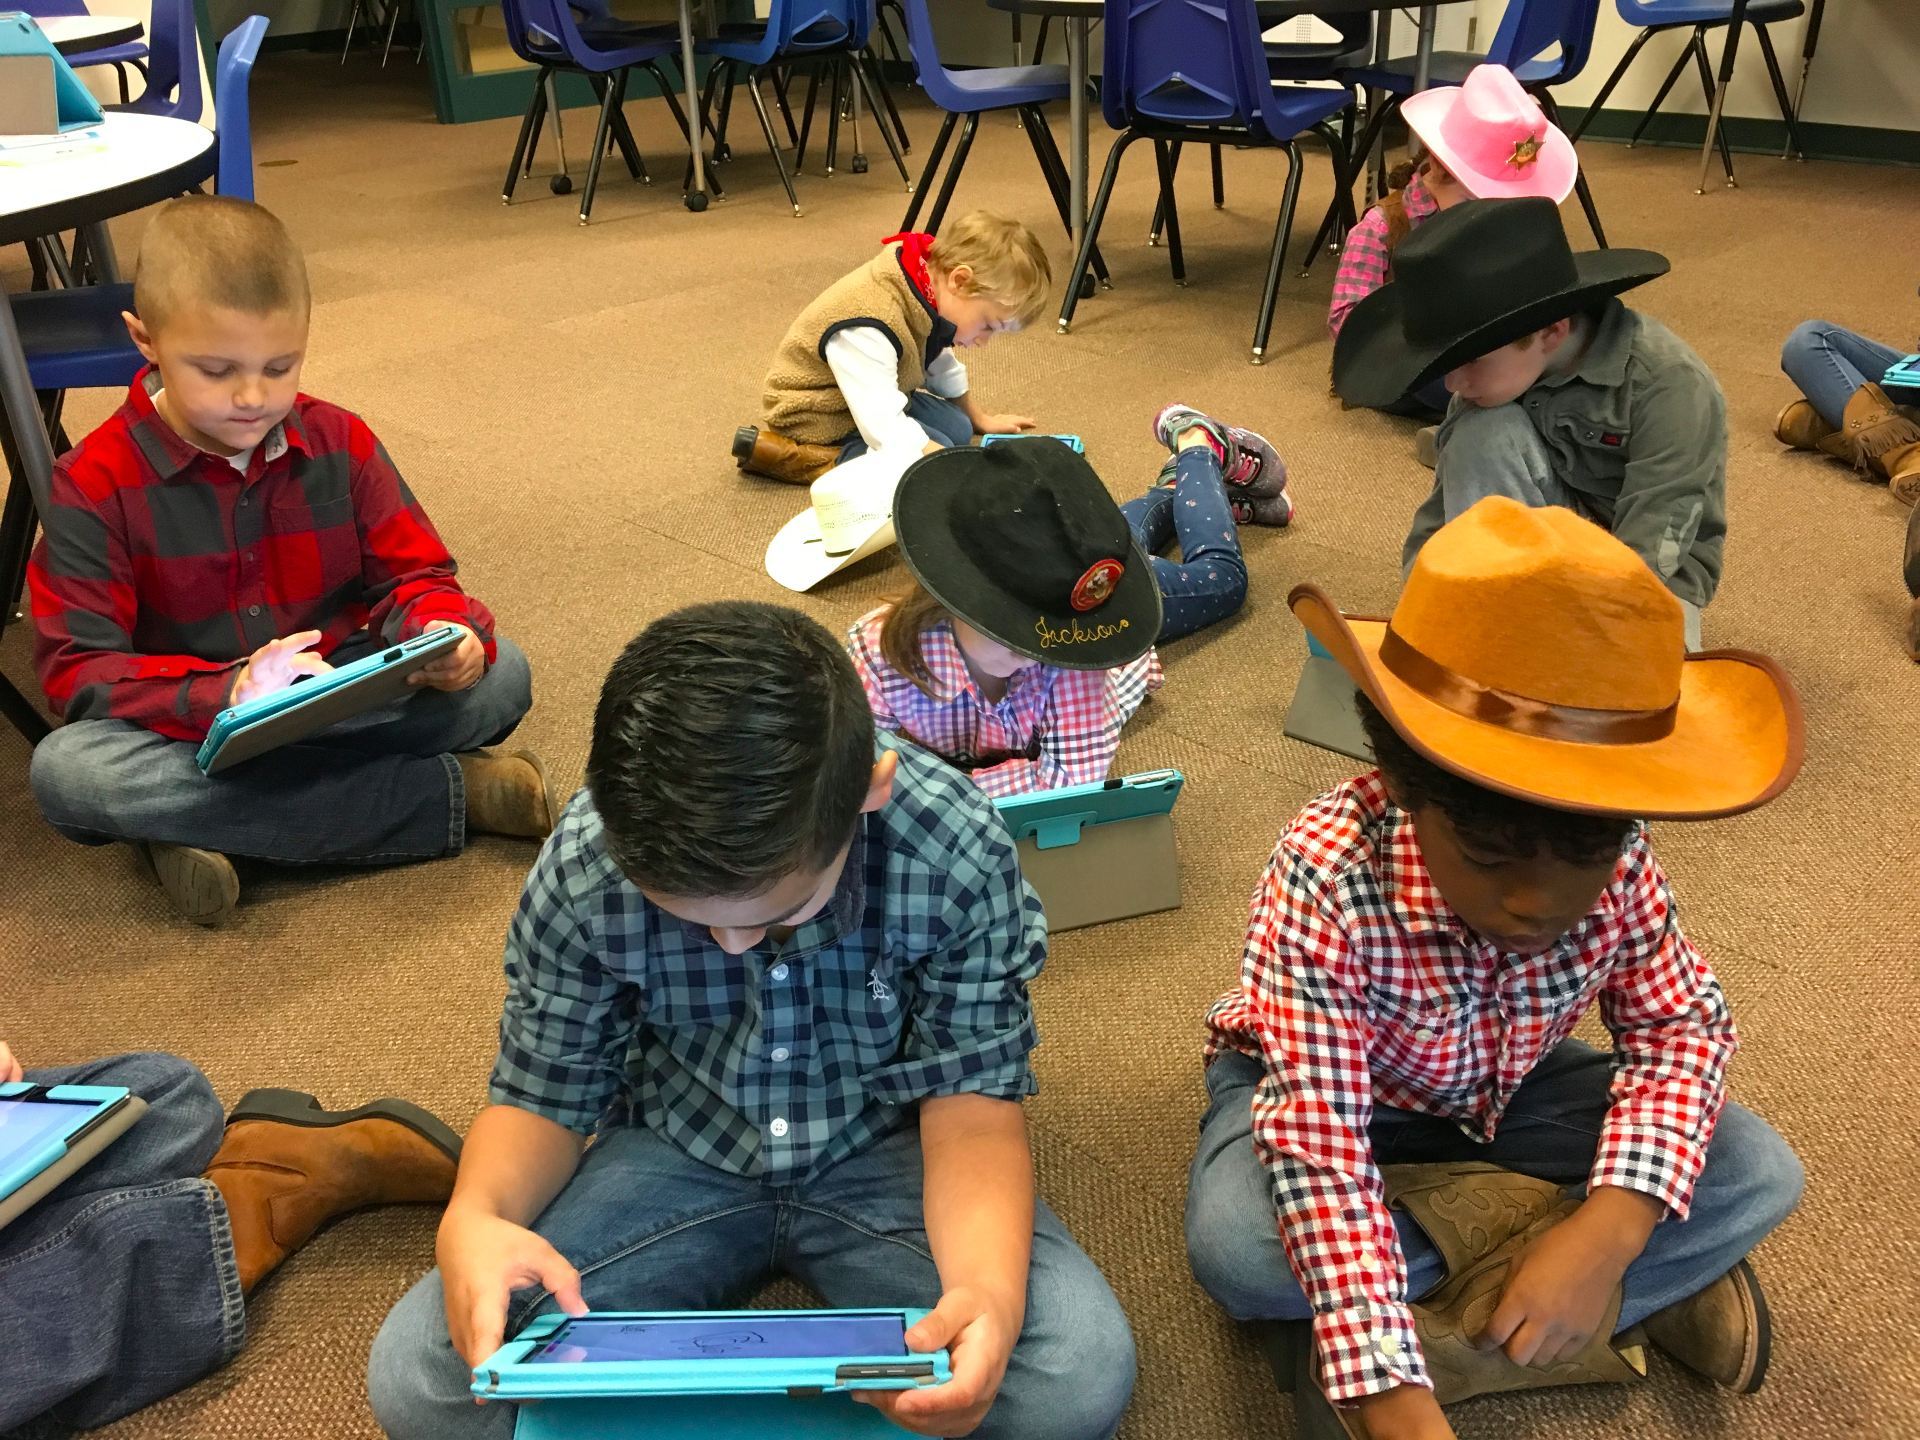
 Western Day is always a fun time at school. Everyone dresses in their best western wear – boots, hats, the works! When the kindergartners visited the lab, I wanted to capitalize on this excitement by having them post something to their Seesaw journal. The original idea was to have the students take a selfie then decorate themselves in western clothes (similar to the Snowy Selfie that Seesaw added to the Activities Library). However, something happened when I modified the activity; the students signed in without the opportunity to choose the camera. Still have no idea what went wrong!
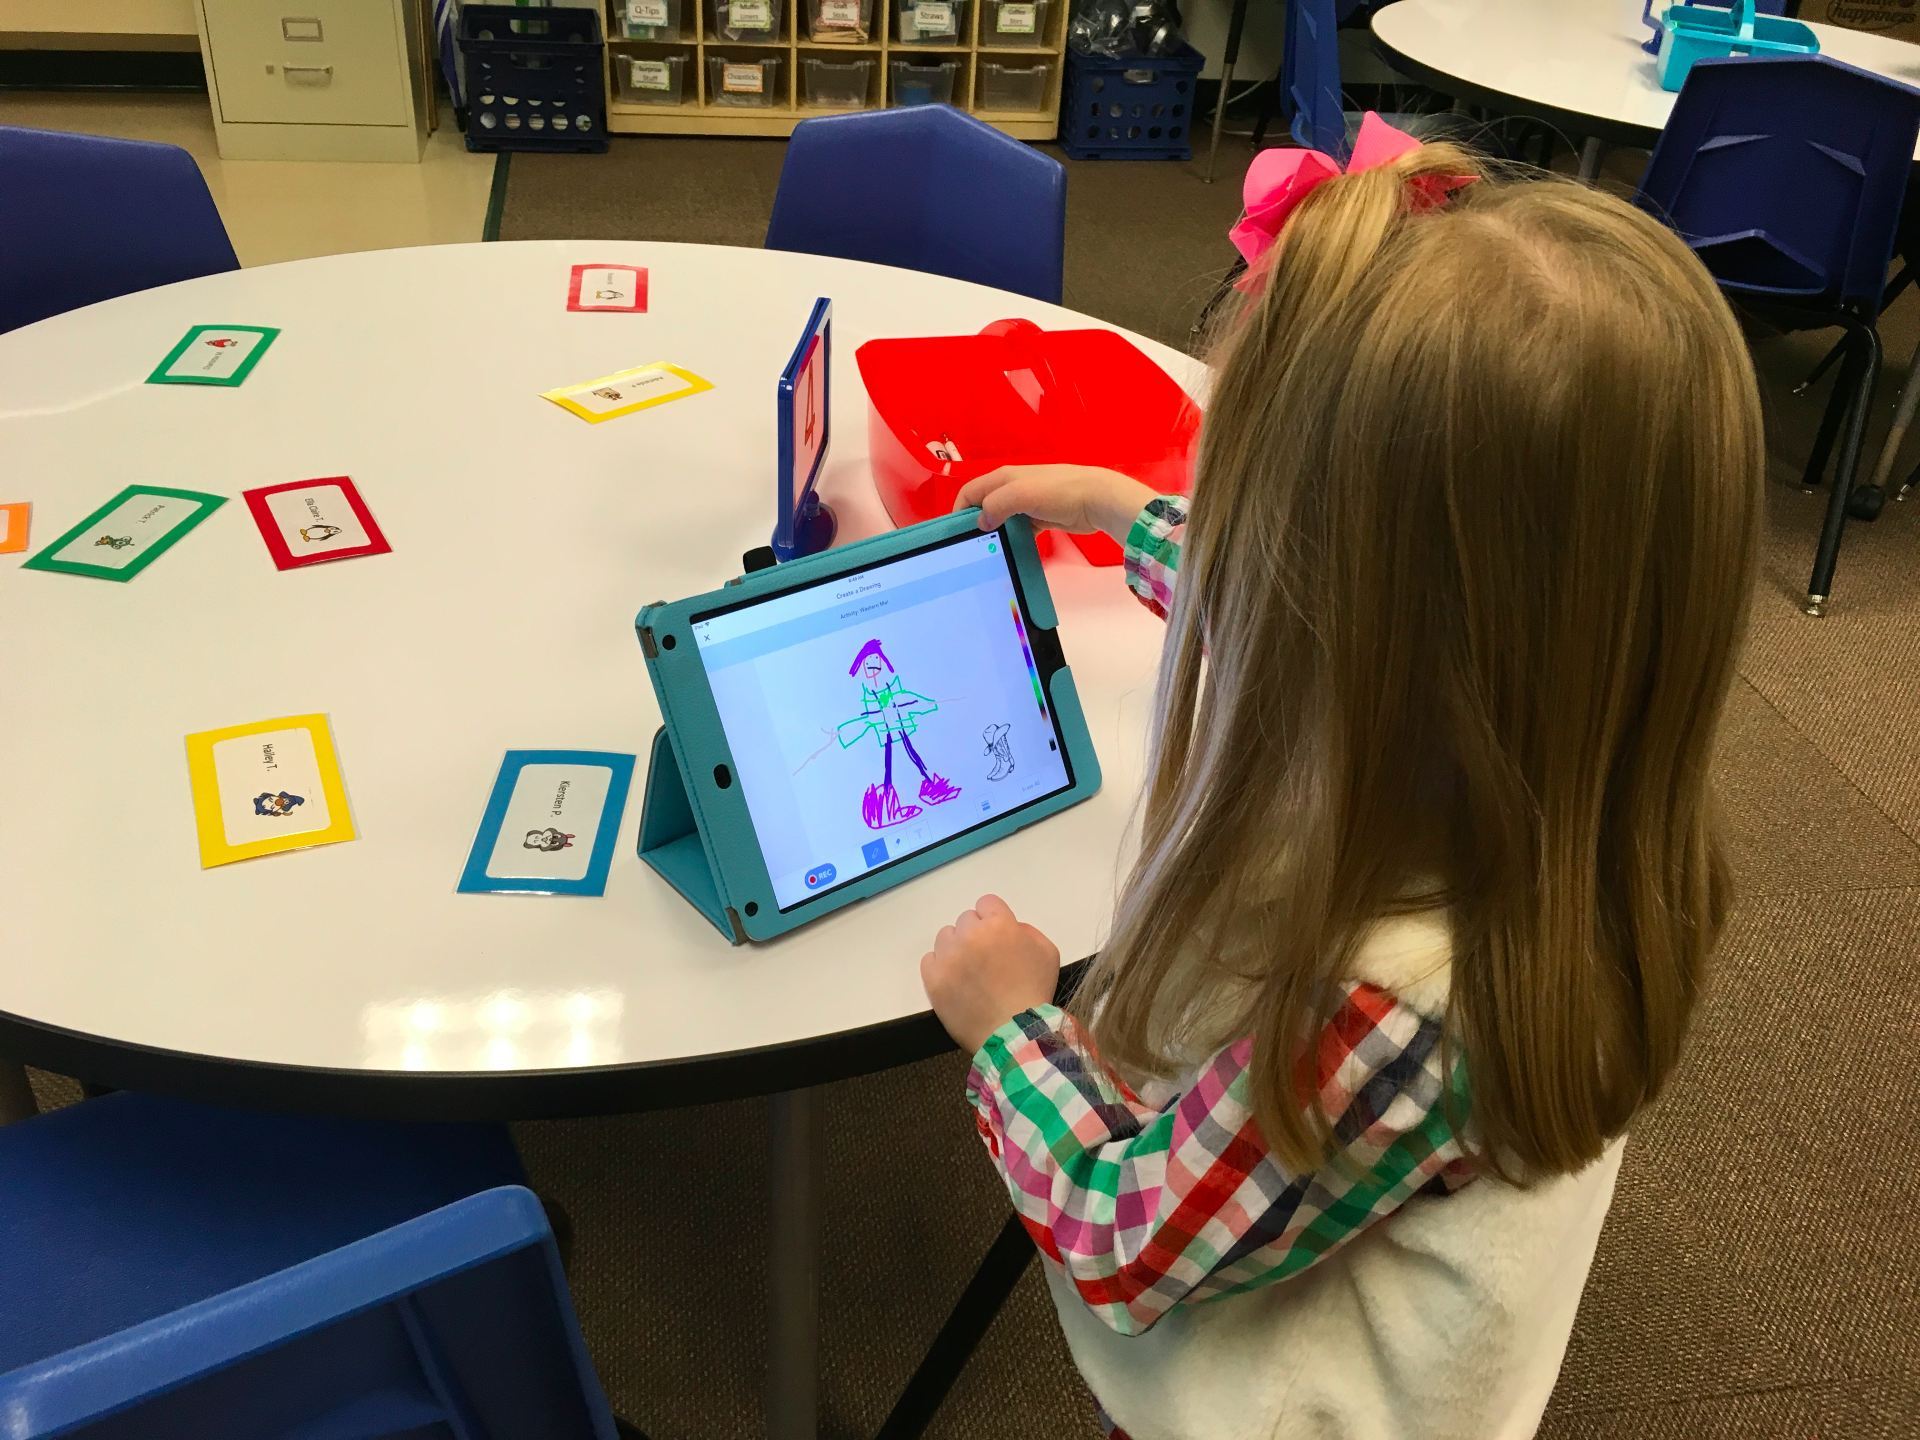
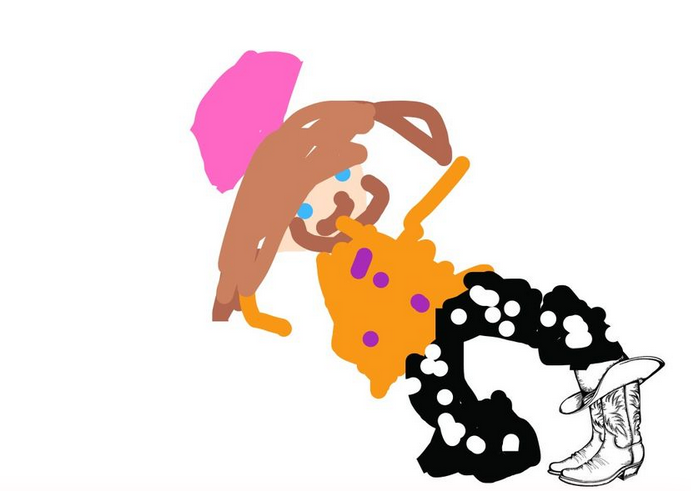
Quickly moving to a backup plan, I asked the children to draw a picture of what they wore and then they were to record something about themselves as a cowboy or cowgirl. This was the first time recording on their own.

 I absolutely LOVE how this child created her drawing by using the boots on the template I’d uploaded when the Seesaw activity was made.
Listen to this little guy work on saying bandana. SO cute!
Were the recordings perfect? No, some were too soft to hear what was said. But, what’s better than listening to the cute voices of little children??
 I love bringing out Ozobots for Hour of Code! There are so many things you can do with them – draw paths and codes on paper using markers and predetermined code combinations, make paths and insert codes using the Ozobot Draw app, and drag and drop programming with Ozoblockly. There’s something for all ages!
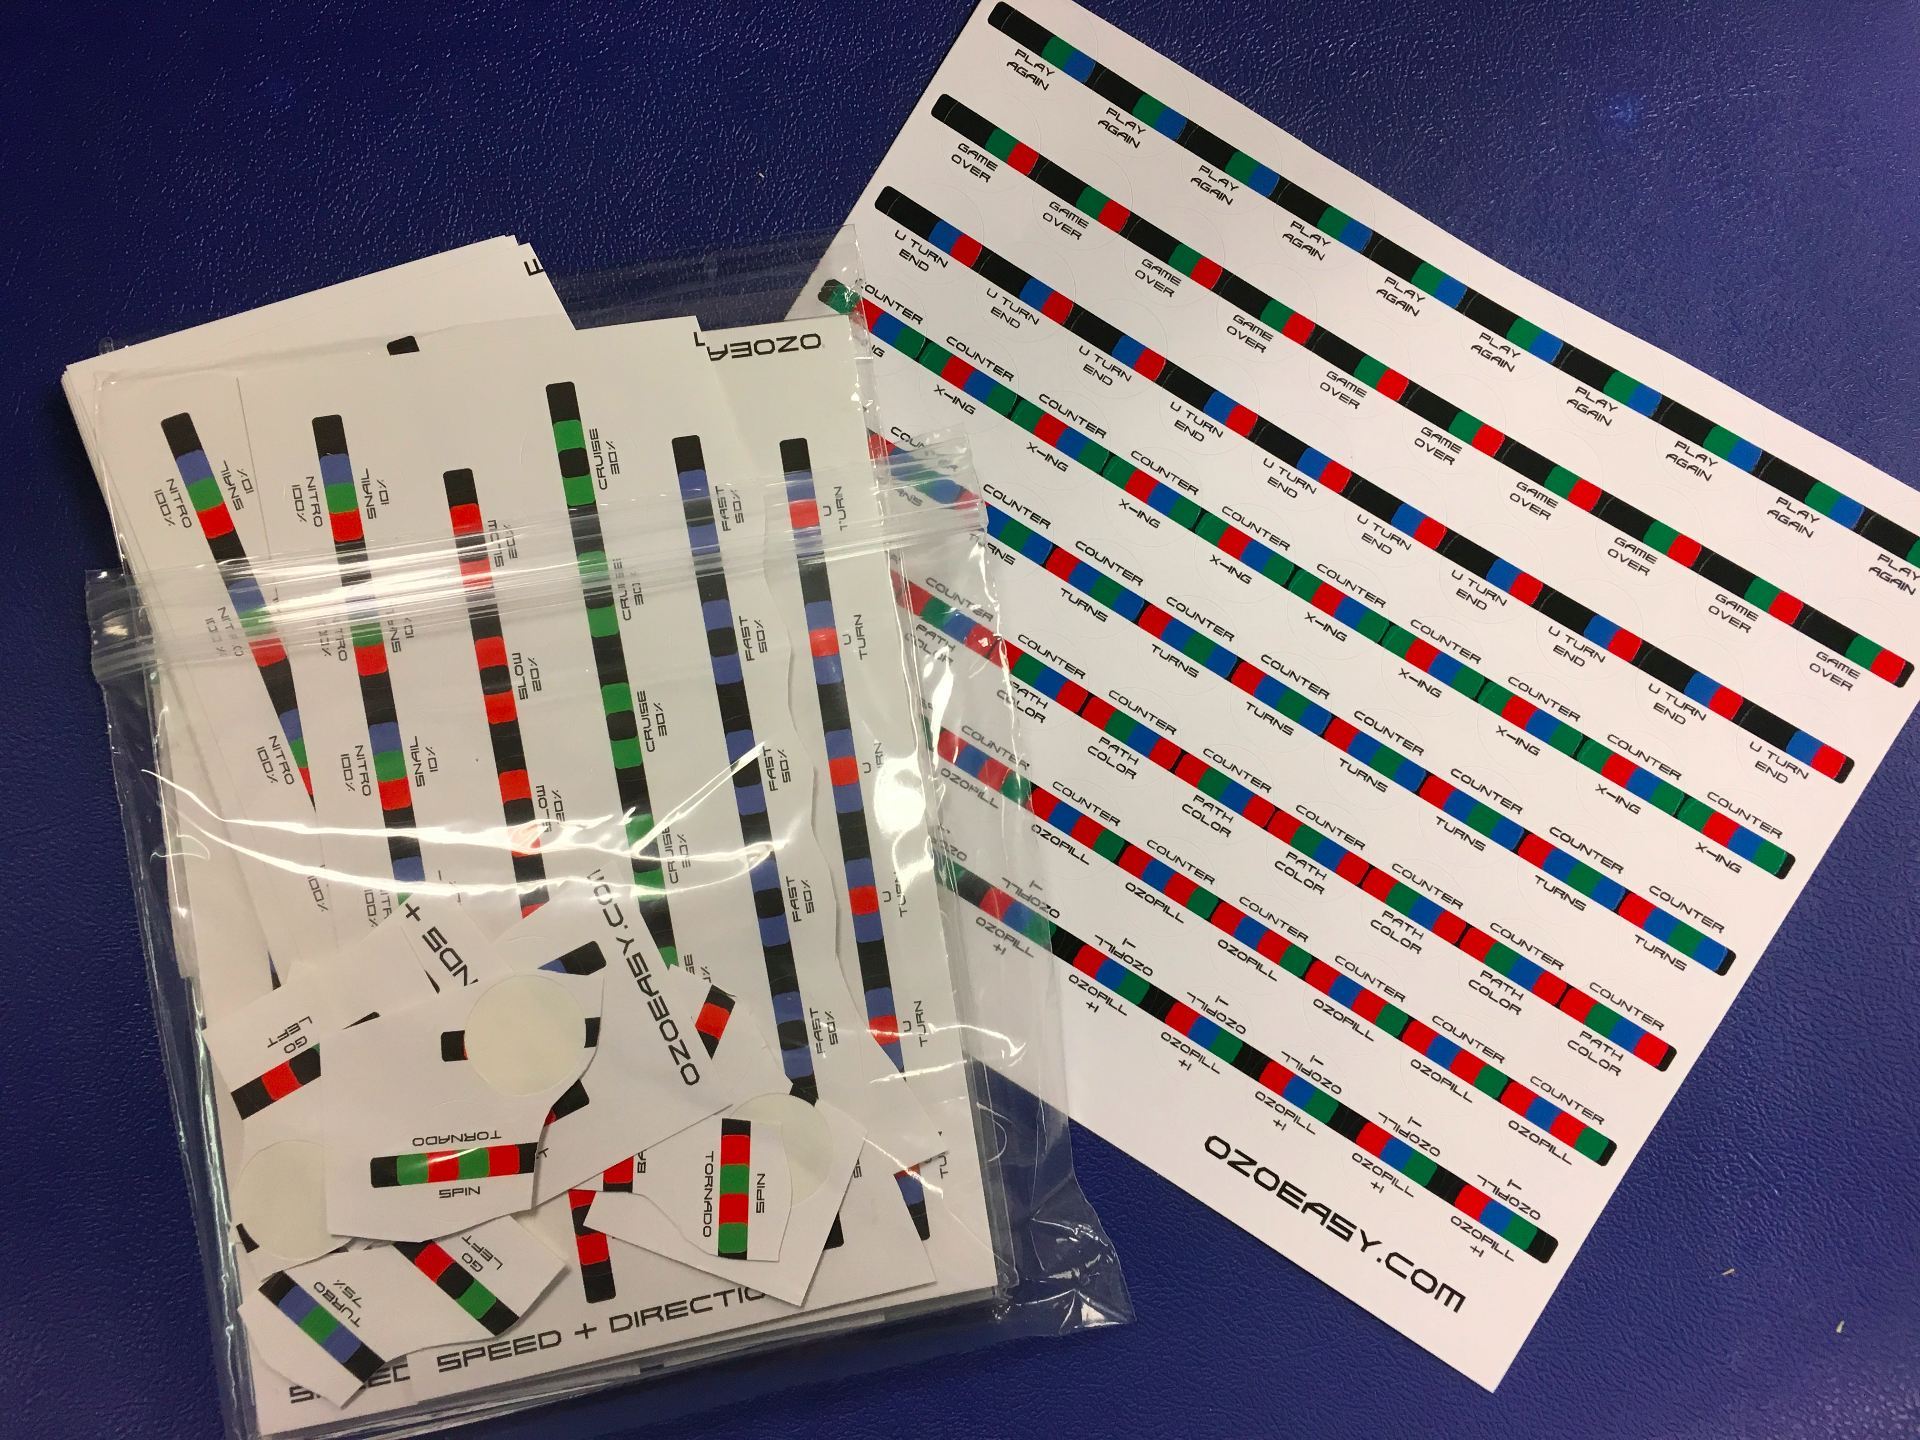
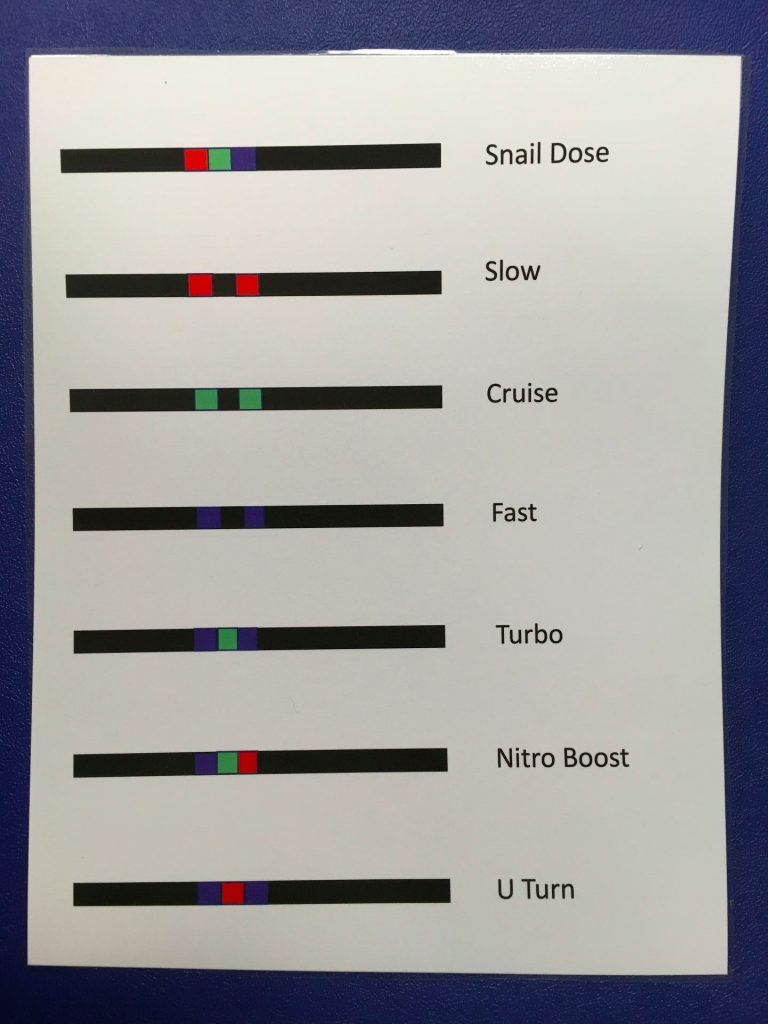
 Until I discovered OzoEasy sticker codes, asking kinder and 1st graders to draw their own codes was just a bit tricky. As I tell the students, Ozobot is like Goldilocks – every code has to be just right! Just as Goldilocks tasted the porridge and determined one was too hot, another was too cold, but one was just right, Ozobot likes those color combinations to be close to perfect! In fact, we even started calling the little robot “Ozolocks” when something didn’t go as expected!
This year I gave each child a sheet printed off the Ozobot Educator’s page (can’t remember which lesson). It had a rectangular path printed with blank squares for coloring in the codes requiring three colors. I added additional lines in the inner part of the rectangle. For the little ones, I created a condensed version of the codes that was easier to read so they could choose a code for coloring each of the groups of squares.
 Each child also received 4 stickers. These were the “special moves” like tornado, backwalk, spin. They loved those!
 It was SO much fun watching the kindergartners interact with the Ozobots. The look of awe on their sweet faces was priceless! I wonder how many children requested these for Christmas!
Here are short videos from each class of the students enjoying the Ozobots.
 What is an Ozobot? A tiny robot that can read specific color combinations that tell it to perform an action. The Ozobot Bit is capable of downloading programs created with Ozoblockly (drag and drop interface). Did I mention these miniature robots are super fun??
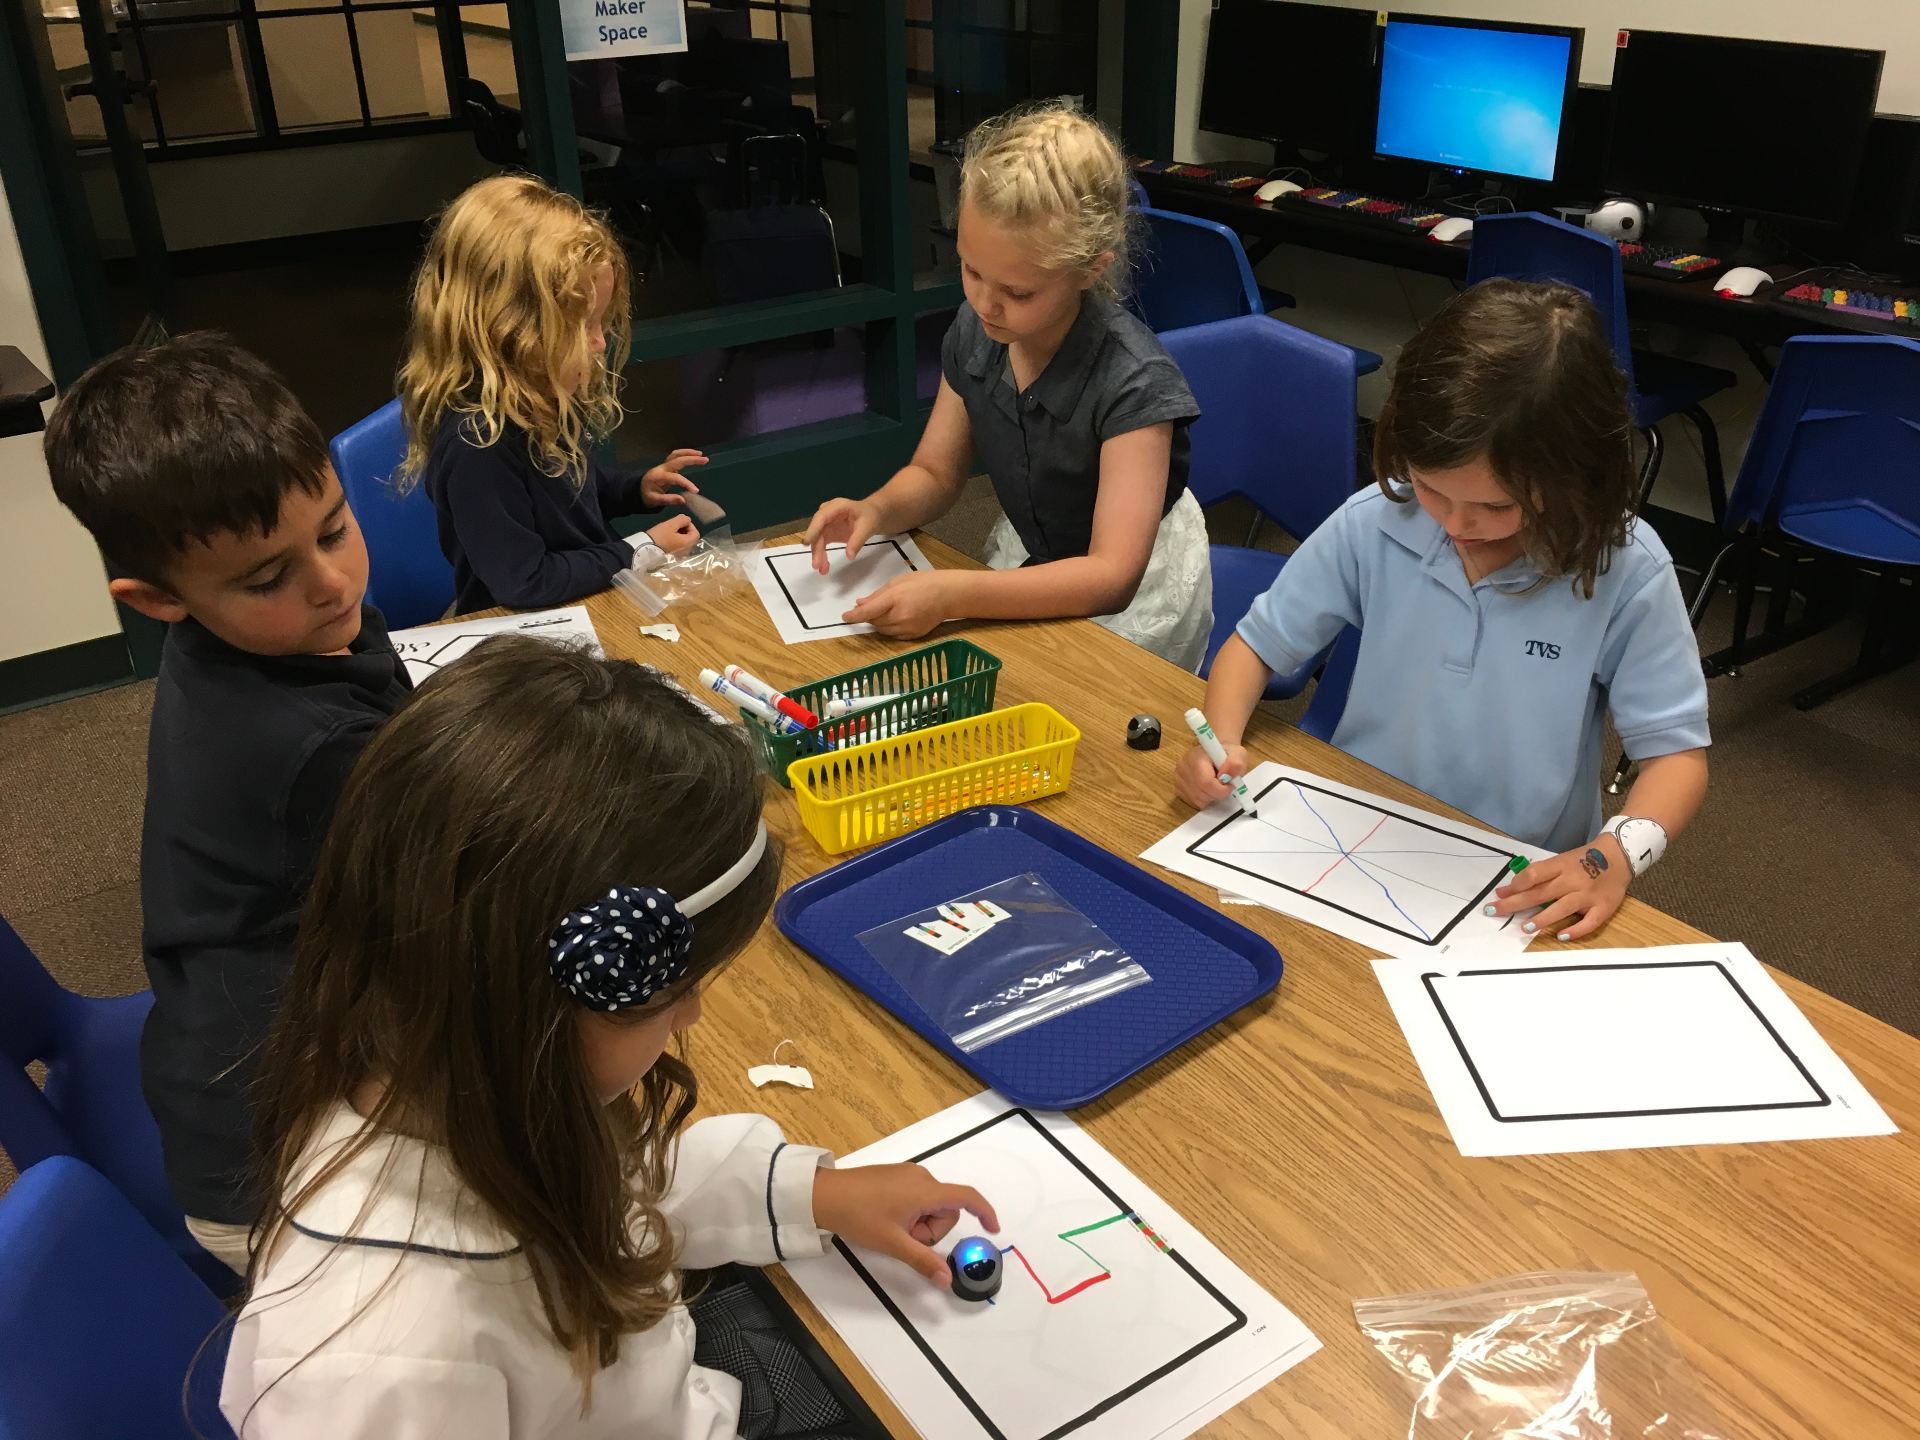
I wish I had a photo of the kindergartners faces when I first showed them how the Ozobot followed marker-drawn paths! Were they excited! Knowing I wouldn’t be able to keep their attention for very long because they could not wait to get started, I quickly talked about how the Ozobot had a sensor that could read specific color combinations but that it was just a bit picky. Ozobot likes lines and color codes that are “just right” – not too thick and not too thin. We did a quick lesson on drawing a “just right” line, calibration, and even cleaning wheels. Then I told what they’d be exploring for the day.
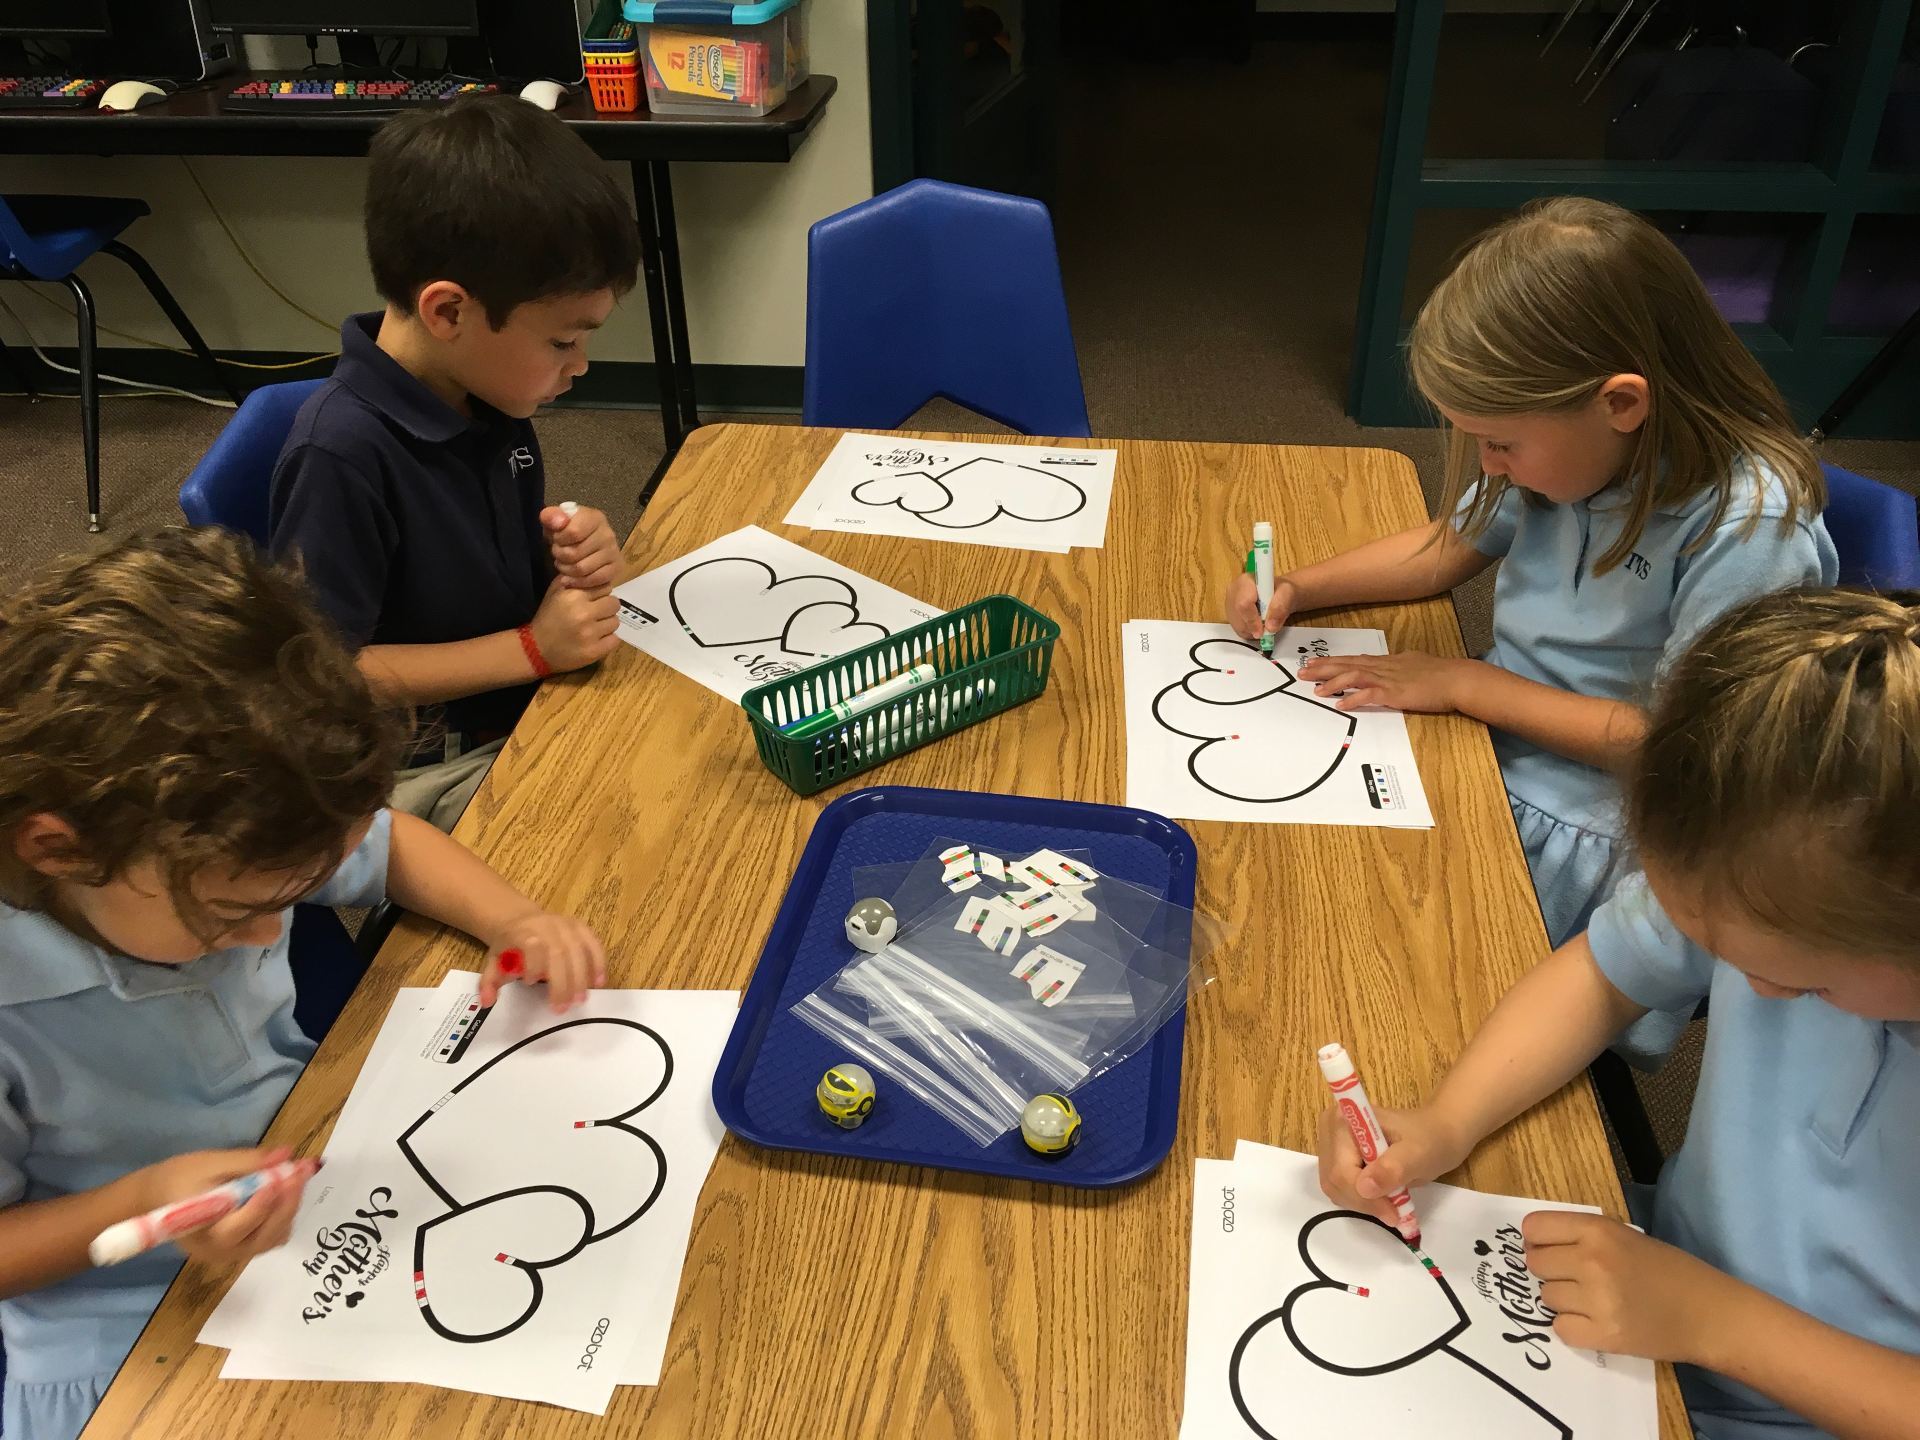
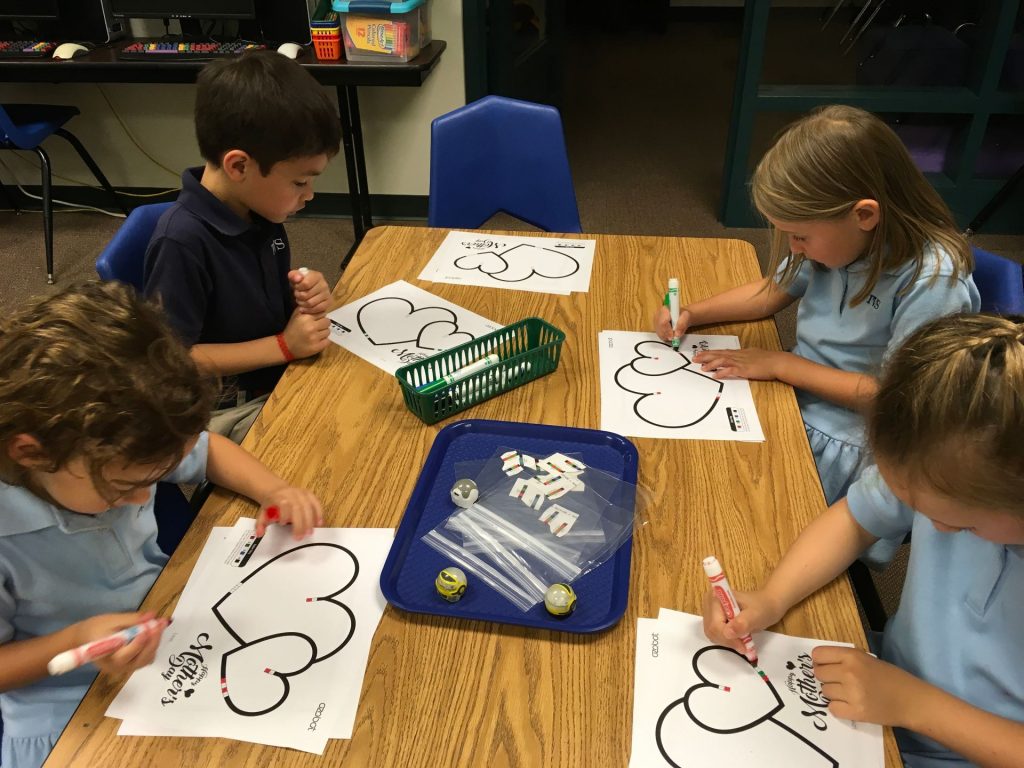 The Ozobot website has TONS of fantastic lessons and I chose the Mother’s Day Card. This type activity is perfect for the youngest users because all they have to do is use the key to color in the small squares (great fine motor practice!). For the first group, we were fortunate to have some fantastic fourth grade helpers.
The next lesson segment was using Overwrite sticker codes. These are small, round stickers that have codes printed on them. This is fantastic for younger children because it really can be a bit tricky to draw a perfect code that the Ozobot can read. Even my 4th graders struggle with this. The best part about these sticker codes is that they are the brainchild of a now 9 year old boy, Holden, along with his brother and dad. Our students love to hear Holden’s story because, “If he can invent something, we can too!”
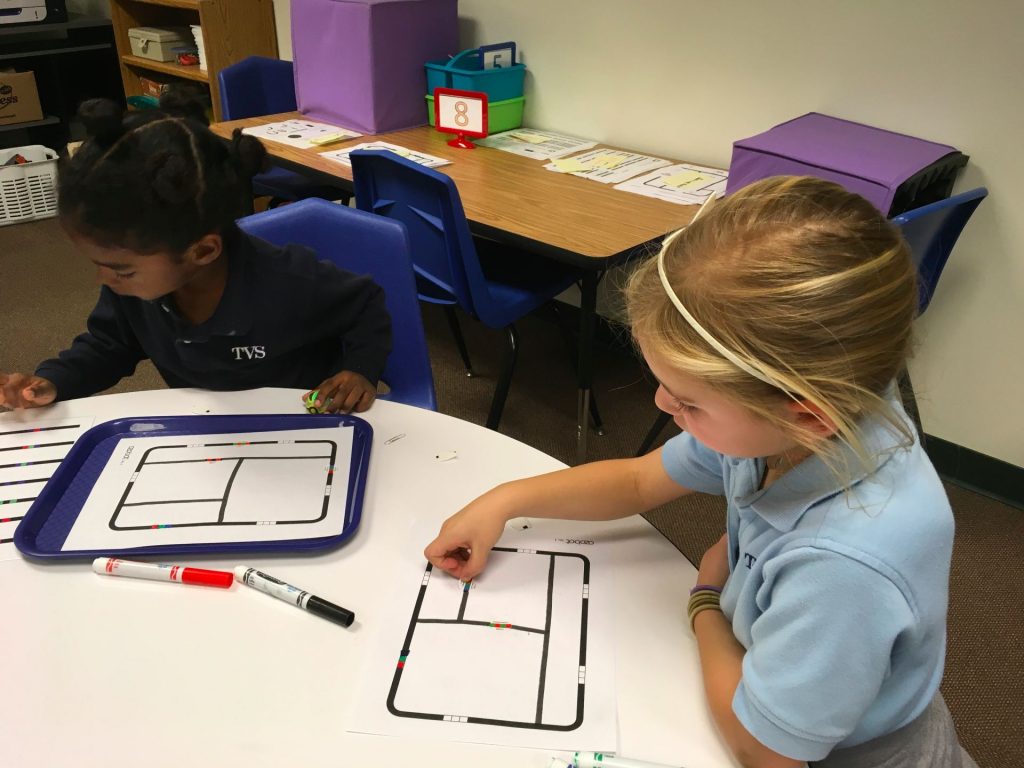
 Each child was given a paper with a rectangular black path, 4 code stickers, and markers. As stickers were placed, they were challenged to have their Ozobot follow the path, first in one direction, then the opposite way. What’s fun about the codes is that a different action is performed depending on which direction it travels. The students were also encouraged to draw paths inside the rectangle using red, green, and blue markers to see how the Ozobot reacted.
Oh, my! What excitement! It’s SO much fun to see students engaged, experimenting, and working together. I’m sorry, parents; it’s my guess that there were a lot of kindergartners who went home that afternoon to ask for an Ozobot! In fact, on the way out, one boy whose mom teaches first grade at our school, excitedly shared with me that she would be coming down to talk to me about the Ozobots. And, she did!
In the week since we’ve used the Ozobots, I’ve had several students ask me if first graders get to use Ozobots. They can’t wait till school starts again!
Here’s a video of the students with these little robots:
Save
Save
Save
Save
Save
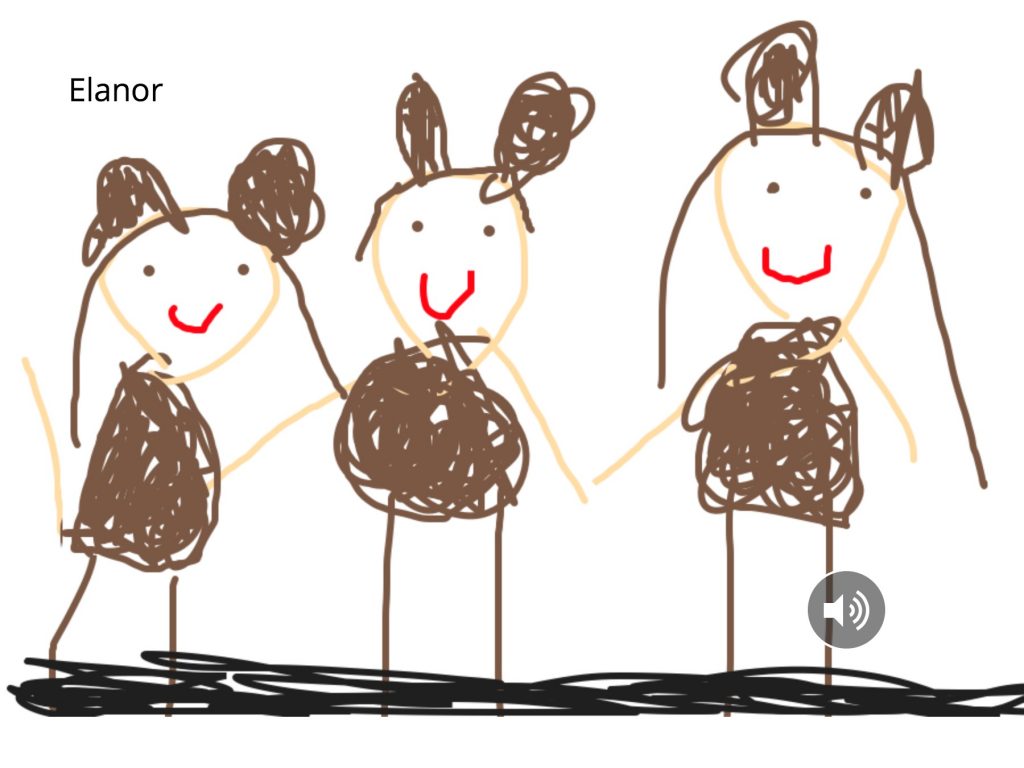
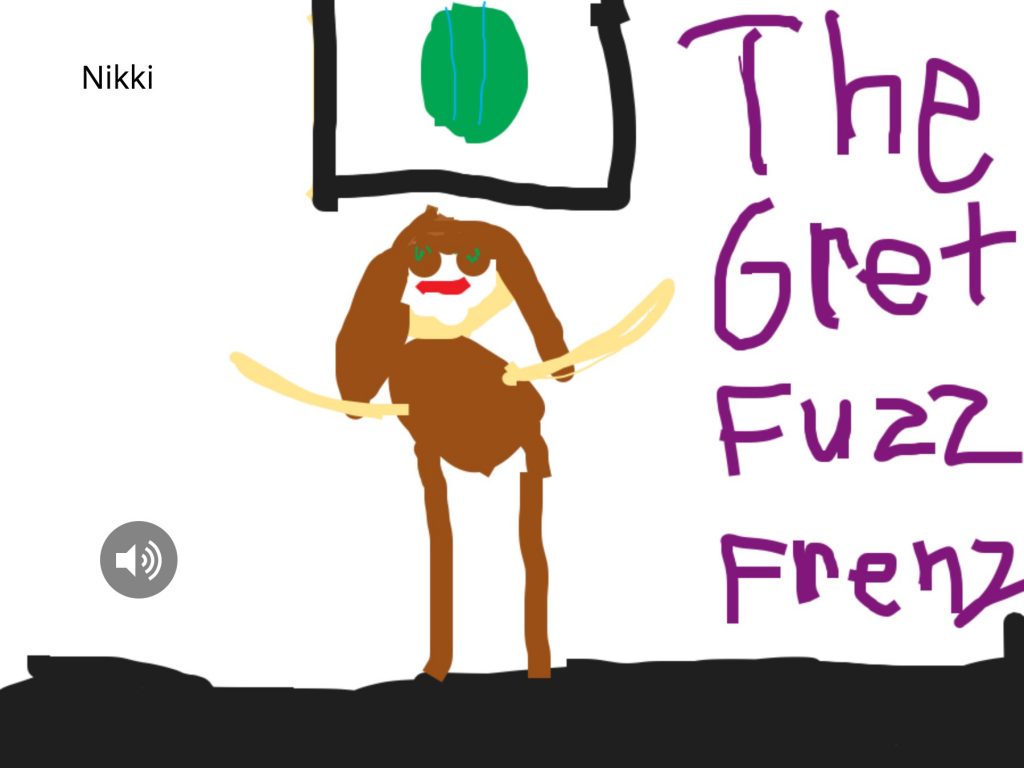
 Our kindergarteners presented their spring play last week and this year they performed The Great Fuzz Frenzy, based on a book by the same name. This is a cute story about a tennis ball that a dog has dropped into a prairie dog tunnel. The prairie dogs are terrified at first then they decide the ball’s fuzz is fun to have. If you haven’t read this book, be sure to do so to find out what happens in the end.
When the students came to the lab, I wanted them to illustrate a favorite part of the play and record a sentence or two about it. As I considered apps to use to accomplish this, I immediately thought of Book Creator, my favorite app because it can do so much, plus it is intuitive for even the youngest children.
Since we only have a 30 minute lab time, I did some prep work before the children arrived. A template was created in Book Creator and air dropped to each iPad. I used the landscape shape so there would be plenty of room for drawing. I also went in to each iPad to name the books with teacher & student name. That is a huge help to me when the books are air dropped to my iPad from three different classes. It makes it SO much easier to combine them into each class book.
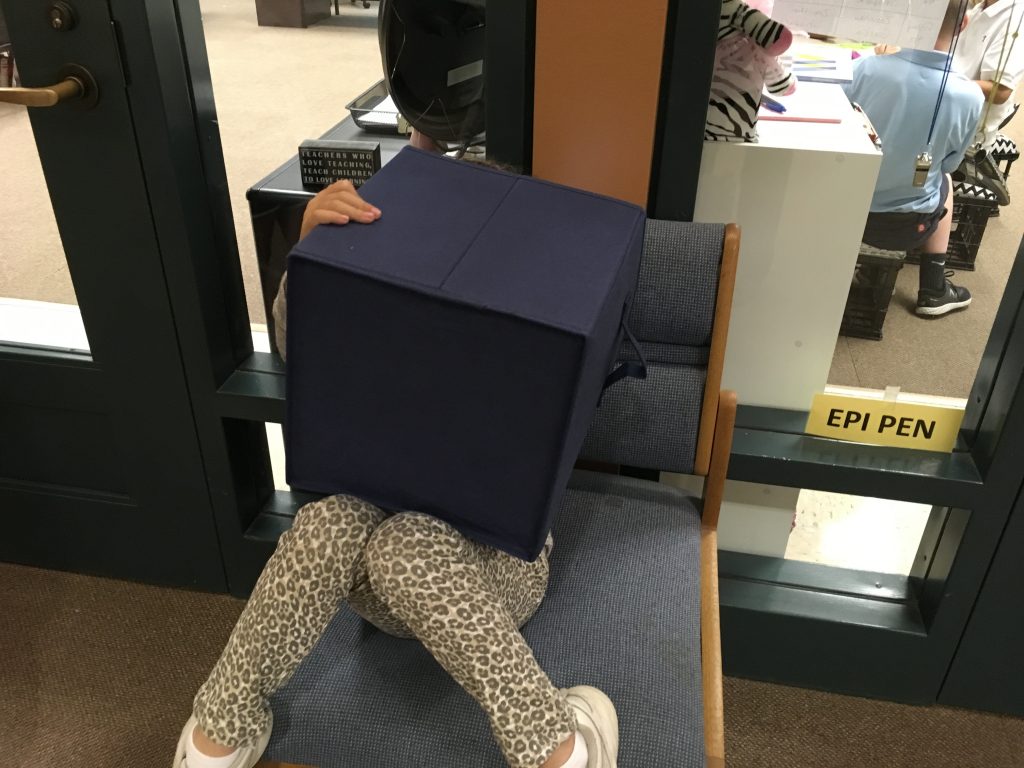
 We haven’t used Book Creator with kindergarten but with just a few tips, the children were busy with their illustrations. As they begin to finish the drawings, I showed them how to record. I just love how this child became swallowed up by the recording cube!
 For one of the kinder classes, we were able to have a roomful of eager second grade mentors! What a wonderful help they were! The older students were paired with one or two kindergarteners and they did such a fantastic job guiding them through the drawing and recording steps.

 By the end of each 30 minute session, every student had completed their page of the book.
 I knew the app would be perfect for this age; just didn’t know if we’d have enough time. Are the recordings perfect? No, some are too soft; others have a lot of background noise. Is that acceptable? Yes! The children were learning as they created something that was very special to them.
Here’s a video of one of the books (Mrs. Newton’s class):
Save
Save
Links to the ePub books:
While on an iOS device that has the iBooks app installed, tap on a link. Choose download > open in iBooks.

 I’ve never started making books so early in the year with our kindergarteners but, as Book Creator was perfect for what I wanted to do with them, I was eager to give it a try. My challenge was: Have our littlest ones illustrate AND record using an app they had never seen before, all in a 30 minute session! Challenges don’t scare me! Although, I have to admit, I did warn the teachers that I had no idea how this would turn out!
 I came across the book, I Need My Monster, by Amanda Noll. It’s about a child who creates a “comfortable” monster that lived under his bed; one that helps him overcome his fears. One day, the boy discovers a note from his monster saying that he’d gone fishing and would be back in a week. The little boy goes through a series of “substitute” monsters before his returns.