The Adobe Spark family of tools are my new favorites! There is SO much you can do with them! I’ve used Spark Video for awhile and certainly enjoy how quick and easy it is to create great movies. Spark Page, I’ve found, is a fabulous way to create a “newsletter” for teachers and parents since links, images, videos, and more can be added. Recently, though, I’ve had lots of fun creating posters, book covers, and title pages with Spark Post. Here’s an excellent tutorial by Blake Lipthratt.
We create lots of class books with Book Creator and I’ve always used their built-in selection of colors and fonts to make the cover. However, after playing around with Spark Post, I am loving this for book covers! It definitely opens up new options!(more…)
More than you think! I drew a squiggle in the Book Creator app, added an “About the Illustrator” page and airdropped the book template to each student iPad. When finished with their creations, the children airdropped their books back to me so that I could combine them into class books.
The directions were simple: Look at your squiggle. What could it become? You can rotate it and copy it if you want. Make something recognizable from your squiggle.
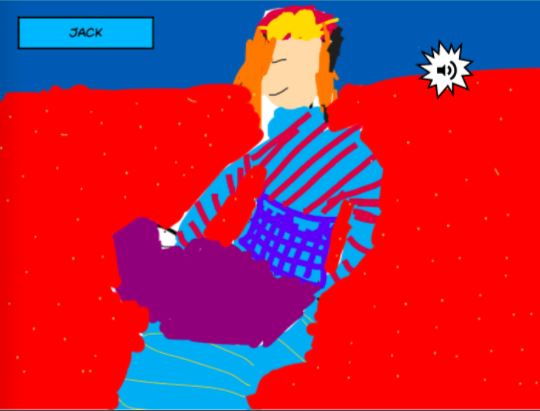
The students provided so many interesting and creative interpretations of their squiggle! I love this one from Jack, a 4th grader, who used what he had learned in art to create an illustration based on an artist named Mary Casssett from the 1800s who painted mothers and children. (To hear his narration, listen to Mrs. Wright’s class book.)
For the 4th graders, I told them they could resize and rotate their squiggle. A few children made the squiggle so tiny that it is barely recognizable! I made the mistake of not telling students to make sure the original squiggle could be seen. In several of the 4th grade illustrations, it’s very hard to tell what and/or where the squiggle was.
As a result, I changed the directions for the 3rd graders. They could rotate the design but they couldn’t resize. I also told students to make sure the squiggle could be identified.
Some of the designs were created from making copies of the squiggle. Those turned out really well!
I asked that the squiggle be seen in the picture. Some did that but others covered it up with another color.
It’s helpful to lock the squiggle once it’s decided where it will be on the page.
I used to do this all the time when I was little (on paper, of course!). It’s fun to watch the students create digitally!
To go along with the homophone spelling unit, a second grade teacher asked if there was a digital way that we could make a homophone book. My go-to app is Book Creator and I felt like this would be perfect for the activity.
Prior to class, the students were given a set of homonyms. They were to create one sentence using all of the homonyms. On my part, I made a template in Book Creator and air dropped that to our lab iPads. When the students came in all they had to do was type in their sentence, illustrate the it, and record.
They had so much fun creating fabulous sentences.
And, their illustrations were amazing! This one was funny because her sentence originally had been written as, The four brown horses got some yolk on their yoke. After drawing two and realizing how much room that took, Annie came over to ask, “May I change this to two horses!”
After recording, the students came to me to air drop their book to my iPad so that I could create the class books. I absolutely LOVE working with Book Creator – easy to use and the students can do just about anything they want with all of its features. There are many others apps that we could use but Book Creator worked out perfectly for this project.
The teachers and I were very proud of how the books turned out. The students did such a great job with their illustrations and sentences.
Below are links to the books. These were saved in two formats – as an ePub book to be read in iBooks and as a video. We had so many students absent with the flu that not all children were able to make a page.
Directions to Download to iBooks:
Click on the book link while on an iOS device (iPhone or iPad). It will not work on a Mac or PC.
I love the story of Flat Stanley – the boy who ended up flattened when his bulletin board fell on him! The book explores the many benefits to being flat!
Mrs. Zabriskie, one of our second grade teachers, wanted to create a design thinking lesson where her students would create something that would protect Stanley from falling bulletin boards.
I used the Launch Cycle by John Spencer and AJ Juliani to move the students through a design thinking process. We began by just thinking about what might work for Stanley – and, let me say that it is hard to sit in complete silence for 60 seconds! Actually, I shortened it to 40 seconds which, as one student said, “Seemed like forever!”
After that, time moved too quickly (according to students!). First, I asked the students to talk about ideas they had to keep Stanley safe. They had 2 minutes for this and everyone in the group had the opportunity to speak and ask questions. When the timer went off, there were lots of groans along with, “That couldn’t have been 2 minutes!”
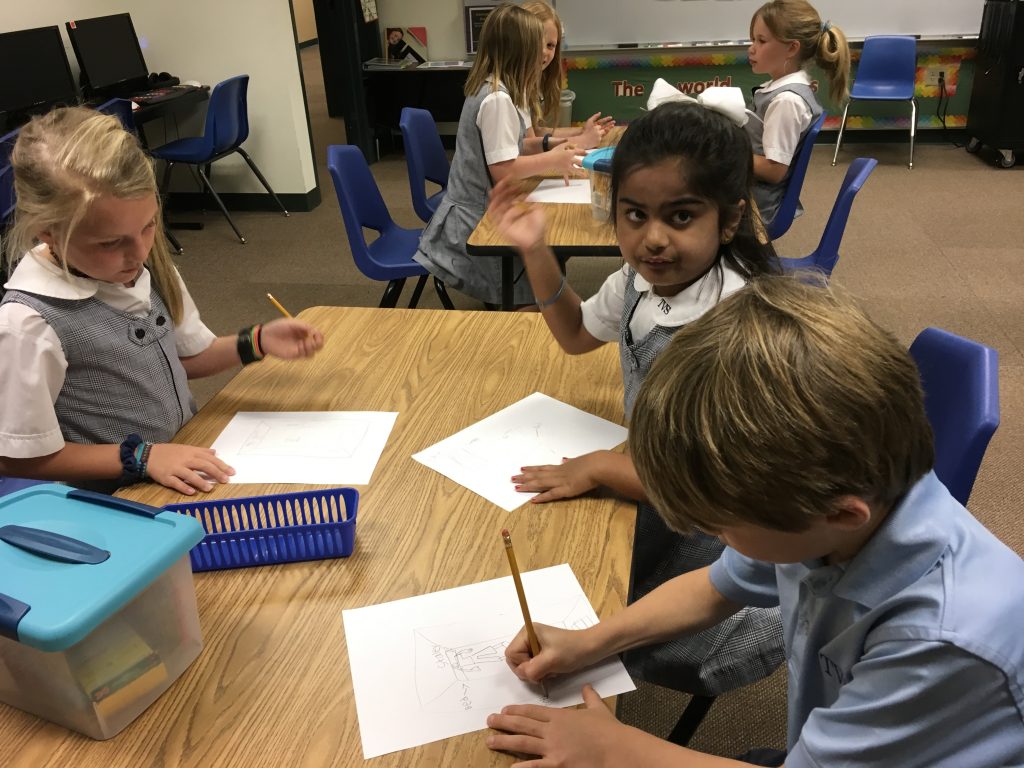
Next, the students were asked to sketch of what they could create to keep Stanley safe. No talking for this segment; that came in the next step. After a couple of minutes sketching, the children shared the drawings with their group. The most difficult part was deciding which design would be used for the prototype. We role-played how to disagree nicely as well as how to take some aspects from each sketch to create a working design.
We enjoyed listening to the children as they participated in that all-important give and take; such an important skill to learn. Lots of hand gestures were observed as students attempted to explain their ideas to the group.
As for materials, Mrs. Zabriskie asked for parents to send in straws, paper towel rolls, toothpicks, playdoh, etc. I believe she bought a few items as well. Really, anything can be used.
I wasn’t able to participate in the entire building process since I had another class to teach. From comments from the teacher and the students, this was a worthwhile activity. The students didn’t think they were doing “school stuff” but, in reality, they were learning many important life skills:
problem-solving
sharing
communication
reasoning
failure
Yes, even failure! Two major goals of design thinking are for children to practice empathy as they work on problems to solve that help someone else (in this case, a book character) and to discover that failure isn’t a bad thing; that we take failures and learn from them.
A few days after the project, I asked the students to blog about the process. Here are just a few of the responses.
Ozobots are fantastic tiny robots that can be programmed by either drawing in a color code combination or by using the drag and drop Ozoblockly online program. I love these little robots because all ages can use them; they grow with the child.
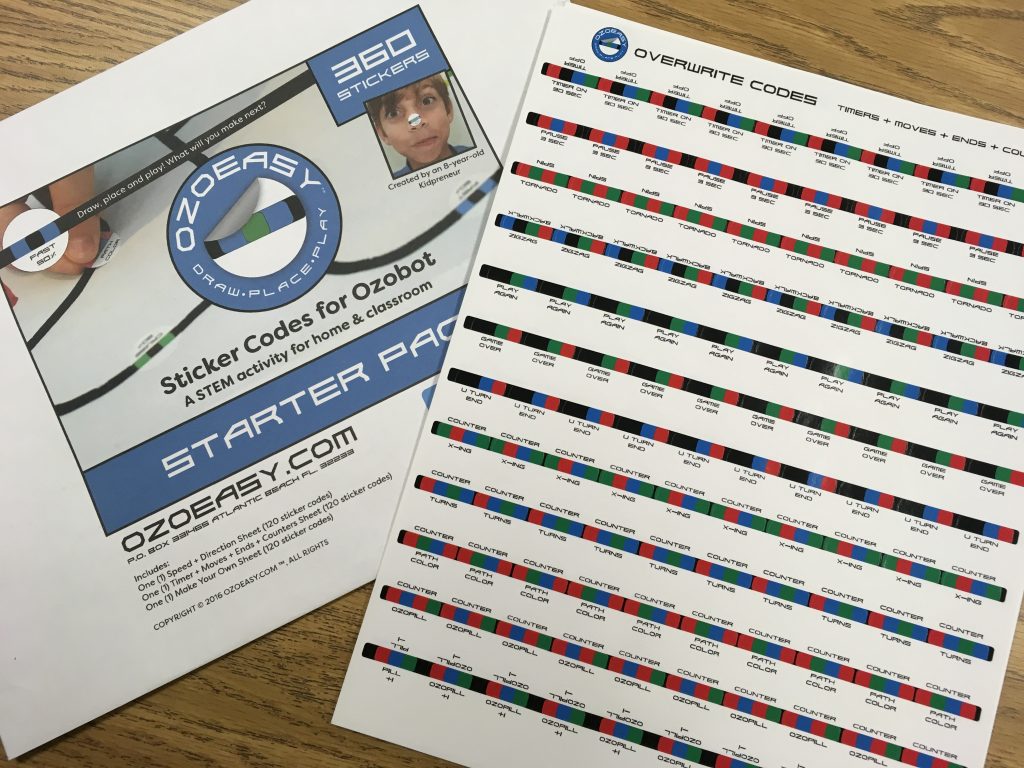
However, what we’ve discovered with the younger children is that it can be difficult to draw the codes “just right” so that the Ozobot can read them. That’s why I was thrilled to discover the Ozoeasy sticker codes this year. These small round stickers were created by an 8 year old – always fun to tell students that even young children can become an entrepreneur!
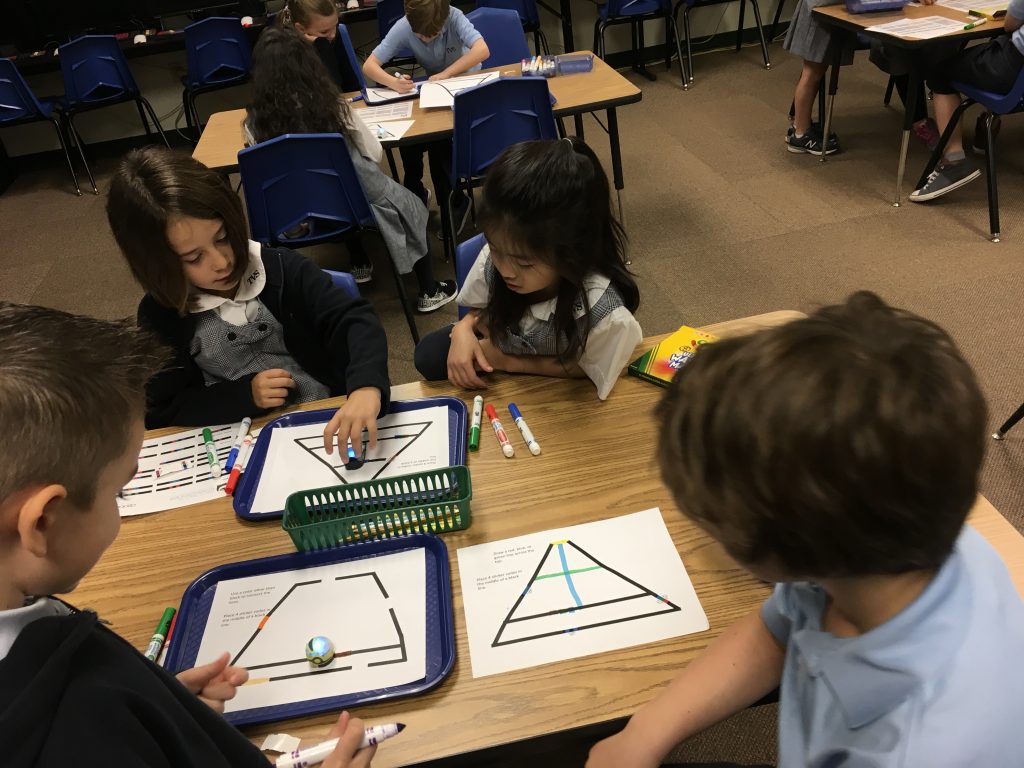
Enter the Dr. Seuss theme! Using PowerPoint (Only because I wanted precise lines!), I created a couple of “hats” to go with The Cat and the Hat.
The first hat the children worked with had only one place to draw a connecting line – at the top. The students were asked to choose a color other than black to connect the lines. After demonstrating how the code stickers worked, we talked about best places to add those. For example, the codes have to have black lines on either side and they can’t be too close to a corner. Students were also encouraged to draw colored lines across the hat.
After exploring the triangular hat, we moved onto the other template. This one had breaks in the black lines. The children could draw their own code, place a code sticker on a line, or add a connecting line of a color other than black.
What fun observing as the children discovered how the Ozobot reacted to the colored lines and the codes!
As our time together drew to a close, we regrouped to talk about our observations.
What happened when Ozobot rolled over a line that was a color other than black? What did you discover about Ozobot moving in opposite directions as it traveled over a code sticker? What did you learn about drawing your own codes?
Here are the templates of the hats. There are a couple of options included for each design.
Legos and Seesaw – a fun combination! Over the past few weeks, we’ve been introducing the first graders to Seesaw; getting them used to using it so that they can work independently with it. Seesaw has created an extremely easy, user-friendly digital portfolio that allows students to add images, drawings, narration, video, and more that can be shared with parents. Students can “show” their work so that teachers can check for understanding.
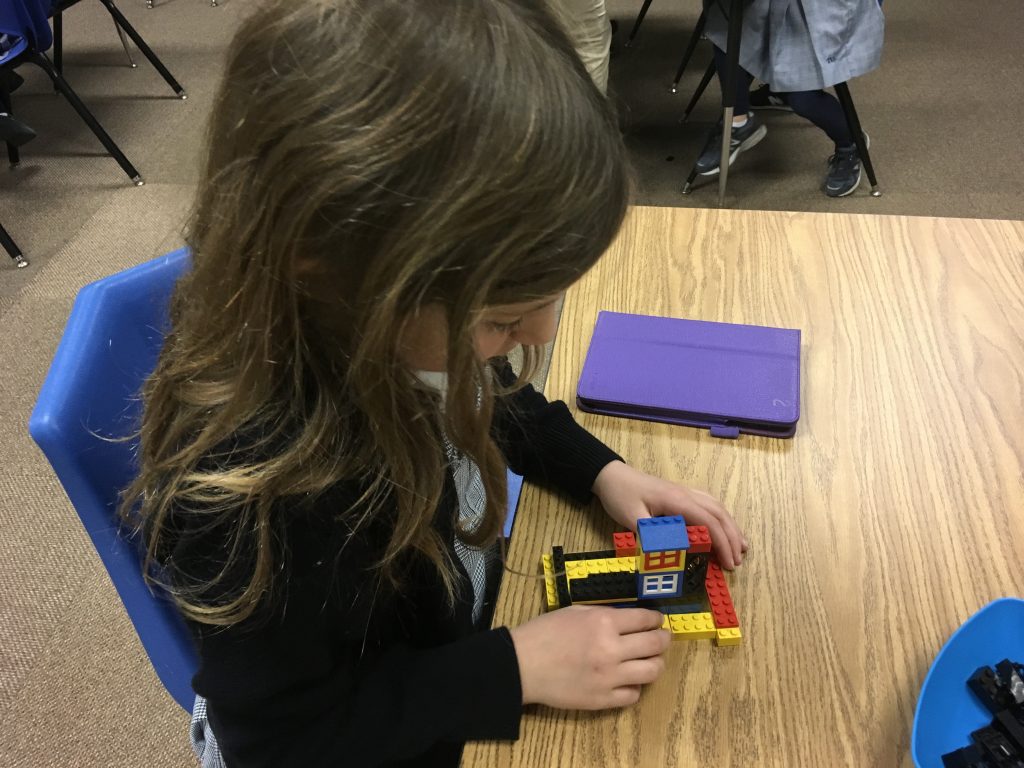
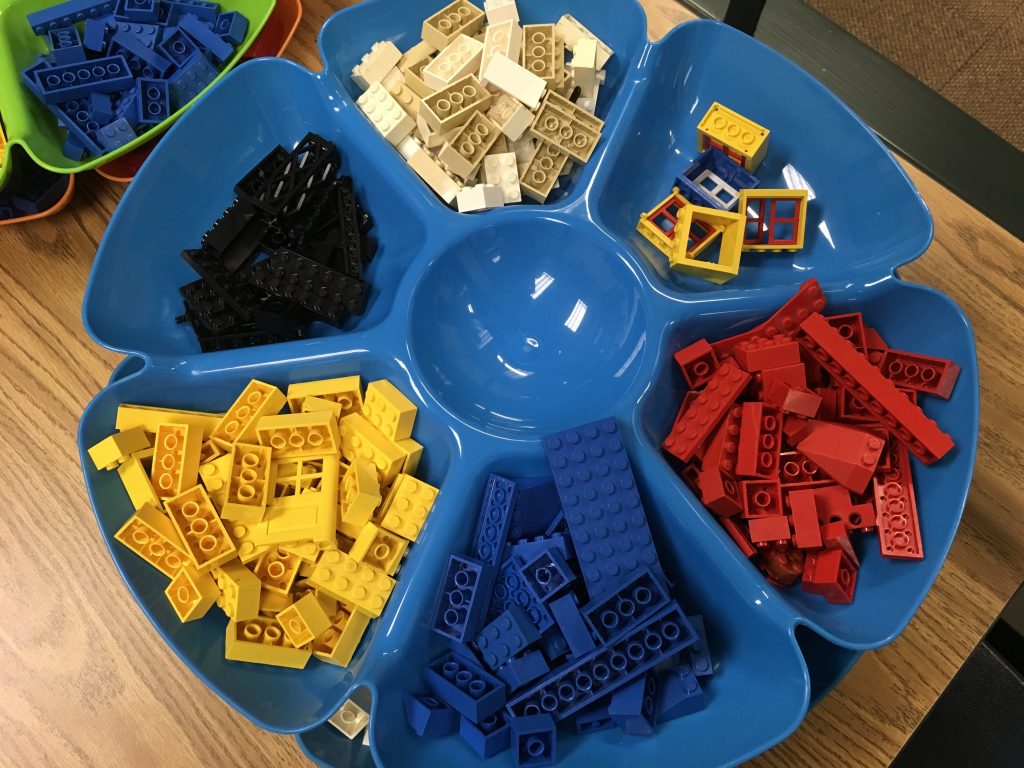
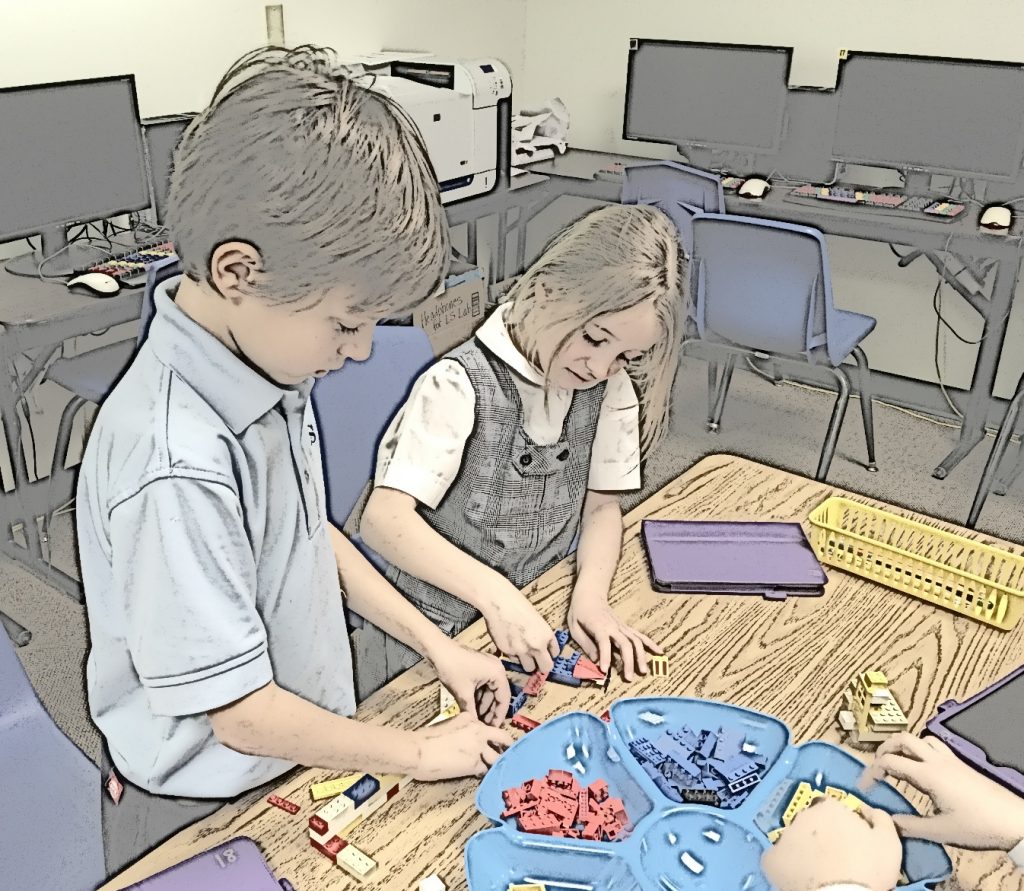
This activity started with a tray of Legos per table. The only guidelines were that they had to share, they could work by themselves or with those at their table, they must finish their construction by the end of our session, and a photo had to be taken. The students couldn’t WAIT to get started! What a hum of activity! Yes, sharing limited Legos was difficult at times. Overall, everything went smoothly. The children knew that when that timer went off, they had to take their photo and then, take-apart time began. No one wanted an unfinished Lego structure!
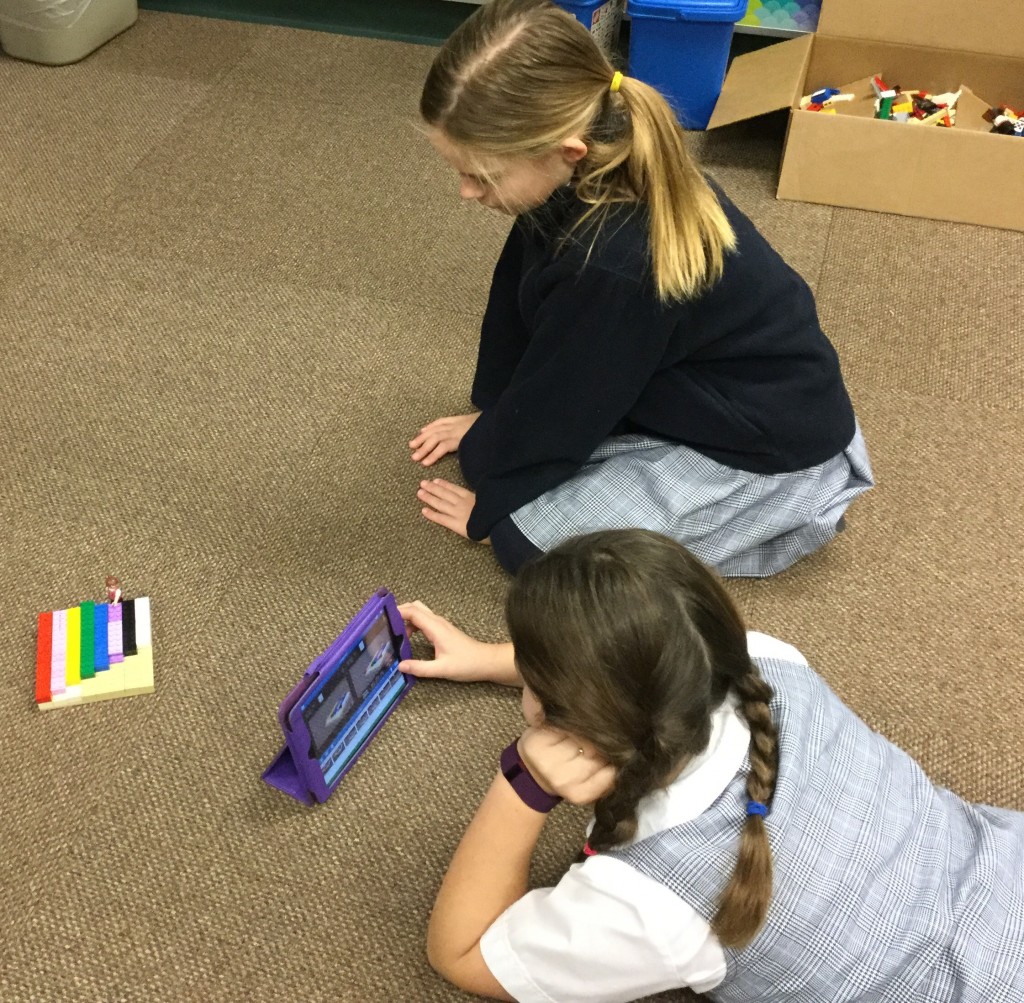
During the next session, the children added their photo to Seesaw and recorded narration about what they built.
Here’s a sample Seesaw project. The students are loving receiving feedback from parents!
I put out trays of Legos for first graders last week. Students were asked to create something from them, take a photo, and then we would upload it to Seesaw where they would describe what they made. I told the students they could make anything they wanted either with someone else or by themselves. The only constraints I put on this was that these were the only Legos that could be used.
I was surprised when one child raised her hand to ask if she could make a house. “Of course,” I responded, thinking that perhaps she’d missed some of the instructions. Then someone else asked if he could make an airplane. Others followed with questions about what to make.
Yes, I know that kids feed off each other. The perfect example is when one needs to visit the restroom, suddenly everyone seems to need to go as well. What surprised me is that the children weren’t eager to get to the Legos. Instead, they were more concerned with finding out what they were “allowed” to build.
Once I convinced the students they could build whatever they wanted, they finally jumped into it and came up with some clever structures.
Although a few years old, this article by Josh Linkner in Forbes magazine, How Kids Lose Their Creativity as They Age (and How to Prevent It), offers excellent insight into the problem along with ideas on what to do about it. And, it’s something we ALL need to work on! What are ways you encourage creativity in your classroom?
As our second graders learn about the Thanksgiving story, they read Molly’s Pilgrim, a wonderful story that illustrates a pilgrim is anyone who emigrates from another country. The students even dress paper dolls in the native costume of the country from which they came, whether it be recently or years past.
In addition, students bring in photos of relatives to create a wonderful Heritage video/ePub book complete with narration of their family history!
We use Book Creator, which is a user-friendly app that allows students to add text, photos, narration, background, and so much more. And, the final product can be saved as an ePub book to be read in iBooks or as a video that can be viewed on any device. This is our second year using Book Creator for this project and I am SO glad we changed! Prior to this, students did a tiny part of the project but the teacher had to do the majority of the work. I’m a firm believer that students need to “own” their work and Book Creator does just that!
The children brought in photos and they used their iPads to take “photos of the photos” (they thought that was quite funny!). In this step, they learned how to make sure there was no glare, the image was in focus, and how to crop.
The next step was to add the photos to their book. I set up the books in Book Creator prior to this only to save time but students could certainly do this step. We added title and conclusion pages. Selfies were taken for the cover. Background colors were added. Fonts were changed.
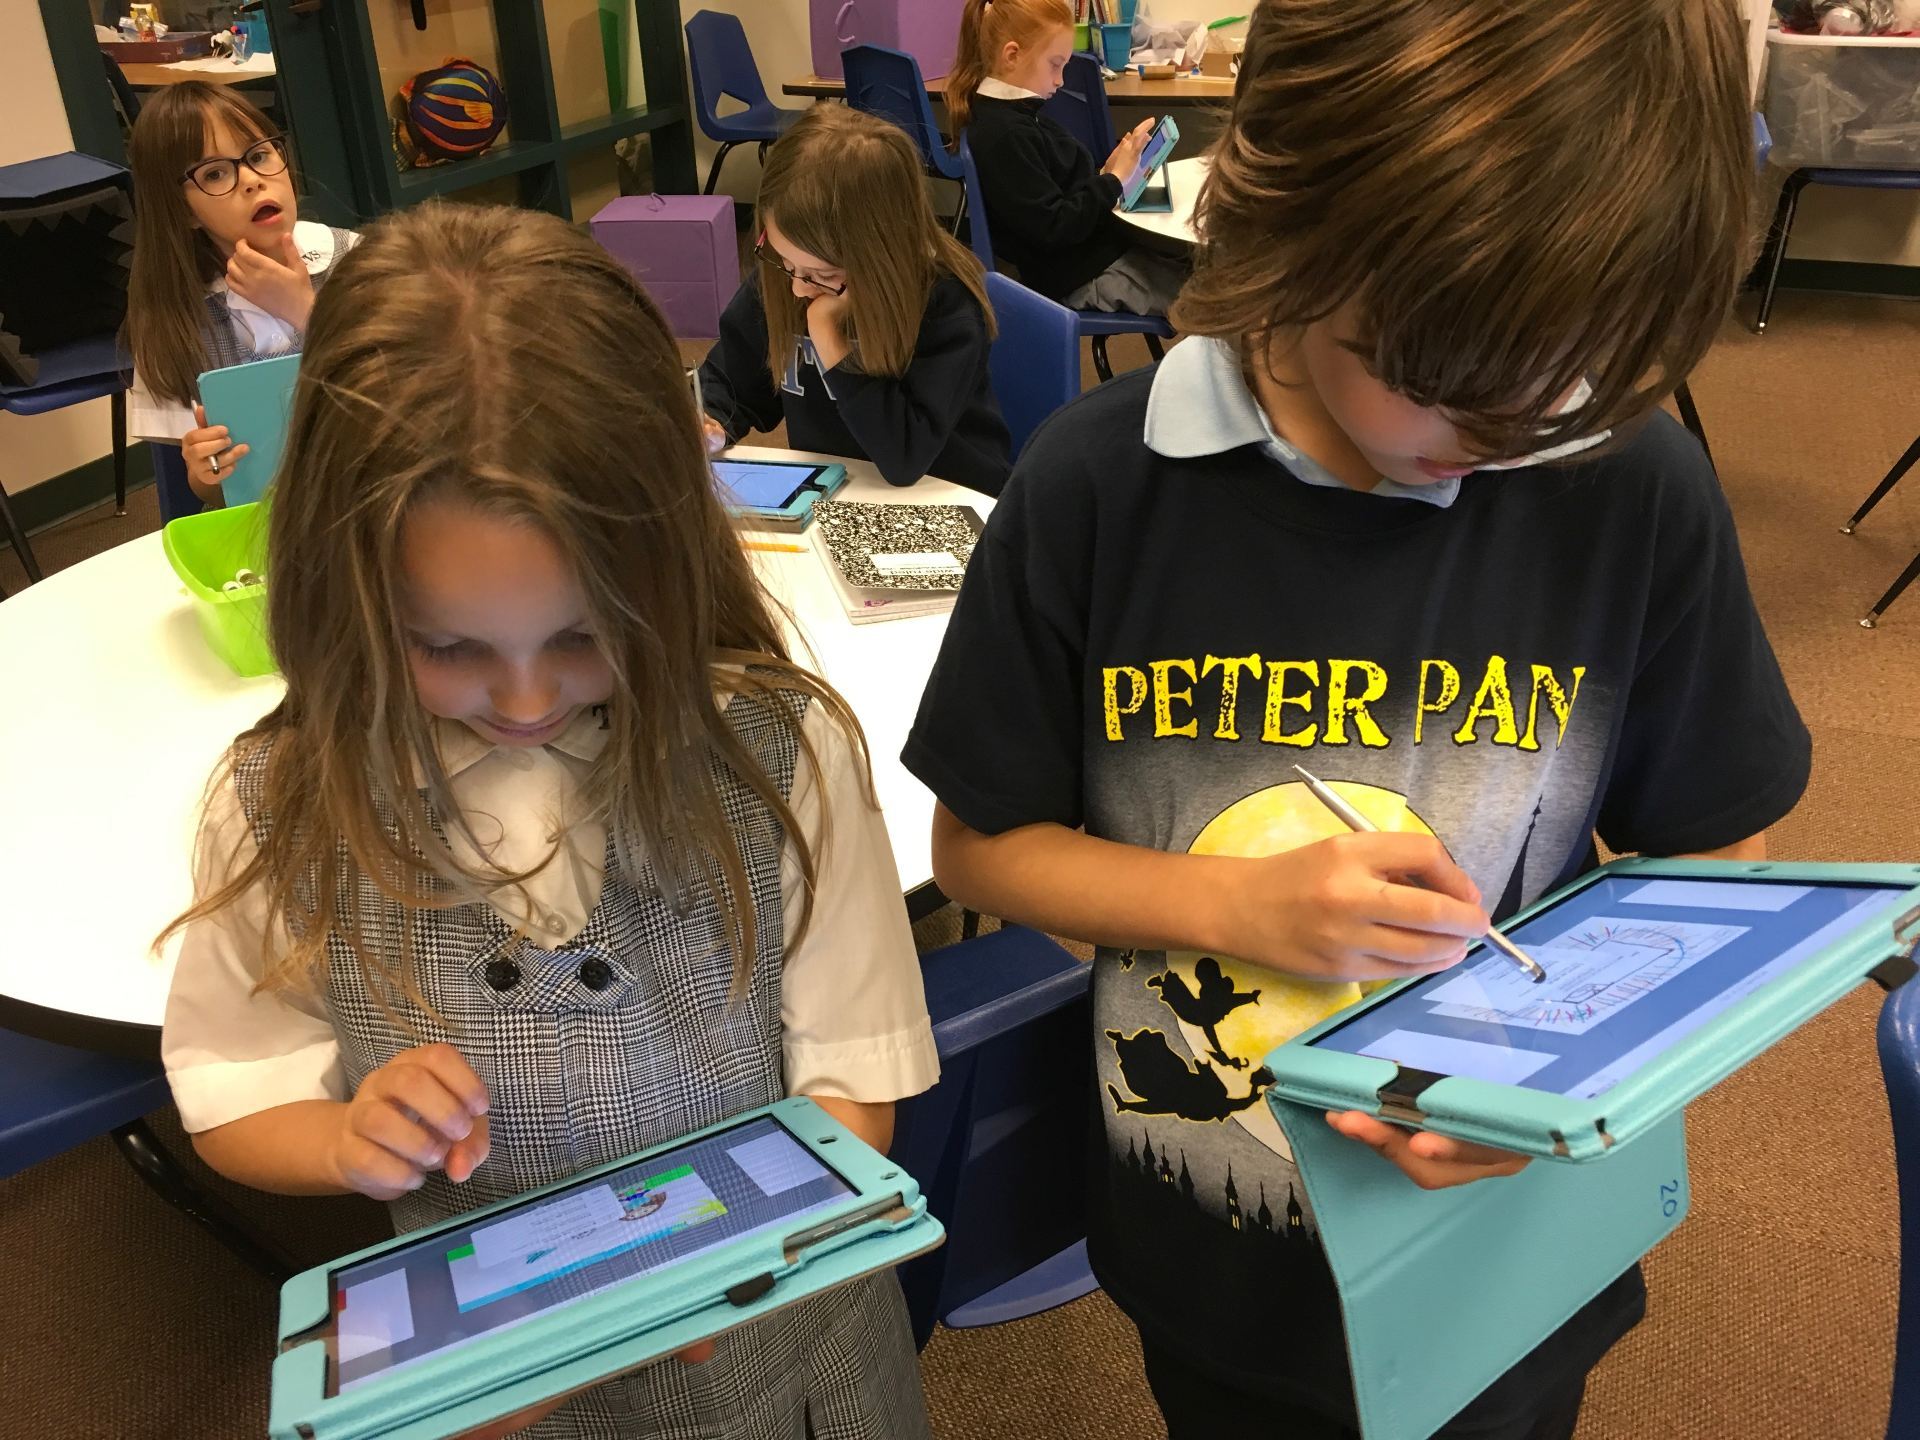
Next step: importing the photos. The students used their scripts and actual photos to help with this process. A huge help was that parents labeled the backs of photos which made it much easier for the children to place their images. Remember, many of these photos are of great-great-great grandparents and students don’t tend to recognize relatives that far back! I love how the two girls in the photo below worked together to make sure each image was on the correct page; one checked the script while the other added the picture!
We had a wonderful group of parents who volunteered to help students record. Since we were trying to have as little background noise as possible, finding a quiet place in a school can be a challenge! These parents worked tirelessly to accomplish that.
The students then listened to their project, making sure every aspect was just how they wanted it. The project was saved two ways: as an ePub book to be read in iBooks and as a video.
I then uploaded everything and linked them on my teaching website, TVS TechnoWizards. Since last names are mentioned, these are behind a password-protected page. Here are a couple of samples pages in the book:
The students even blogged about what they had learned about their heritage.
We can’t wait to share our projects this Friday for Grandparents’ Day!
The end of school was near and everyone was ready for summer vacation. In other words, it was really important to find something that would challenge the students! I asked the students to produce something that would “teach” something to their peers. I wanted to share one particular project because it certainly showed ingenuity and resilience!
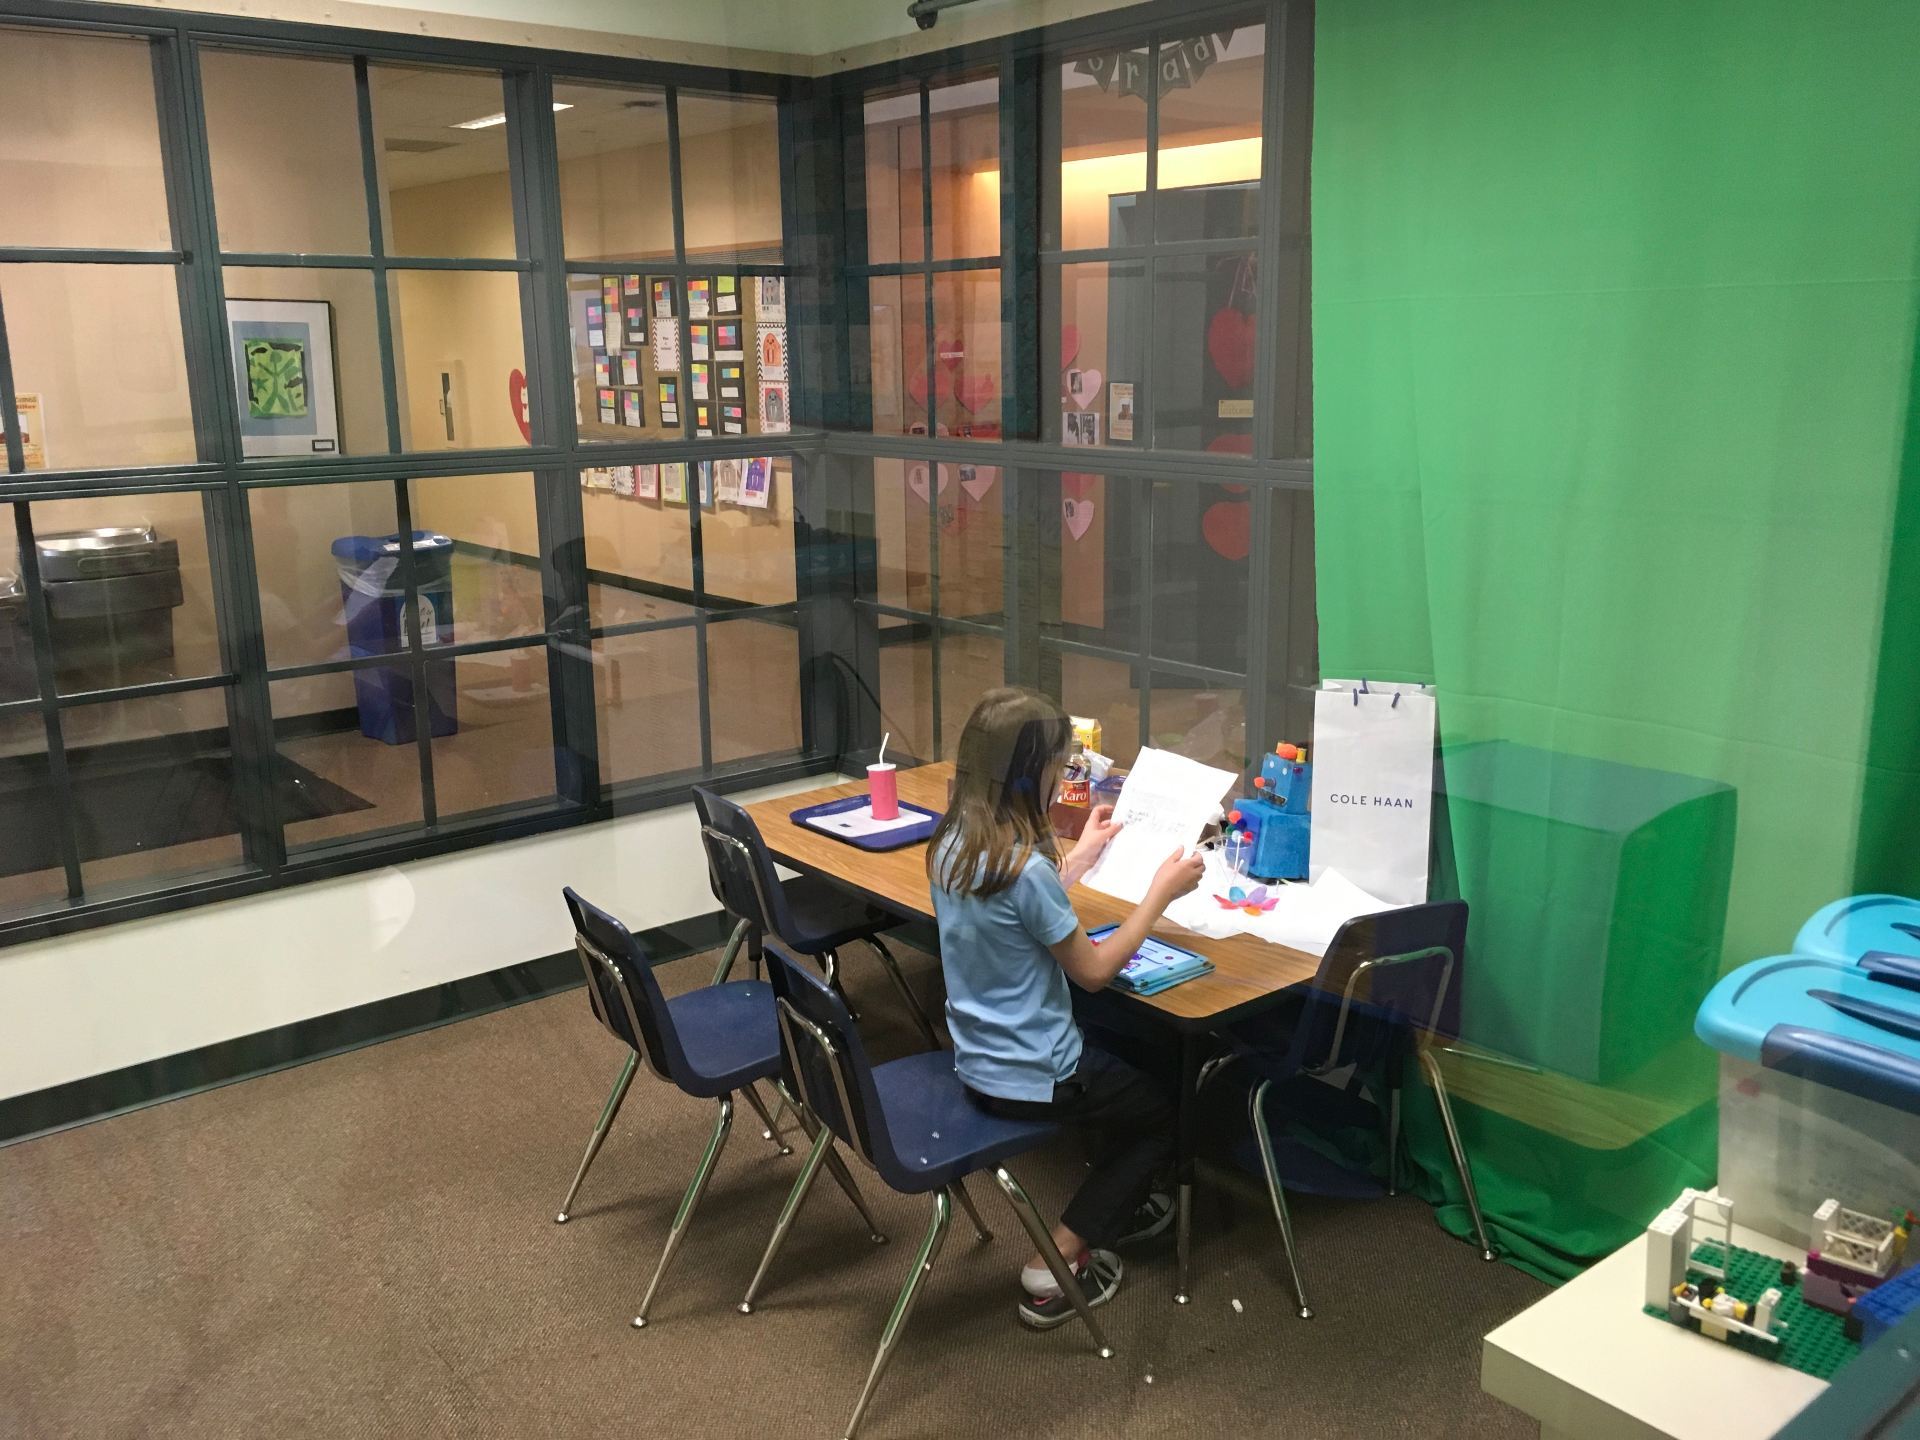
Collin and Tiernan asked if they could use the green screen to teach soccer fundamentals. I mentioned the app, Green Screen by Doink and showed them where the green screen was kept. A bit about our green screen – it was made from a trifold science board (cardboard). No, it wasn’t the sturdiest thing in the world but that didn’t stop these boys! The funniest moment was when the boys brought the green screen back to class in pieces (you can see it split toward the end of the video)!
Is this a “polished” video? No! Would a real green screen have worked better? Yes! What’s important is that the boys worked with what they had on hand to create an informative soccer fundamentals video that will be helpful to other students. Did they learn a lot? You bet! And that is exactly what makes their creation so valuable!
Who would have guessed that Legos would be such a hit with students!?! A few weeks ago, I presented the fourth graders with a challenge – Create an ABC book made with Legos (and the fantastic Book Creator app) to share with our Kindergarten students. I was amazed at the excitement this idea generated! (Although I’m thinking the excitement was from getting to create with Legos, not from sharing the book.)
This was a joint project with all three of our fourth grade classes so we had to divide the alphabet letters between everyone. I asked the students to get into groups of two or three and write their top three letter choices.
After handing out assignments, we discussed what needed to be included on each page.
The alphabet letter (large and obvious!)
Picture of the Lego creation(s) that correspond to the alphabet letter
Text that labels the Lego objects
Recorded voice stating “(Name of letter) is for . . .”
Optional: some type of video to show the making of the object or to highlight the letter
For the video component, I suggested the following apps:
Surprisingly, no one chose Tellagami or ChatterPix! I think most liked the idea of the stop motion animation. What excited me is that several incorporated app-smashing – on their own! They would bring their MyCreate video into iMovie for editing, to add music, etc.
Fortunately we had plenty of Legos – I raided my grown-up son’s stash, bought a few more buckets, and had some very sweet girls donate some of their collection.
Planning and building
Using the MyCreate app
I have never seen such excitement about a project! Except for a couple minor squabbles, the students worked well together. They all learned the importance of sharing ideas and compromising. The students absolutely loved having the opportunity to create in their own way. And, they did a great job pulling everything together to create their letter page.
The book isn’t perfect and sometimes it’s a stretch to figure out how the Lego structure goes with the letter. As chief editor, I did omit some videos that really had nothing to do with the letter they were trying to represent. We had a few groups who were more interested in making iMovies about themselves. However, when it was pointed out that this is a book for young children, they made some adjustments.
Click on the above link while on an iOS device with the iBooks app installed.
Download then choose open in iBooks. The file is very large so please be patient!
If you are unable to download the ebook, click here to view the video (same content as the book).
Here’s a look at the process of making the book.
The project took longer than anticipated. What I learned is that a week of 40 minute sessions with each 4th grade class wasn’t long enough! Most groups built and rebuilt till they had the “perfect” structure. They HAD to finish the building part in a week’s time so that the next group could start. Otherwise, we wouldn’t have had enough Legos! Putting the book together didn’t take more than a couple of days.