Posts Tagged ‘2nd graders’
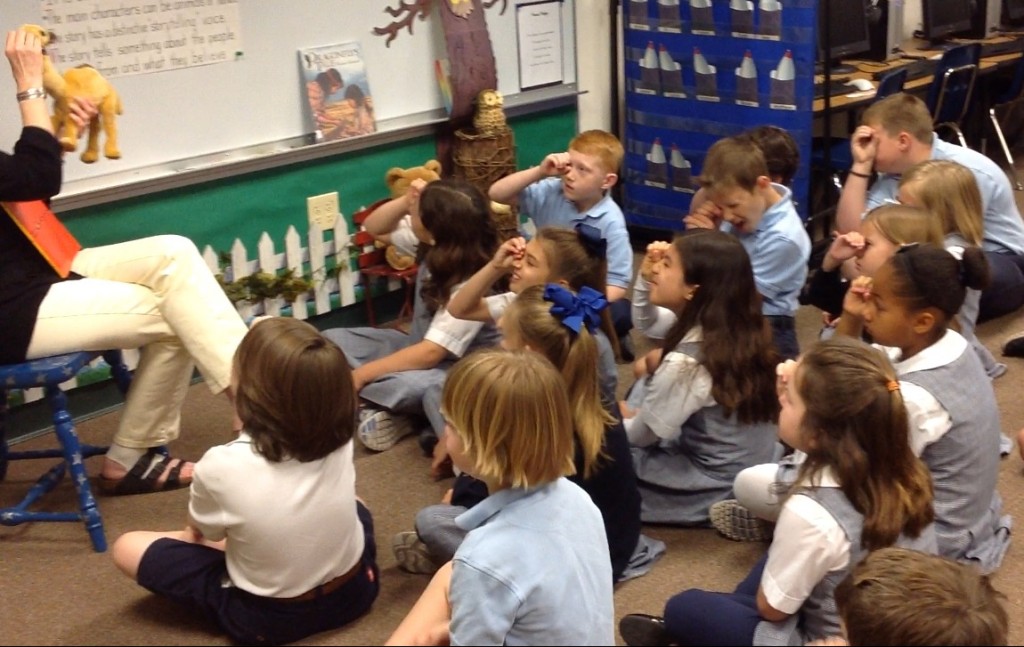
To go along with the homophone spelling unit, a second grade teacher asked if there was a digital way that we could make a homophone book. My go-to app is Book Creator and I felt like this would be perfect for the activity.
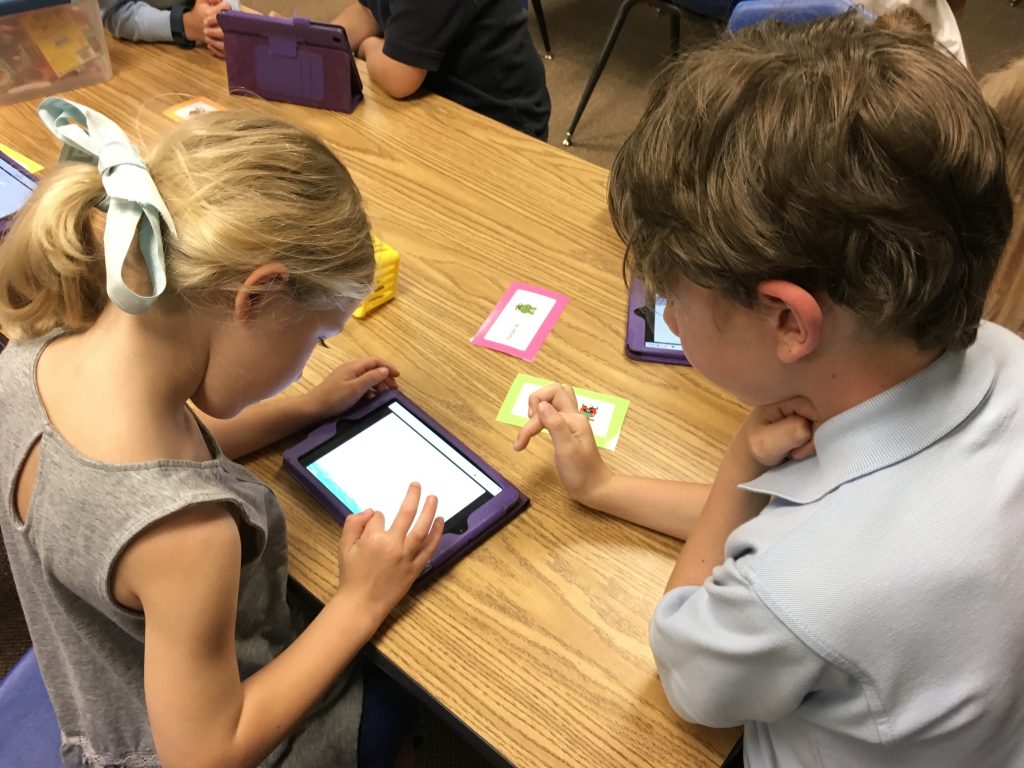
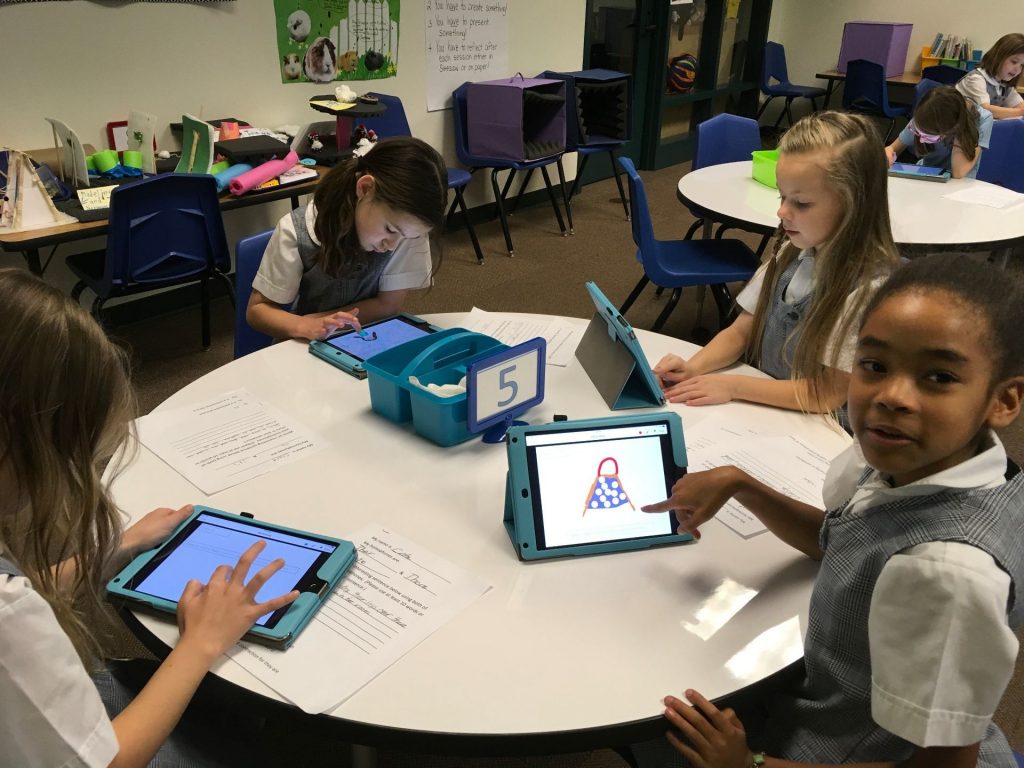
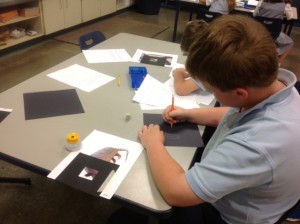
Prior to class, the students were given a set of homonyms. They were to create one sentence using all of the homonyms. On my part, I made a template in Book Creator and air dropped that to our lab iPads. When the students came in all they had to do was type in their sentence, illustrate the it, and record.
 They had so much fun creating fabulous sentences.
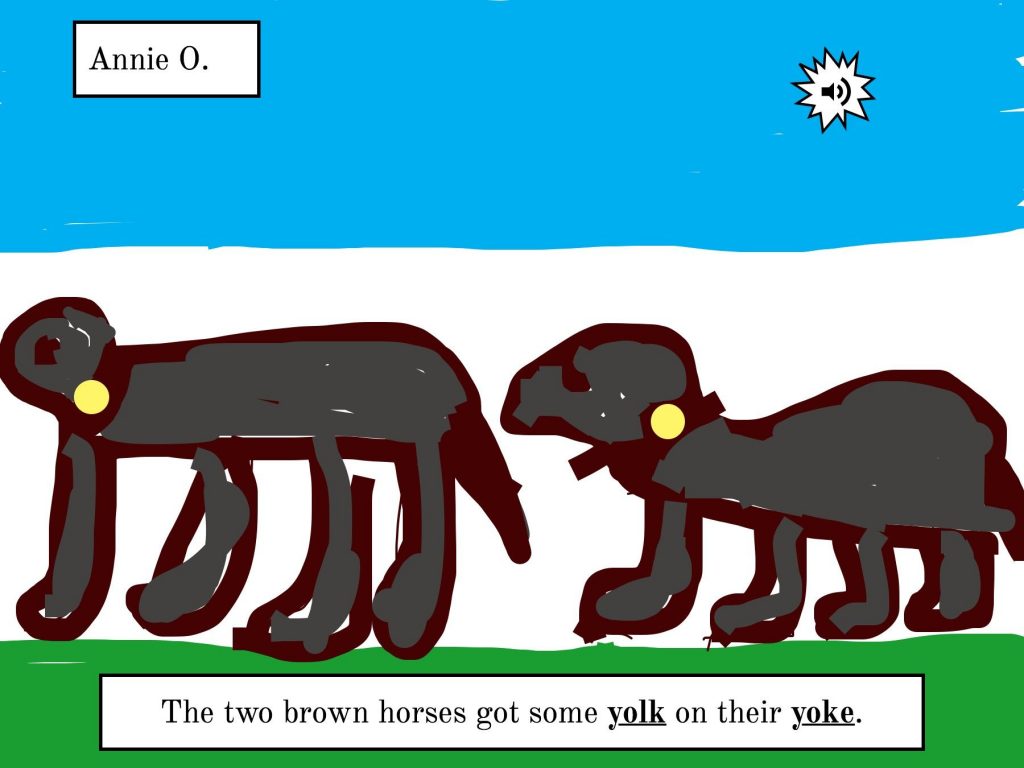
And, their illustrations were amazing! This one was funny because her sentence originally had been written as, The four brown horses got some yolk on their yoke. After drawing two and realizing how much room that took, Annie came over to ask, “May I change this to two horses!”
 After recording, the students came to me to air drop their book to my iPad so that I could create the class books. I absolutely LOVE working with Book Creator – easy to use and the students can do just about anything they want with all of its features. There are many others apps that we could use but Book Creator worked out perfectly for this project.
 The teachers and I were very proud of how the books turned out. The students did such a great job with their illustrations and sentences.
Below are links to the books. These were saved in two formats – as an ePub book to be read in iBooks and as a video. We had so many students absent with the flu that not all children were able to make a page.
Directions to Download to iBooks:
- Click on the book link while on an iOS device (iPhone or iPad). It will not work on a Mac or PC.
- Choose Download.
- Choose Open in iBooks.
Mrs. Garcia’s Book and Video
Mrs. Shapard’s Book and Video
You build a great lesson to get students on their Kidblog account for the first time ever and, as soon as kids start logging in, you realize there’s trouble! Weeks ago, I’d uploaded all the students with their passwords and had logged in as each one to get them in their new class. Well, I forgot one major detail – Kidblog now forces every user to change their password when they first log in! Yes, I understand the reasoning behind it. But, really, for second graders?? What happened to the old days not that long ago when the blog administrator could get everyone set up and ready to go for students to log in seamlessly? Sure made life much easier.
 So, in a quick switch of plans, I pulled out the QR codes for the class to log into Seesaw. This was as the teacher was saying, “We can just forget lab time today.”
Hey, if a tech teacher isn’t flexible, there are many lessons that would never be taught!
The plan had been to write emoji “About Me” stories in Kidblog. We just moved to a different app to do so. Talk about a quick write! But, the students did a fantastic job and I learned a whole lot more about each student while reading their cute stories.

Despite a rough start where nothing worked as planned, all were engaged and successful with the quick change to plan B!
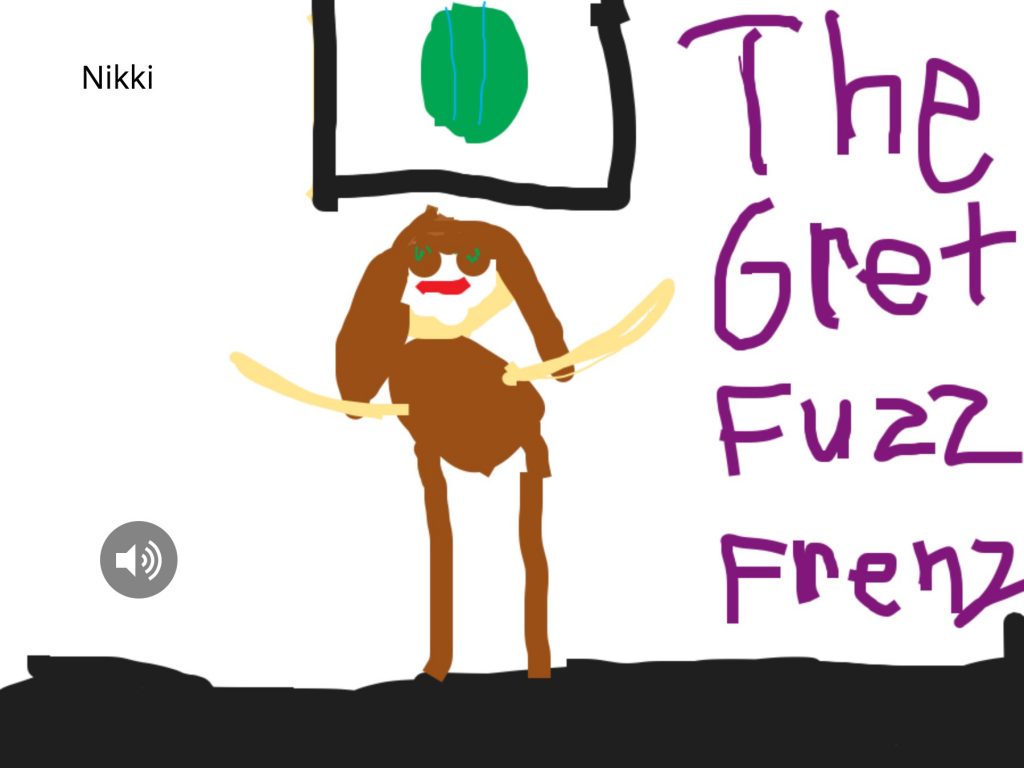
 Our kindergarteners presented their spring play last week and this year they performed The Great Fuzz Frenzy, based on a book by the same name. This is a cute story about a tennis ball that a dog has dropped into a prairie dog tunnel. The prairie dogs are terrified at first then they decide the ball’s fuzz is fun to have. If you haven’t read this book, be sure to do so to find out what happens in the end.
When the students came to the lab, I wanted them to illustrate a favorite part of the play and record a sentence or two about it. As I considered apps to use to accomplish this, I immediately thought of Book Creator, my favorite app because it can do so much, plus it is intuitive for even the youngest children.
Since we only have a 30 minute lab time, I did some prep work before the children arrived. A template was created in Book Creator and air dropped to each iPad. I used the landscape shape so there would be plenty of room for drawing. I also went in to each iPad to name the books with teacher & student name. That is a huge help to me when the books are air dropped to my iPad from three different classes. It makes it SO much easier to combine them into each class book.
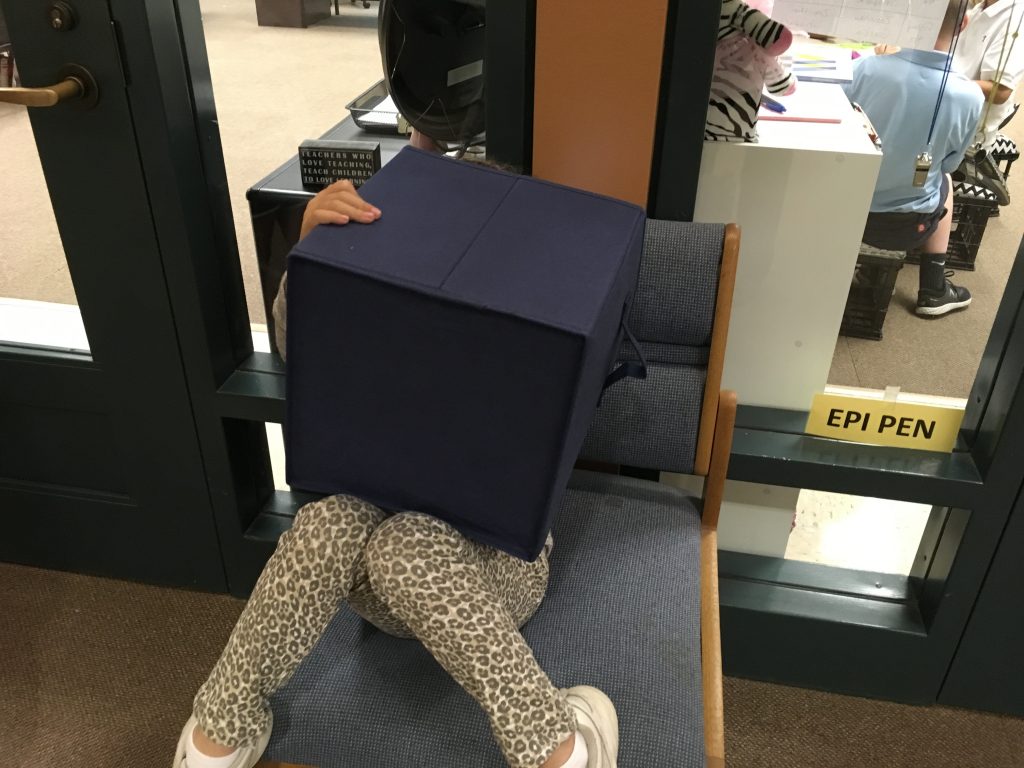
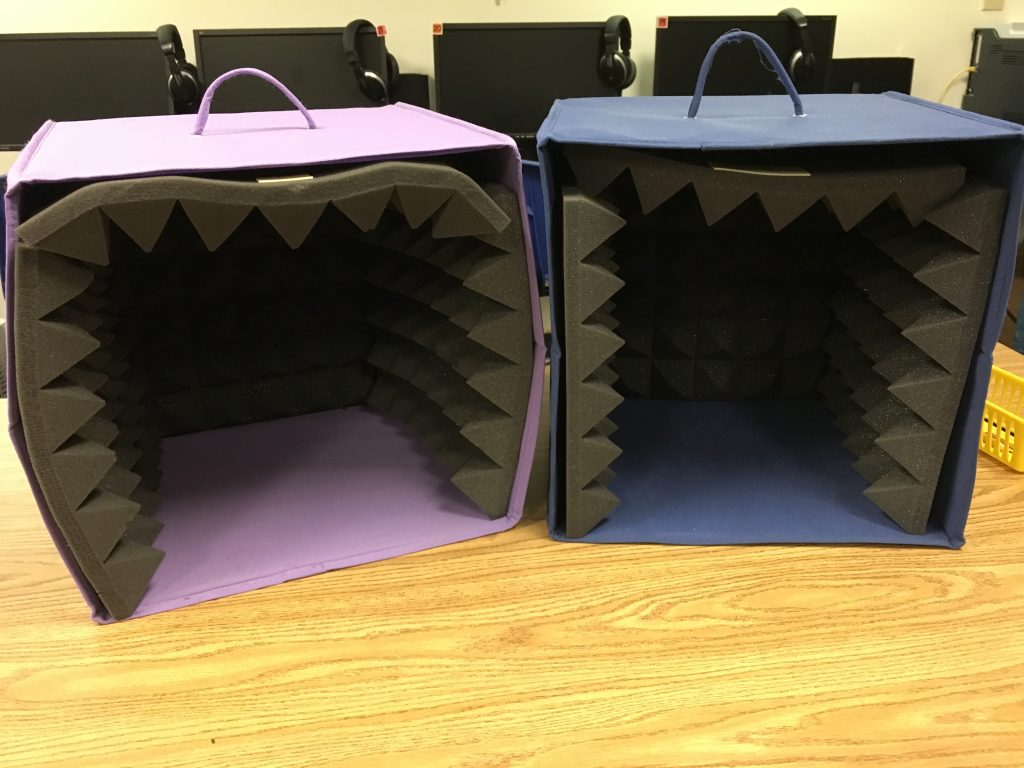
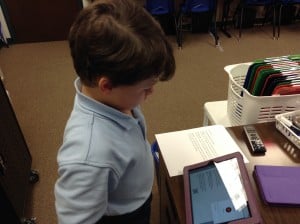
 We haven’t used Book Creator with kindergarten but with just a few tips, the children were busy with their illustrations. As they begin to finish the drawings, I showed them how to record. I just love how this child became swallowed up by the recording cube!
 For one of the kinder classes, we were able to have a roomful of eager second grade mentors! What a wonderful help they were! The older students were paired with one or two kindergarteners and they did such a fantastic job guiding them through the drawing and recording steps.

 By the end of each 30 minute session, every student had completed their page of the book.
 I knew the app would be perfect for this age; just didn’t know if we’d have enough time. Are the recordings perfect? No, some are too soft; others have a lot of background noise. Is that acceptable? Yes! The children were learning as they created something that was very special to them.
Here’s a video of one of the books (Mrs. Newton’s class):
Save
Save
Links to the ePub books:
While on an iOS device that has the iBooks app installed, tap on a link. Choose download > open in iBooks.
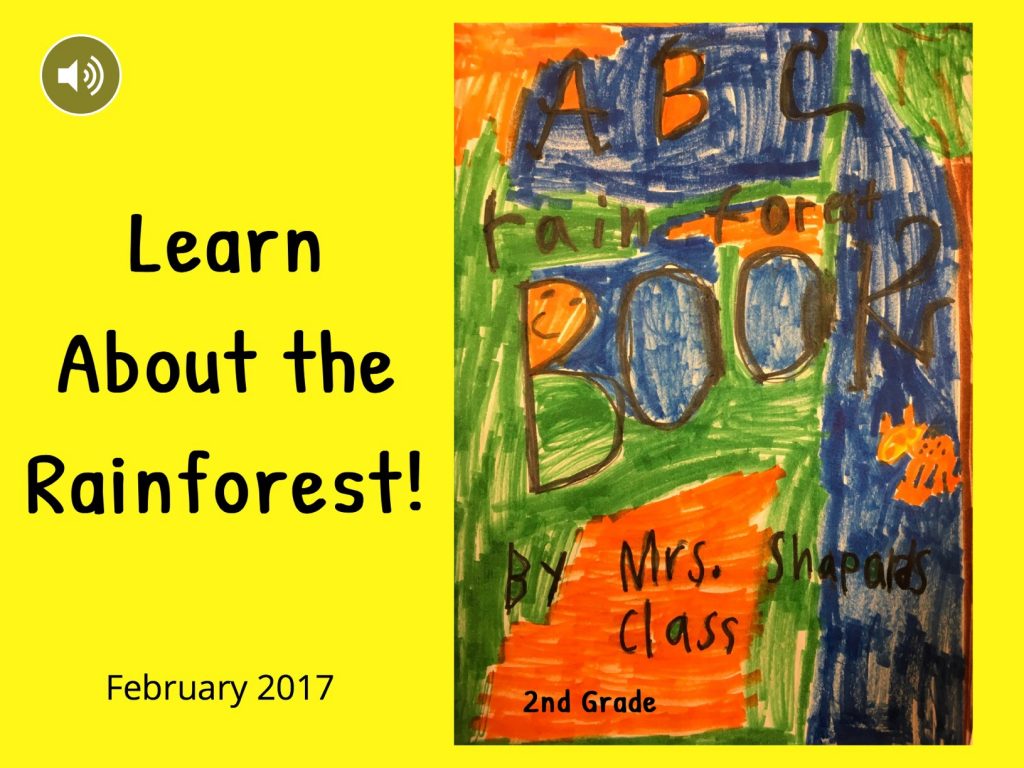
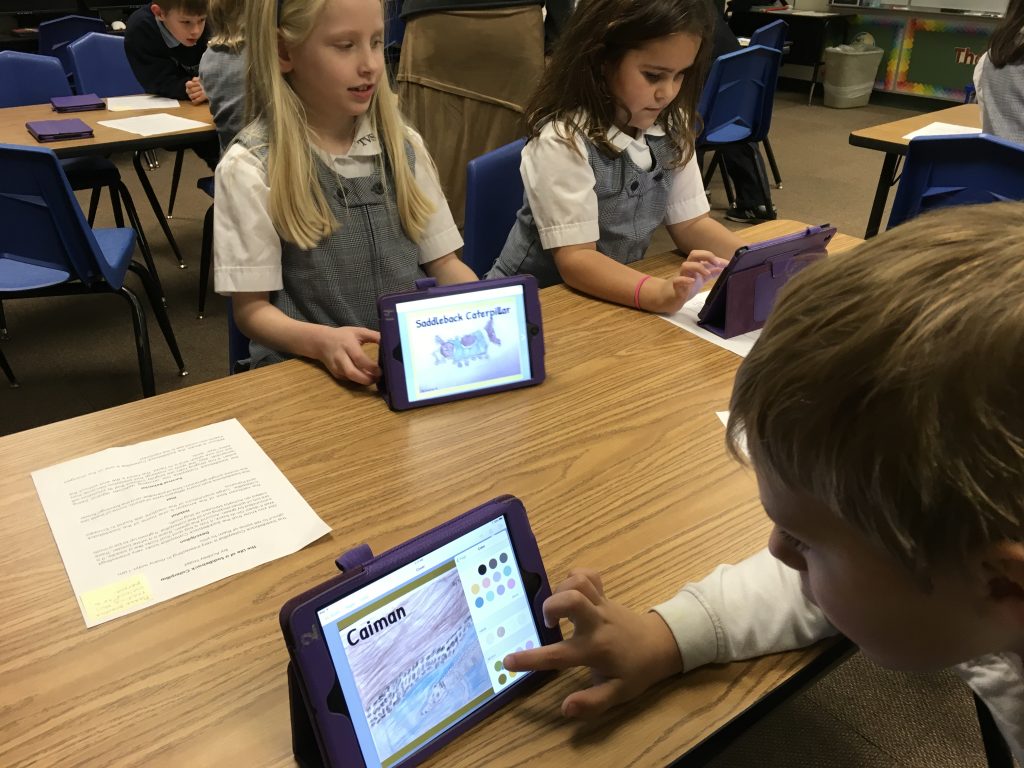
Our second graders can share quite a bit of information and they are excited to do so! They’ve been researching types of rainforests, animals that live there, and much more. We decided that the students would create a page about their topic using the Book Creator app, air drop their page to me, and I would compile these into class books.
I created a template and air dropped it to our iPad set. The students inserted a photo of the picture they had illustrated and added labels.
One class wrote an ABC Rainforest book while the two other classes created a book about Rainforest Animals.

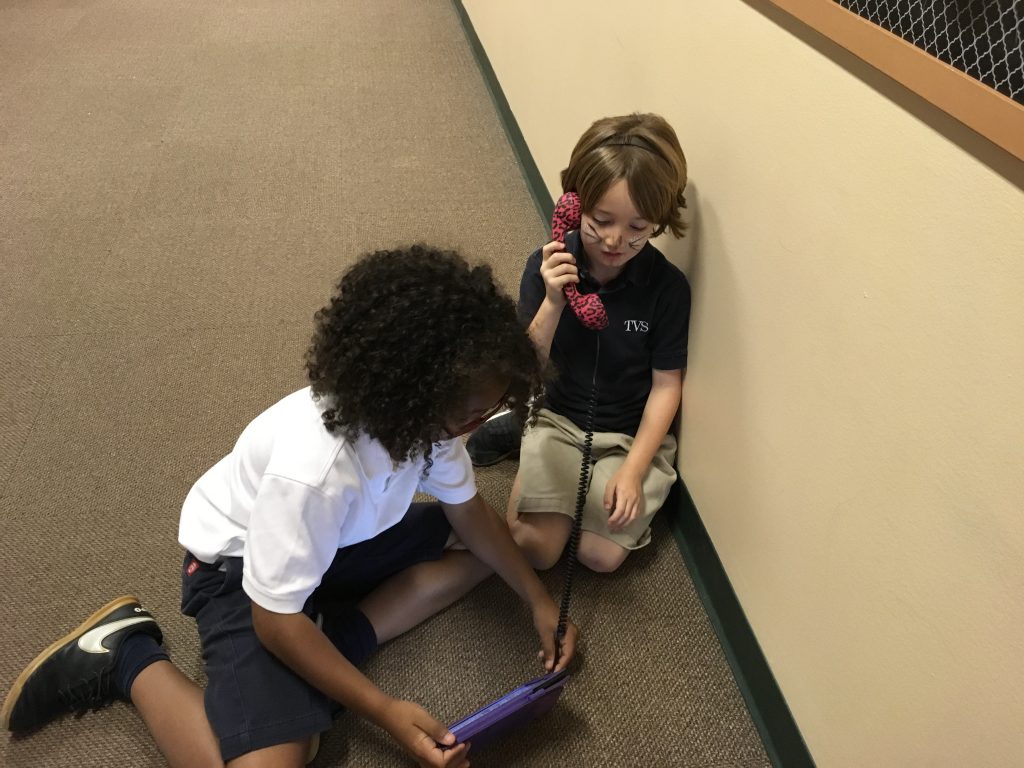
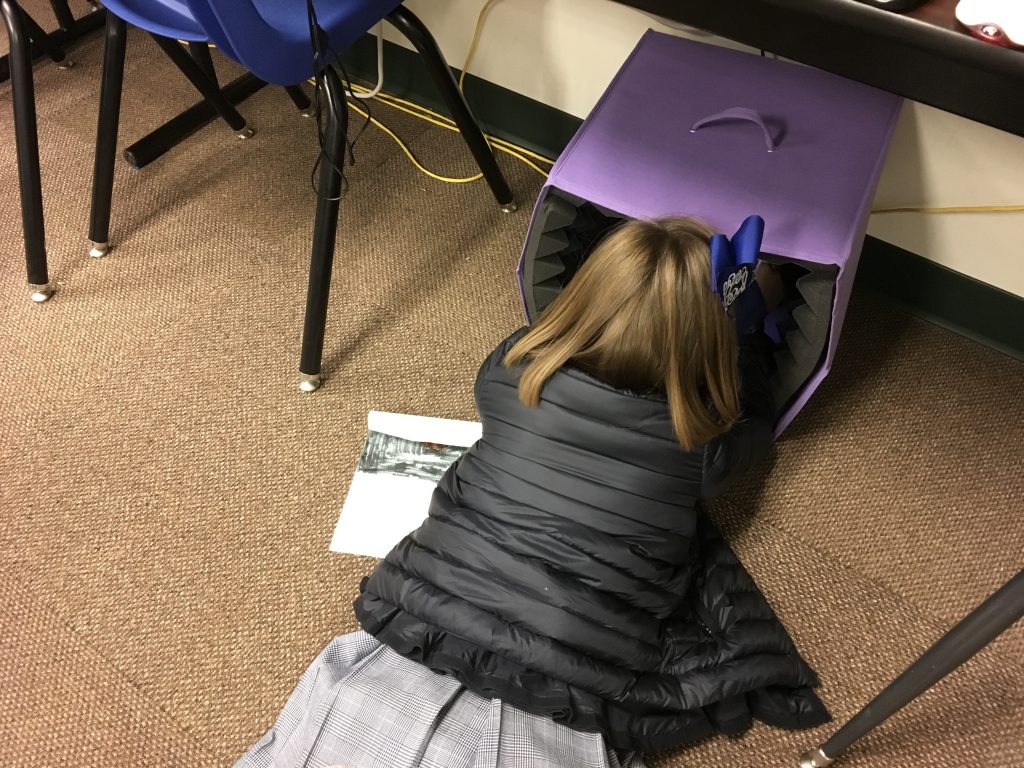
Then the recording began. I had ordered these cute retro microphones from Amazon and they arrived just in time for this. Unfortunately, I only had six and everyone wanted one! We also have a few recording cubes that work quite well at reducing background noise.

The students spread out in the lab as well as in their classroom and we were able to get everyone recorded pretty quickly.
The books have been saved in two formats:
- ePub book that can be read on iOS devices using the iBooks app (Click on ePub book link below while on an iOS device. Choose download > open in iBooks.)
- Video that can be viewed on any device
The main issue with making a class book is that every student speaks at different levels. Some have extremely quiet voices and others come across quite clearly. You’ll most likely need to adjust your volume often!
Here’s one of the videos (see links below to other class videos).
Enjoy learning about the rainforest!
Mrs. Garcia
Mrs. Shapard
Mrs. Zabriskie
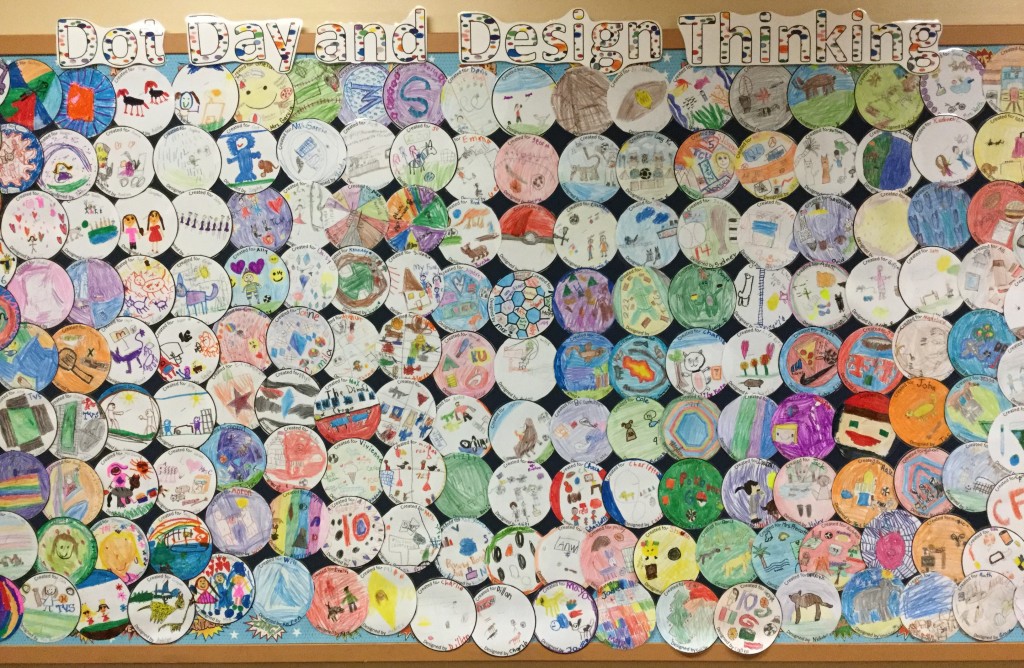
After attending a Design Thinking workshop this summer (see previous post), I thought a perfect way to weave this into the curriculum would be an International Dot Day activity.
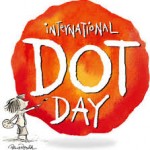 Based on the book, The Dot, by Peter H. Reynolds, the story tells about a young girl (Vashti) who thinks she can’t draw. Her art teacher tells her to “Just make a mark and see where it takes you.” Vashti jabs the paper with a dot and then signs her name as requested by her teacher. As the story moves on, Vashti discovered that she really can be creative. And, as a little boy looks at all her paintings, she encourages him just as her teacher encouraged her. International Dot Day, celebrated September 15th-ish, is a day to help children (and adults) focus on how to “make their mark.”
Enter Design Thinking! The empathy part of the process is what grabbed me so here is what we did.
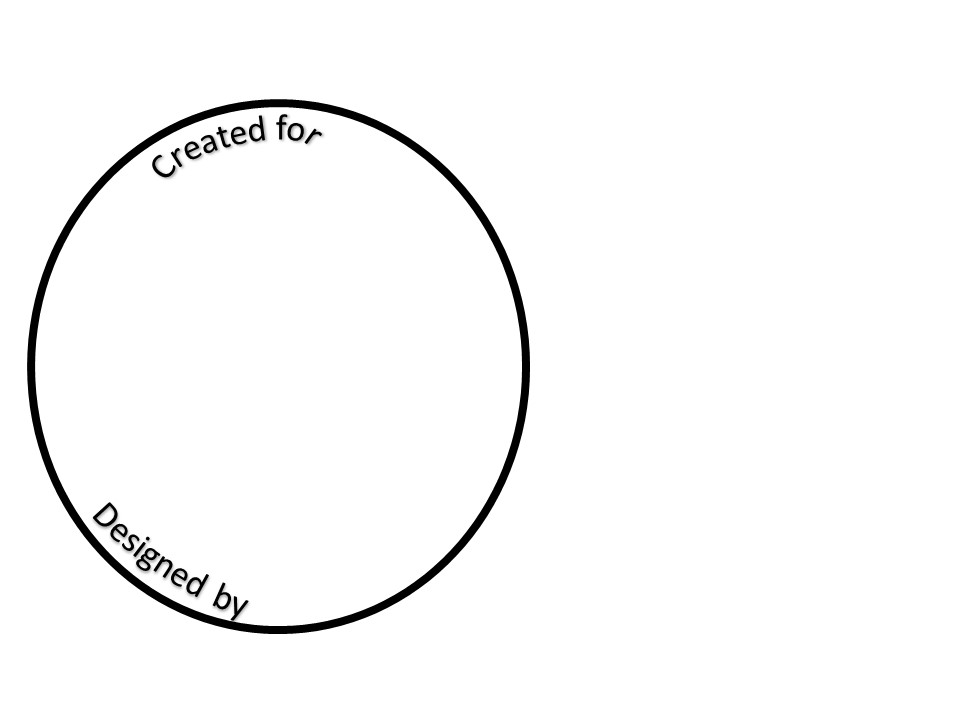
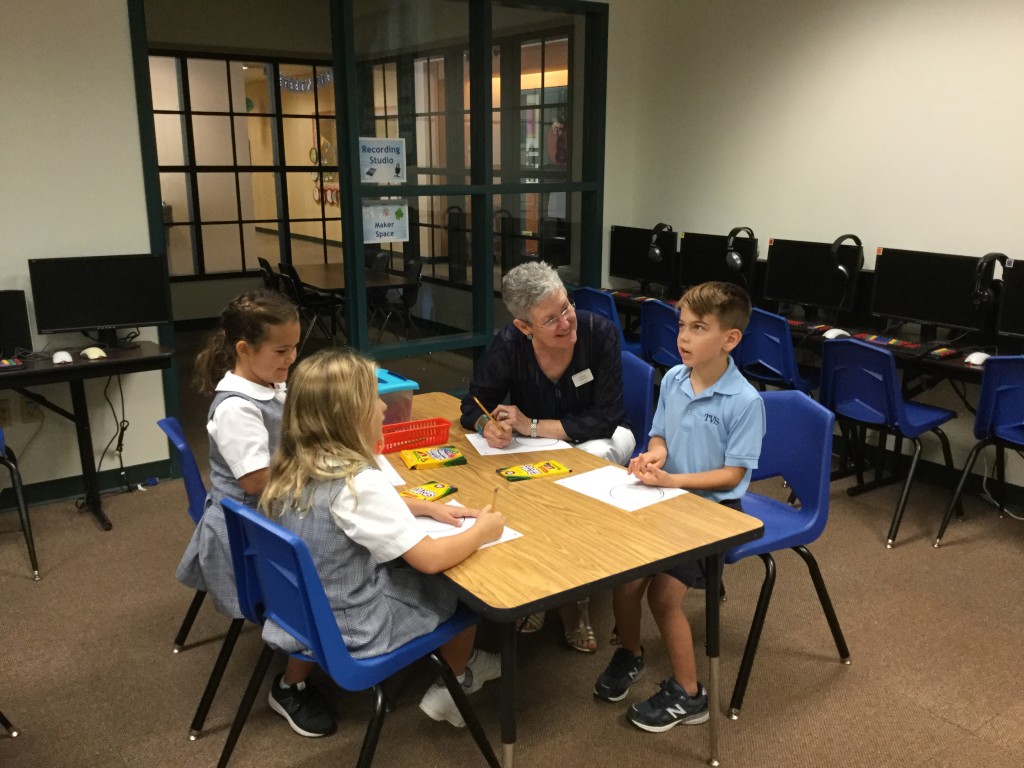
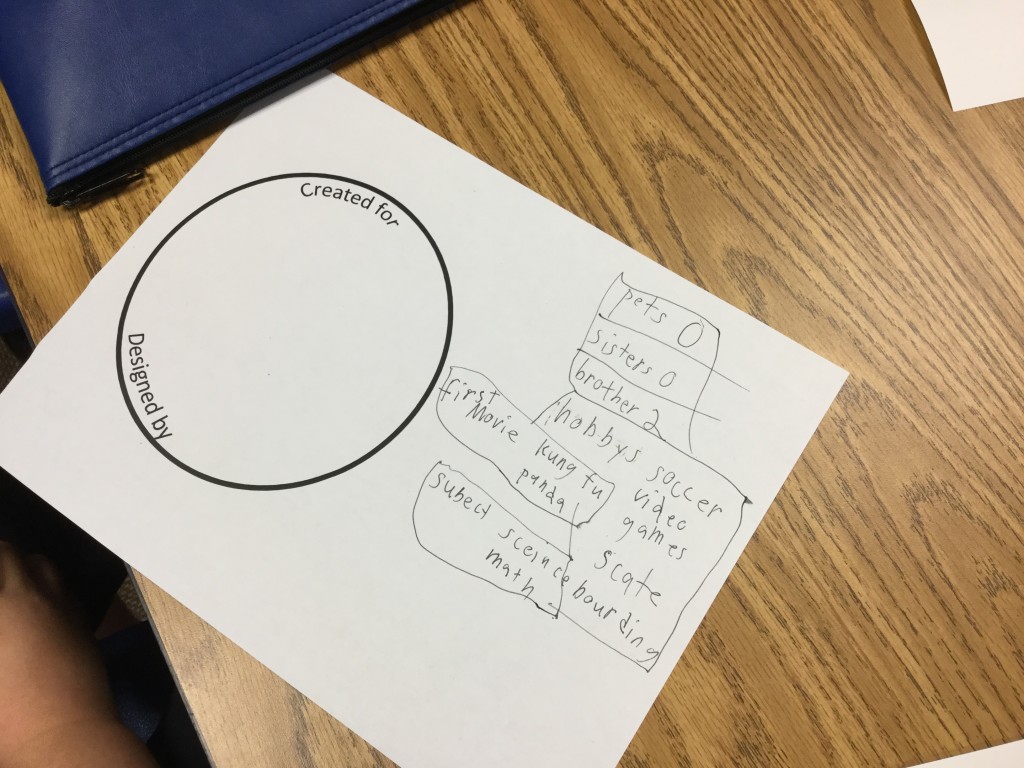
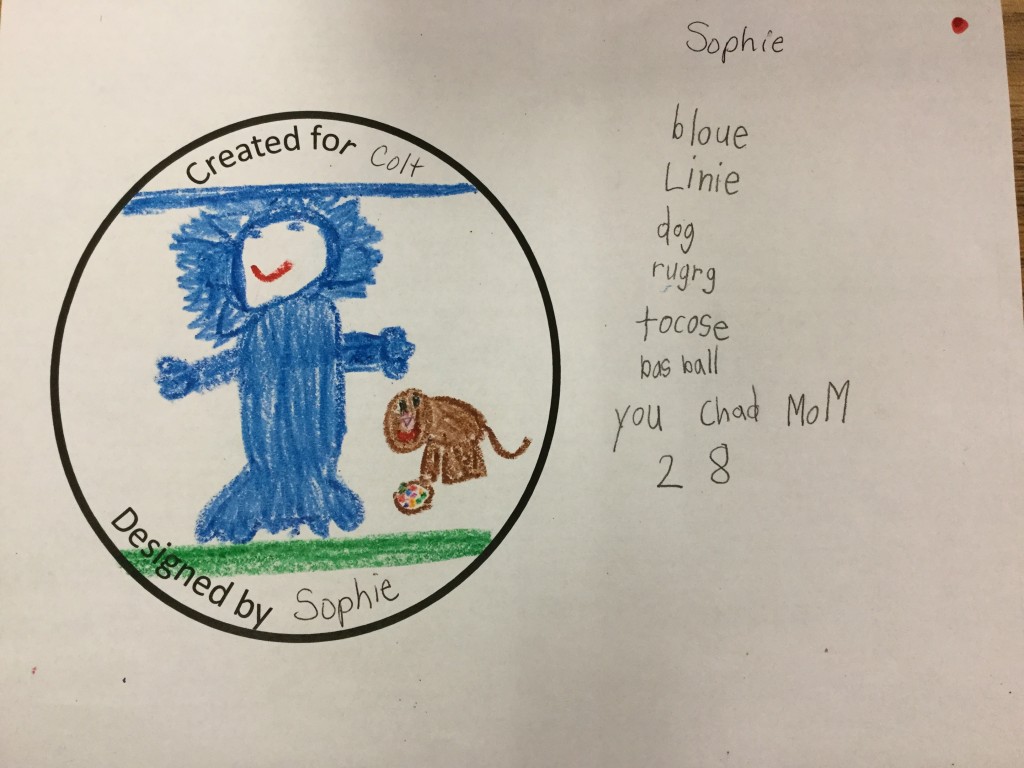
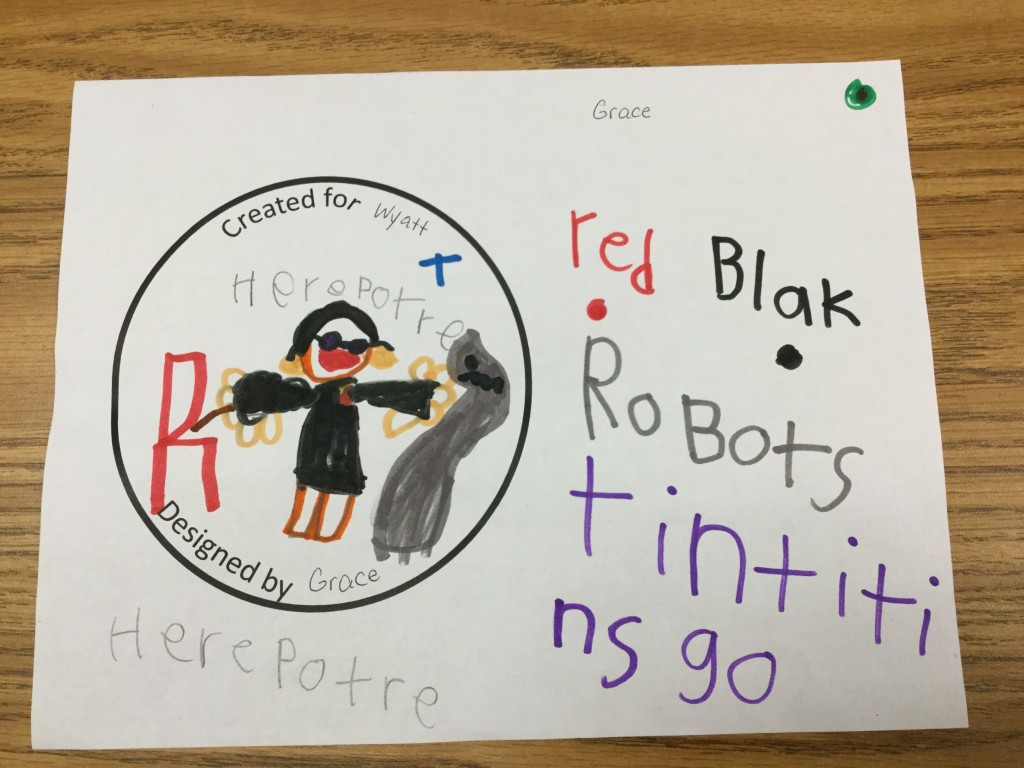
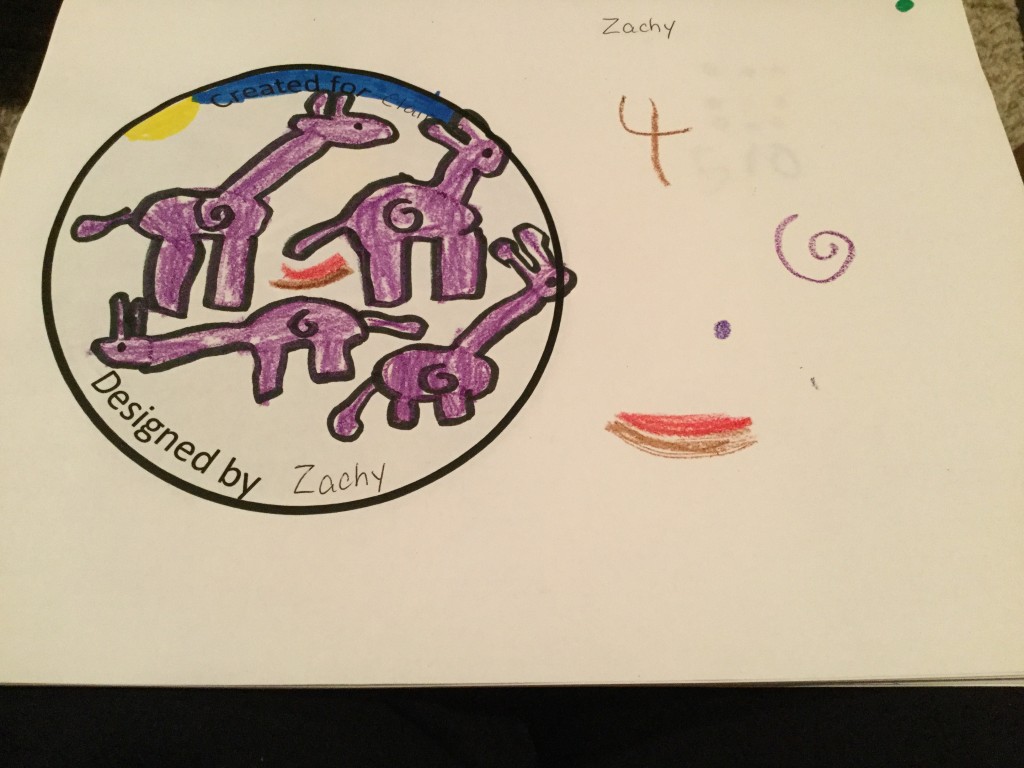
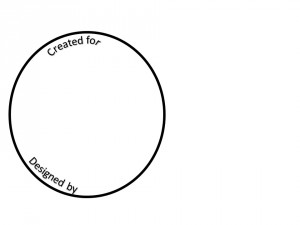 Each student received a design-thinking-dot-activity sheet with a large circle drawn on it. The dot is drawn off-center to allow for jotting notes. The children were told to choose a partner who was not their best friend – I wanted them to learn something new about someone they didn’t know quite as well.
 Having recently read Launch: Using Design Thinking to Boost Creativity and Bring out the Maker in Every Student, by John Spencer and A.J. Juliani, I decided to use the posters provided at their website. The authors have taken the design thinking process and made it into an easy-to-understand format for younger children.
I started the lesson by telling students that I’d taken care of the “L” for them.
- L – Look, Listen, and Learn: This is looking for a something to create, fix, make better . . . The problem the students had to solve was to create a dot that told about their partner.
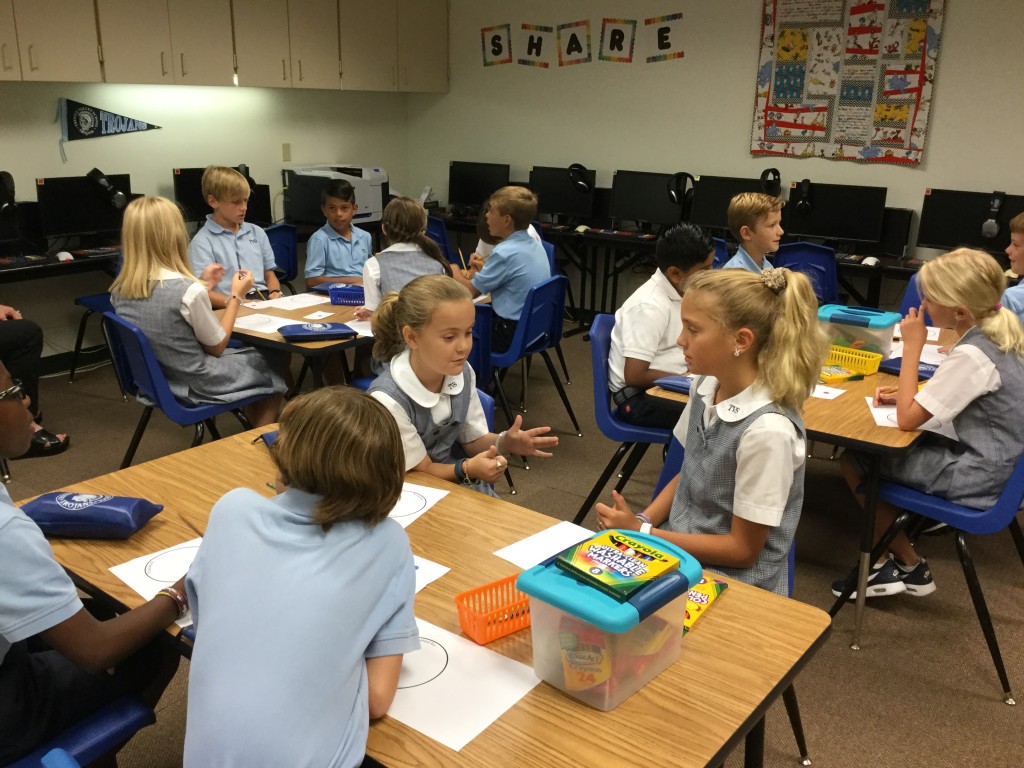
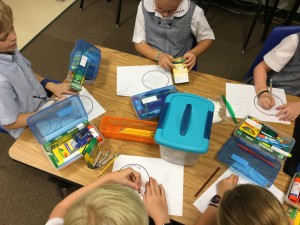
- A – Ask tons of questions: We brainstormed a few questions that students could ask their partner such as, “What are your favorite foods, colors, sports? What places to you like to visit?” Students were given 2 minutes each to ask questions. They were to jot down answers in the space next to their circle. What was funny is that every time the timer went off, you could hear the groans – “That was too fast!” “I’m not finished!” I assured them they would get another chance.

- U – Understand the problem or process: This is where students had the chance to ask additional questions of their partner. If they couldn’t think of anymore to ask, they could always say, “What else would you like to tell me?” For this, I gave the students 1 minute each to wrap it up.

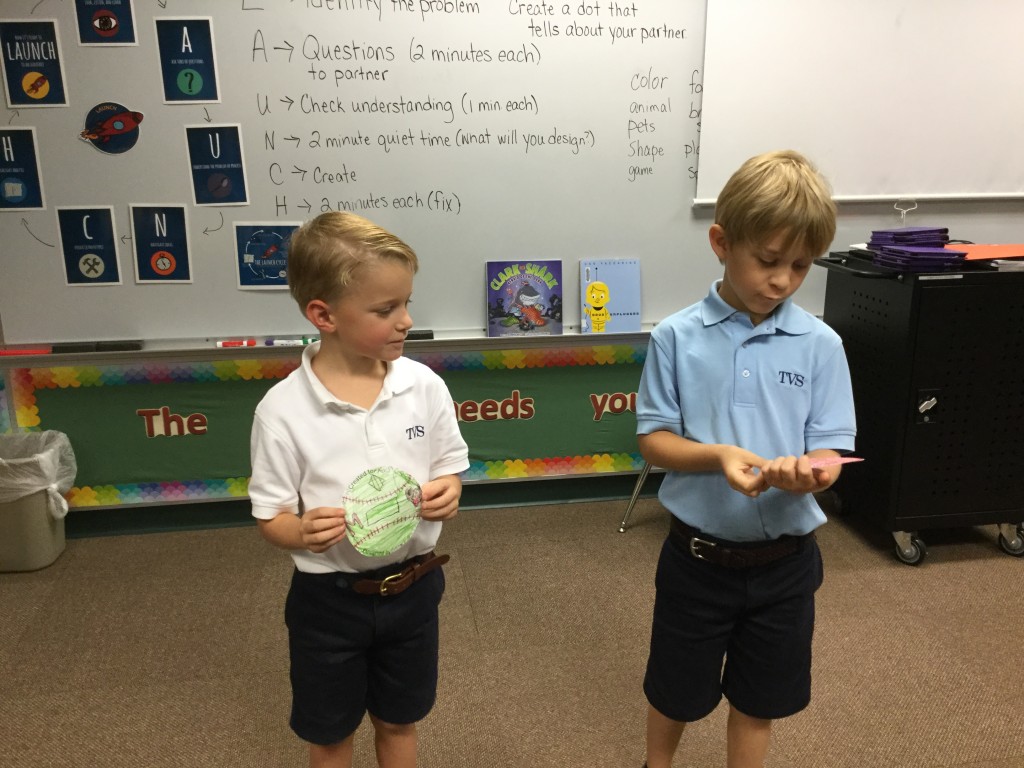
- N – Navigate ideas: We discussed what navigate means; for example, making connections to a phone’s navigation system. I told the students they had to navigate through all they had learned and then decide how they would decorate the dot in a way that told about their partner. This was the hardest part because it was 1-2 minutes (depending on age) of quiet thinking time! They could sketch ideas outside of the circle but no questions were allowed and they couldn’t start drawing inside the dot! I was amazed at how focused the students were as they just sat there and thought! As I walked around during a 1st grade class, I heard a gasp from a little girl. I leaned over and asked if she had suddenly had an idea. “Yes!” she said, as she grinned and excitedly nodded her head.

- C – Create: Only after going through the above steps were the students ready to draw. I reminded them that they were NOT to draw something they liked; it had to be for and about their partner. No using the designer’s favorite colors! A comment from a first grader confirmed that she “got it” – as I announced it was now time to start creating, I heard a voice call out, “But, I’m still on the U. I’m not ready for C yet!”


- H – Highlight and fix: After 10 minutes or so, I asked everyone to stop where they were because we needed to move to the “H” step. This involved checking with the partner to get their opinion. Was the designer drawing what the partner had in mind? Was there anything else the designer needed to add? I absolutely LOVED listening in on these conversations! These were some of the most thoughtful discussions I’ve ever heard from entire groups of students. Not one person said anything negative! I heard conversations like, “Are you going to add the food I like?” “Yes, I was planning to do that next.” The video below shows a 4th grade teacher working with a student. The audio isn’t good but you can still see how they are talking through what changes they can make and what they like.
- LAUNCH! Our launch was a simple one; the students shared their dots by describing what their partner liked. Then they were placed on the bulletin board.
I was amazed at how well this lesson went – for every single age group (1st – 4th)! All I did was guide the process and the students took off! It was great to see the teachers involved. Design thinking is new to them, too, but they eagerly joined in. Some of their comments:
- “You know, this design thinking can be used in other areas, too. I’m thinking writing for sure and maybe even math.”
- “Today’s lesson was so therapeutic.”
- Another teacher told me, “I was a bit stressed about drawing. Who’s going to see this? What if it’s not good enough?”
Sometimes it’s hard for teachers to “let go” but when we do, the work students produce is incredible! I almost decided not to do this with first graders; just wasn’t sure if they could grasp the concept. Wow! Was I ever wrong!! It didn’t matter one bit that they couldn’t spell what their partner told them. These little ones were able to jot down symbols, pictures, whatever it took to remember their partner’s answers.
 I am so excited to continue my journey of learning about implementing design thinking into the curriculum!
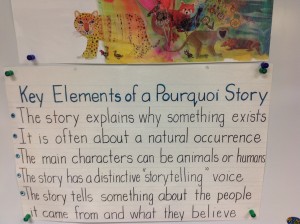
What is a pourquoi story? Ask Mrs. Garcia’s second graders and they’ll be able to tell you that it is a type of story that tells why something is the way it is. In fact, pourquoi means why in French. Rudyard Kipling’s Just So Stories is a classic work of this genre. One well-know tale is How the Camel Got His Hump. Many cultures have pourquoi tales that have been passed down through the ages.
In a collaborative effort with technology and art, Mrs. Garcia’s students explored some of these stories using the “making smaller circles” principle (zooming in on details).
Josh Waitzkin, an eight-time National Chess Champion in his youth, attributes his success to learning techniques he developed to bring his mind and body to peak performance. In The Art of Learning, Waitzkin reveals his self-study to define techniques to maximize student achievement. One of those techniques he calls “making smaller circles.”
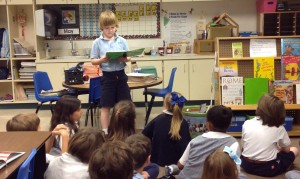
 Mrs. Garcia introduced her students to the pourquoi genre by discussing the elements found in this type of tale. She shared the camel story from Rudyard Kipling, complete with a camel stuffed animal. As she talked, Mrs. Garcia asked the children to pretend they had a magnifying glass to use to zoom in on just the camel’s hump.

Zooming in!
The students also played the “I Spy” game which is a fantastic reinforcement to understanding how to zoom in on details. In addition, the students wrote clues about an object to allow their classmates to guess. Each additional clue provided more details.
What is my object? Guess my clues.
After looking at a variety of books, the students then decided on a pourquoi tale. They examined main characters, problems, outcomes, etc and wrote their rough draft.

Determining Problem, Block/Change, and Outcome
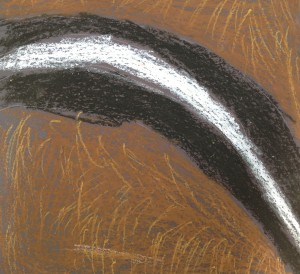
At this point, the students were ready to begin their illustrations. Mrs. Black, our art teacher, worked with the children on how to look at the “big picture” then zoom in on the smaller details. Each child had a picture of their object and a black “window” that was used to helped focus in on a specific part. Oil pastels were used to create the colorful illustrations.
Focusing on the armadillo’s head
How the chipmunk got its stripes
For the technology part of the project, I used the Book Creator app (available from the App Store and Google Play) to create an ePub book to share with parents. I love this app because it is extremely easy to use and it has a wealth of features!
Normally, I would have each student create a page in the app then email it to me where I would combine all into one class book. However, because we wanted the formatting to be the same throughout the book, I typed the students’ work and then we recorded each child.
Recording
After photographing the completed drawings and adding them to the corresponding page, I previewed the project with the students. I wanted to make sure each picture went with the correct story and that the drawings were inserted in the direction the child wanted. (We had to change a few!)

Checking for proper orientation of illustrations
Below is the link to the finished book. While on an iOS device, click on the link to download then choose to open in iBooks. To read the book using the Google Chrome browser, click here for instructions. The file is large so it may take a few minutes to complete the download.
Pourquoi Stories: Making Smaller Circles by Mrs. Garcia’s Second Graders (ePub book)
New! The Book Creator app now allows the book to be exported as a video file. Here is a link to the book in the video version.
Video overview of the process
Extension ideas from Mrs. Garcia:
After the children completed the examination of their pourquoi stories, Mrs. Garcia asked them to create their own tales. They also worked as a class to write poetry.

Pourquoi tales from students

Poetry

 They had so much fun creating fabulous sentences.

 After recording, the students came to me to air drop their book to my iPad so that I could create the class books. I absolutely LOVE working with Book Creator – easy to use and the students can do just about anything they want with all of its features. There are many others apps that we could use but Book Creator worked out perfectly for this project.
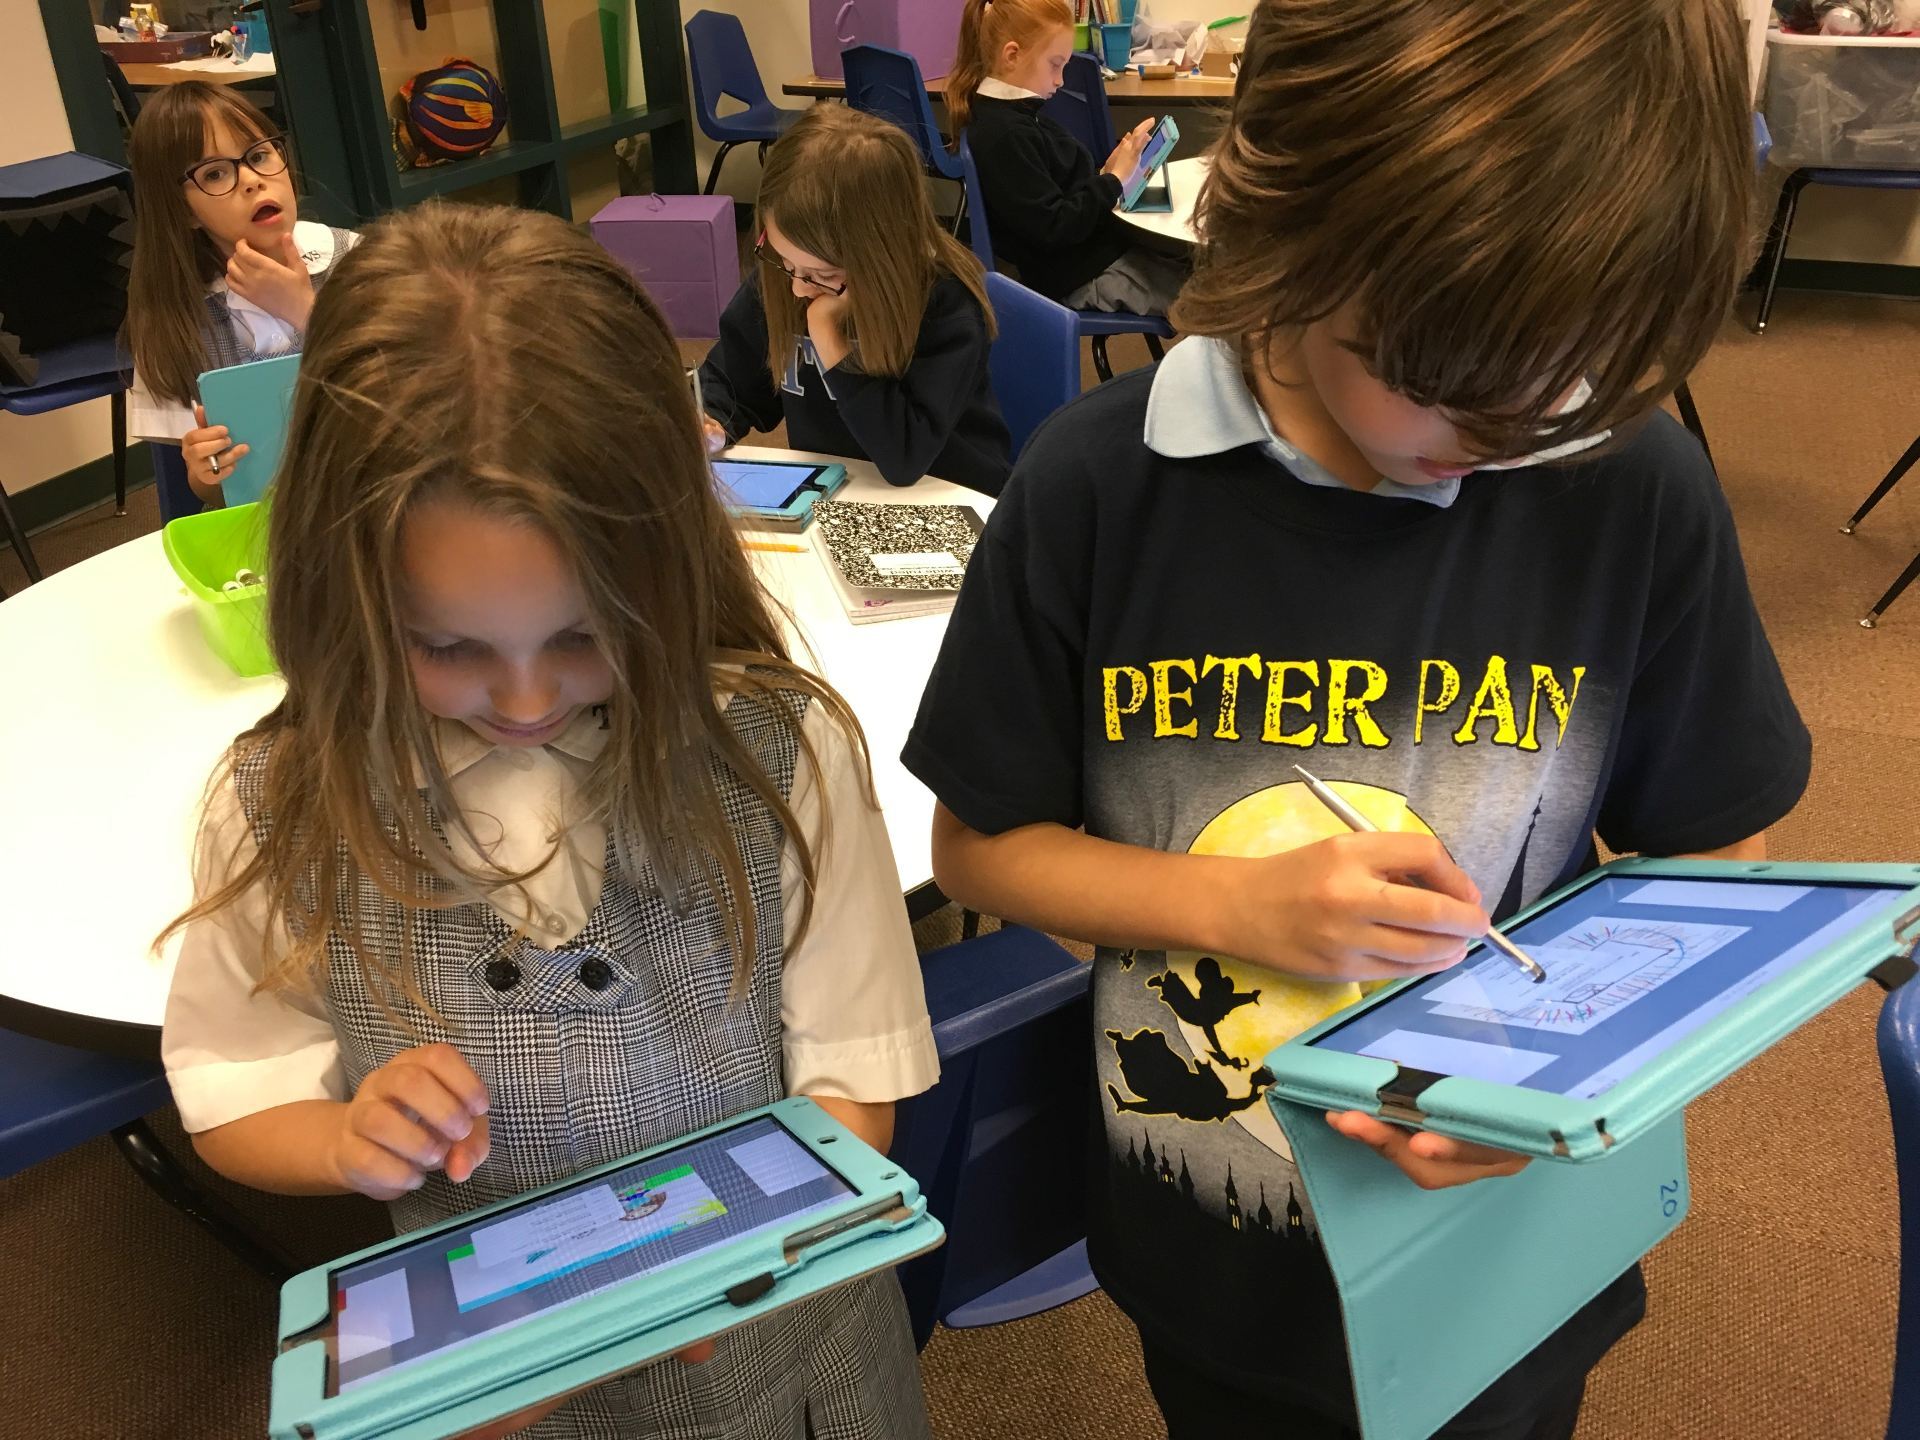 The teachers and I were very proud of how the books turned out. The students did such a great job with their illustrations and sentences.